AMS2 Pro Top Shelf System for Bambu Lab A1


Print Profile(5)


Bill of Materials

Description
Boost Me (for free)
Found this useful? A boost helps other makers discover this solution and motivates me to keep designing practical accessories for the community. Your support means everything - thank you!
Update: AMS1 Print profile added!
I've added two new print profiles for the first generation AMS:
New Profiles:
- AMS 1 Only - Just the top shelf, no sides
AMS 1 + Dual Sides - Complete system with both side shelves
Update: a compatible AMS2 Pro HUB bracket was added!
https://makerworld.com/en/models/2328592-a1-mount-for-ams2-pro-hub#profileId-2543932
Update: Print Profiles Added!
I've added four dedicated print profiles to make it easier to print exactly what you need:
New Profiles:
- AMS2 Pro Only - Just the top shelf, no sides
- AMS2 Pro + Right Side - Top shelf with right AMS HT mount
- AMS2 Pro + Left Side - Top shelf with left AMS HT mount
- AMS2 Pro + Dual Sides - Complete system with both side shelves
Each profile includes only the parts you need for that configuration. Just select your desired setup and hit slice.
Happy printing!
Compatibility Note: Please be aware that this design is incompatible with purge filament collectors (poop buckets) that wrap around or intersect the Z-axis lead.
Here is a compatible model of a poop backet that works with the setup:
https://makerworld.com/en/models/2733142-poop-bucket-xl-for-a1#profileId-3029601
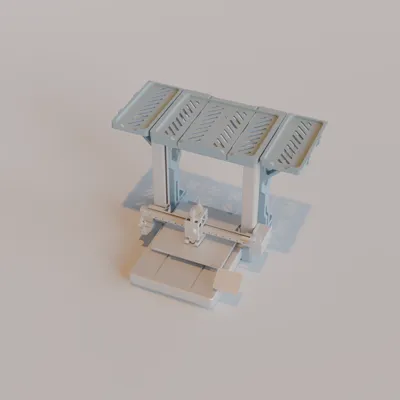
Modular storage solution with optional AMS HT side shelves

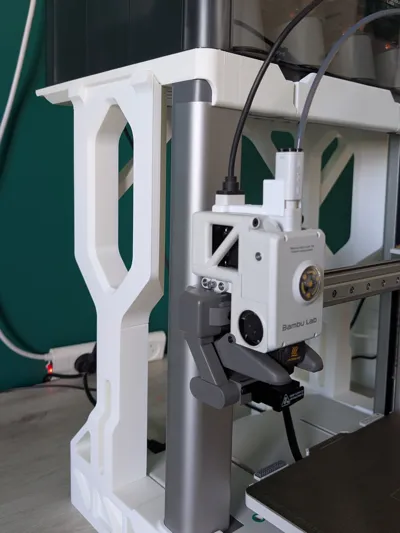
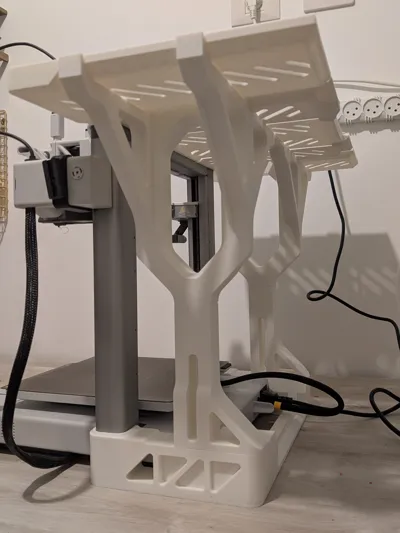
A gravity-based shelf system designed to sit securely on top of your Bambu Lab A1 printer, providing organized storage for your AMS2 Pro and optional side mounting for AMS HT units. This modular design allows you to choose the configuration that best fits your workspace - from a simple top shelf to a complete dual-side storage solution.
Key Features:
- Tool-free assembly - no screws required, works entirely on gravity
- Modular design with three configuration options
- Stable platform for AMS2 Pro unit
- Optional side shelves accommodate AMS HT units
- Does not interfere with printer head movement - full clearance at all positions
- Print volume remains completely unobstructed - no supports inside the build area
- Clean, integrated look that complements your A1 printer
Print-Safe Design
This shelf system is engineered to work seamlessly with your A1 printer during operation:
✓ Full printhead clearance - The shelf structure stays clear of the printhead path whether it's at any position during printing
✓ Unobstructed build volume - All support structures are positioned outside the print area, leaving your full build volume available
✓ Print while loaded - Keep your AMS units on the shelf system while printing without any interference
Available Configurations
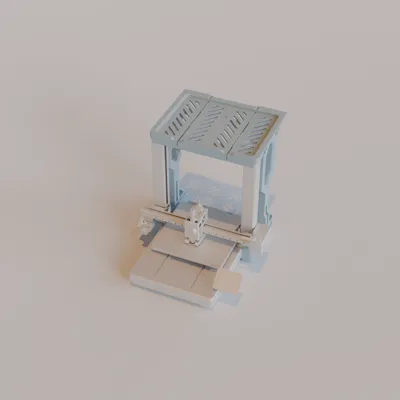
Version 1: AMS2 Pro Shelf Only
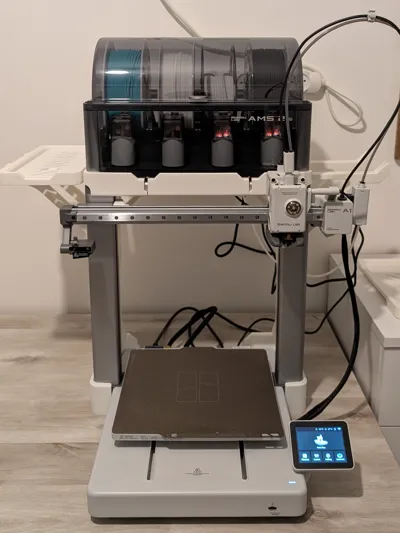
The base configuration provides a stable platform on top of your A1 printer for your AMS2 Pro unit.

Version 2: AMS2 Pro Shelf + Single Side Shelf
Add one side shelf (left OR right - your choice) to hold an AMS HT unit alongside your AMS2 Pro.


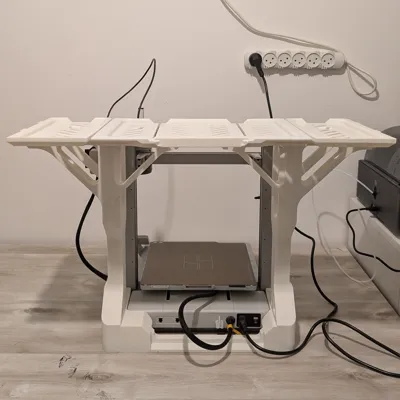
Version 3: AMS2 Pro Shelf + Dual Side Shelves
The complete system with both left and right side shelves for maximum storage.

Assembly Instructions
- Print all required parts according to your chosen configuration (see print settings below)
- Inspect all parts for proper layer adhesion and dimensional accuracy
- Position the bottom support beside the printer Z axis
- Secure them with the rear connector
Insert the pillar bases into the bottom support parts

- Connect the top parts of the pillars according to your choice
Connect the inner bridge between both pillars

- Position the shelfs in place
Important: Ensure your A1 printer is on a stable, level surface before installation.

Boost Me (for free)
Boost This Design!
Found this useful? A boost helps other makers discover this solution and motivates me to keep designing practical accessories for the community. Your support means everything - thank you!
License
You shall not share, sub-license, sell, rent, host, transfer, or distribute in any way the digital or 3D printed versions of this object, nor any other derivative work of this object in its digital or physical format (including - but not limited to - remixes of this object, and hosting on other digital platforms). The objects may not be used without permission in any way whatsoever in which you charge money, or collect fees.
Comment & Rating (140)