
Book Nook Safe | Money Bank | Lock | Piggy Bank
Print Profile(2)


Description
Trophy Builder - Design & Print your Own Medal or Cup🏆 More Info Here 👇

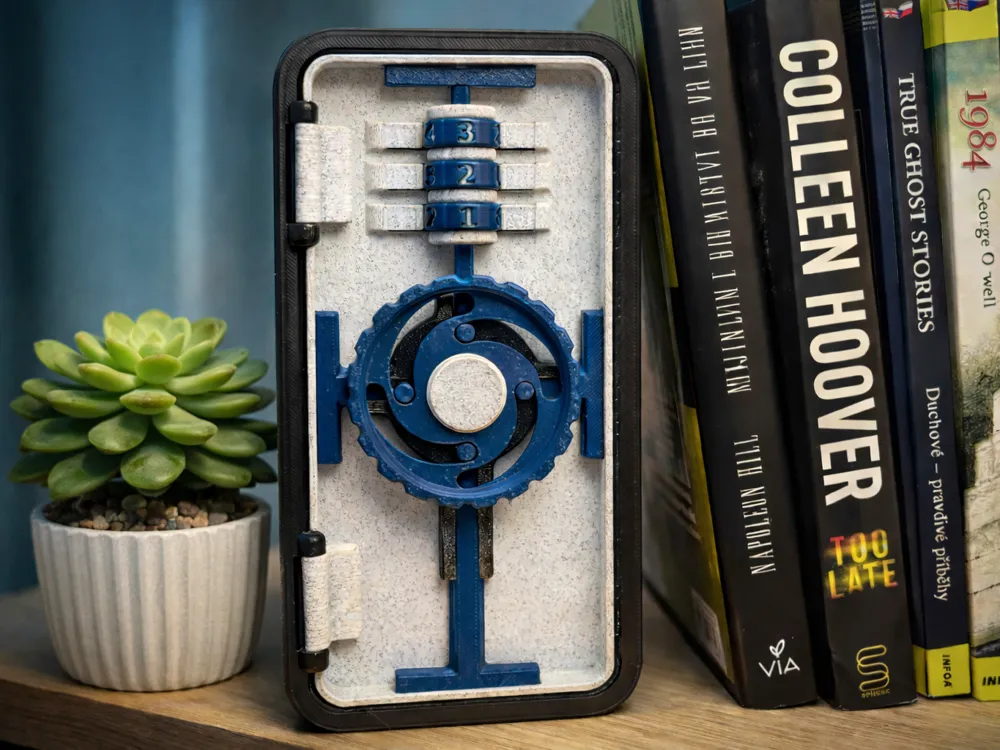

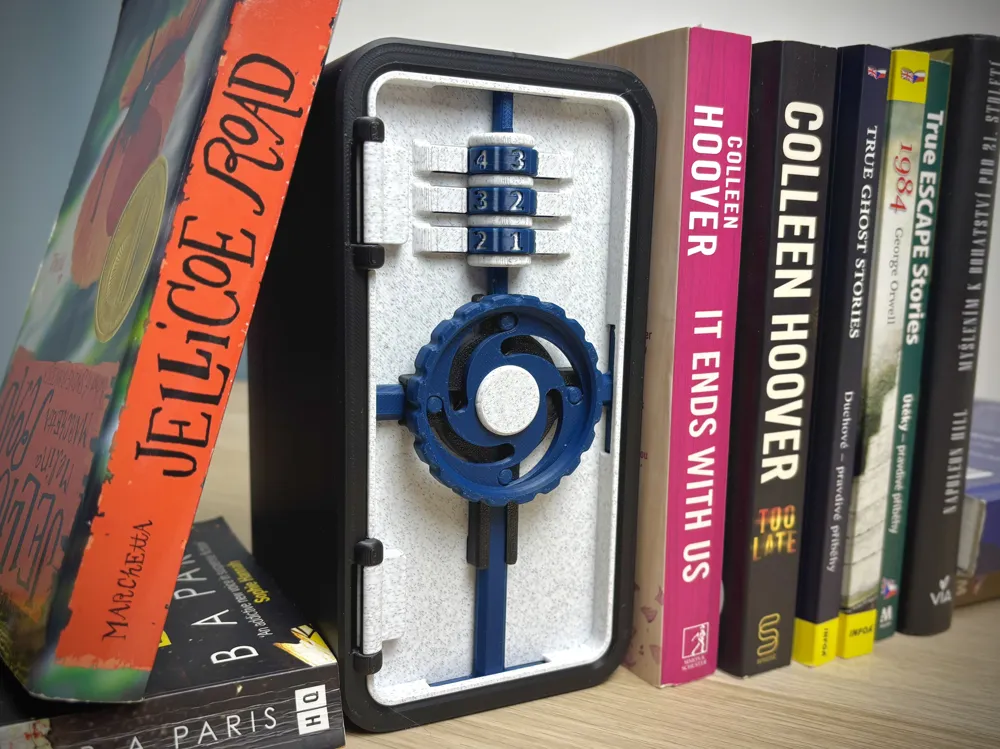
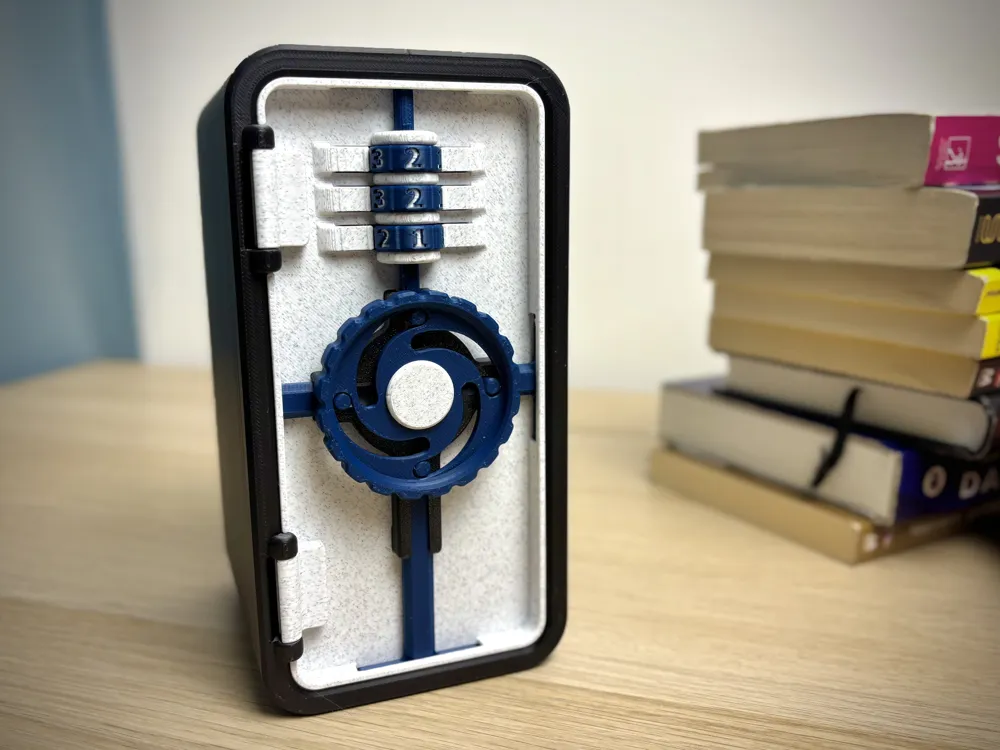
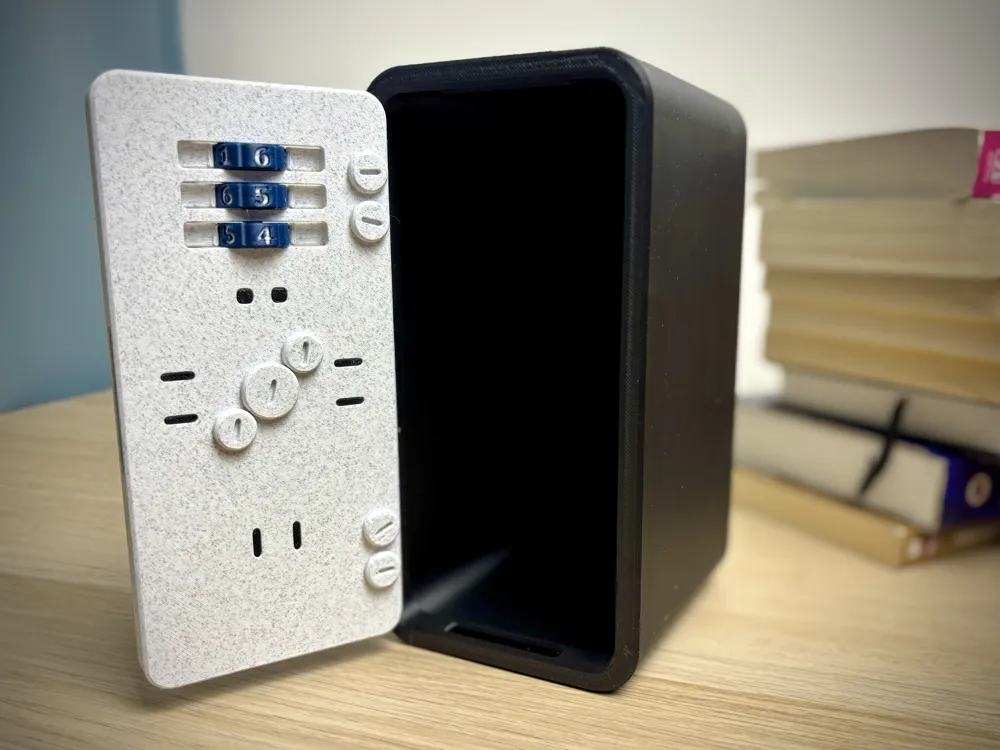
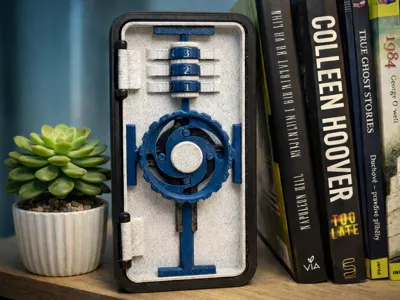
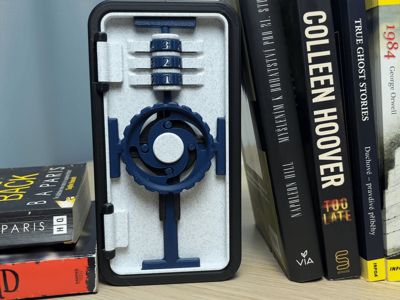
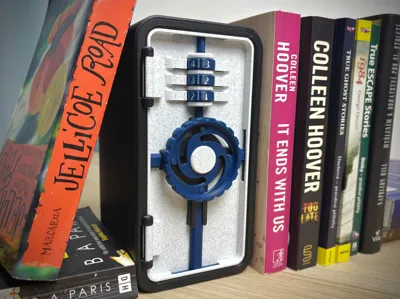
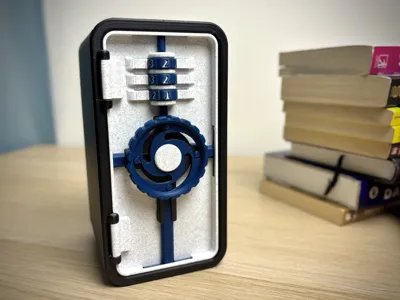
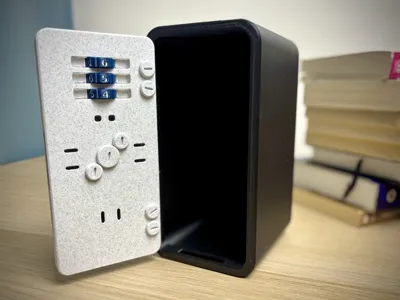
Book Nook Safe is a functional Book Nook designed to fit between books while hiding a fully working numeric combination safe inside. The lock is completely mechanical, reliable, and allows you to set your own custom code, making it a fun and practical storage solution for small valuables💰
- Size: Height=187 mm; Width=97 mm; Depth=110 mm
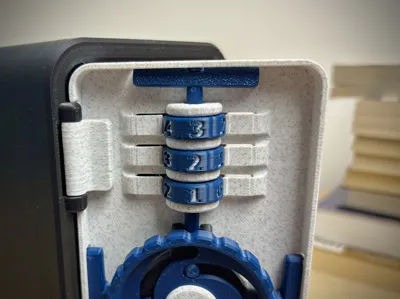
- Working numeric combination lock - 3 dials, each with 6 numbers (Total of 216 possible code combinations)
- A small latch engages with the grooves in each Dial while rotating, ensuring precise groove alignment so the lock can always be opened correctly.
- Easy assembly - No glue required. Fully 3D printable🔧
- Assembly uses only screws 🔩
- Parts fit together smoothly with proper tolerances
- This is still a plastic safe 😄 Please don’t store your entire fortune inside⚠️
Assembly instruction step by step👉:
1. Choose Your Own Lock Code
- Each Dial represents one number.
- In your slicer, select only 3 Dials (08_Dial#1 - #6).
- The selected number is defined by the direction the inner notch is pointing to.
- Choose three numbers and arrange the Dials in the order you prefer.
🔐 This combination will be your lock code.
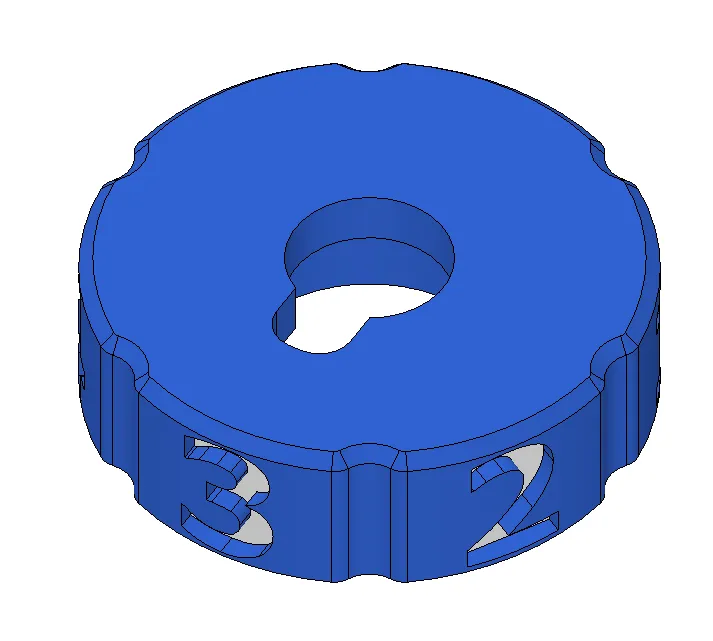
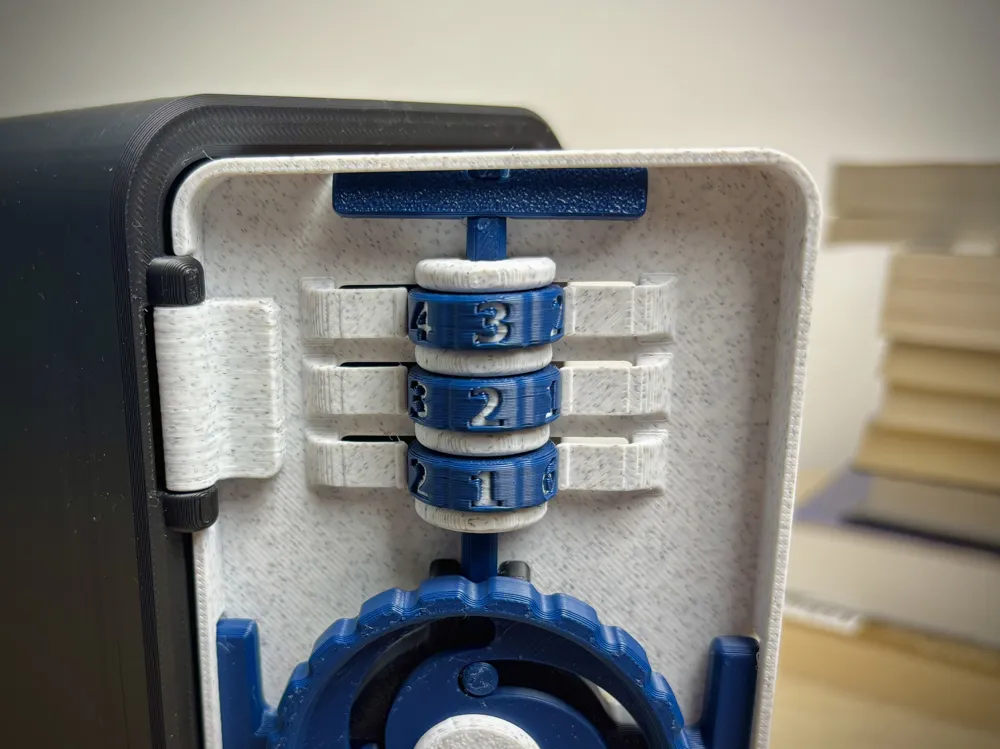
Dial with number 3
2. Assemble the Dials and Lock Rod
- Insert the Dials (08_Dial) into the grooves of 01_Door-Base.
- Make sure that all inner slots of the Dials and the Door Base are perfectly aligned.
- Once aligned, insert 07_Lock-Rod through all the holes.
- ⚠️ The Lock Rod will pass through only if all grooves are aligned correctly.
- Finally, install 10_Lock-Block.
- If 10_Lock-Block feels too loose, you may secure it with a small amount of glue.

3. Place 2× 05_Lock-Short and 1× 06_Lock-Long onto the surface of 01_Door-Base.

4. Insert 02_Guide into the grooves of 01_Door-Base. Secure it using 2× 09_Screw.

5. Place 03_Wheel into its position. By rotating the Wheel, all lock parts should move smoothly together.

6. Secure the 03_Wheel in position using 04_Screw-Center and 13_Pin. Make sure the Wheel can rotate freely after securing.

7. Place 2× 11_Hinge into their positions. Secure them using 4× 09_Screw.
- Before tightening the screws, gently press 11_Hinge toward the wall of 01_Door-Base. This helps eliminate excess clearance and ensures proper hinge alignment.


8. Snap the hinges into 12_Case. Your Book Nook Safe is now complete! 🔐
_________________________________________________________________________________________________________
Inspired by this model from @liftisgoingdown

License

You shall not share, sub-license, sell, rent, host, transfer, or distribute in any way the digital or 3D printed versions of this object, nor any other derivative work of this object in its digital or physical format (including - but not limited to - remixes of this object, and hosting on other digital platforms). The objects may not be used without permission in any way whatsoever in which you charge money, or collect fees.


Comment & Rating (195)