Trap Shooter Scene Lightbox – Customizable Name


Print Profile(2)


Bill of Materials


Description
NOTICE!!! ***I WILL BE OUT ON VACATION 6/10/26 ~ 6/15/26*** NOTICE!!!
All Compatible Lightbox Frames & Mounts Available Here!
🛠️ Recommended Gear
Check out my Amazon Storefront by clicking here!
Bed Adhesion (Fix First Layer Issues) Magnets (for optional mounts)
Recommended LED Light Strips Battery Powered LED Light Strips Double Sided Tape for Lens: Optional
Custom One-Off Designs Available - CLICK HERE
Printing tips are located at the bottom of this listing
___________________________________________________________________________
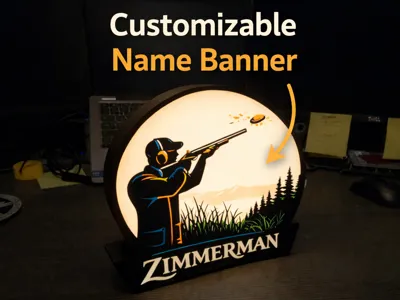
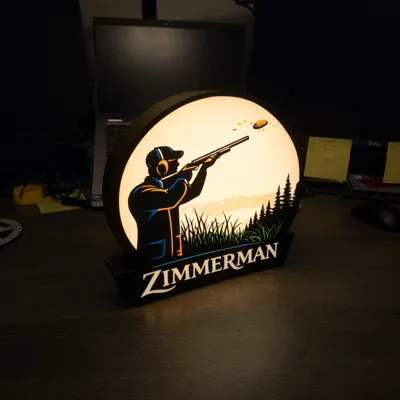
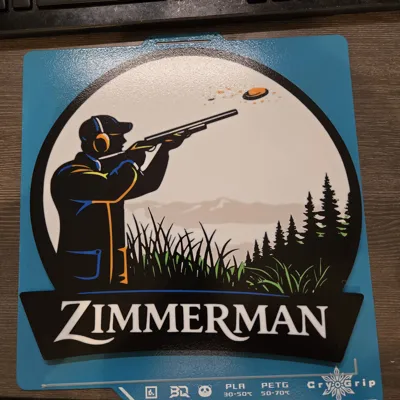
This 3D printable trap shooting themed lightbox features a clean, layered scene of a shooter tracking a clay pigeon against a scenic outdoor backdrop. Designed specifically for lightbox printing, the model uses distinct depth layers to create excellent contrast and visual depth when backlit.
The lower banner area is setup with “CUSTOM TEXT”, allowing makers to easily add custom text or names to personalize the lightbox before printing. ***Instructions below on how to change***
This makes it perfect for gifts, gun club decor, man caves, trophy rooms, or shooting sports enthusiasts.
Features
- Designed specifically for white LED strips
- Clean, layered silhouette for crisp light diffusion
- CUSTOM TEXT text area for easy personalization
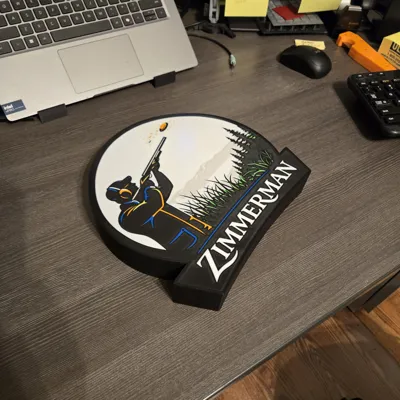
- Optimized for PLA
Printing Notes
- 1st layer set to print very slow
- White or off-white filament works best for light diffusion
- LED strip or puck light compatible (12V or USB)
This model is intended for personal use, gifts, or decor, and can be customized to suit your own style or name before printing.
If you enjoy this design, please consider leaving a rating or sharing your make — I’d love to see how you use it!
How to Change Custom Text in Bambu Studio
- Open Bambu Studio
- Launch Bambu Studio and open the project (.3mf) file or import the STL/3MF that contains the text.
- Select the Text Object
- In the Object List (left panel), click the text object “CUSTOM TEXT”
- Or click directly on the text in the 3D view
- Open the Text Editor
- With the text selected, look to the right-hand Properties panel
- Find the section labeled Text
- Click Edit Text (or double-click the text in the object list)
- Change the Text
- Type your desired custom text
- Adjust:
- Font
- Font size
- Character spacing (kerning)
- Bold/italic (if supported by the font)
- Sometimes Bambu Studio likes to revert the text, just flip it if it does back to correct orientation
- Confirm Changes
- Click OK or Apply
- The text will immediately update in the model
_________________________________________________________________________________________________
Thanks for downloading from Chopper Originals.
If this print earned a spot on your printer and you’re out of Boosts, consider buying me a coffee ☕ to help support future designs and releases.

___________________________________________________________________________________
Affiliate Disclosure
Some links in this listing are affiliate links. As an Amazon Associate, I earn from qualifying purchases at no extra cost to you.
____________________________________________________________________________________
Having issues getting that first layer to flow and stick good? Follow these steps, it helps! ***If using an enclosed printer, be sure to remove the lid and leave door open to avoid heat creep***

If using multiple brands/types of filament, you will need to save each as a Custom Filament setting. Otherwise the settings will change when your colors switch.
License
You shall not share, sub-license, sell, rent, host, transfer, or distribute in any way the digital or 3D printed versions of this object, nor any other derivative work of this object in its digital or physical format (including - but not limited to - remixes of this object, and hosting on other digital platforms). The objects may not be used without permission in any way whatsoever in which you charge money, or collect fees.
Comment & Rating (3)