
Project cutter for flexi toys
Print Profile(4)




Description
UPDATE!!!
There is a new version of this cutter which allows for more curved cuts and stronger joints. Check it out: https://makerworld.com/en/models/2581607-project-cutter-for-flexi-toys-v2
---------------------------------------------------------------------
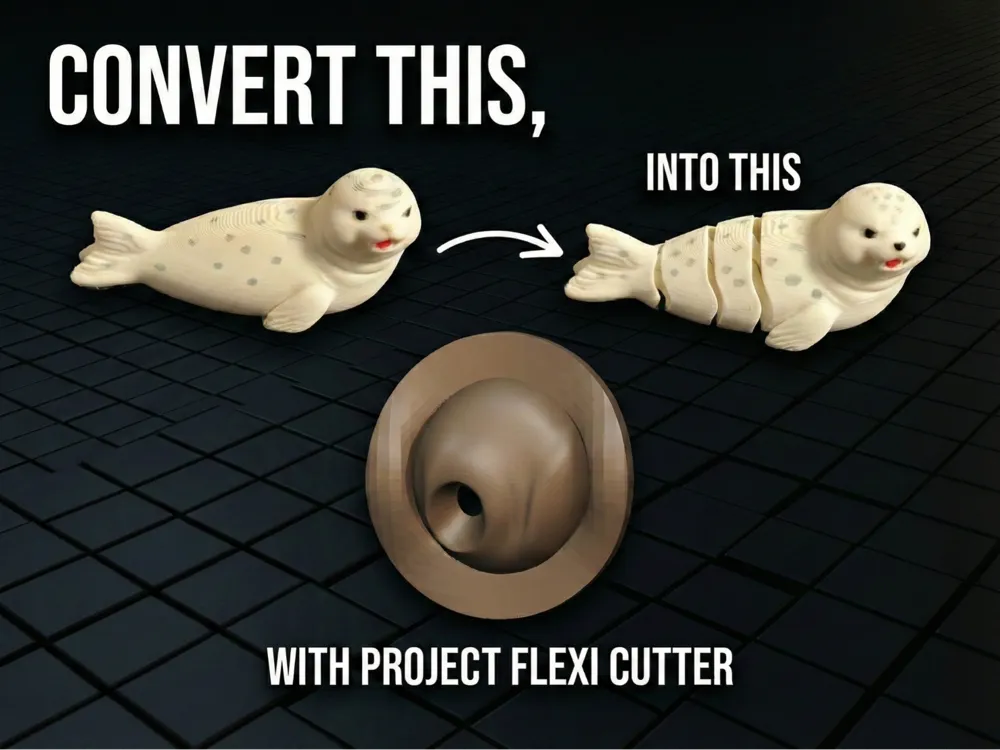
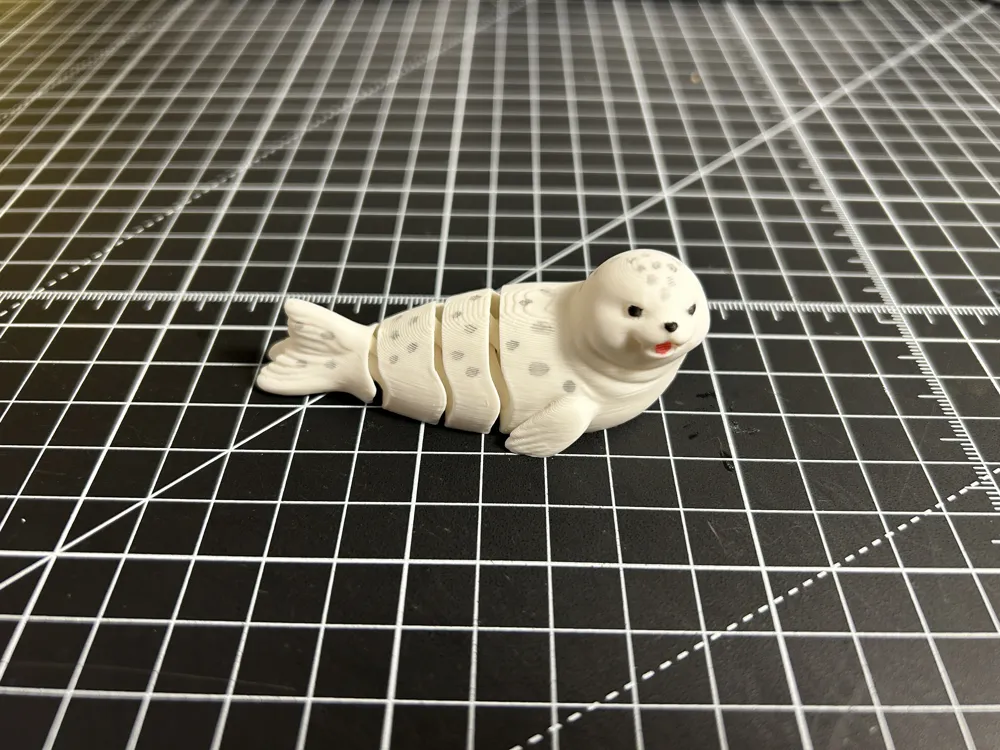
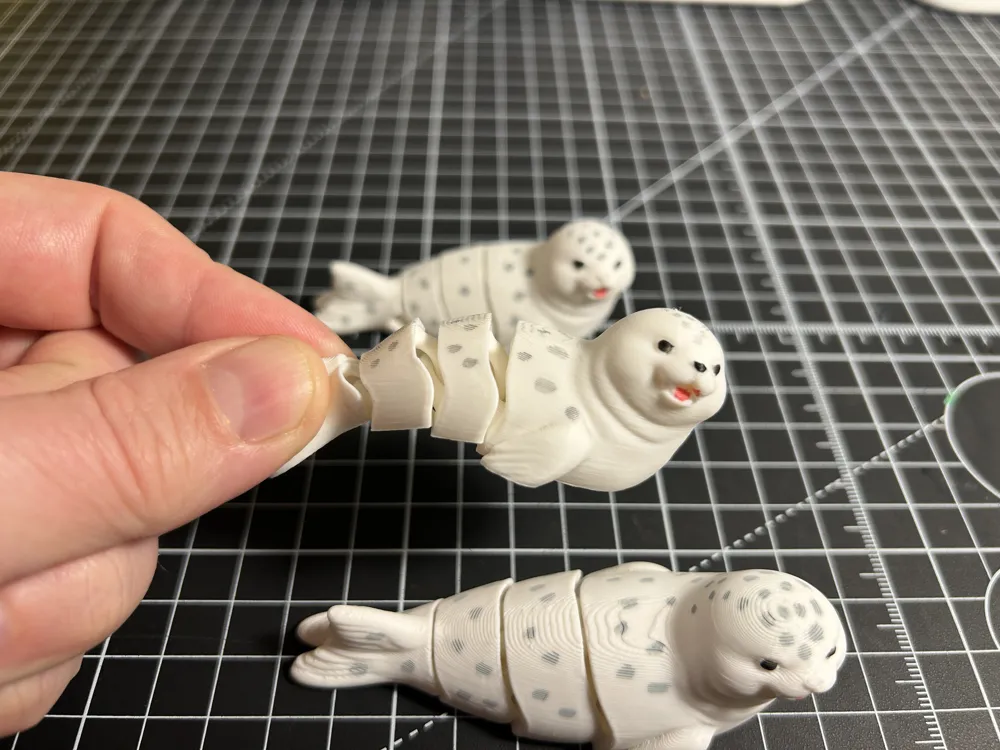
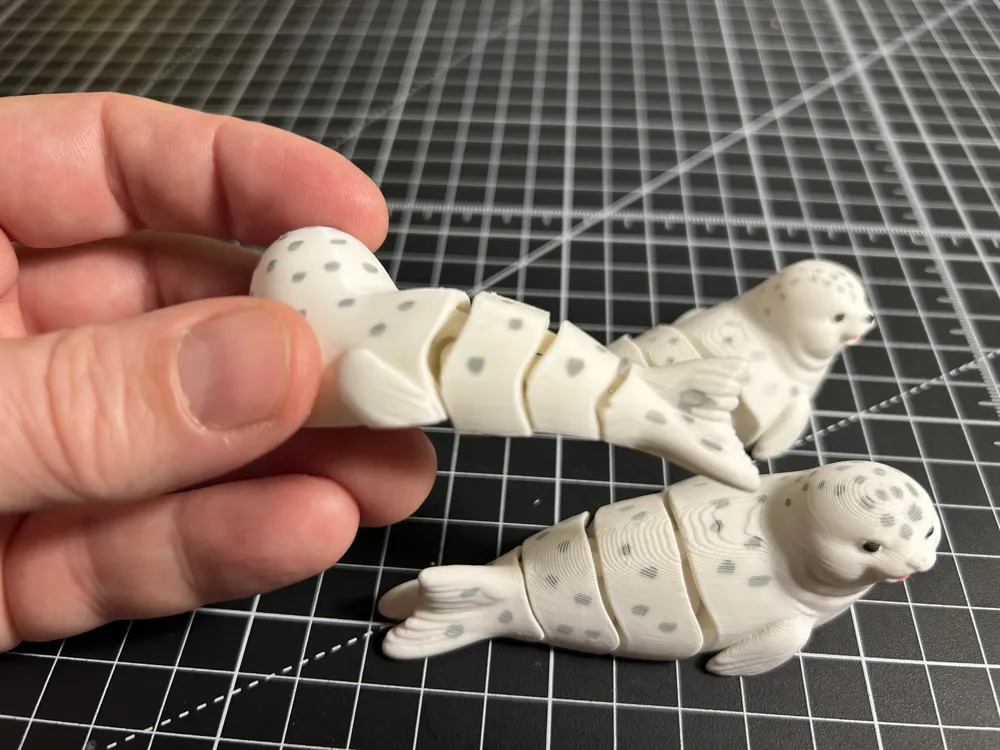
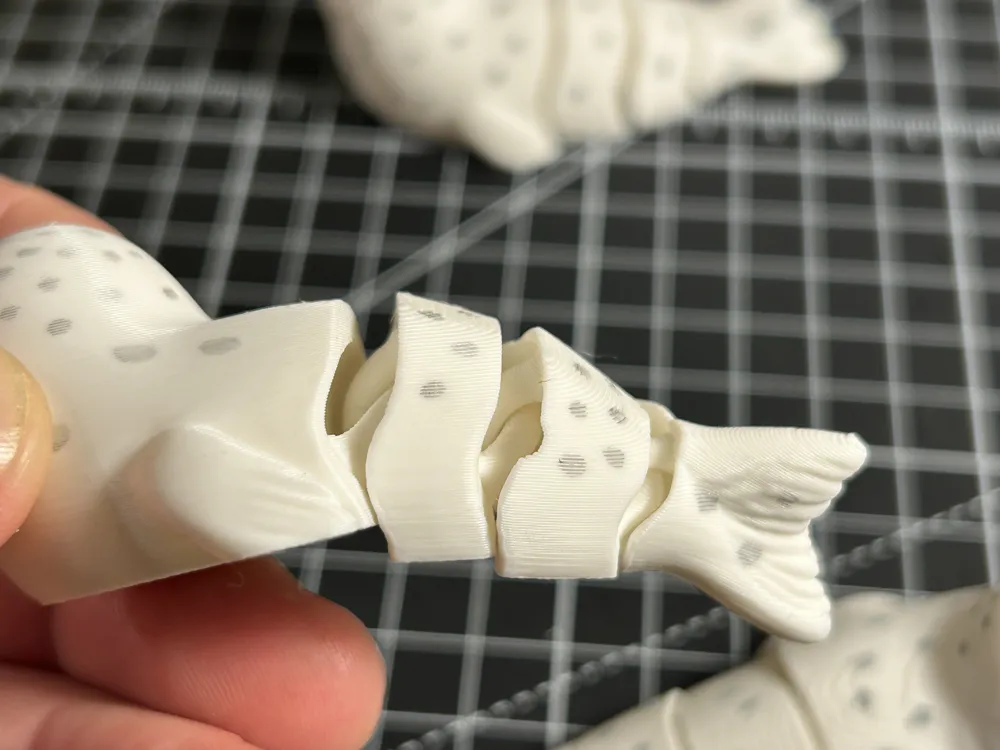
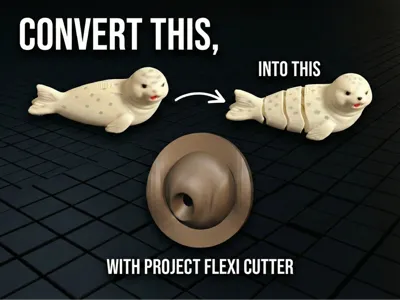
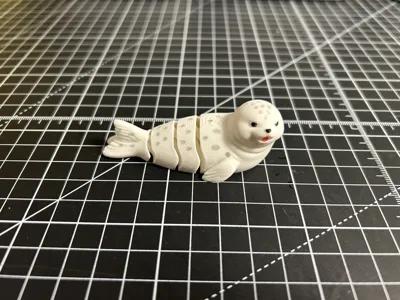
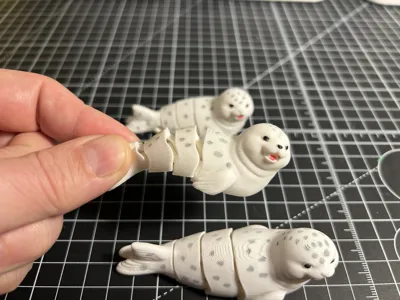
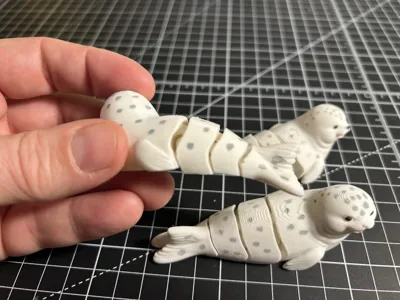
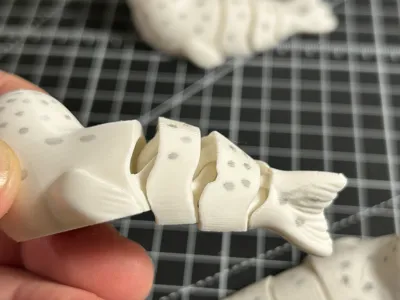
I present a cutter for figurines, thanks to which they will be flexible.
Project flexi cutter.
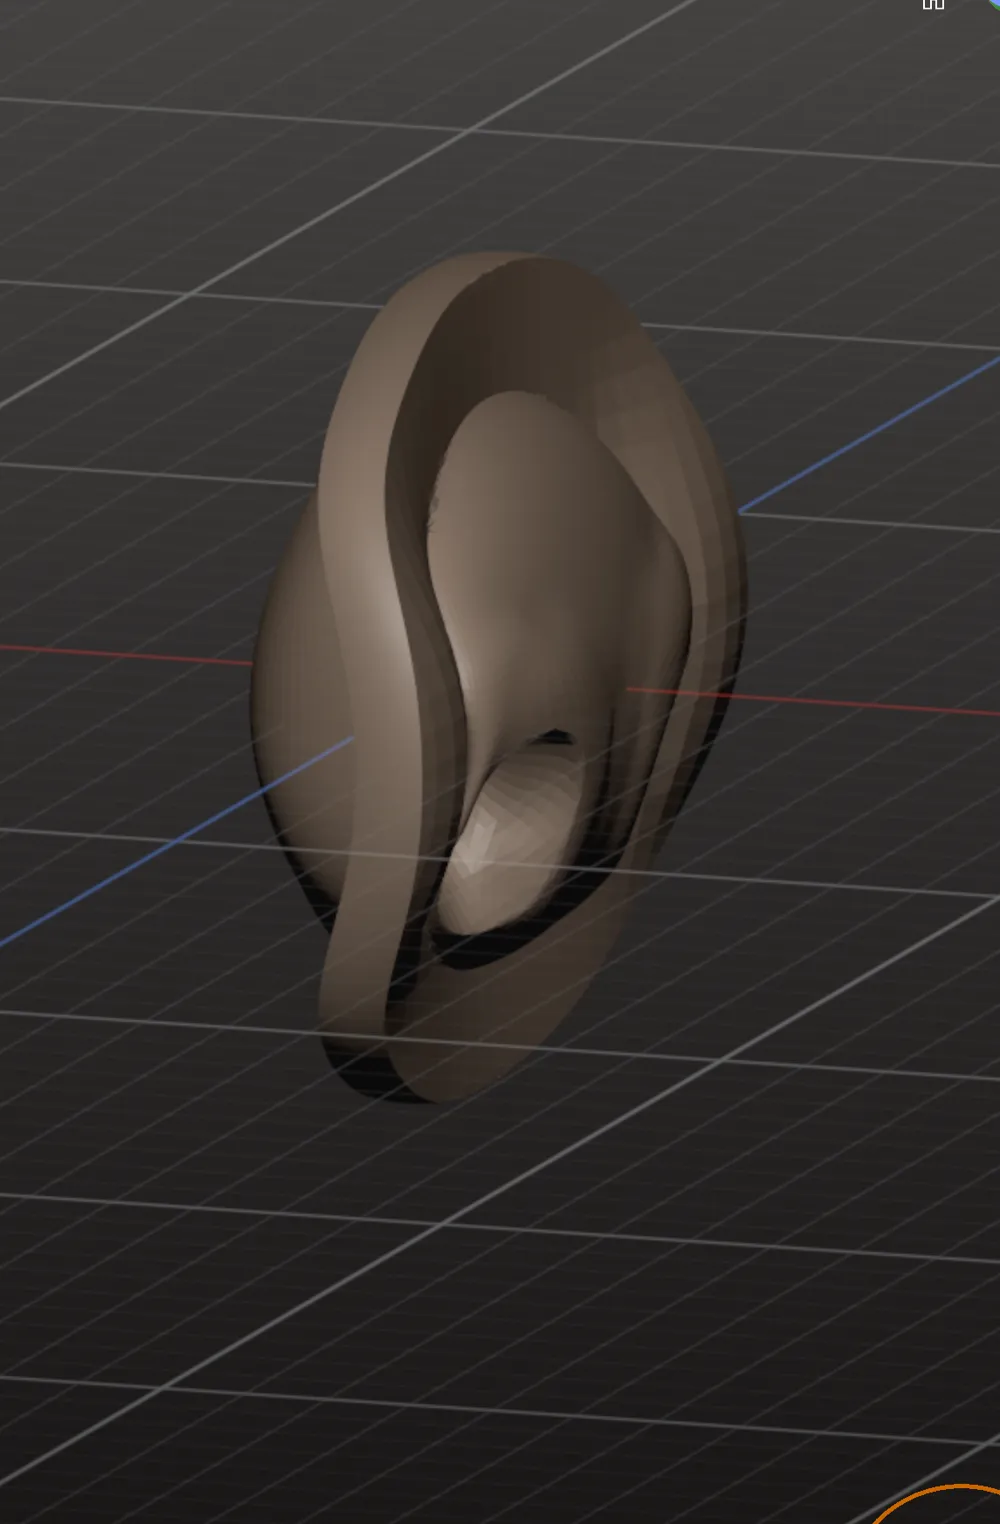
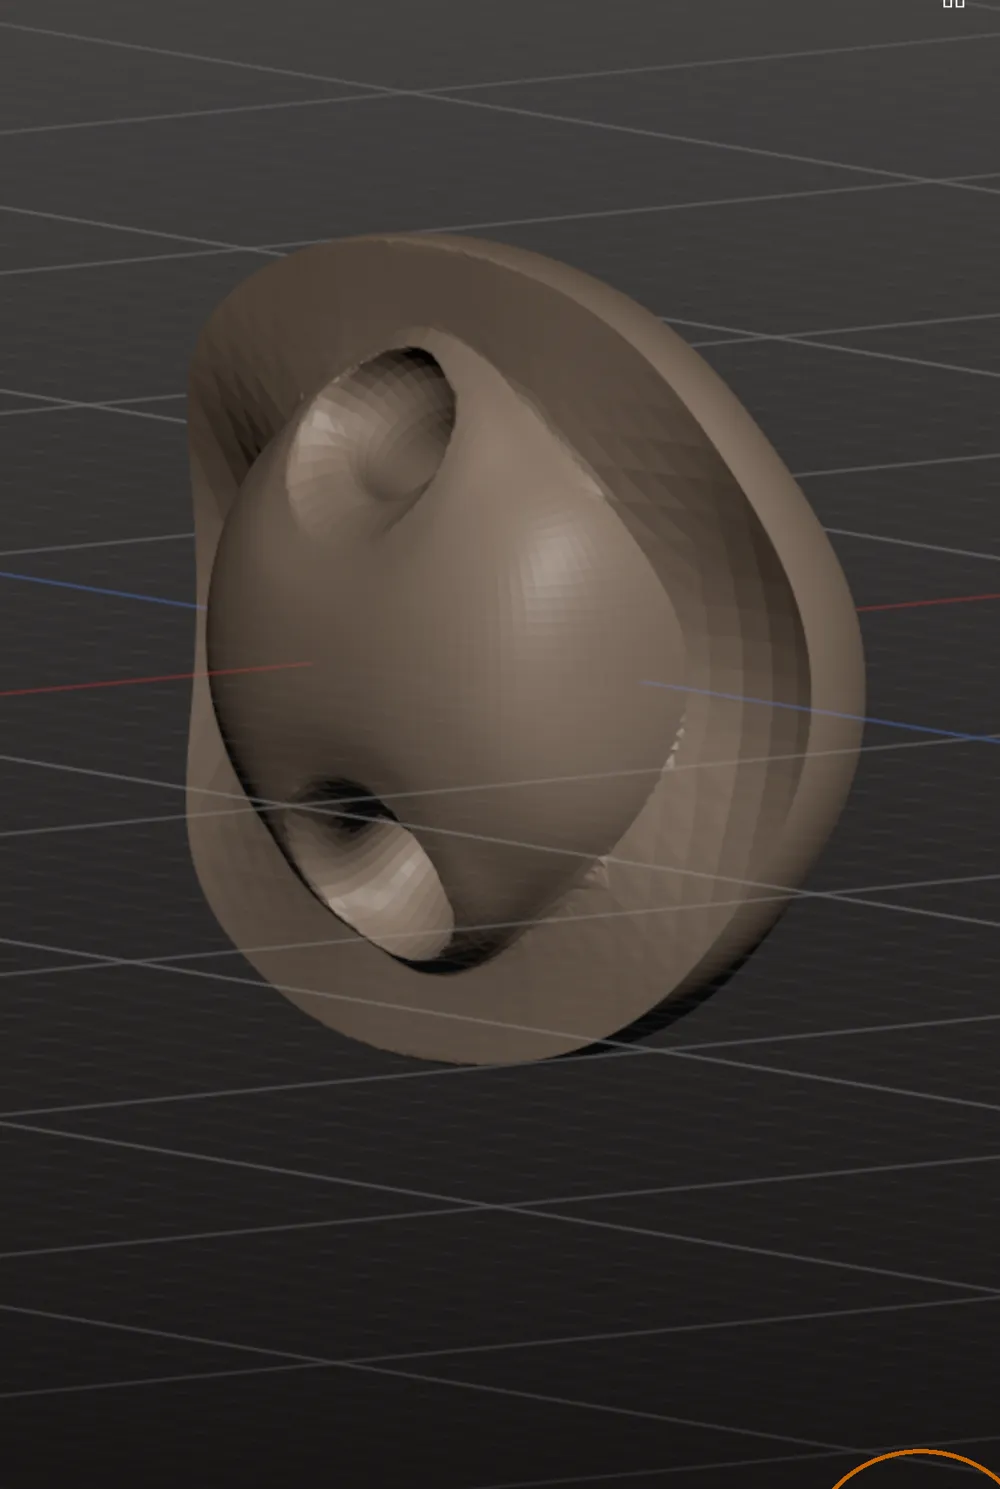
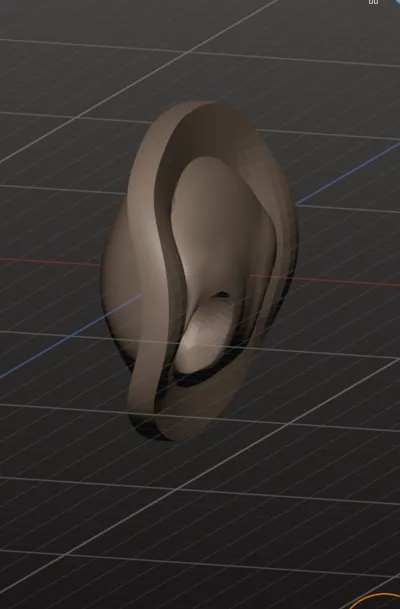
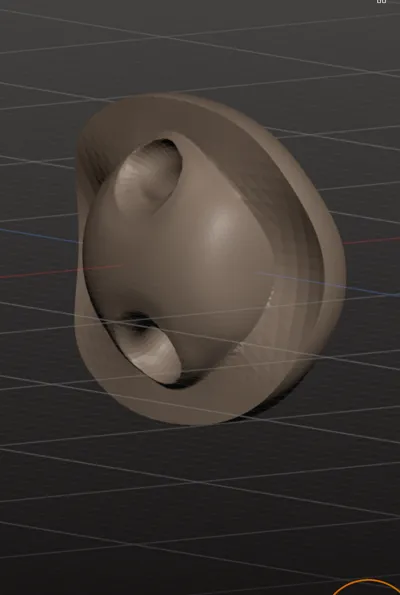
Two STL files are included, which need to be added to the model as negative parts, and their location and dimensions should be selected accordingly.
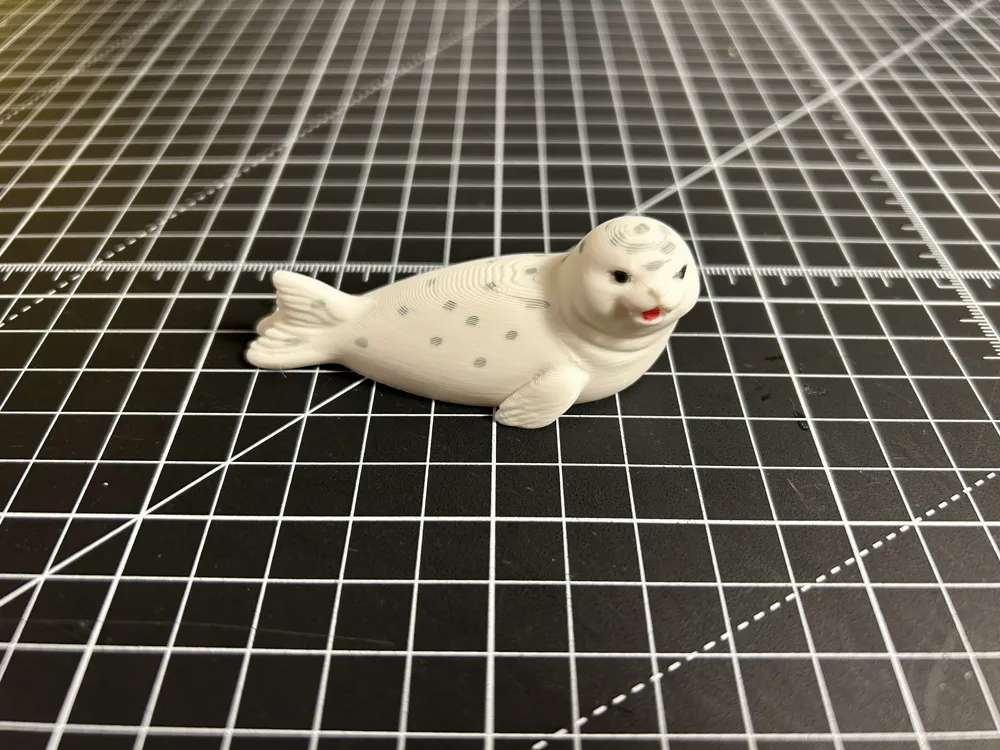
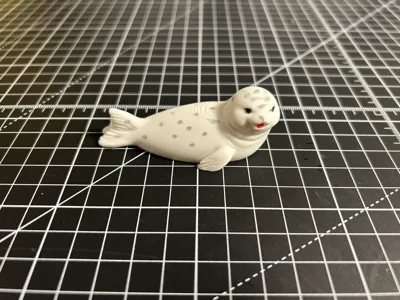
The attached project with the seal shows an example of how it was done.
See short tutorial here: https://www.tiktok.com/@r73ch.3d.printing/video/7595684555328130326
or here:
To obtain a flexi model from a standard figure, follow these steps:
1. Prepare your models: You will need a model of a figure (which can be generated using AI) and a specialized "cutting device" from the attached STL files. The cutting device is available in versions with thin or thick gaps (STL files).
2. Import and flatten: Import your figure into Bambu Studio and adjust its dimensions. You must ensure the model can be printed flat; if it cannot, use the "Cut" function to remove the bottom and leave only the top part of the model.
3. Add the cutting element: Add a negative part to your model by selecting the "Load" option and choosing the file for the cutting device.
4. Position the cut: Use the scale and position functions to place the cutting element exactly where you want the model to be divided. Ensure that the bulged/curved part of the element is inside the model, while the non-bulged part sticks out.
5. Verify the layers: Go to the Preview window and use the side slider to inspect the print layer by layer to ensure the internal connections are correct.
6. Add multiple segments: If you want more joints, you can copy the cutting element and place it in other locations, provided the elements do not overlap.
License



Comment & Rating (172)