D&D/World of Warfraft - Skeletal Warrior,Scourge


Print Profile(2)

Description
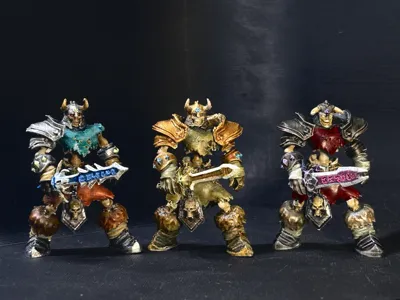
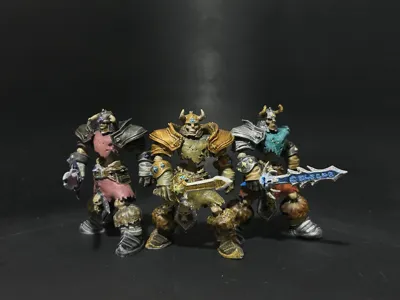
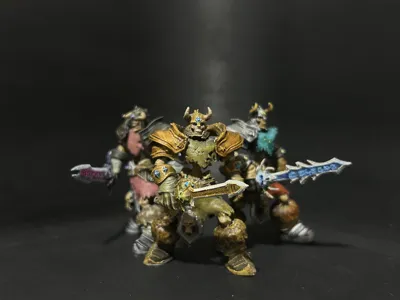
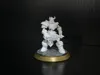
Scourge Skeletal Warrior - 47mm Multi-Part Minis (1/35 Scale)
Model Description:
【Overview】 This is the second model I have created, inspired by the iconic Scourge Skeletal Warriors from the Warcraft universe.
- Default Scale: 1/35
- Height: Approx. 47mm
- Design: Multiple combinations of spaulders, weapons, and headgear.
- Concept Credit: The prototype design is based on the incredible artwork by Brent LaDue from ArtStation.

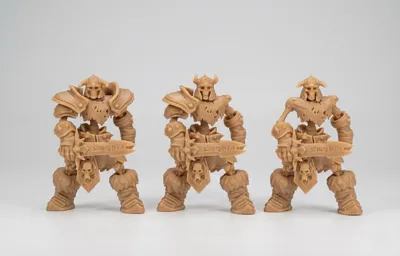
【Design & Printing Details】 This model features a multi-part design to ensure the best possible detail and print orientation.
- 0.4mm Nozzle: The parameters for 0.4mm nozzles are fully optimized and "battle-tested." You can print directly using the provided profiles.
- 0.2mm Nozzle: A high-detail version for 0.2mm nozzles is currently under testing and will be updated soon.
- Assembly: Parts are designed to be glued. I recommend using FDM-compatible super glue (such as 401 or specialized plastic cement) for the best bond.
【Support Removal Tips】
- This model includes pre-configured supports. Due to the intricate skeletal details, please be patient when removing them.
- I highly recommend using flush cutters (nippers) to slowly clip away the supports. It is not overly difficult, but a steady hand will ensure no small bones are snapped during the process.
【Special Bonus: Plate 2 - Extra Weapons】 I have included a variety of bonus weapons on Plate 2 for customization.
- Note: The weapons are placed vertically on the heatbed to achieve the highest surface quality.
- Warning: You may see "empty layer" or "floating bridge" warnings in the slicer. Don't panic—please ignore these warnings and proceed with the print. This is a deliberate placement strategy that has been tested to print successfully.
【Feedback & Support】 As this is only my second original 3D modeling project, I am eager to learn and improve. Please feel free to share your makes and leave feedback in the comments. Your suggestions will directly help me refine my future designs!

License
You shall not share, sub-license, sell, rent, host, transfer, or distribute in any way the digital or 3D printed versions of this object, nor any other derivative work of this object in its digital or physical format (including - but not limited to - remixes of this object, and hosting on other digital platforms). The objects may not be used without permission in any way whatsoever in which you charge money, or collect fees.
Comment & Rating (5)