H2D Riser Extension (CAD File Included)


Print Profile(1)

Bill of Materials

Description
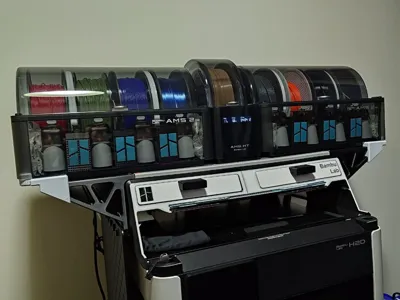
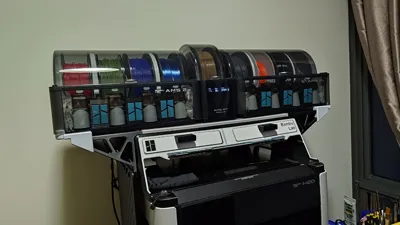
A simple extension for the H2D AMS Riser from Amayra. Printed in multiple parts on the H2 series of printers, and allows you to then fit 2 AMS 2 Pros with an AMS HT in the middle. Massive thanks to Engineered Reality for both the AMS 2 Pro and AMS HT models, made my life so much easier designing the retainer pieces. (Prints fit the first try! Crazy! I know!) Feel free to use the side dowels as reference to create more attachments for this extension :)
Requires some superglue on some of the connecting dowels to keep them secure, but otherwise everything should go in with a few well placed mallet strikes. DO NOT USE EXCESSIVE FORCE. IT IS STILL A 3D PRINT AT THE END OF THE DAY. I have the profiles optimised for print time since they seem plenty strong to me, but you can try raising wall loops to 3 if you'd prefer more strength.
Print/Assembly Instructions:
- Print a platform for each side, whether it's the one that supports skadis hooks or the one that doesn't.
- Print the rest of the plates out so that you have all the parts available for assembly.
- Remove supports from parts where applicable.
- Attach the central platforms to each other using the central combined dowel piece.
- Attach the side extensions to the AMS Riser.
- Attach the central platforms to the side extensions using dowels.
- Attach the 4 corner retaining pieces for the AMS 2 Pro units.
- Align and place the AMS 2 Pro units on to the retaining pieces.
- Slide the AMS HT between the AMS 2 Pro units in the middle. It should feel a little tight.
- If it's too difficult, you can try placing one AMS 2 Pro unit first, the AMS HT in the middle, then try to align the other AMS 2 Pro unit.
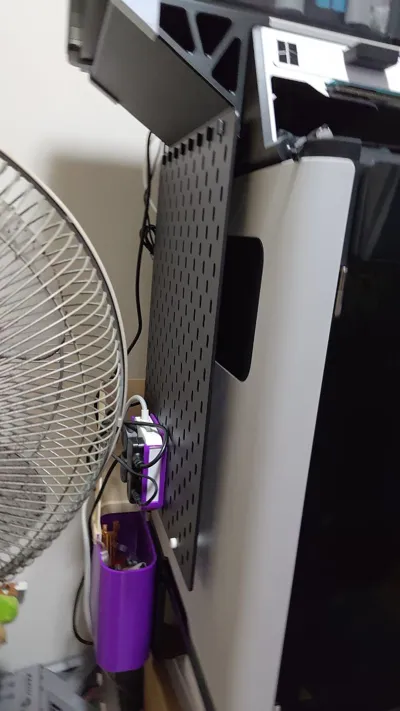
- If you are using the skadis mount version, mount the hook to the top row of the skadis you'd like to mount.
- Apply superglue to the dowels and attach them to the hook.
- The hook dowels should slide nicely into the slots on the riser extension, allowing for easy of removal for cleaning.
License
You may create derivative works based on this object, provided that all such derivative works are published exclusively on the MakerWorld platform and include proper attribution to the original creator. You may not share, upload, host, distribute, or publish this object—or any derivative work of this object—on any other digital platform, marketplace, or distribution channel. Commercial use of this object and any derivative works is strictly prohibited. This includes, but is not limited to, selling, renting, sublicensing, or using the object in any context in which you receive monetary compensation or other financial benefits.
Comment & Rating (32)