D&D Dice, Mini and Pen Storage Tabletop Box - AMS


Print Profile(4)


Bill of Materials
- Magnets x 1: https://www.amazon.fr/dp/B0BBRJNFDQ
Description
[Update] I added a "slide and click" top part, as an alternative if you don't wanna use magnets.
BE CAREFUL : You cannot use 1 part (for example bottom part) from 1 version (for example magnetic version) with 1 part (for example top part) from the other version (for example sliding lid version). They can't work together. You have to choose either magnetic or slide version and stick to the bottom part + the top part from the same version.
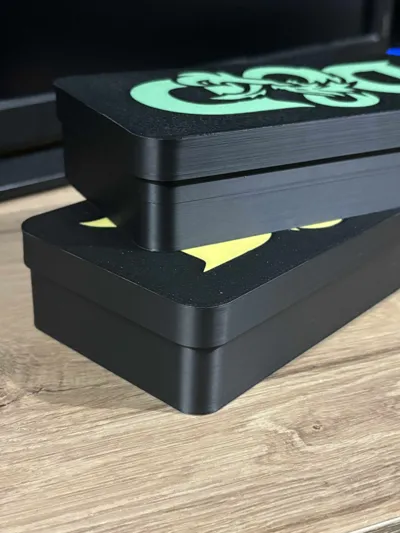
[Update v1.2] I added a small line all around the top part so it helps perfectly fit the bottom part when the box is closed. Now the top part works more like a “hat” slightly covering the bottom part instead of being flat on top of the bottom part.
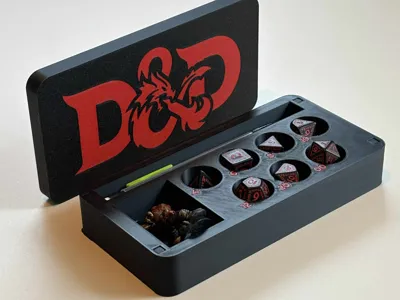
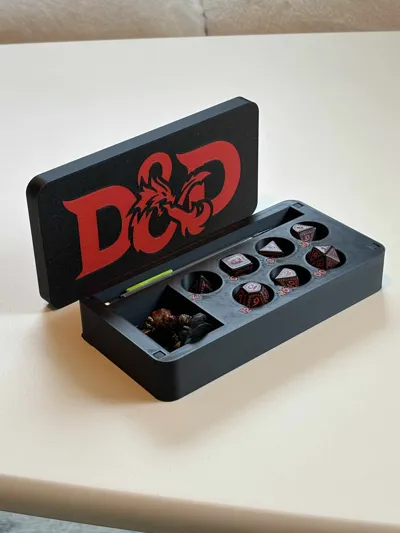
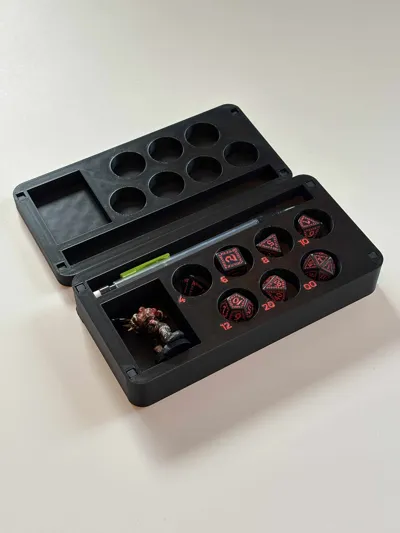
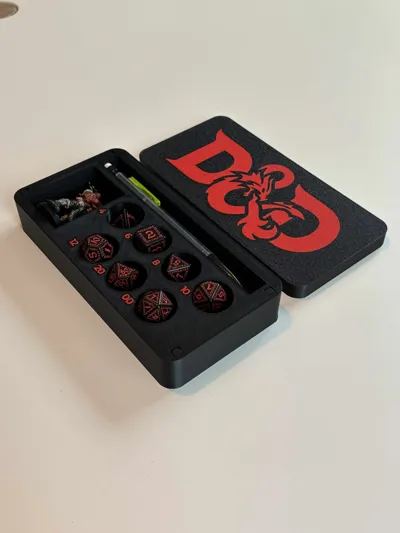
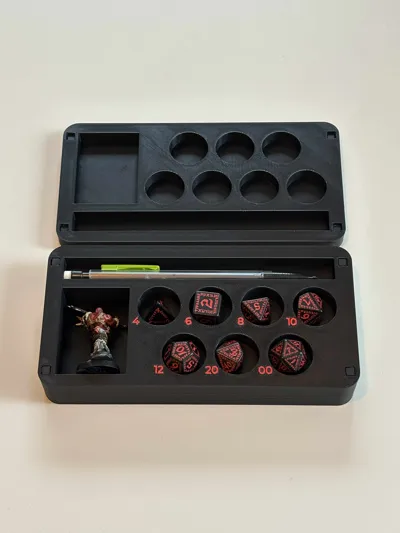
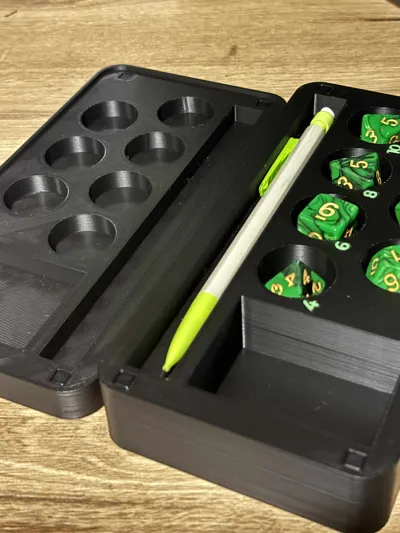
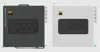
This is my custom D&D storage box set (base + lid), designed to store dice and small tabletop accessories.
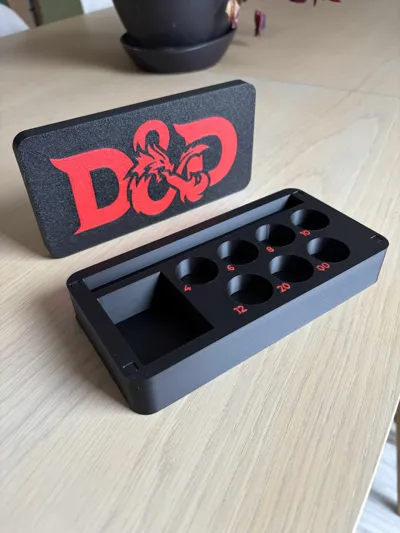
It features a 2-color D&D logo on the bottom and a magnetic closure system using 4 square magnets.
Both parts (base + lid) are included and can be printed on the same build plate.
Dimensions :
- Magnetic version : 184x94x40cm
- Sliding lid version : 170x90x40cm
Features
Clean D&D-style logo on the bottom (2-color AMS print)
Magnetic closure (4 square magnets)
Compact and sturdy design for tabletop gaming sessions
Base + lid included on one plate
Requirements
AMS required (2 colors)
4x square magnets (glued in place) if you're printing the magnetic version
Magnets used for this build (Amazon): https://www.amazon.fr/dp/B0BBRJNFDQ
I glued them using super glue (cyanoacrylate).
Be careful with magnets orientation/rotation when you glue it, since they're square, i wasted a print on that.
Materials Used
Bambu Lab PLA (Black)
Overture Easy PLA (Red)
(You can use any PLA but make sure it's dry and that your plate is clean to prevent warping)
Printer / Setup
Printer: Bambu Lab A1
Nozzle: 0.4 mm (stock)
Plate: Bambu Textured PEI Plate
Print Settings (important to avoid warping)
This model has a large flat base, so these settings are recommended for best results:
Profile: 0.20mm Standard
Outer brim: 8mm
Fan disabled for the first 3 layers
Bed temperature:
65°C for the first layer
then 60°C
Walls: 3 wall loops
Infill: 8% Gyroid
Printed successfully with no warping using these settings.
Assembly Instructions
Print both parts (base + lid)
Insert the 4 square magnets into the slots
Glue them with super glue
Let it fully cure before closing/opening repeatedly
⚠️ Magnet polarity tip:
Test-fit all magnets before gluing to make sure the lid and base attract properly.
Notes / Tips
If you still get warping on your setup:
clean the plate (dish soap + warm water)
keep the first layers away from drafts / cold airflow
License
You may create derivative works based on this object, provided that all such derivative works are published exclusively on the MakerWorld platform and include proper attribution to the original creator. You may not share, upload, host, distribute, or publish this object—or any derivative work of this object—on any other digital platform, marketplace, or distribution channel. Commercial use of this object and any derivative works is strictly prohibited. This includes, but is not limited to, selling, renting, sublicensing, or using the object in any context in which you receive monetary compensation or other financial benefits.
Comment & Rating (14)