
Wico Joystick Grommet Replacement
Print Profile(2)


Description
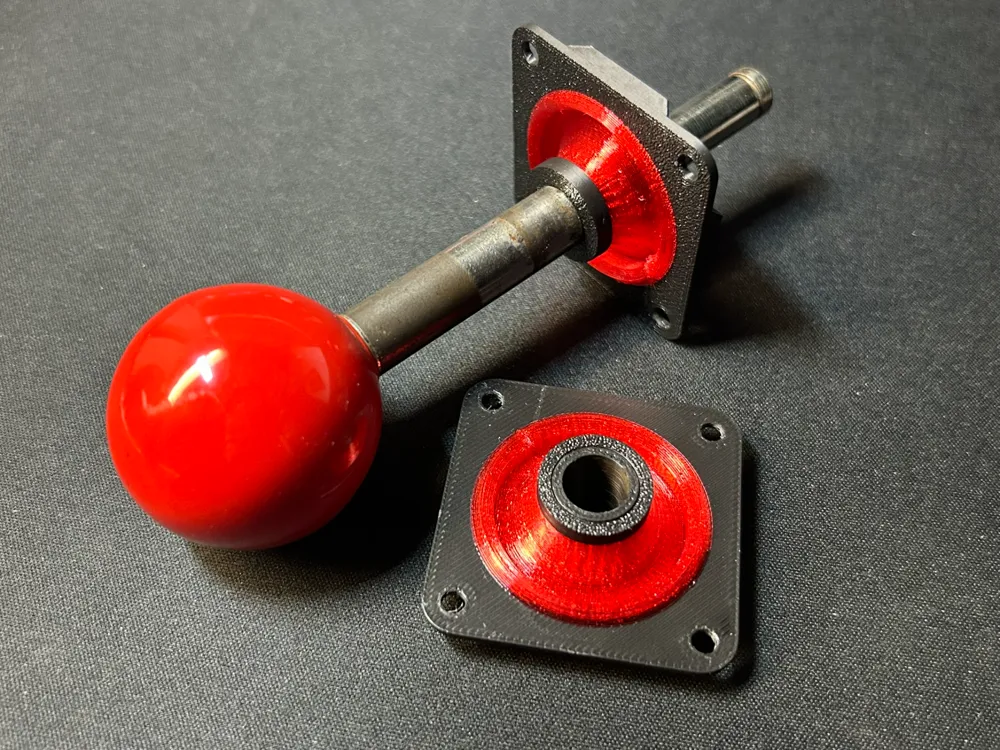
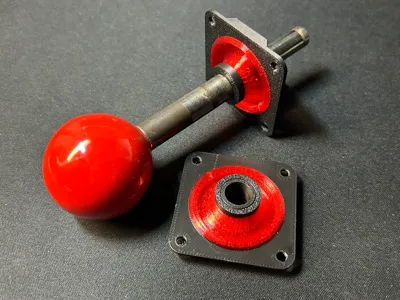
Fully 3D printed replacement grommets for Wico Leaf-switch Joysticks, combining PLA and TPU 95A material.
Anyone who has repaired these vintage 1980s joysticks knows that many of the original rubber grommets are broken/cracked from age and use. I designed and tested a number of versions trying to match the resistance of the originals and came up with both medium and low resistance versions. A separate print profile is also provided for THIN Wico joystick variants.
Print Details:
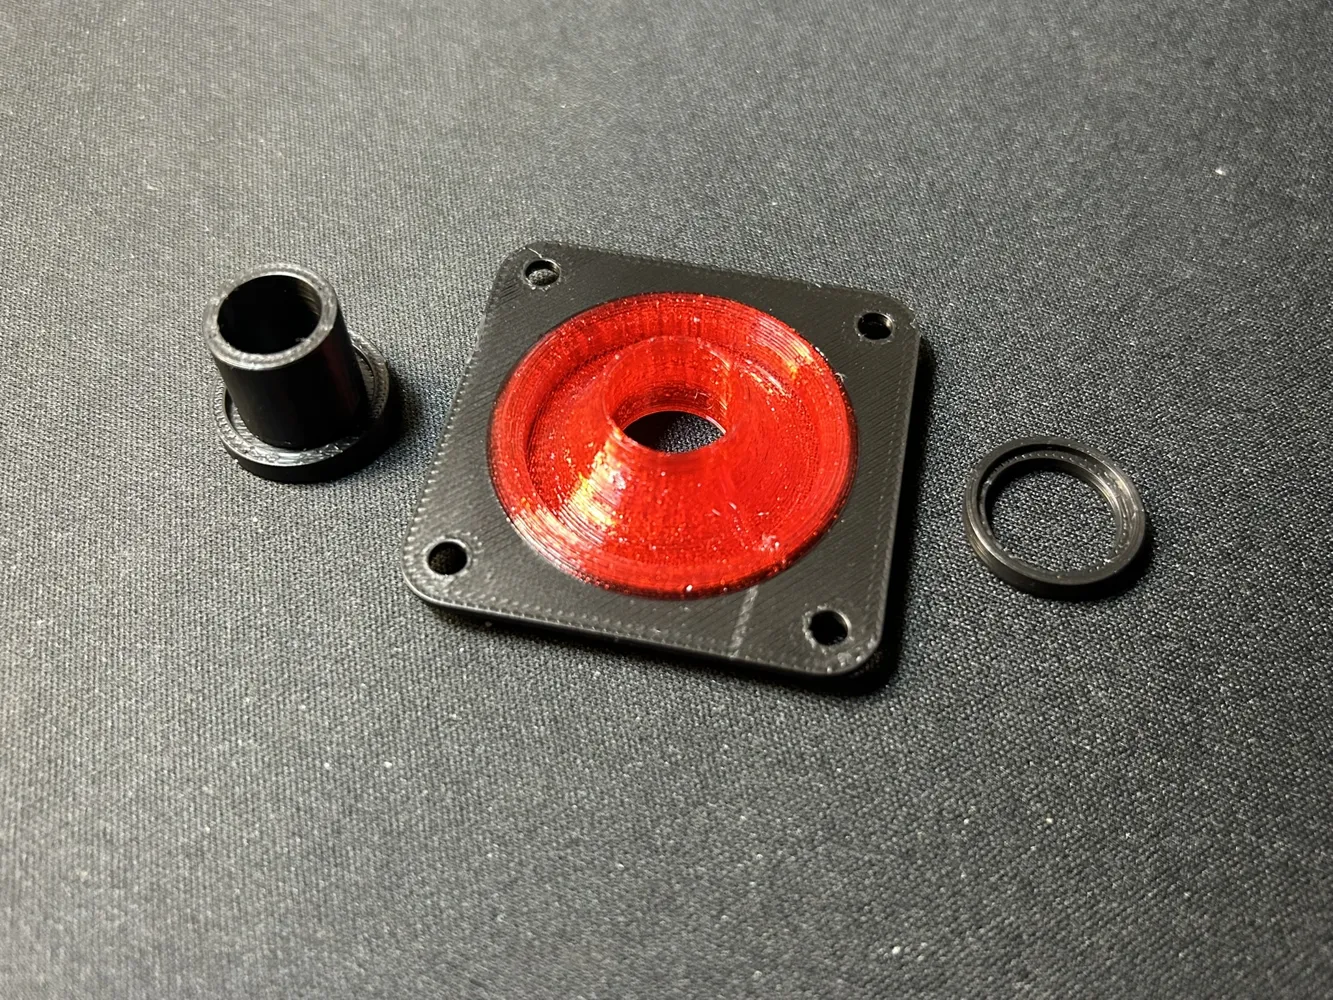
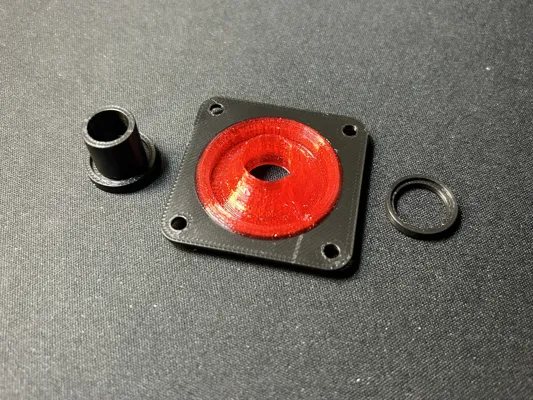
- Plate 1: Grommet base, collar and collar ring lock. Needs to be printed first, PLA works fine.
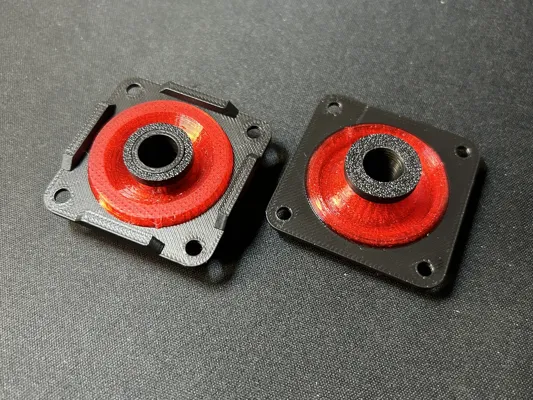
- Plate 2: Medium resistance grommet - this matched the feeling of a new Wico joystick (tested versus a NOS stick) with TPU95A.
- Plate 3: Low resistance grommet - this feels similar to a well worn Wico joystick when printed with TPU95A.
If you are using a softer TPU material, I suggest testing the medium resistance grommet first.
Boost Me (for free)
Vintage arcade models are super niche - considering leaving a thumbs up or boost if you liked this model and want to support vintage arcade repair!
Instructions:
- Print the common parts on Plate 1 (grommet base, collar and collar ring lock).
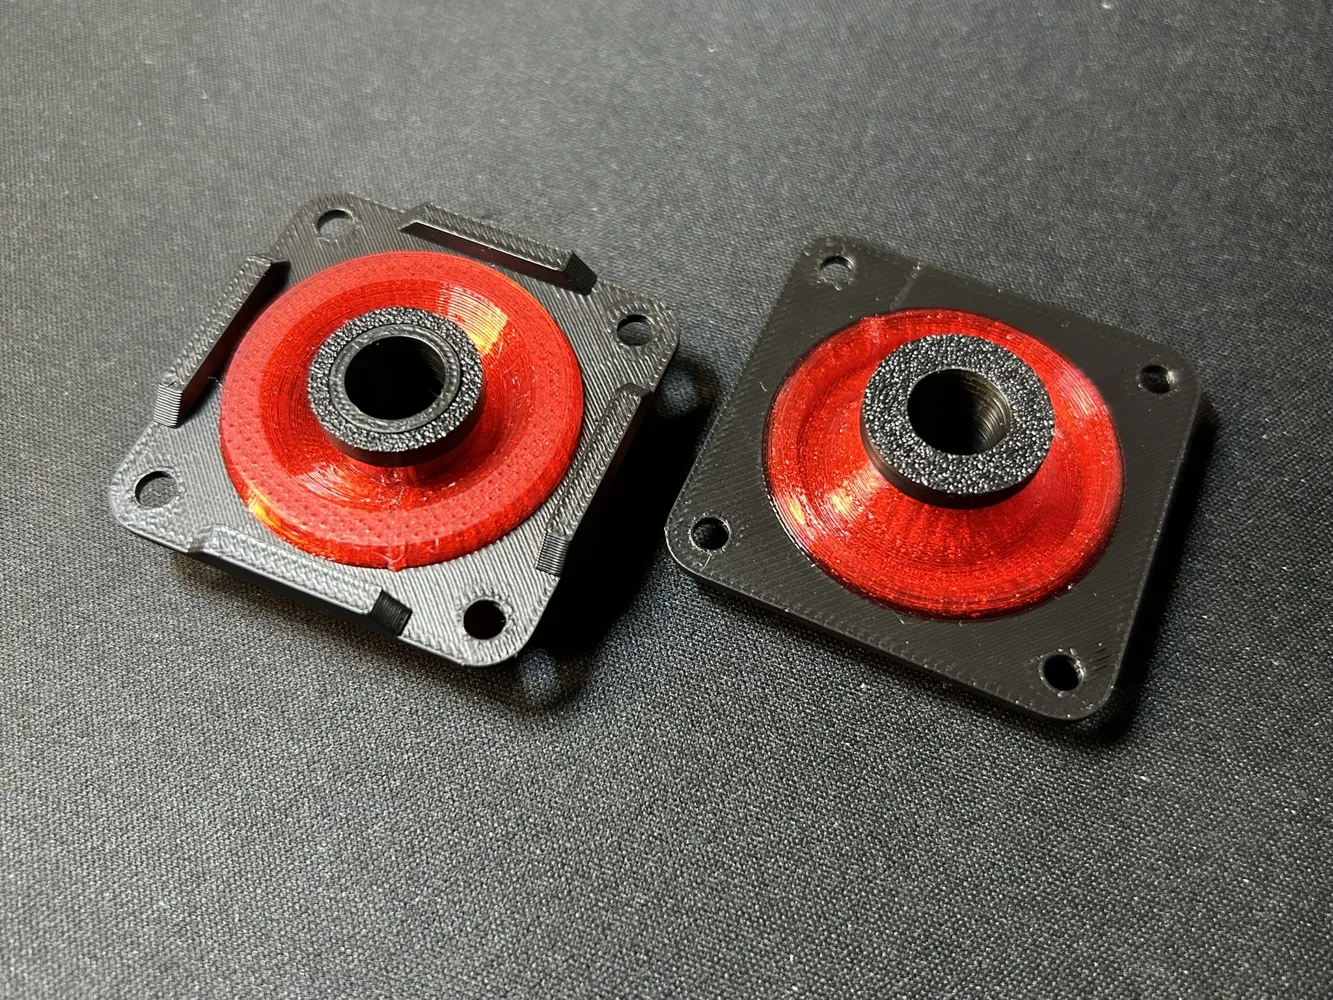
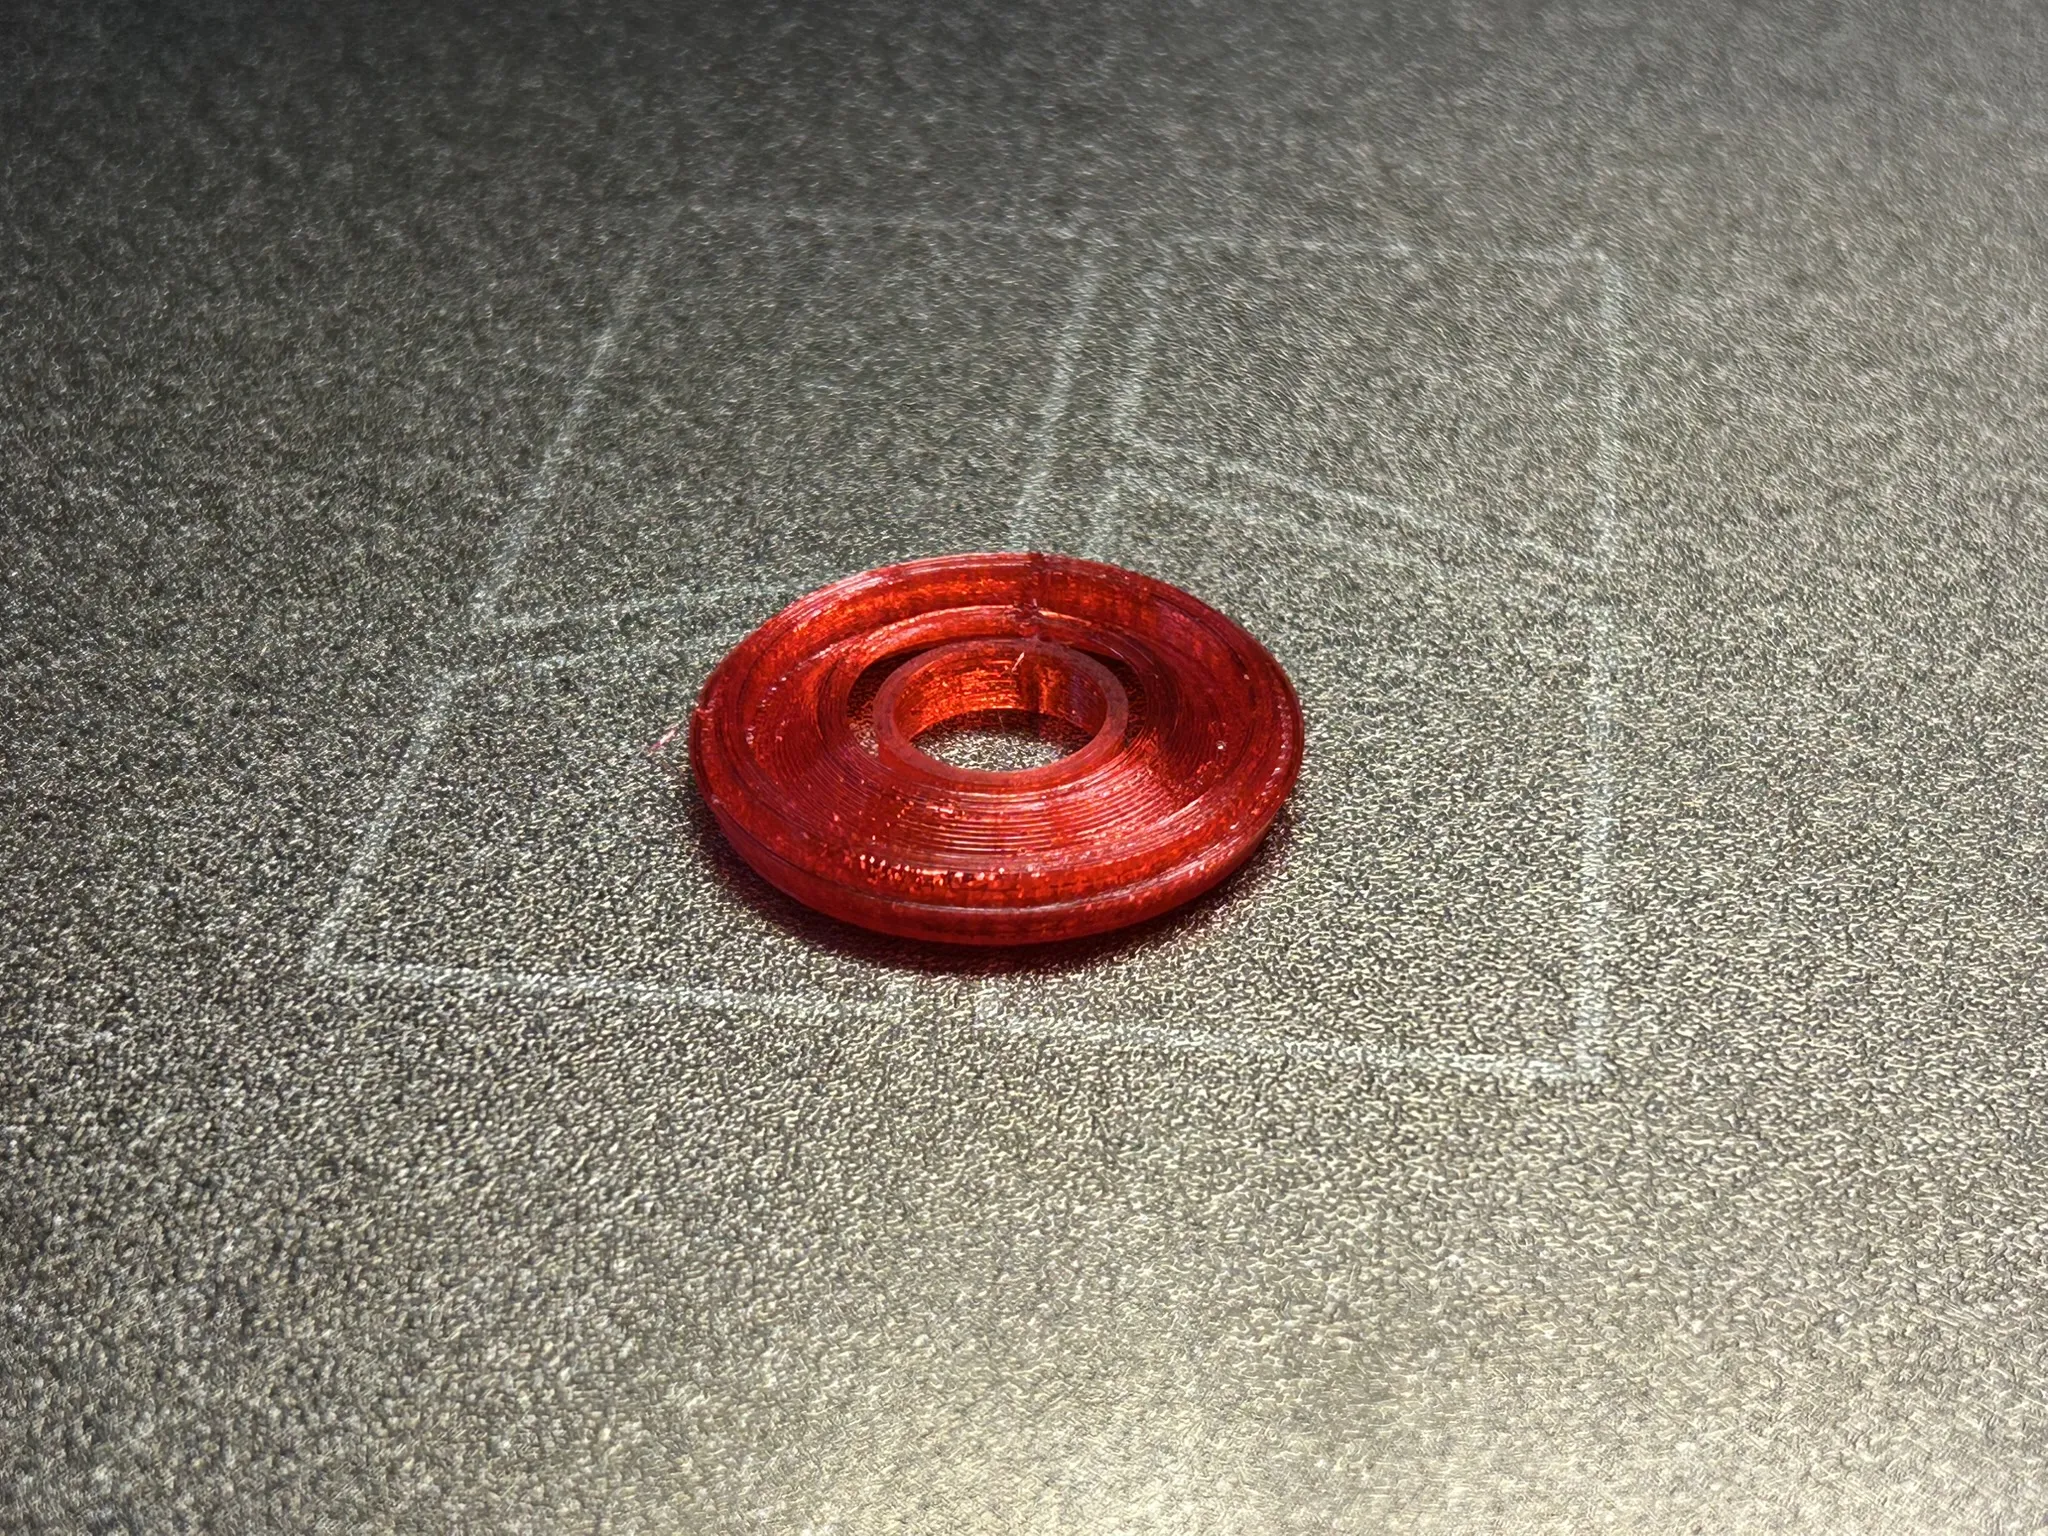
- Select your preferred grommet resistance and start the grommet print on plate 2 or 3. The print will pause at layer 24, seen below. IF YOU ARE NOT USING THE PROVIDED PRINT PROFILE SETTINGS (or if you've downloaded the STL), ensure that you program your print to pause at the start of layer 24 (0.2 mm layers), or the start of the overhang at 4.8mm.
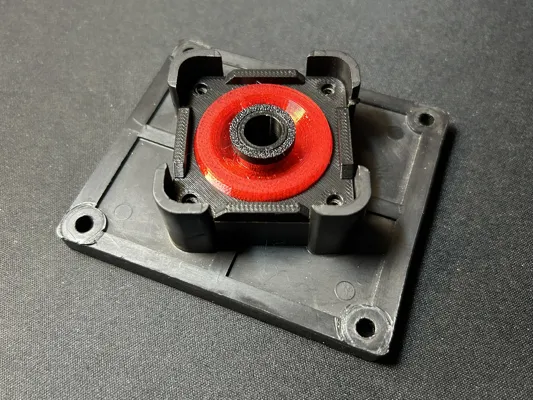
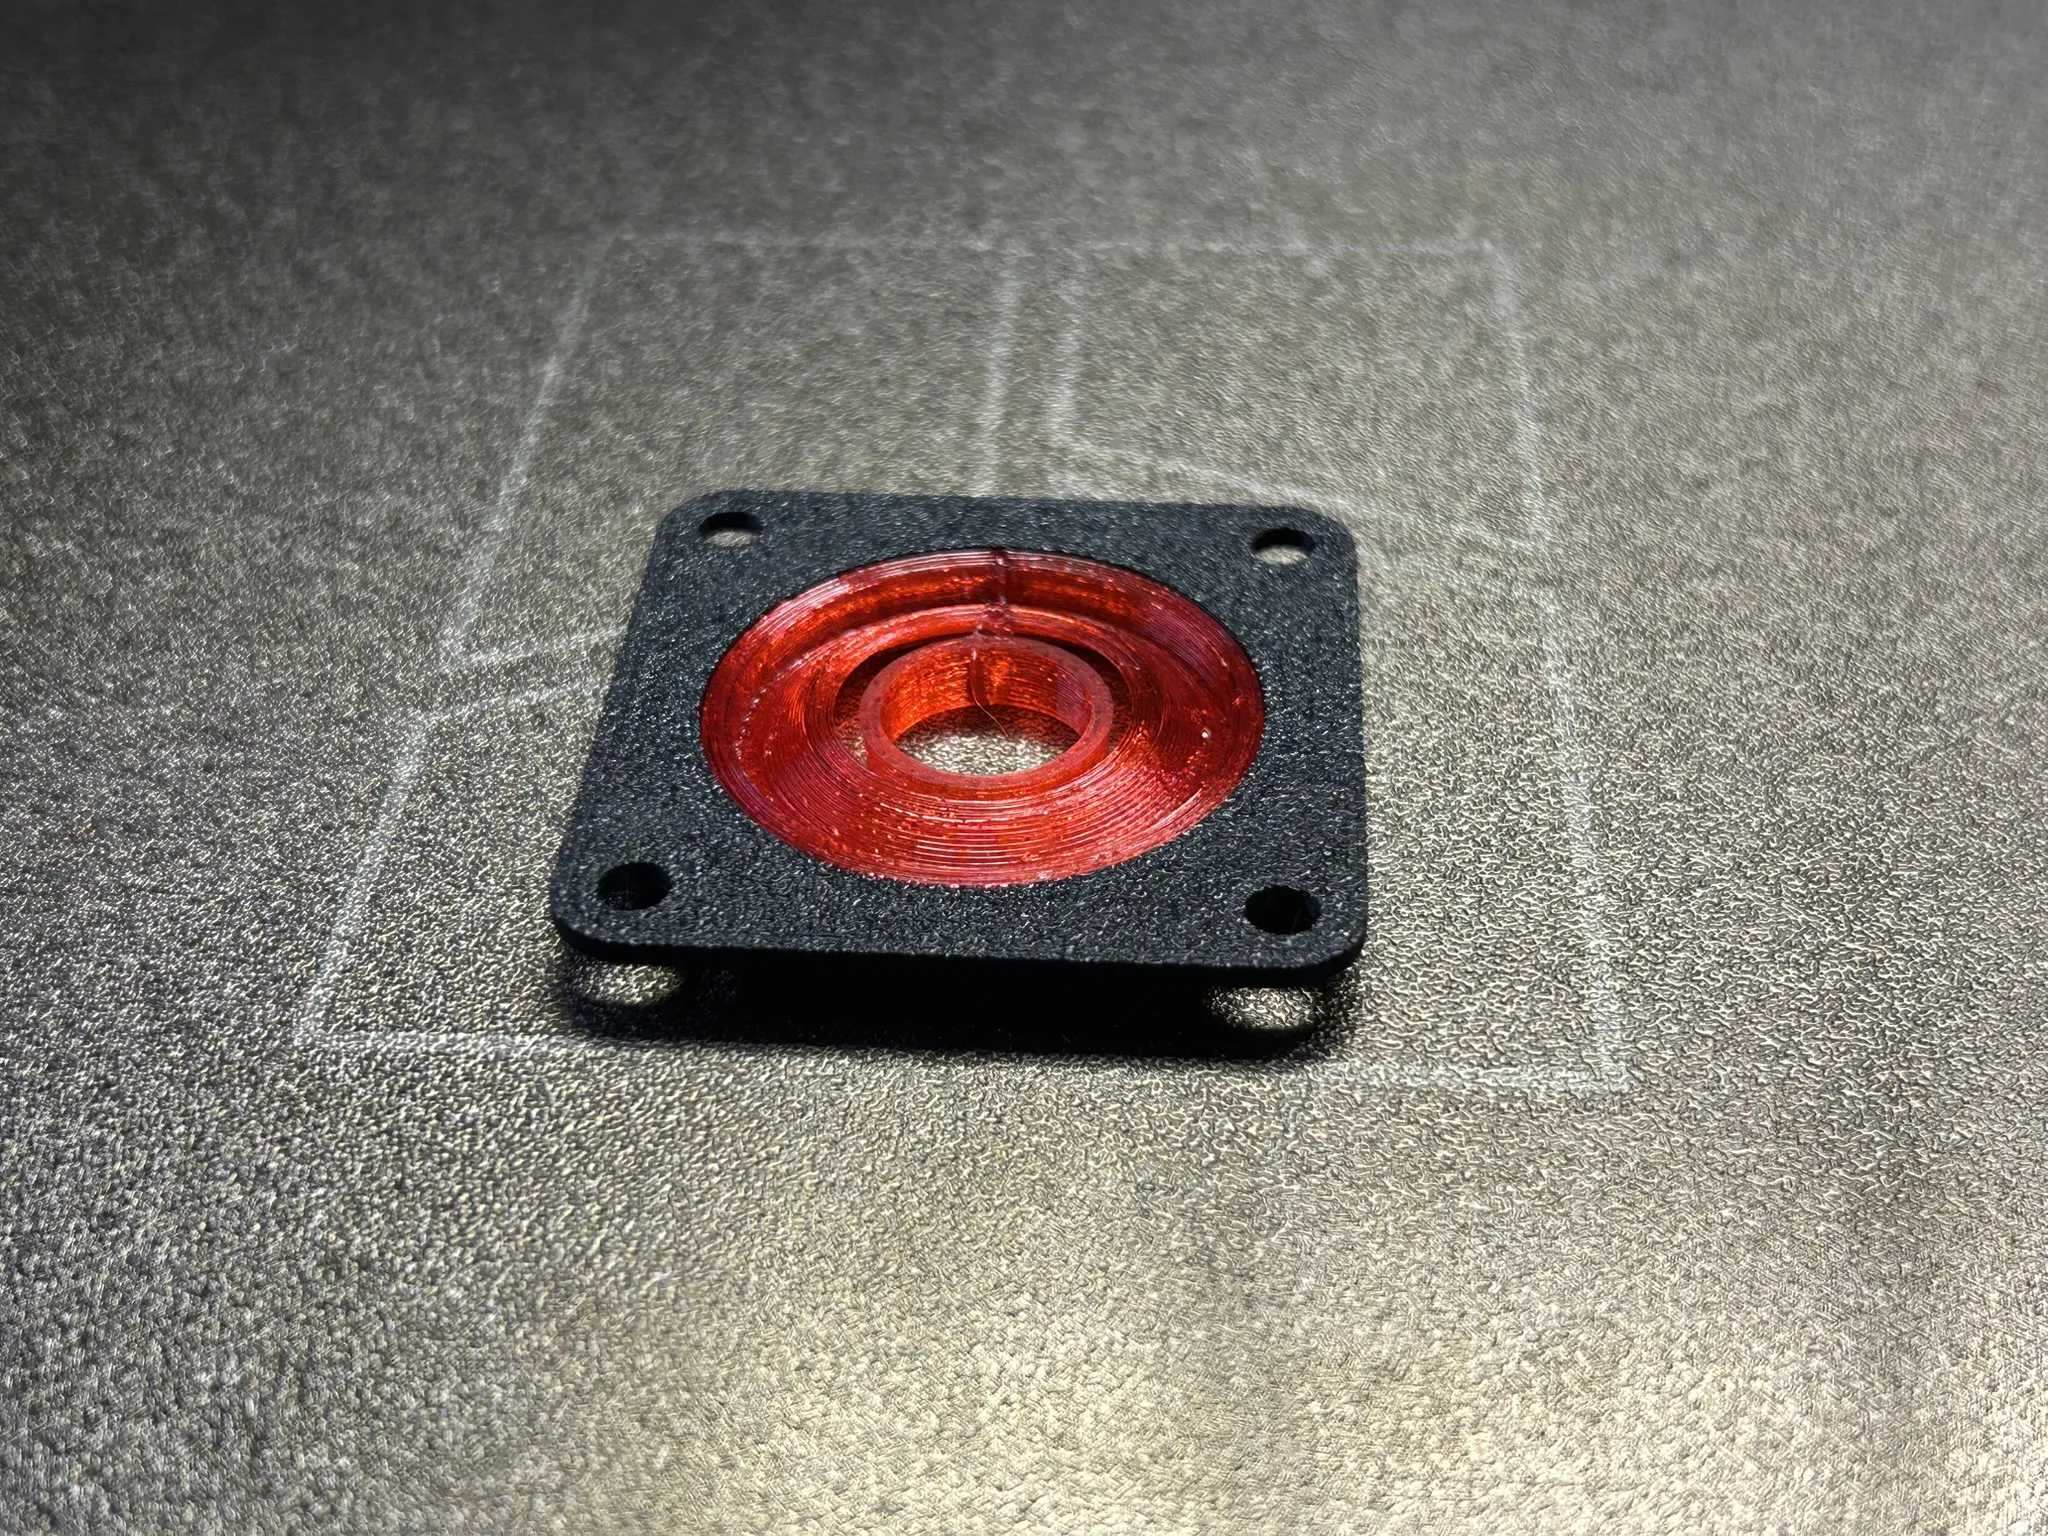
3. Insert the previously printed grommet base (ridges down). It should sit flush with the top of the TPU print, seen below:
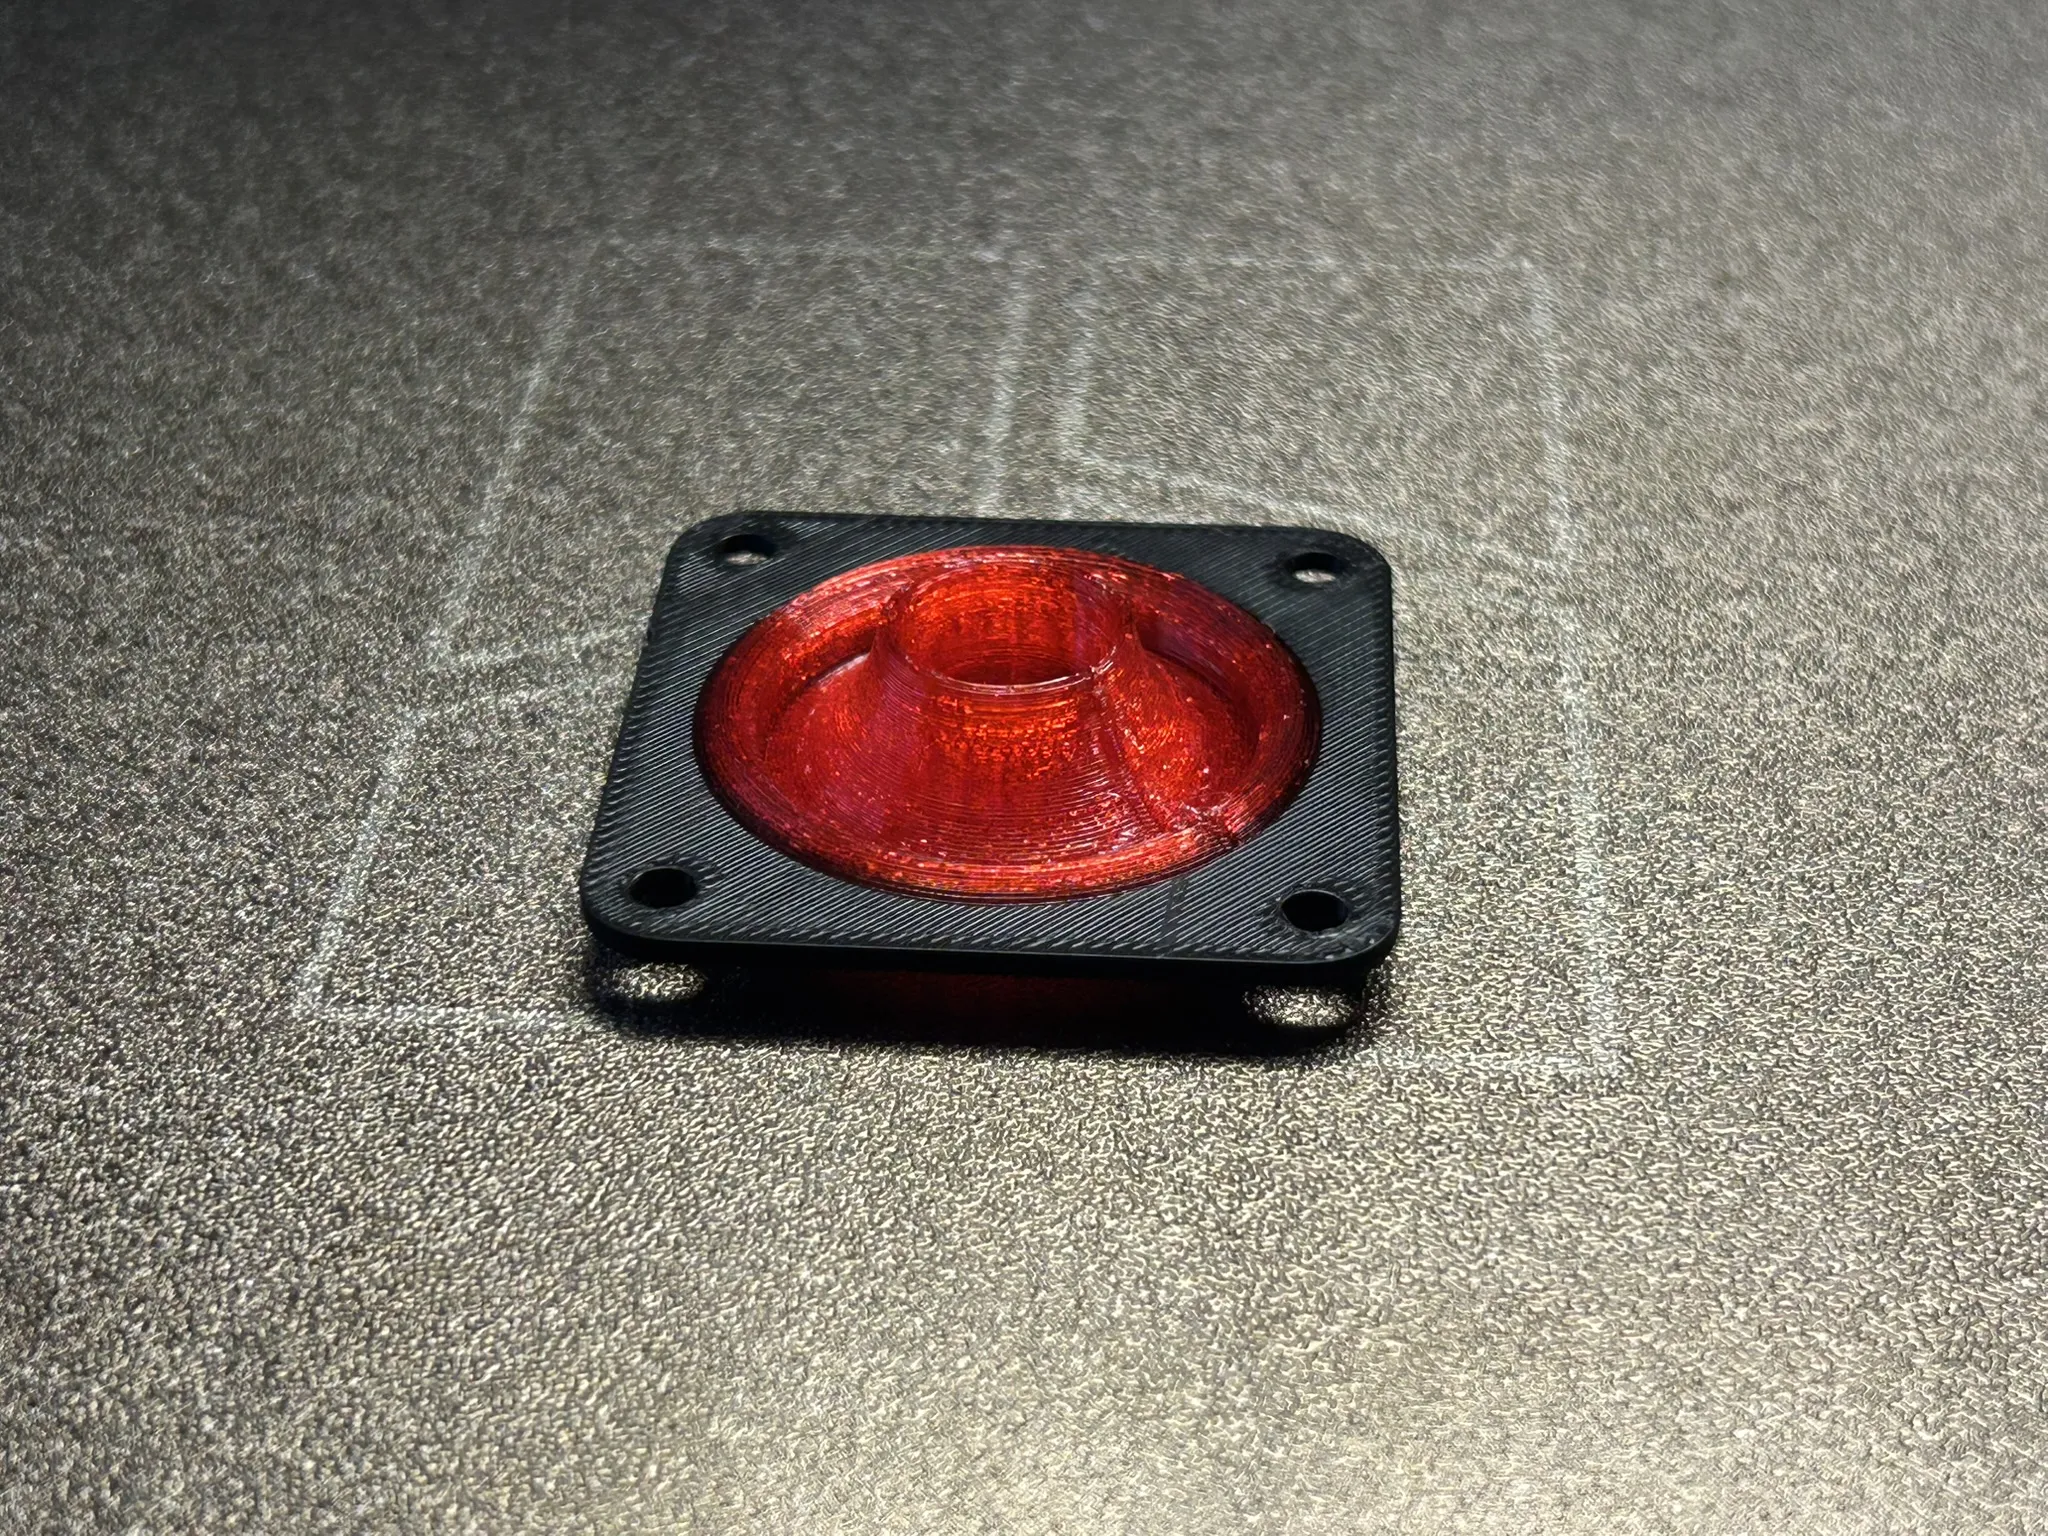
4. Resume the print and monitor the next layer. The TPU should print directly onto the base plate, welding them together.
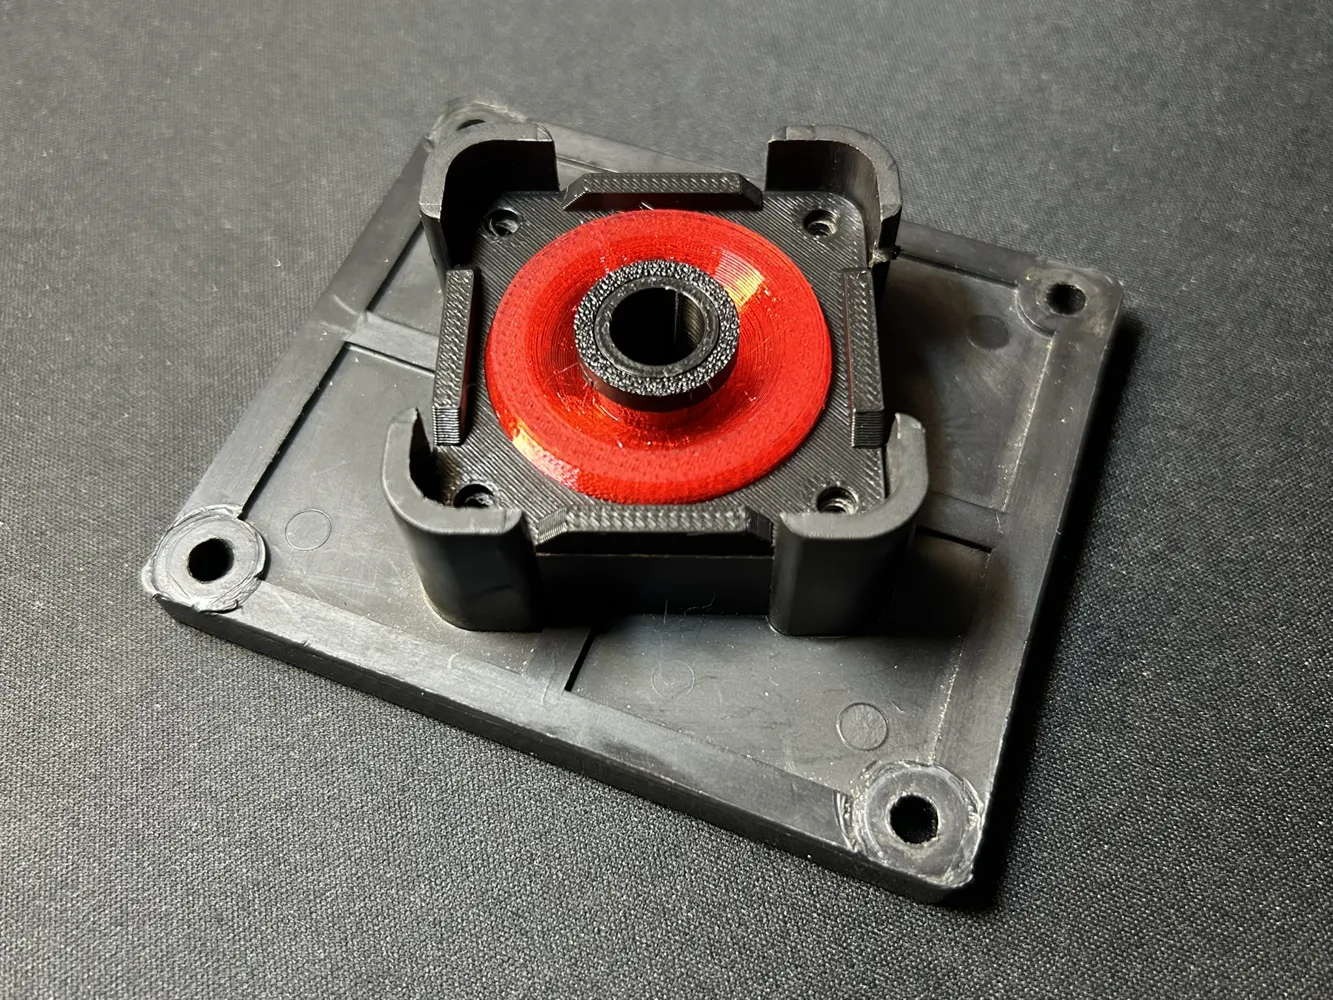
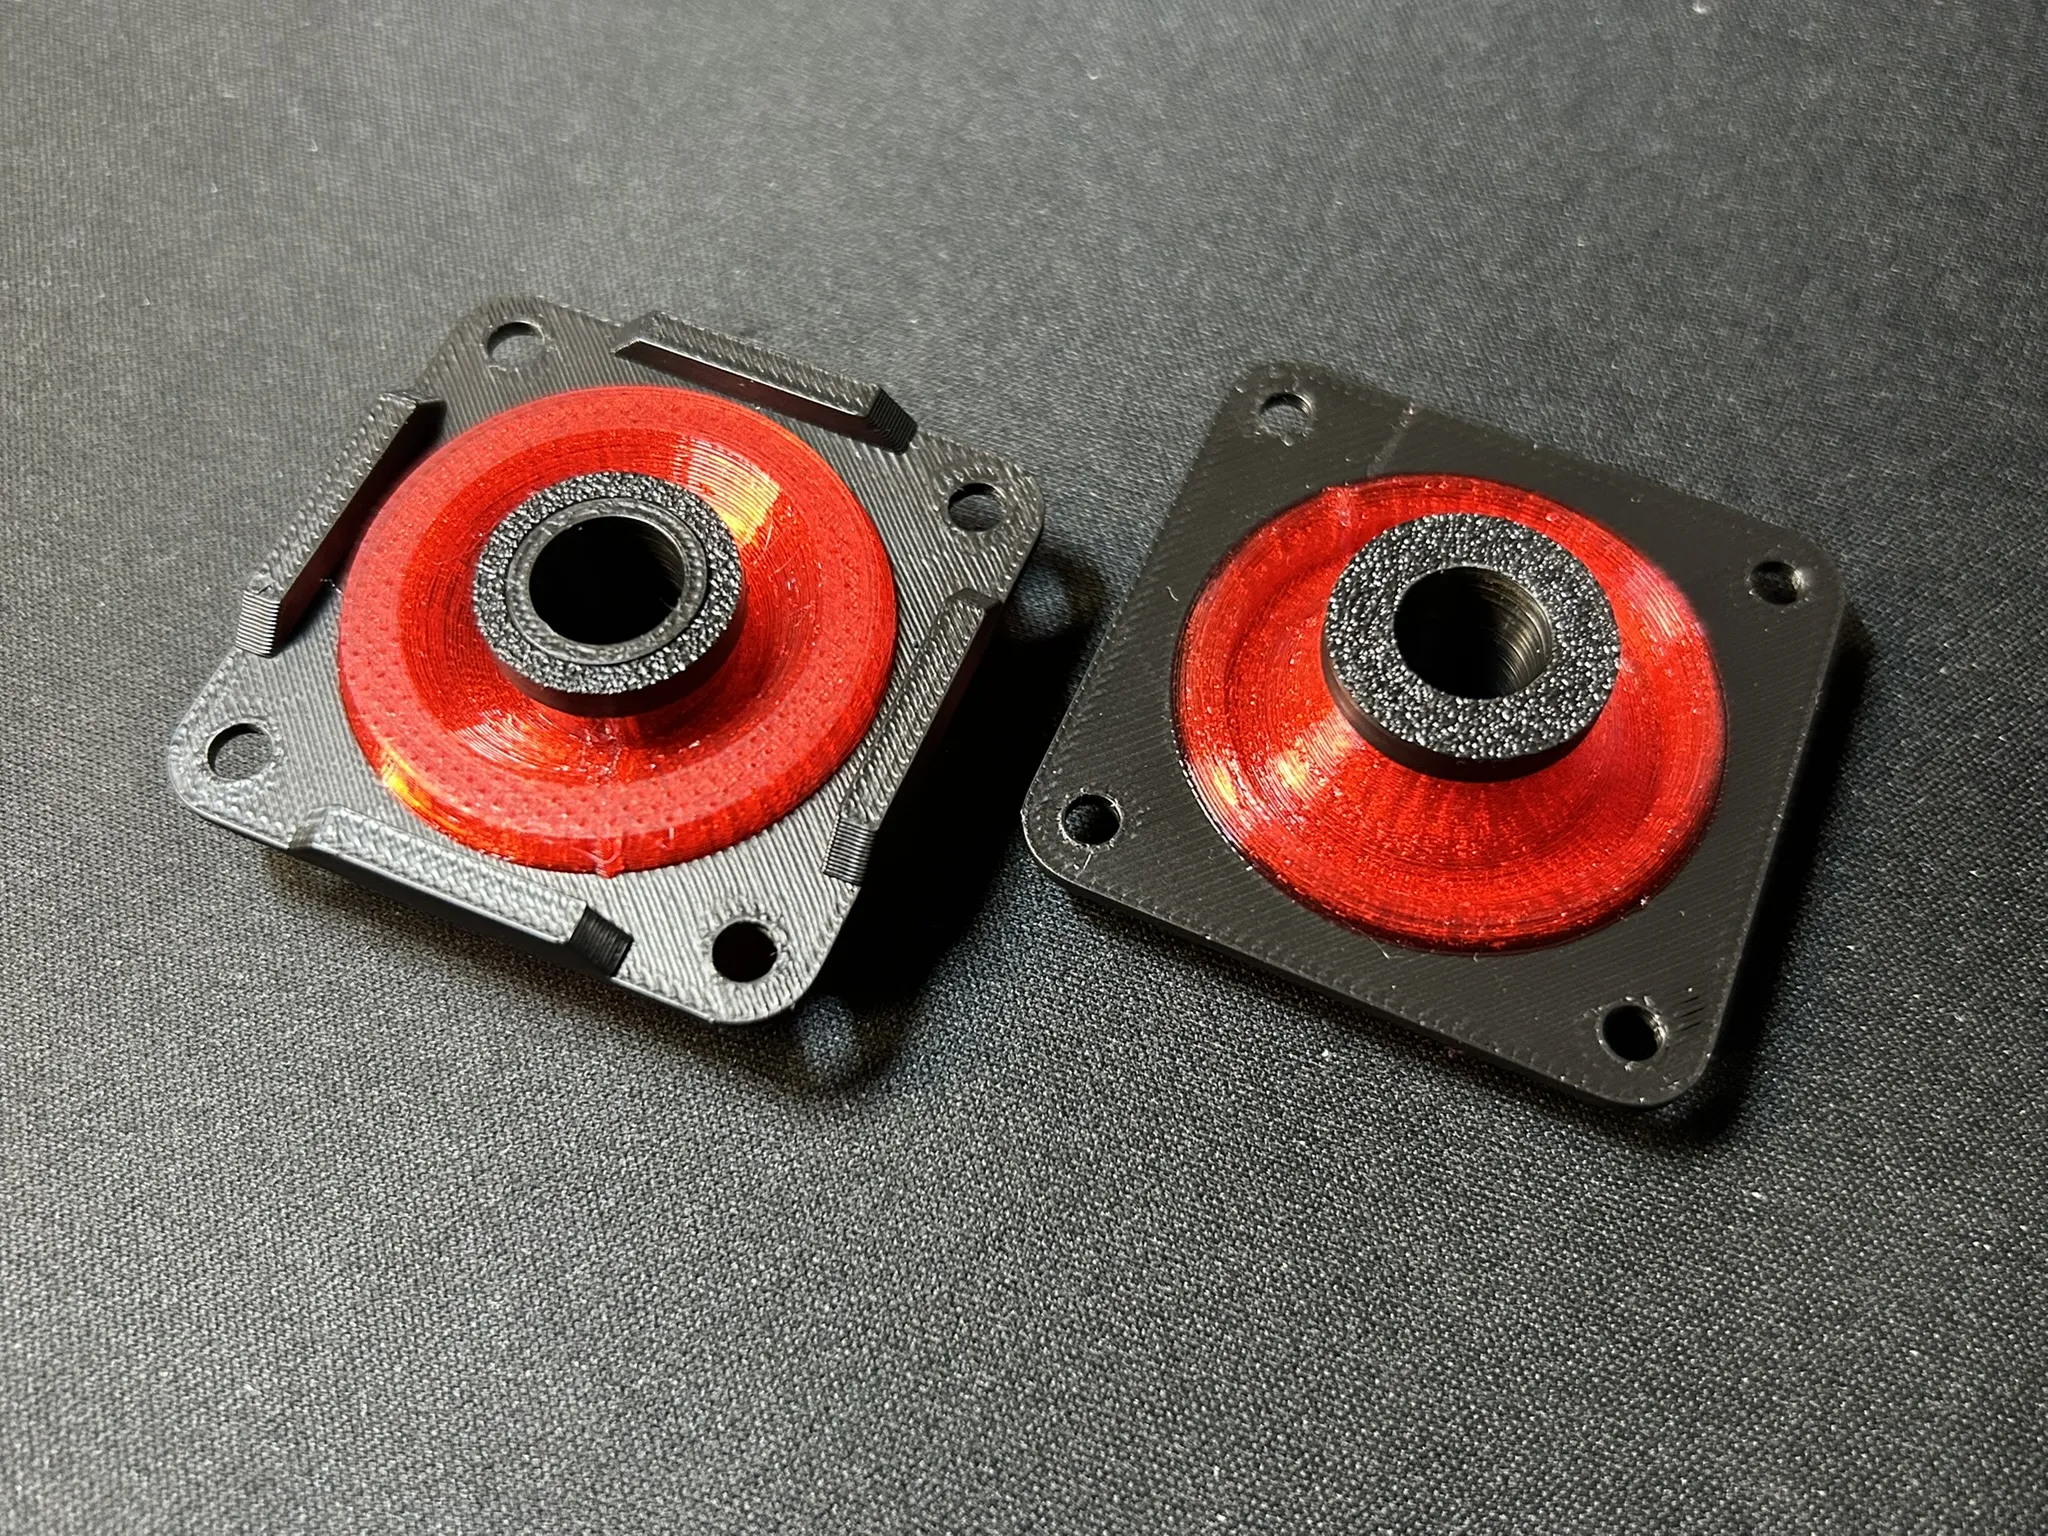
5. Remove the grommet and base from the printer. Insert the collar into the grommet center hole, then insert the collar lock on the other side (these should sit flush when fully inserted). Apply a drop of super glue to hold the lock on the collar. Finished version is below.
License

You shall not share, sub-license, sell, rent, host, transfer, or distribute in any way the digital or 3D printed versions of this object, nor any other derivative work of this object in its digital or physical format (including - but not limited to - remixes of this object, and hosting on other digital platforms). The objects may not be used without permission in any way whatsoever in which you charge money, or collect fees.


Comment & Rating (0)