
Steampunk Clock Room - Book Nook












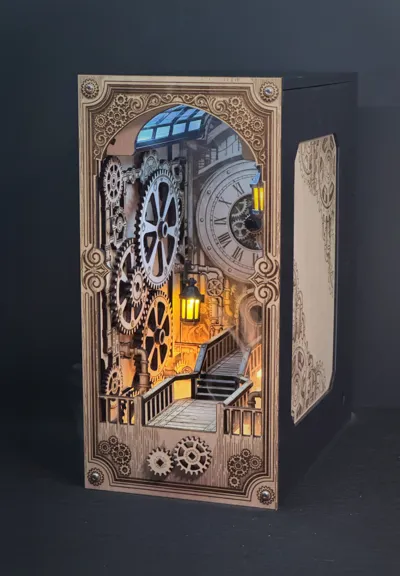
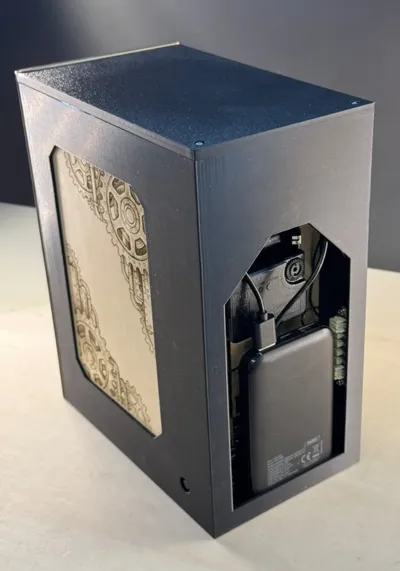
Print Profile(1)


Bill of Materials







Description
Hybrid kinetic book nook | 3D print × laser cut
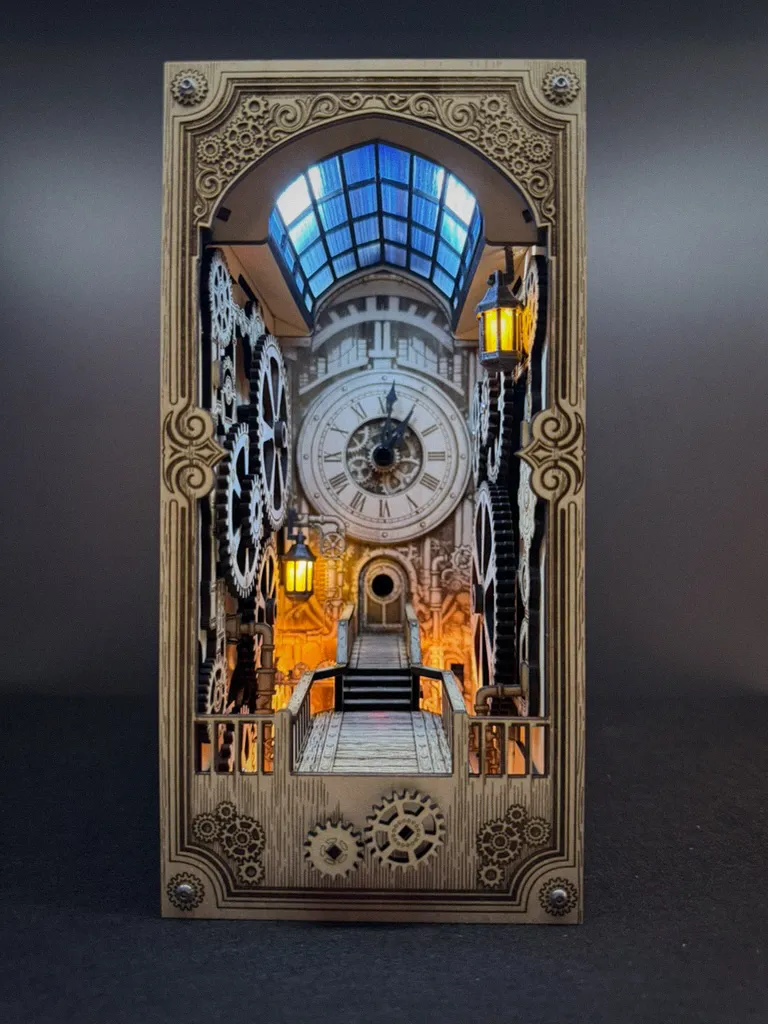
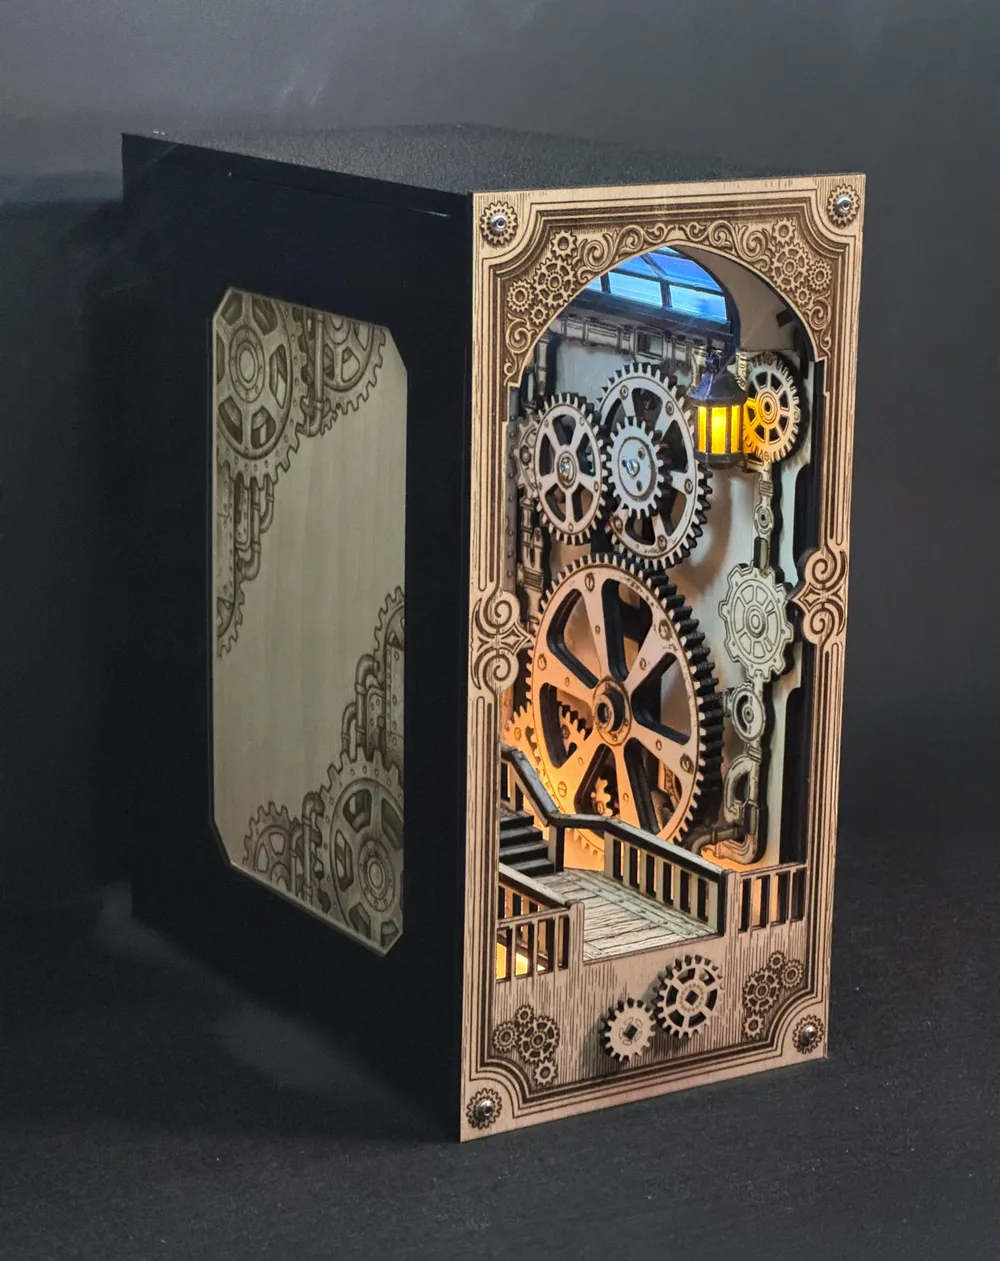
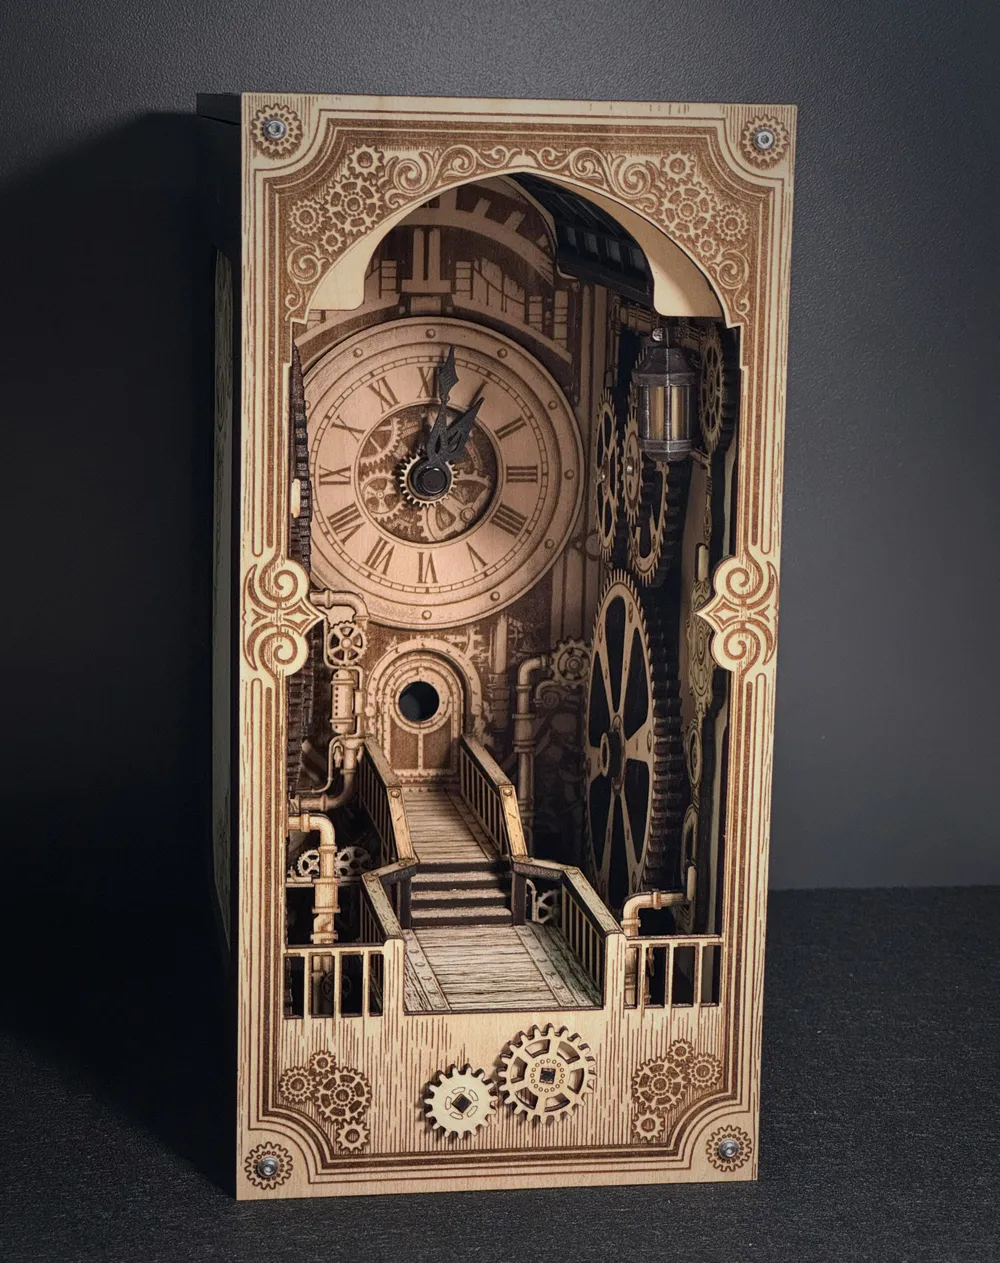
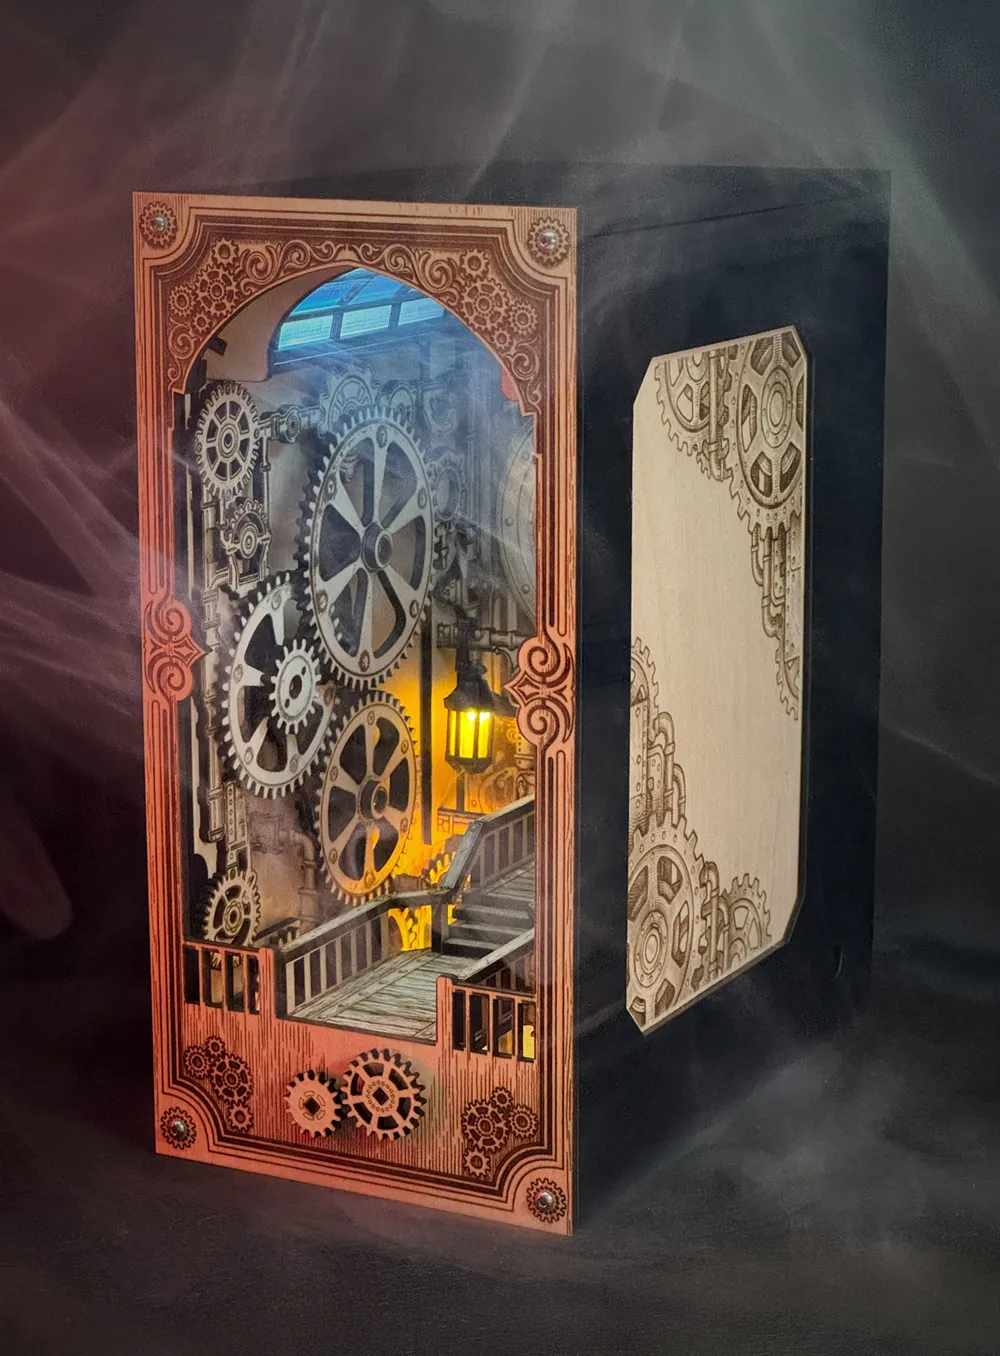
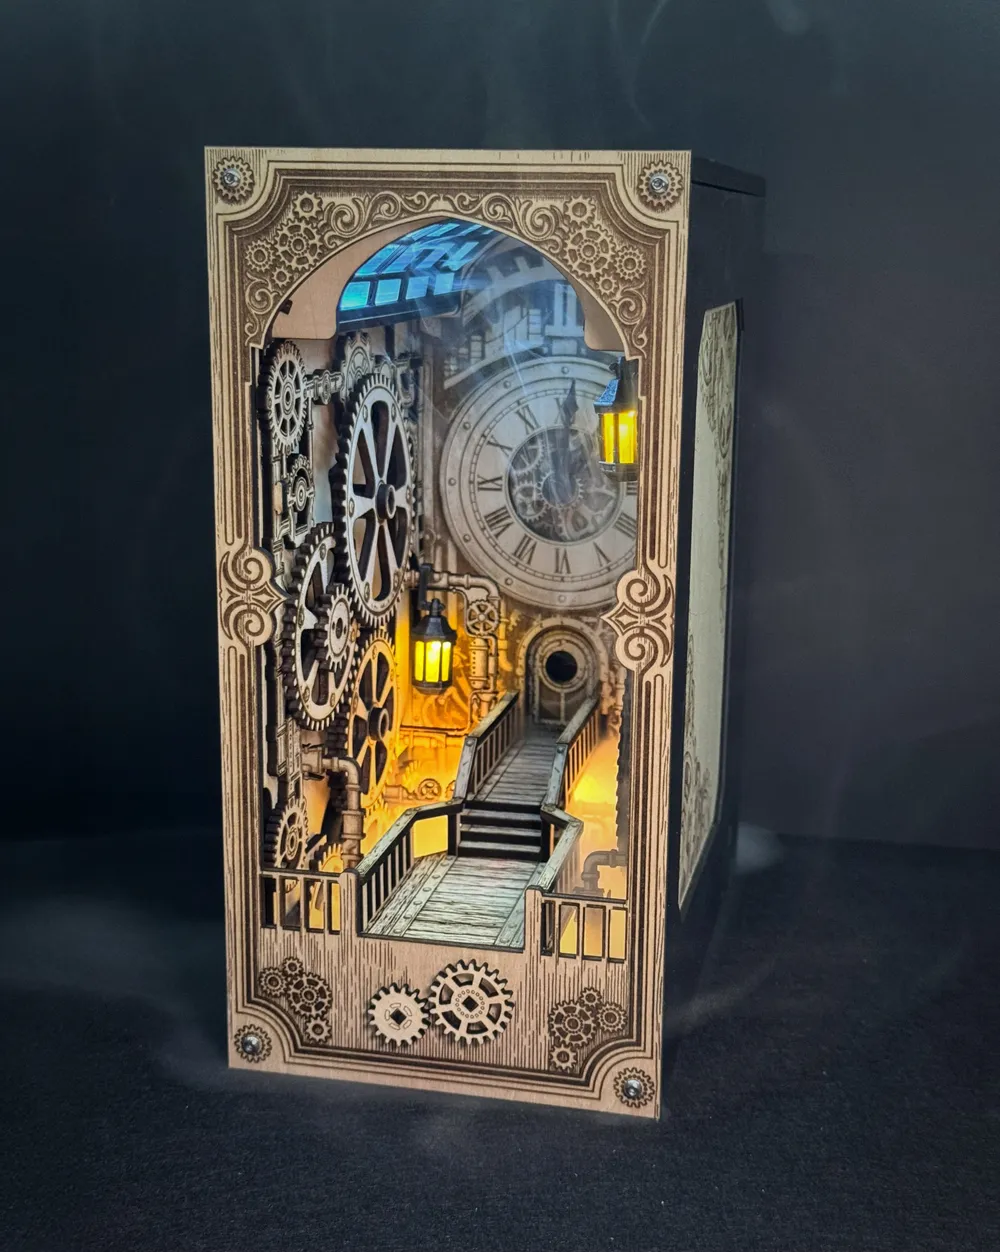
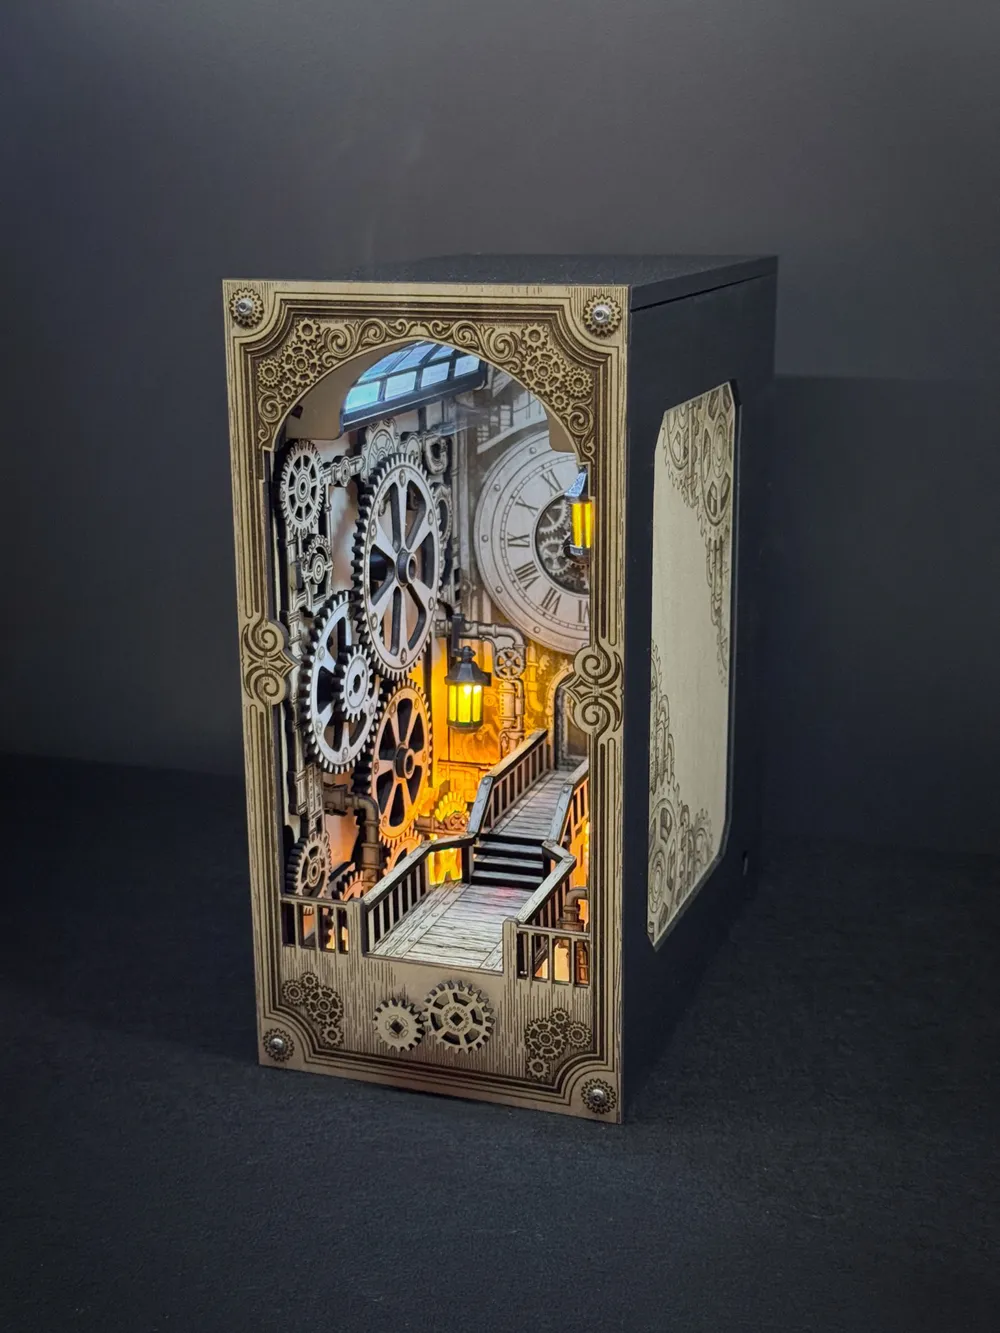
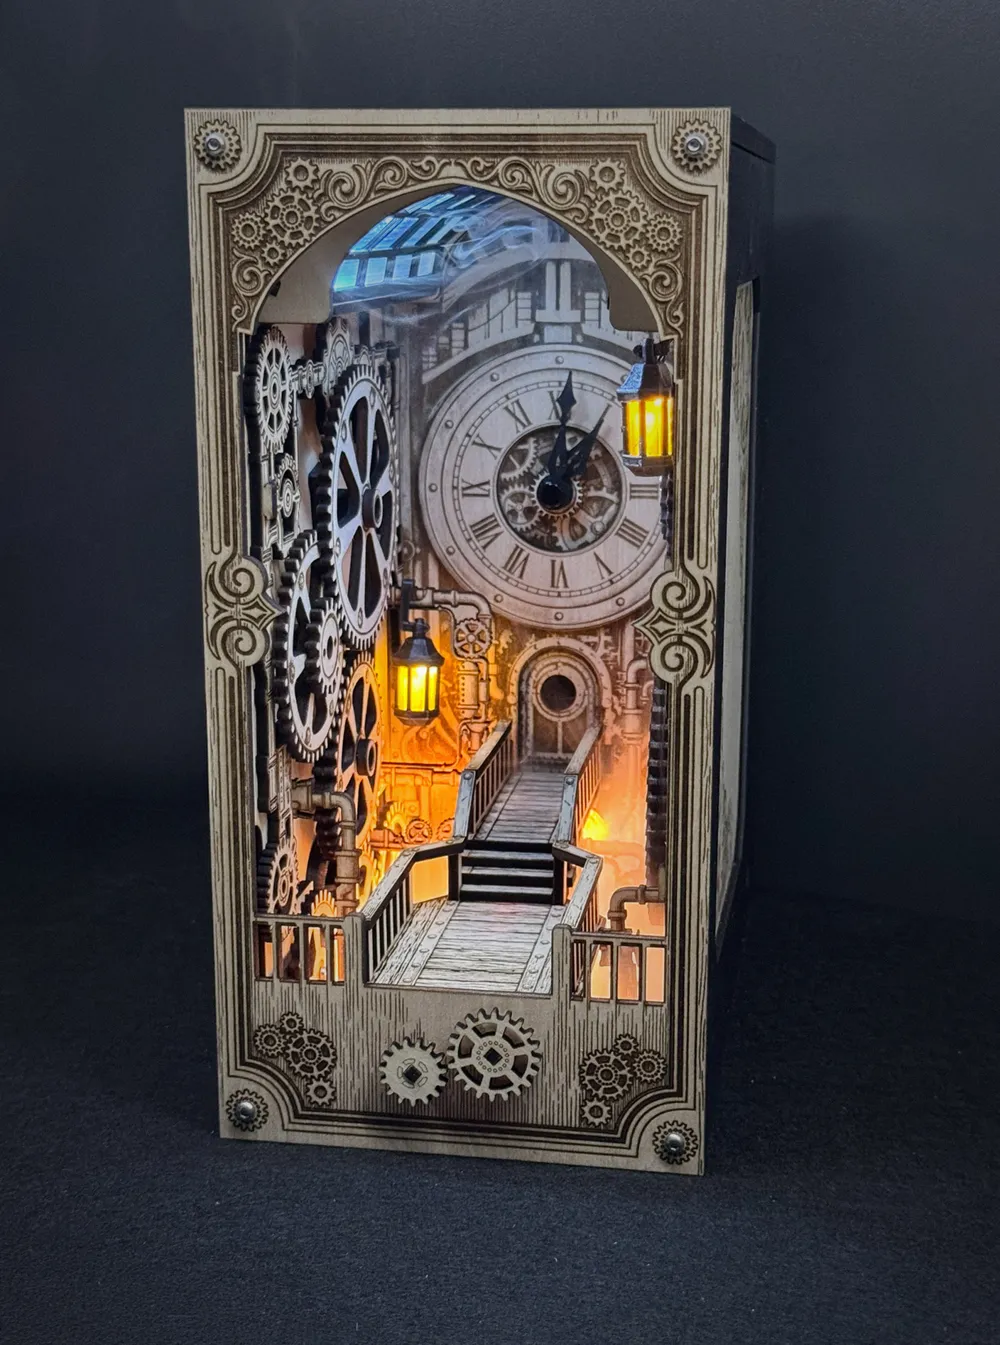
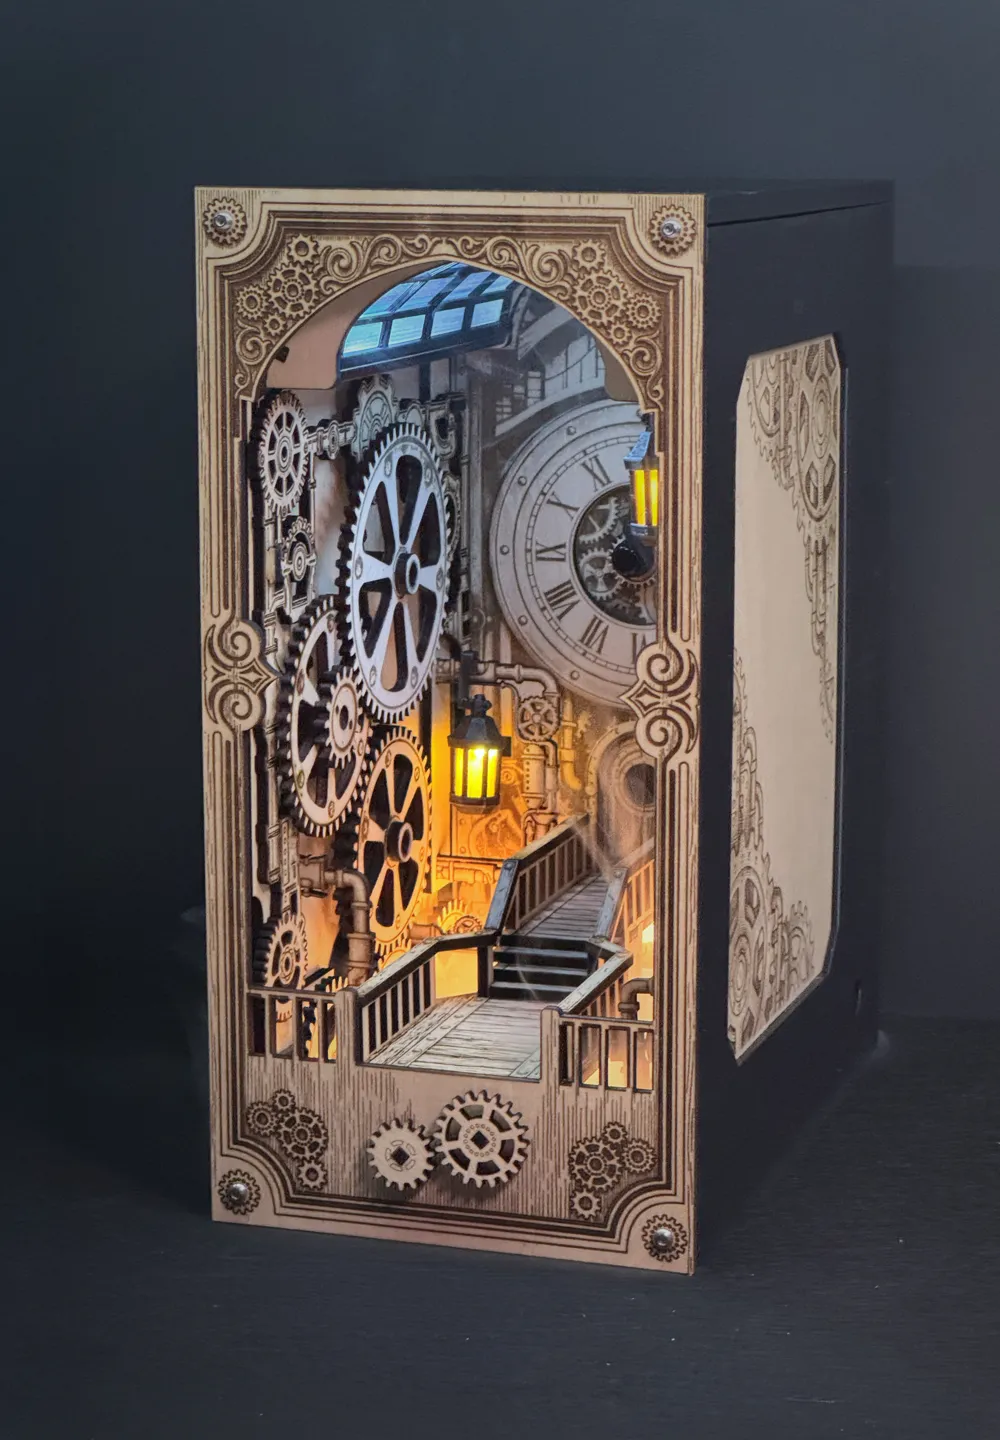
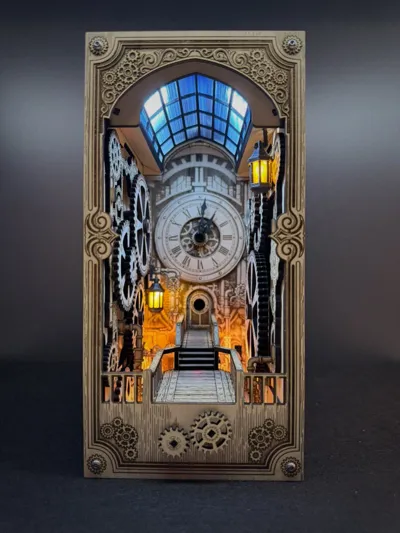
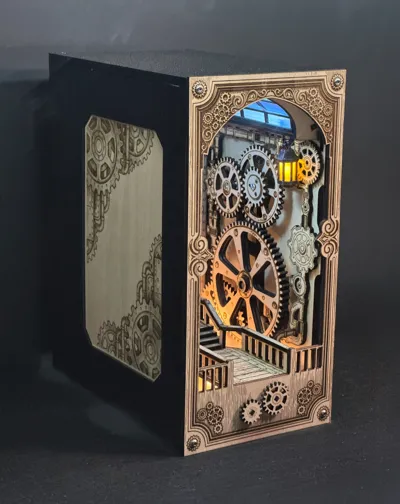
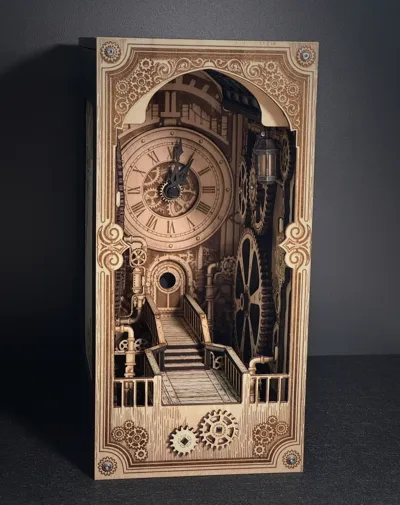
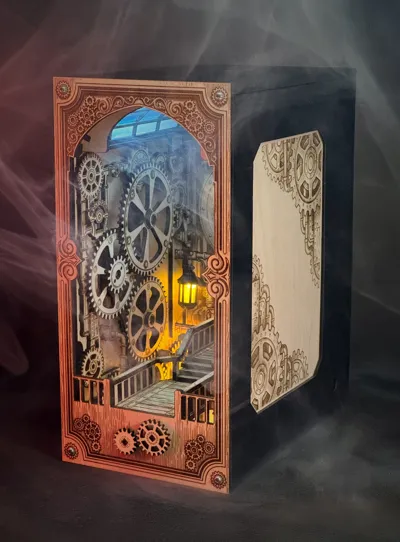
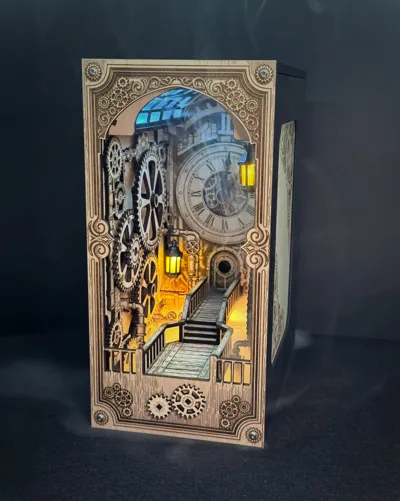
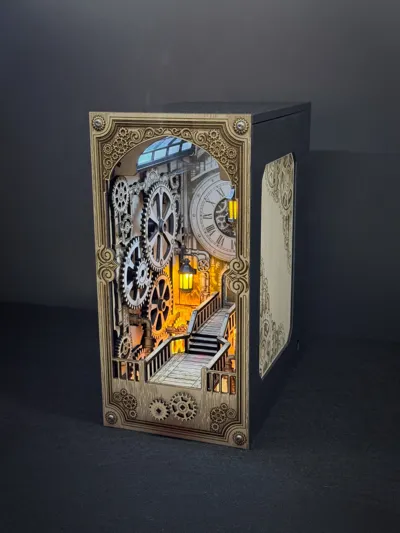
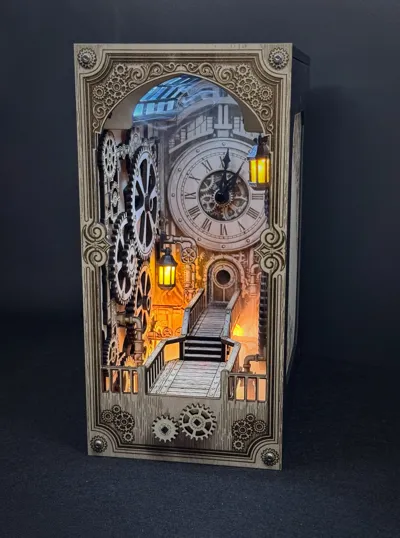

Designed as a miniature mechanical world hidden between books, this hybrid kinetic book nook combines laser-cut architectural and moving layers with 3D-printed moving components & main body. Slow mechanical motion, warm atmospheric lighting, and a clock come together in a compact display piece made to be observed and discovered.

Key Features
- Motorized gear system - powered by an N20 DC motor from Maker's Supply, creating continuous mechanical motion
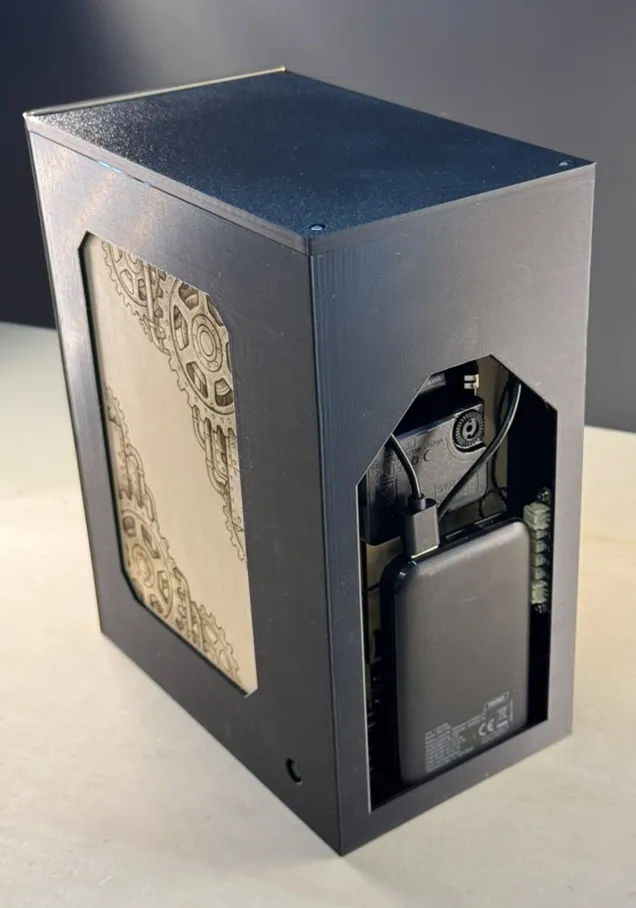
- Integrated front control - Turn Gears for speed adjustment and light dimming
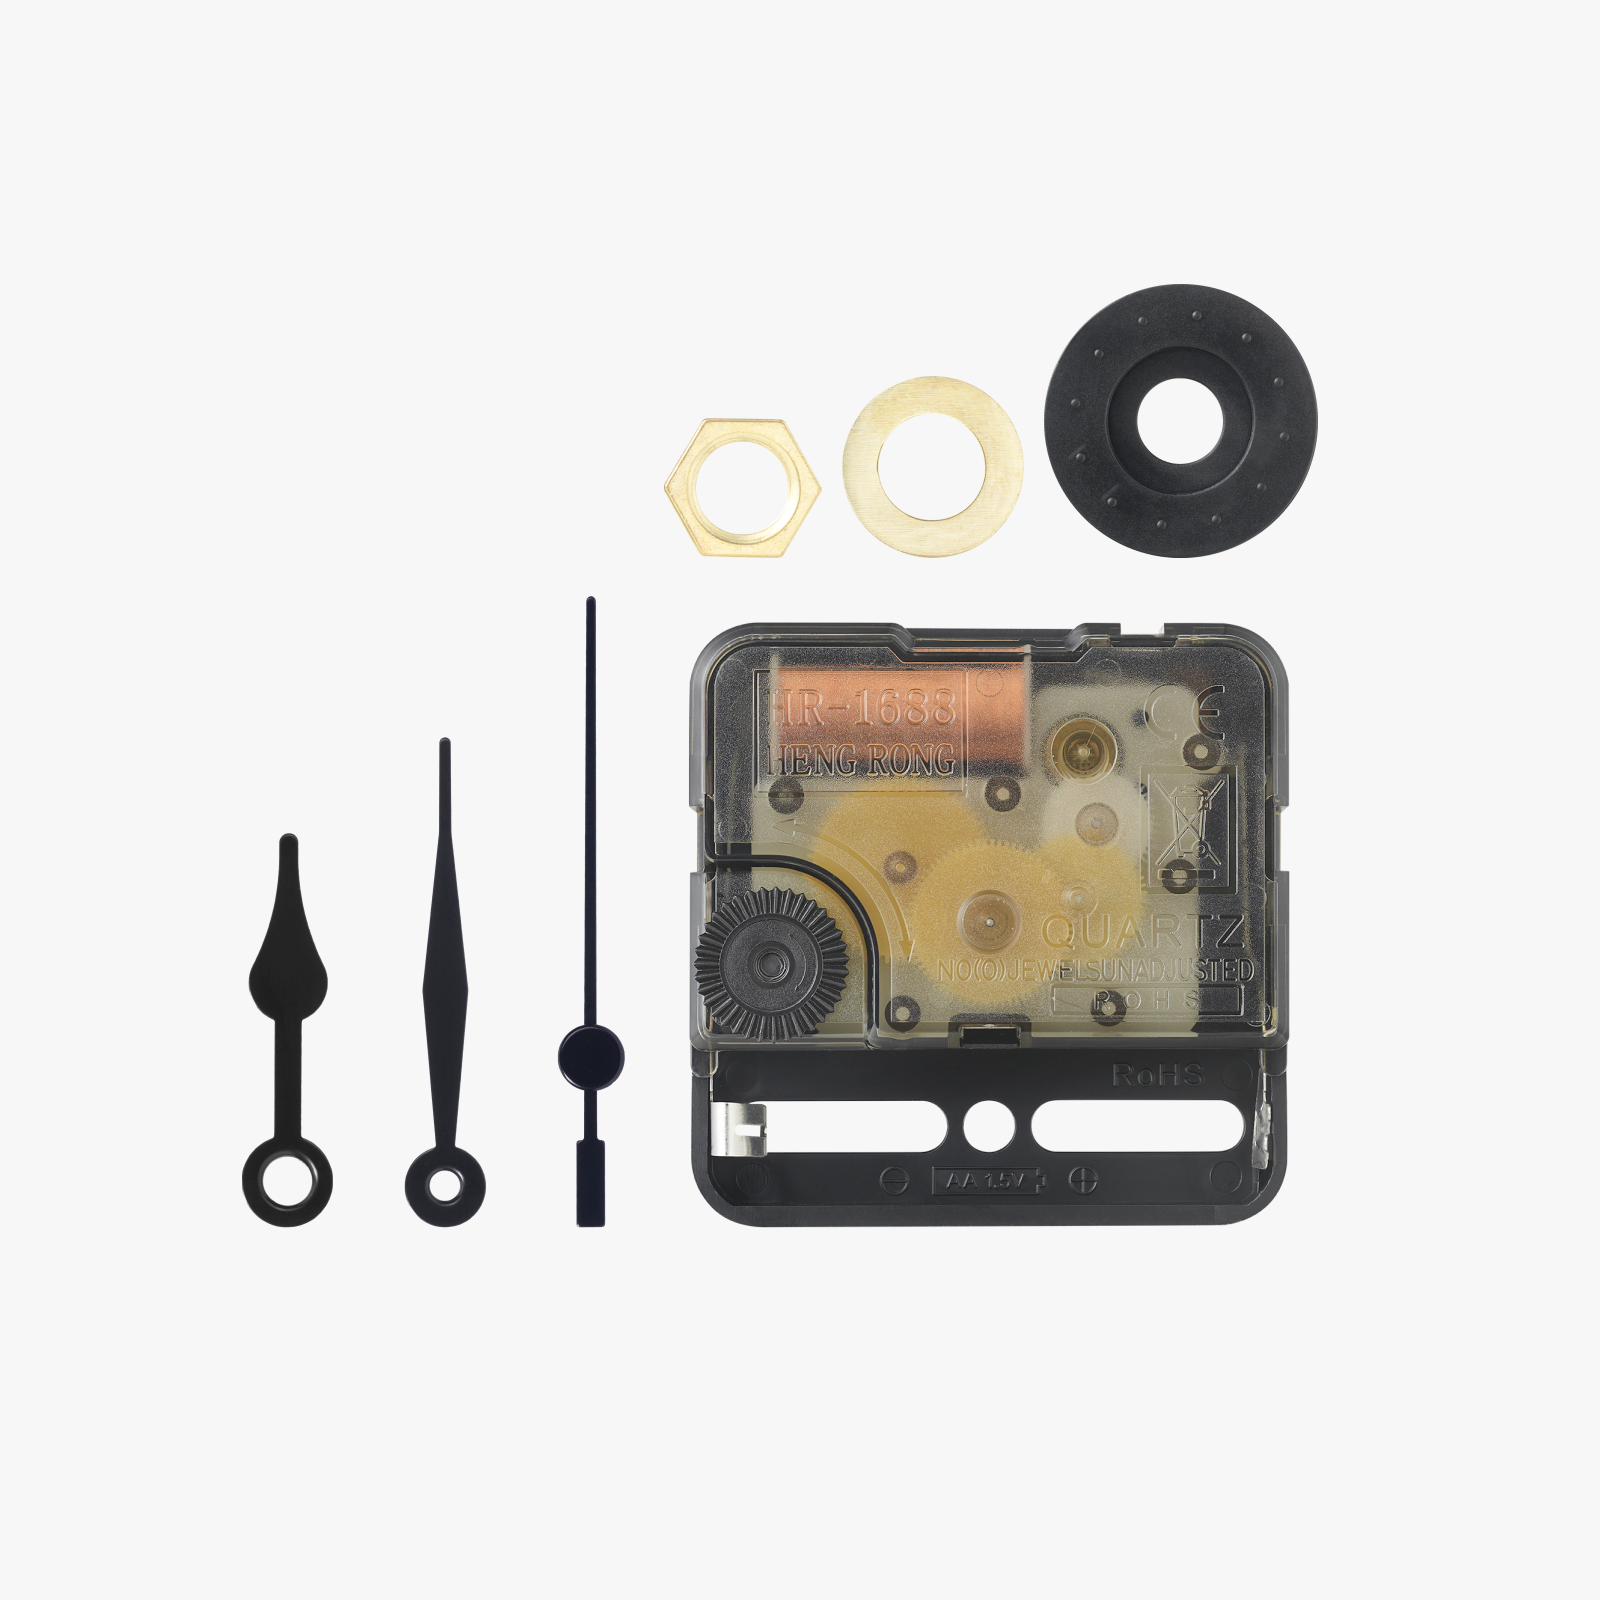
- Functional clock mechanism - mounted in the back wall using a standard clock components kit
- Warm cinematic lighting - With just 4 Leds and a COB Lightstrip from Maker's Supply
- Hybrid Model - combining laser-cut and engraved wood elements for the front and architectural details and gears with 3D-printed main body, mechanics, and lanterns
Boost Me (for free)
Support me with your free boost, that helps me to be able to make new designs.
What You’ll Need
- N20 DC motor
- Clock components kit
- 2× LEDs for lanterns and 2× LEDs for roof lighting
- 1× KB001
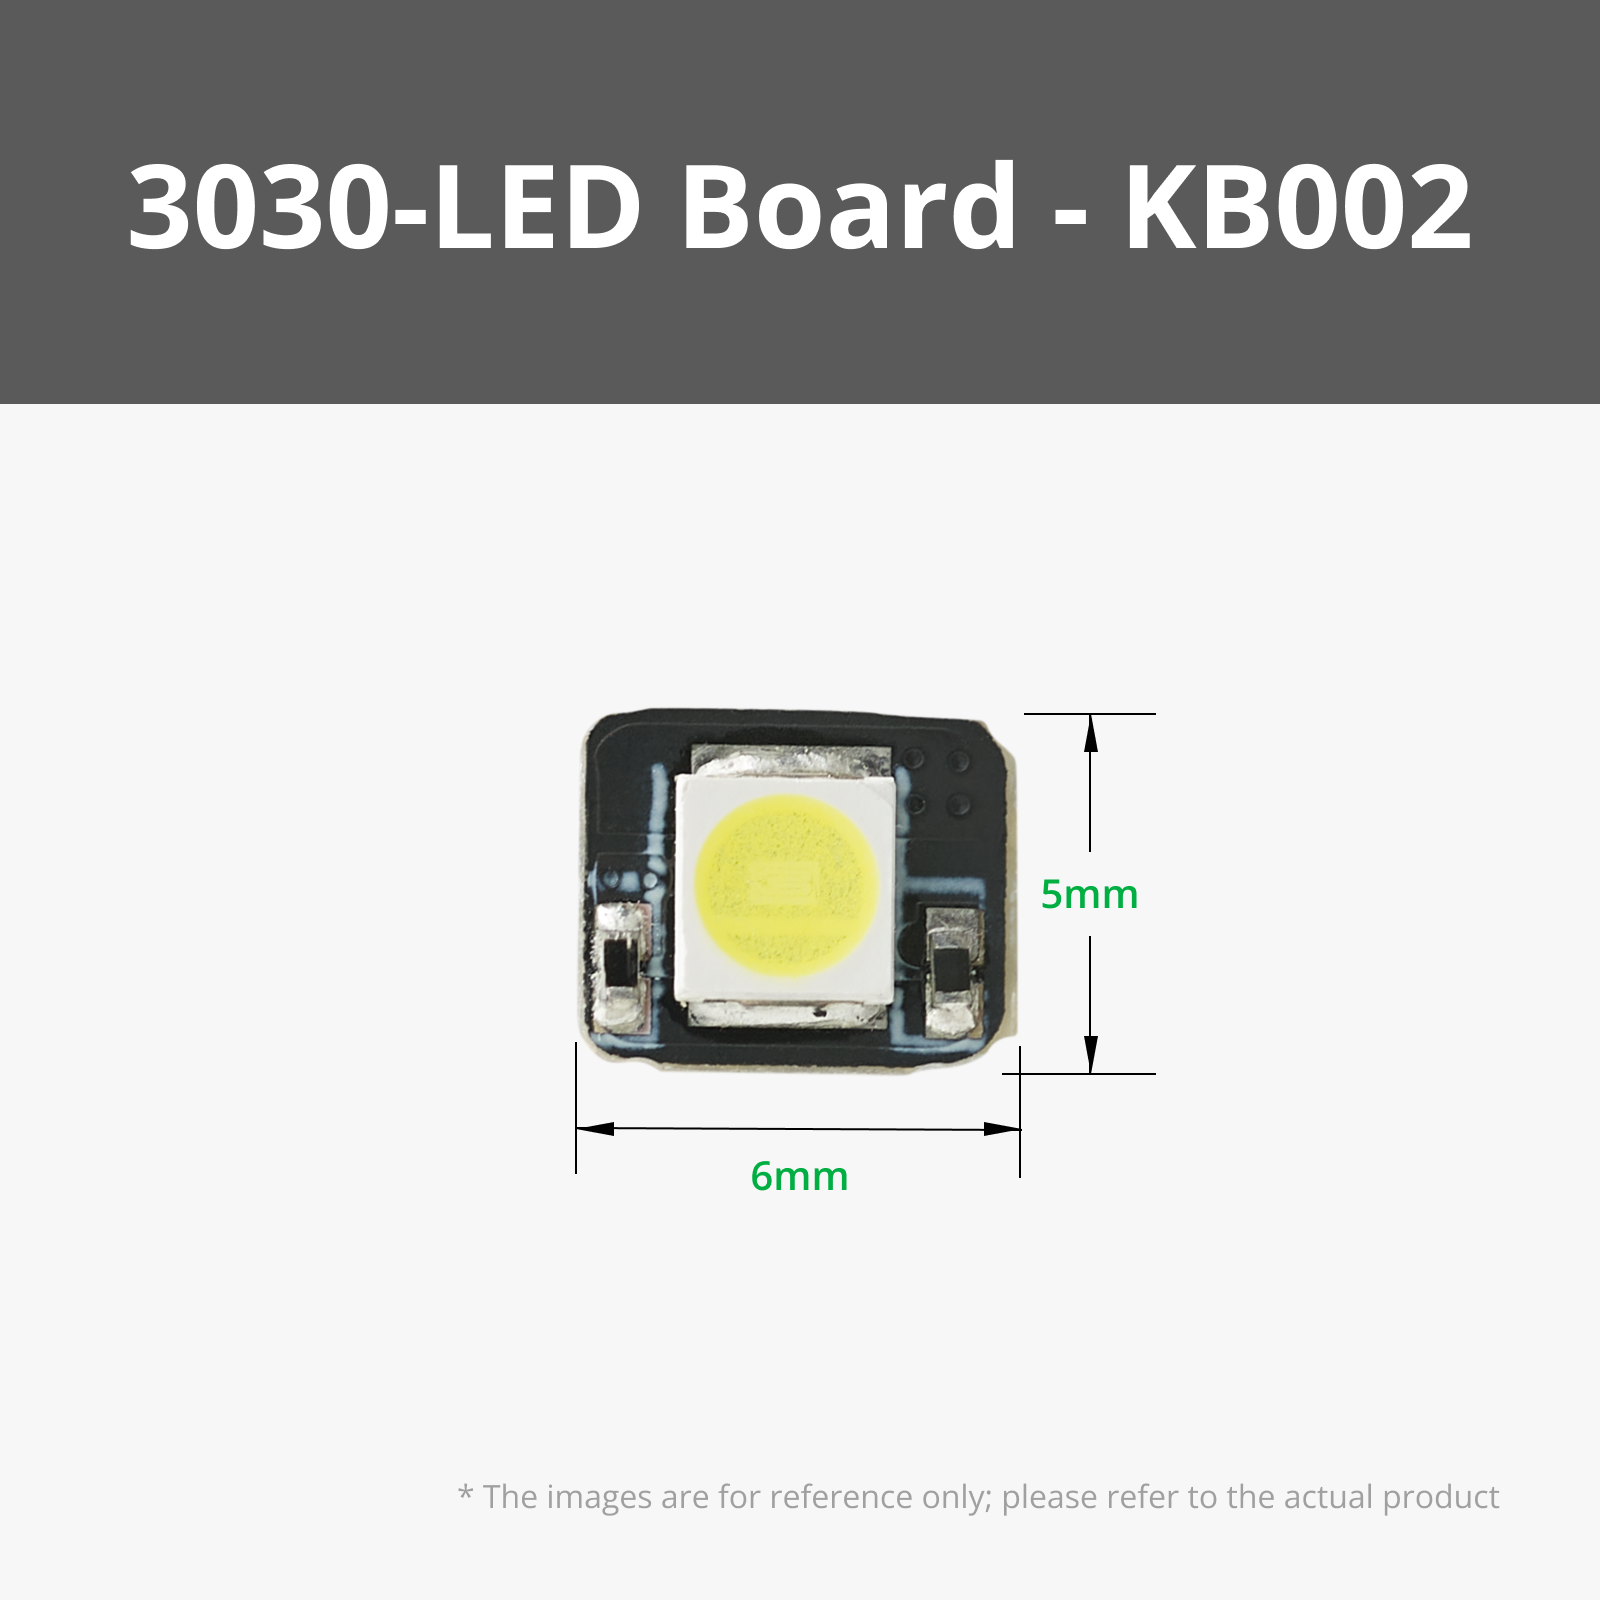
- 1× KB002
- 1× COB LED strip (10 cm)
- 2× potentiometer boards (1× IA007)
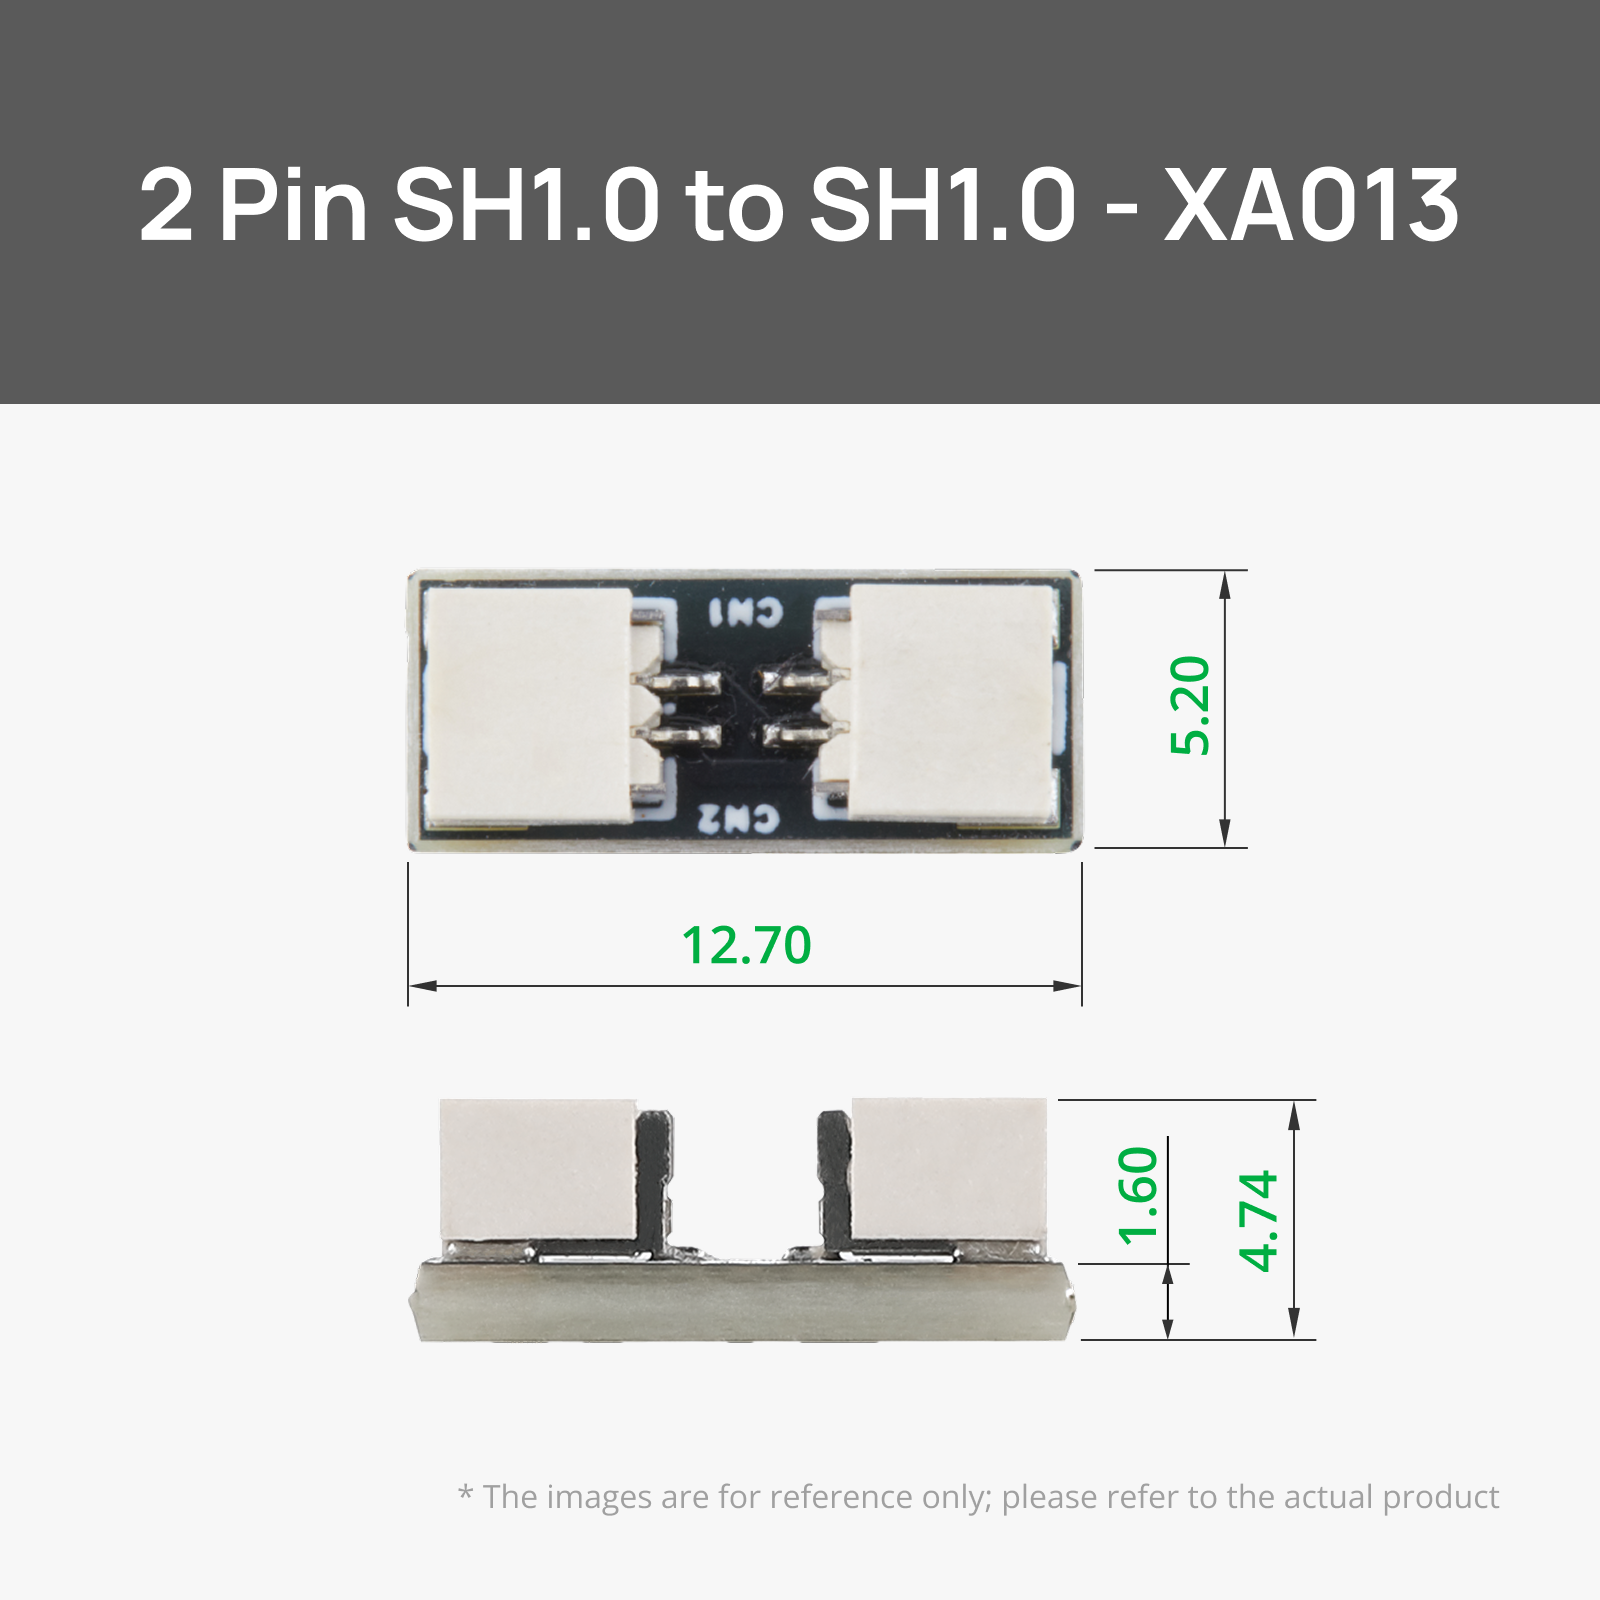
- 1× SH1.0 to SH1.0 connector adapter
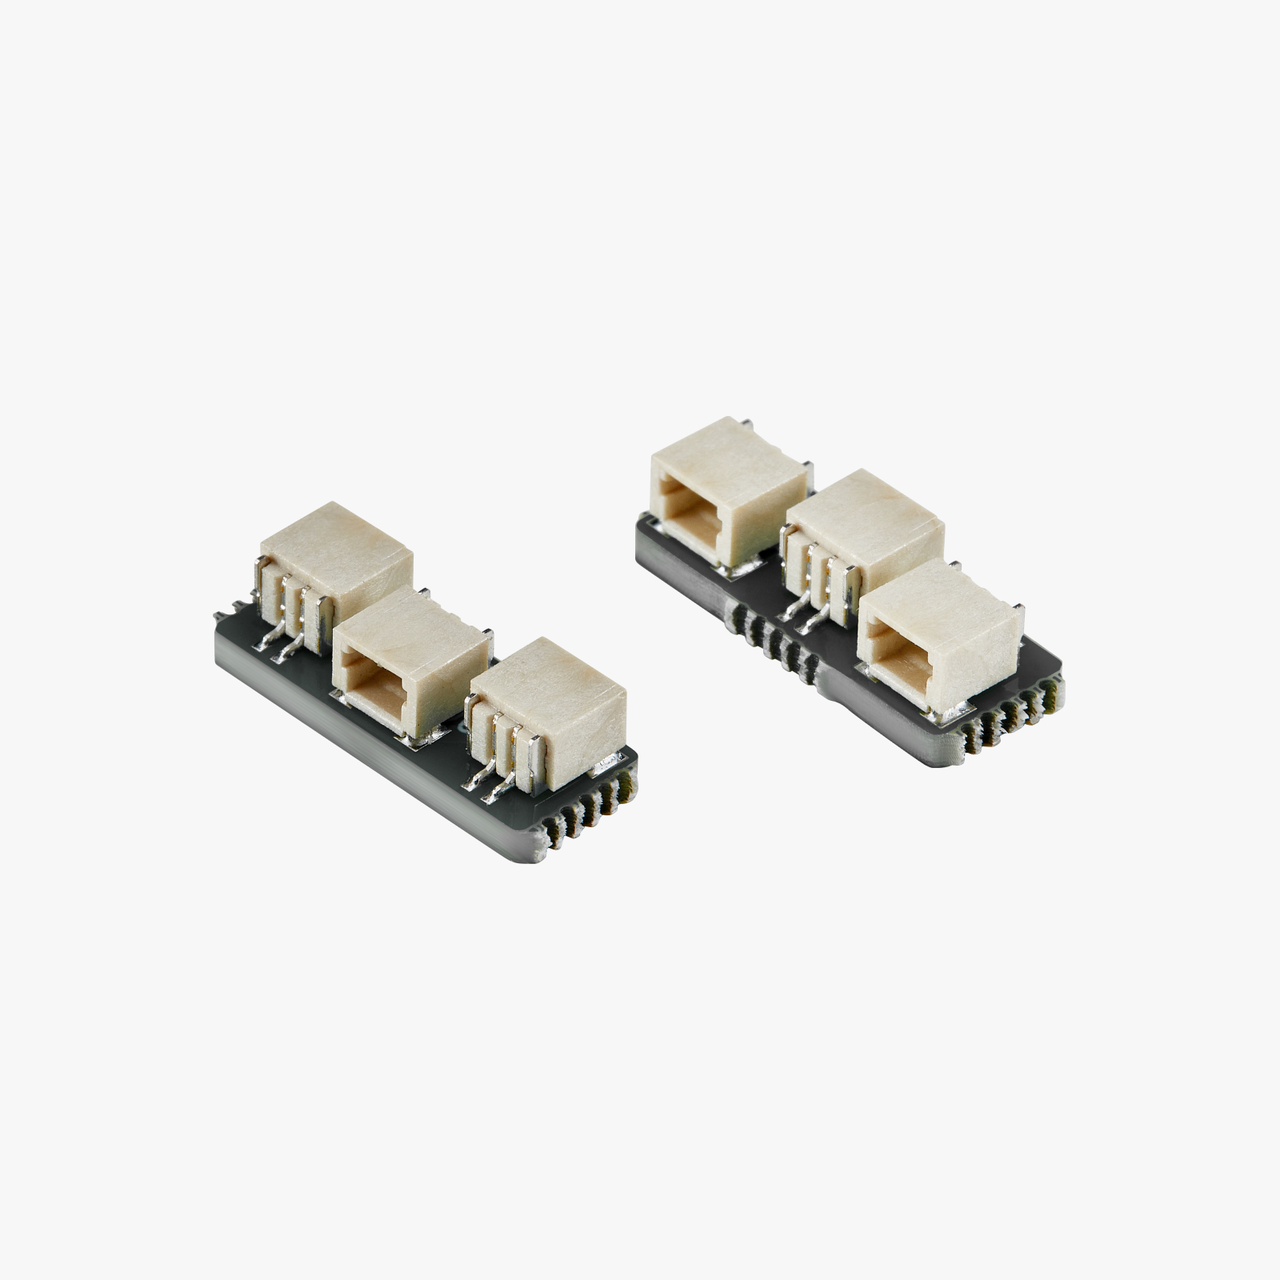
- 2× SH1.0 to dual SH1.0 adapter
- Power distribution board
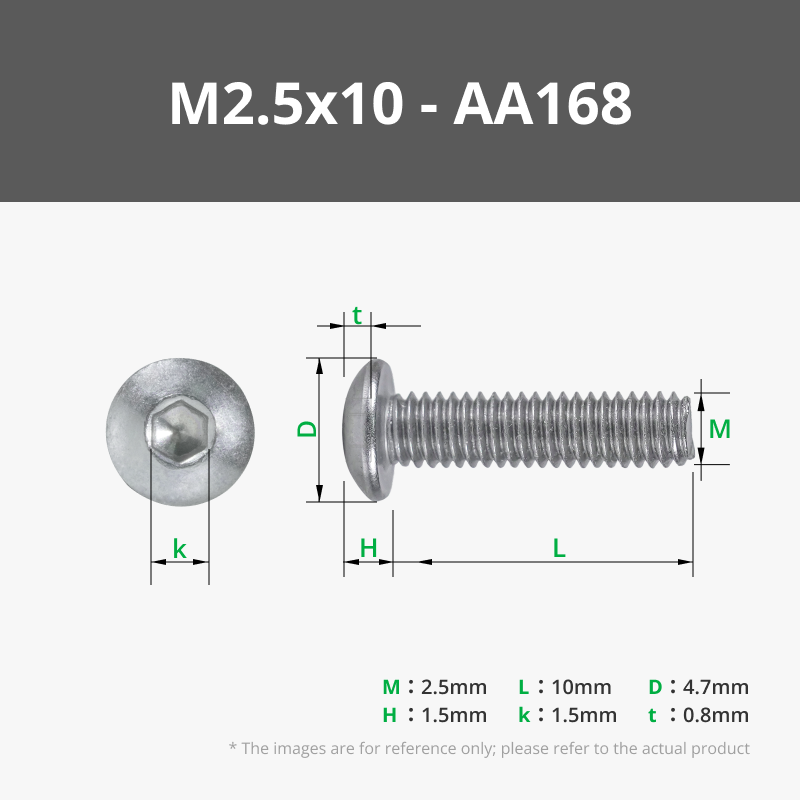
- Screws - M2.5x6 / M2.5x10 / M2x6
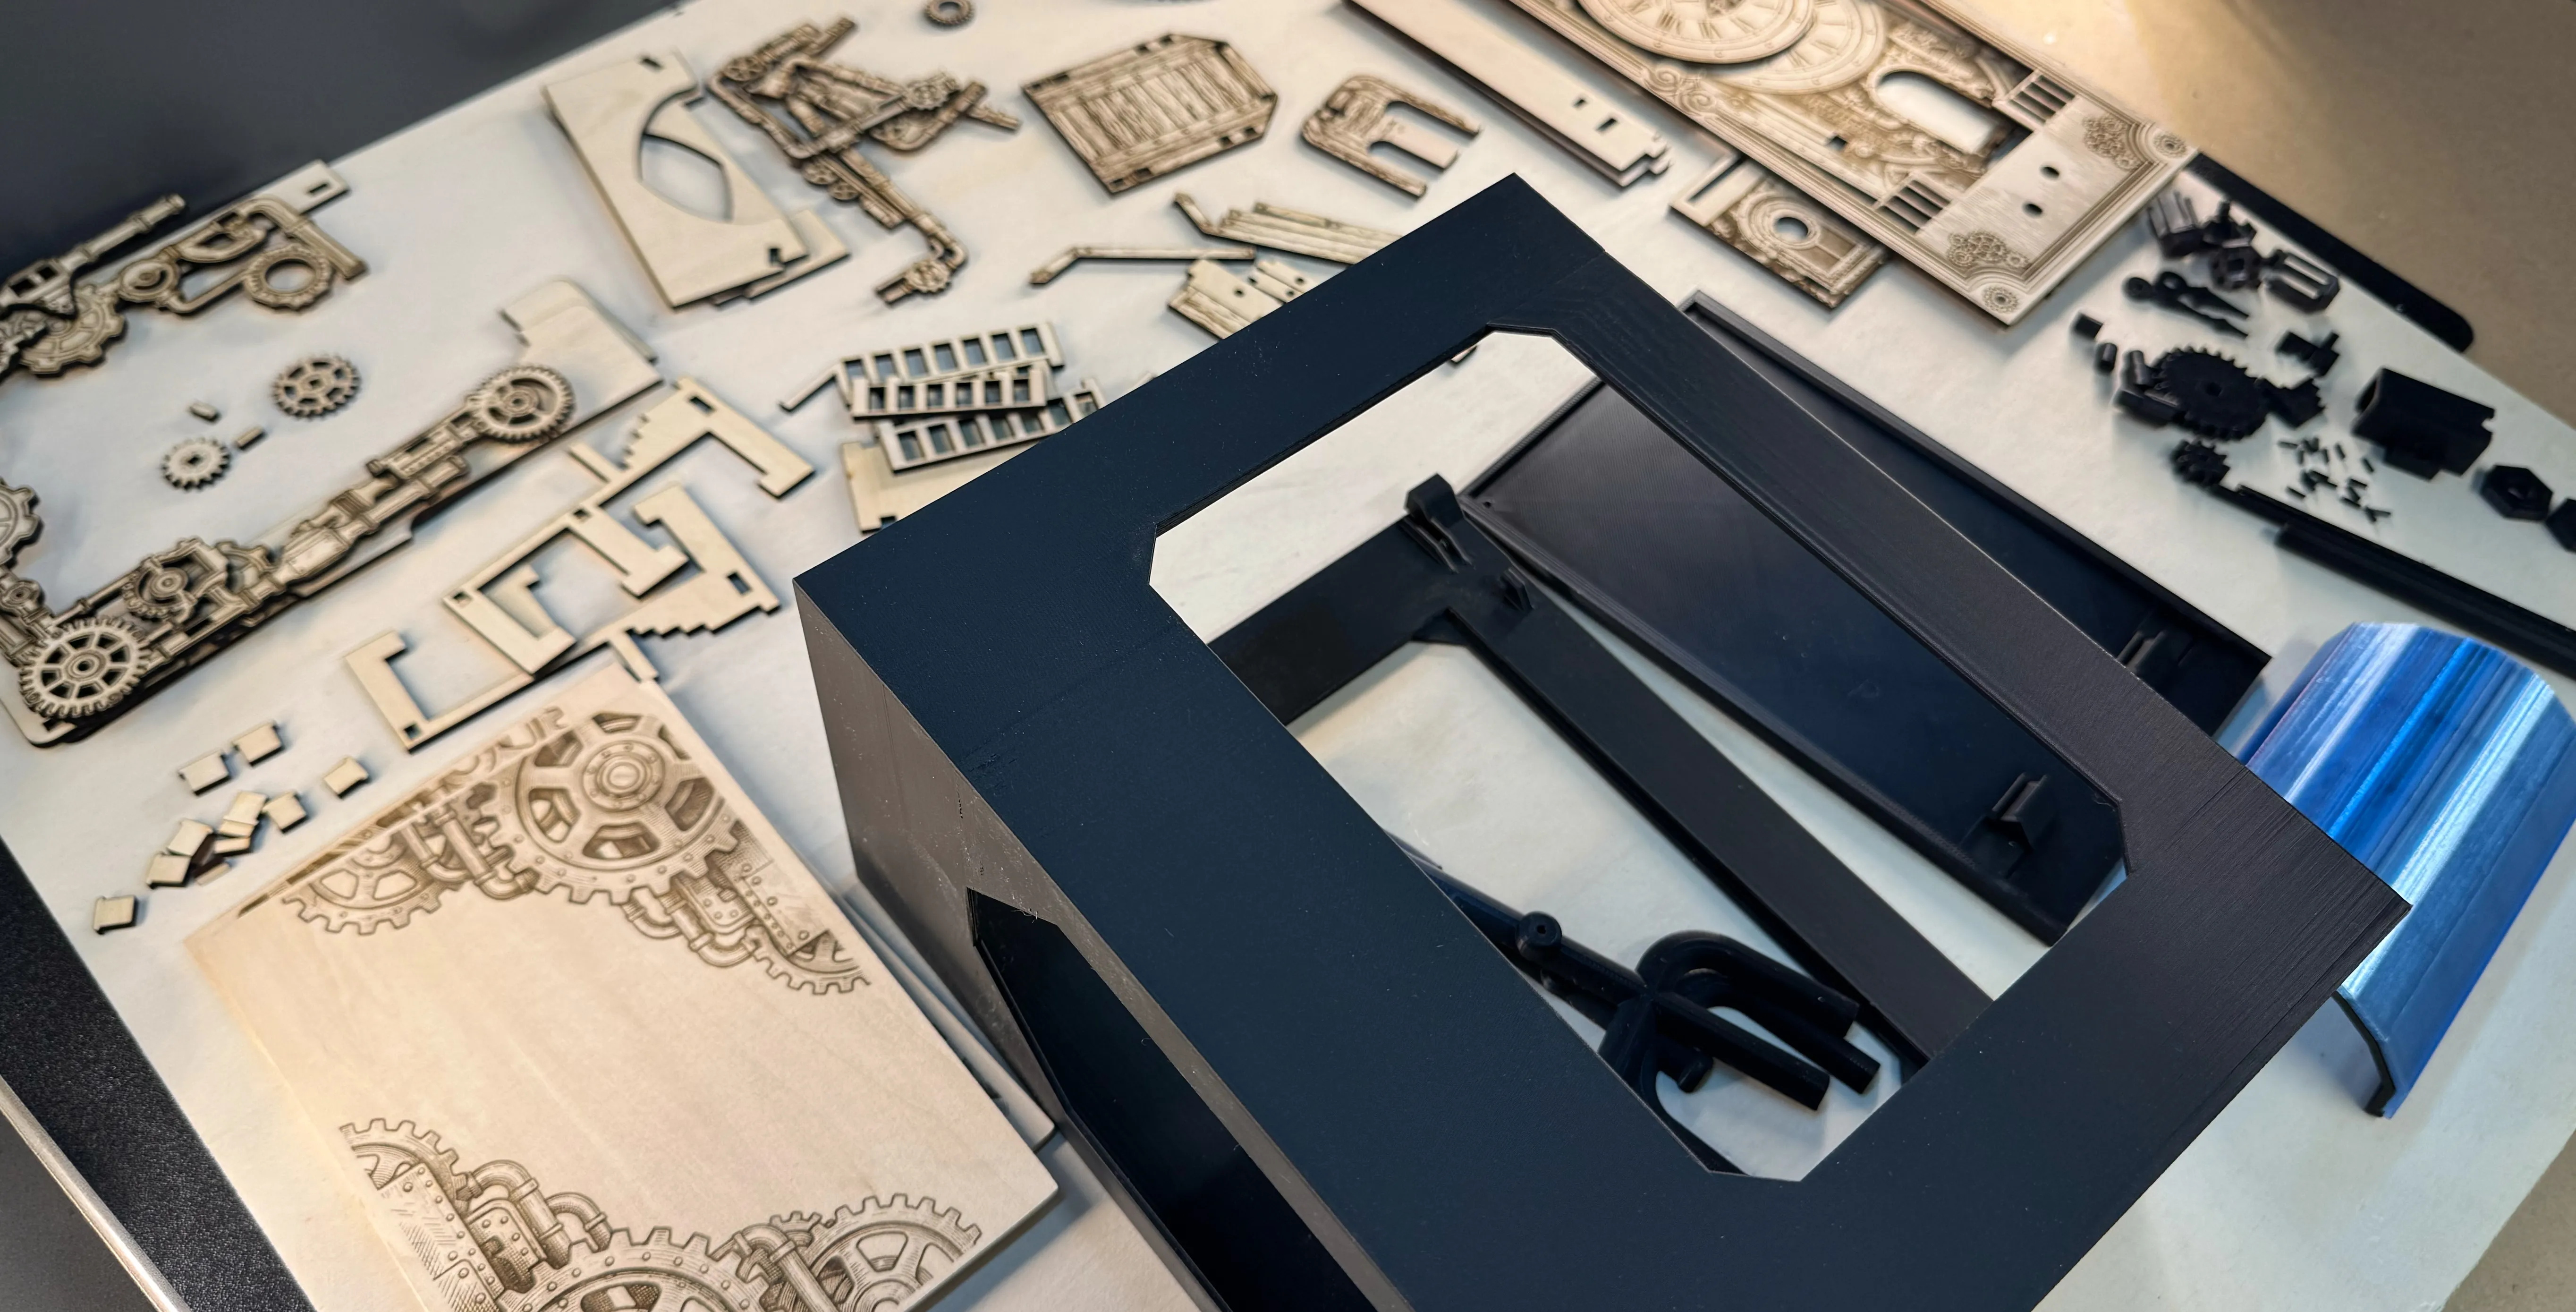
How it is built (only as a rough overview):
Print Tips
- Use PLA Basic for the printed hexagon bearings
- After printing, add a small amount of WD-40 to the bearings for smoother motion
- For the roof window, use translucent filament or transparent PETG for best lighting results
- For the lanterns, experiment with yellow, translucent yellow, or a mixed approach
Laser Tips
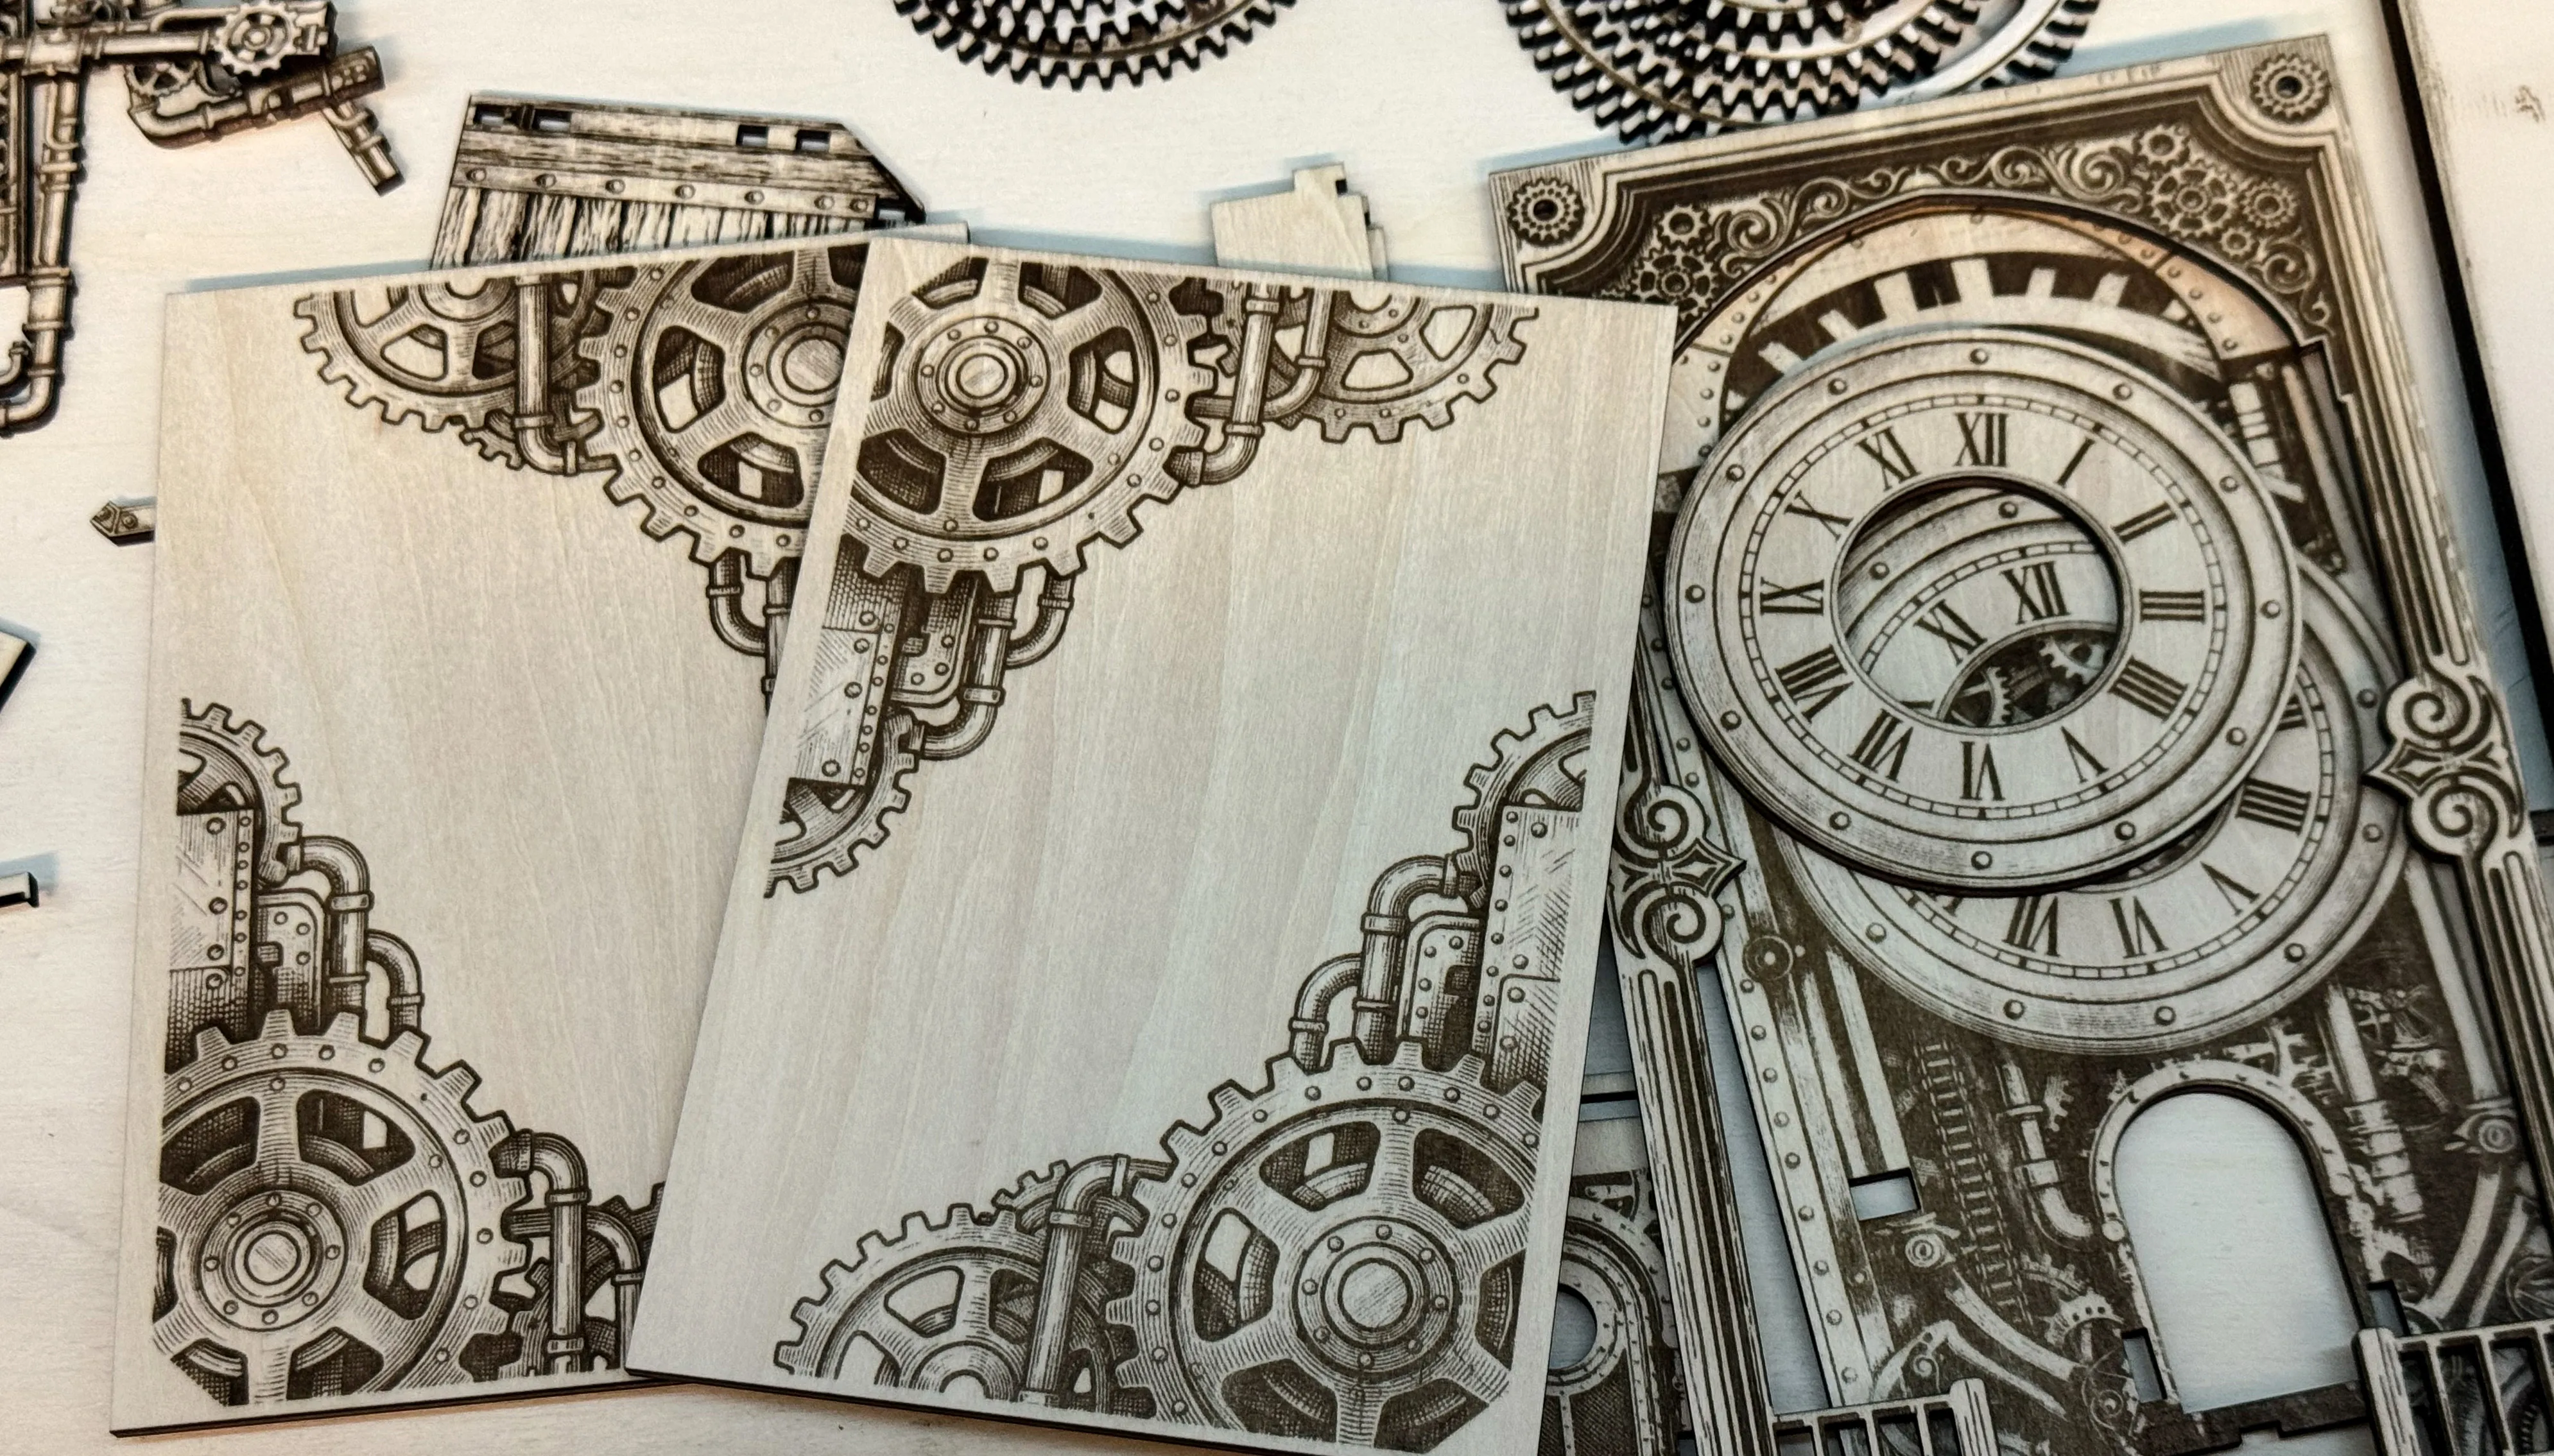
- The engravings on basswood plywood are set to two passes for darker details and better contrast
- This increases laser time, but significantly improves the final look
Assembly Instructions
- Wood parts require craft glue for assembly
- Some 3D-printed parts may need a small amount of liquid superglue
Assembly guide video:
Troubleshooting:
- If the gears are not working after assembly, remove the gear at the motor to see if the motor is working. If it does work, check by hand which gear is blocking.
Have fun building — and enjoy bringing this small mechanical world to life.
License

You shall not share, sub-license, sell, rent, host, transfer, or distribute in any way the digital or 3D printed versions of this object, nor any other derivative work of this object in its digital or physical format (including - but not limited to - remixes of this object, and hosting on other digital platforms). The objects may not be used without permission in any way whatsoever in which you charge money, or collect fees.


Comment & Rating (143)