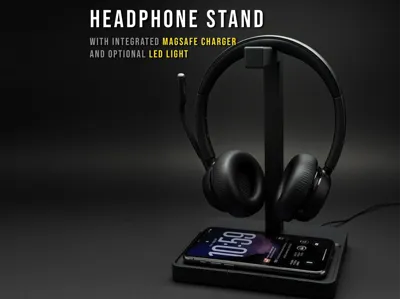
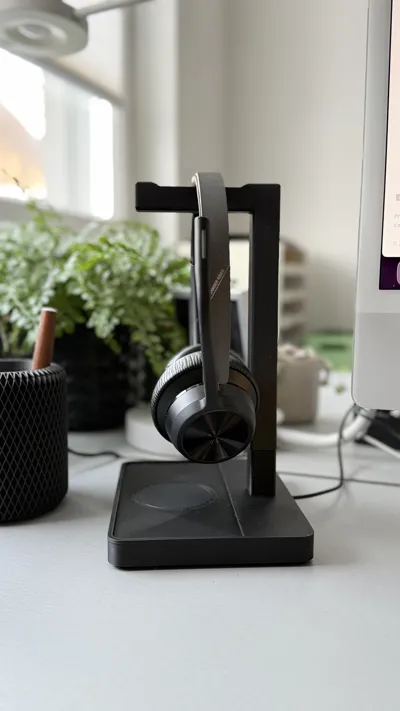
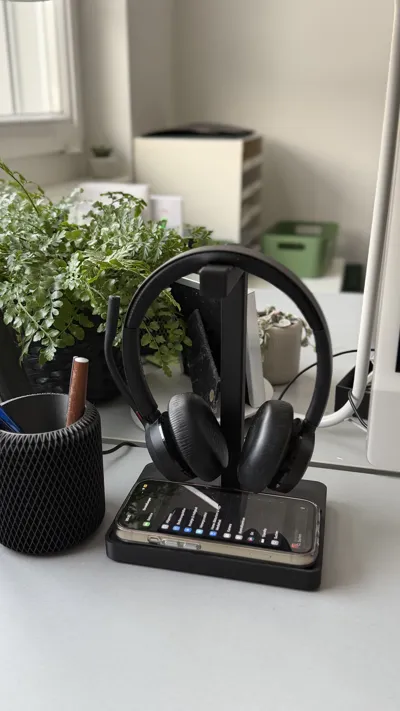
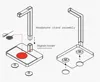
Headphone Stand with wireless charging and LED


Print Profile(1)


Description

Boost Me (for free)
If you like this model, please hit the boost button - It helps and makes me smile :)
This headphone stand was inspired by this model https://makerworld.com/en/models/895748-headphone-stand-headset-holder-with-tray?from=search#profileId-853645 but was remodeled completely from scratch and it provides the following additional features:
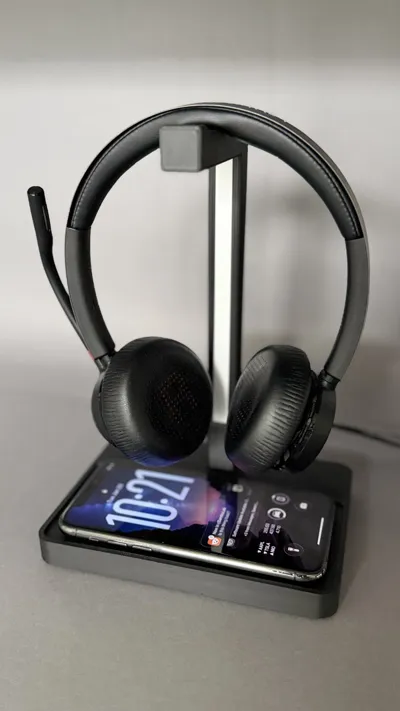
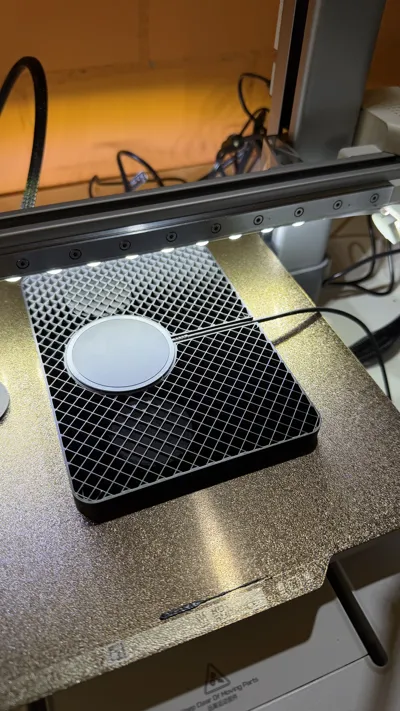
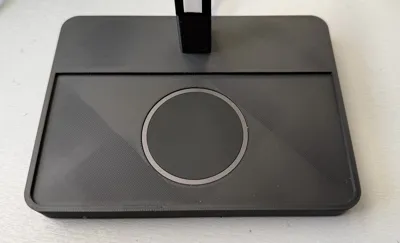
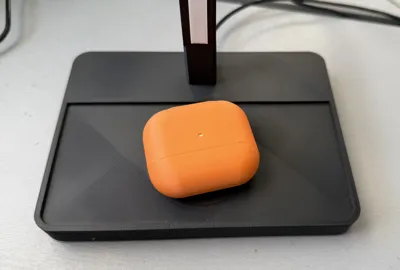
- Optional integrated wireless charging pad. Use this black magsafe charger from Amazon: https://www.amazon.de/dp/B09NRG9HCK?ref=ppx_yo2ov_dt_b_fed_asin_title&th=1. It integrates perfectly when printing in black PLA.
- The current print profile for the version with the charger has an integrated pause, where you can insert the magsafe charger. I might provide a version which does not permanently seal in the charger at a later stage
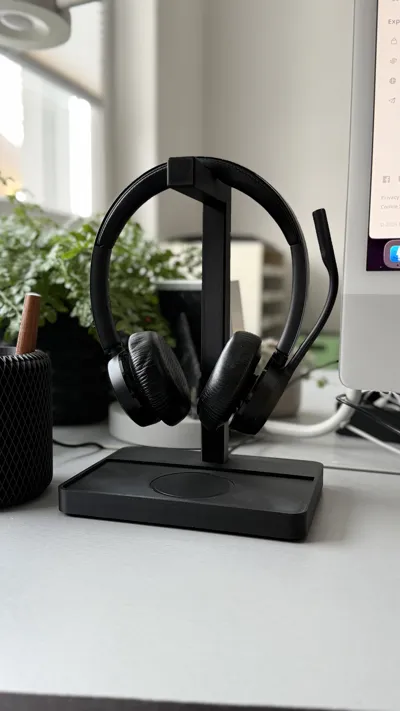
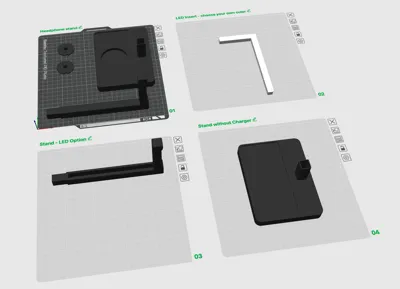
- Use the regular stand on plate 4 if you don't require a charger
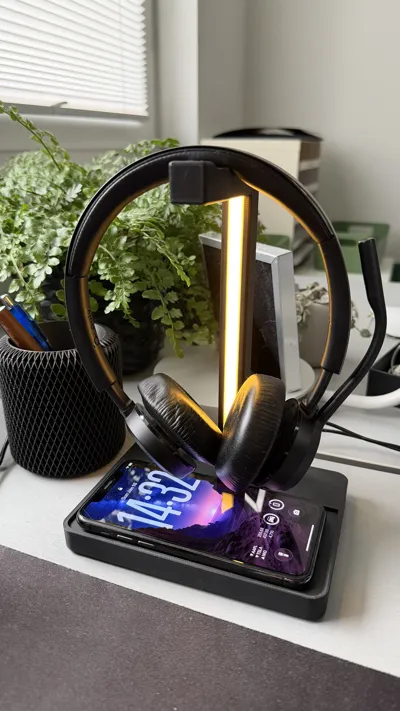
- Supports phone sizes like the iPhone 16 or 17.
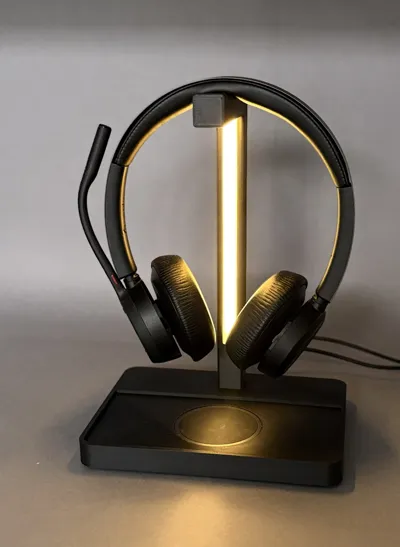
- LED lighting option. Just use any 8mm wide or thinner 50cm LED strip such as this one: https://de.aliexpress.com/item/1005008147089852.html?spm=a2g0o.order_list.order_list_main.135.3af95c5fogkoOJ&gatewayAdapt=glo2deu
- The LED strip needs to be cut to the exact needed length. 50cm is slightly too long.
- LED strip needs to be manually inserted after the stand is printed. The LED cover goes on afterwards.
- The LED cover is designed to be a tight fit, so that no light bleeds through and that no glue is necessary. It has round edges at the top and bottom for an easier fit.
- You can print the thin LED cover in any color you like. You can even replace it with a new print if you change your mind.
- Removal of the supports for the LED insert can be tedious, but it's possible with a thin screwdriver without damaging the part.
- Optional weights can be added for extra stability in two compartments at the bottom, just like you can with my simple webcam stand: https://makerworld.com/en/models/1768606-logitech-webcam-stand#profileId-1882457. The covers snap on without the need of glue and have convenient holes for easy removal with a screwdriver
- The integrated slot in the base for extra weights uses M13 / DIN9021 washers. 2 pieces can be added.
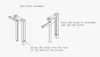
Assembly is straight forward:


You can add additional stick-on non slip pads on the bottom to provide further stability.
I can design a smaller or taller stand for you if needed. Just let me know in the comments.
Documentation (2)
License
You shall not share, sub-license, sell, rent, host, transfer, or distribute in any way the digital or 3D printed versions of this object, nor any other derivative work of this object in its digital or physical format (including - but not limited to - remixes of this object, and hosting on other digital platforms). The objects may not be used without permission in any way whatsoever in which you charge money, or collect fees.
Comment & Rating (18)