
Boston Bruins Dummy 13
Print Profile(2)


Description
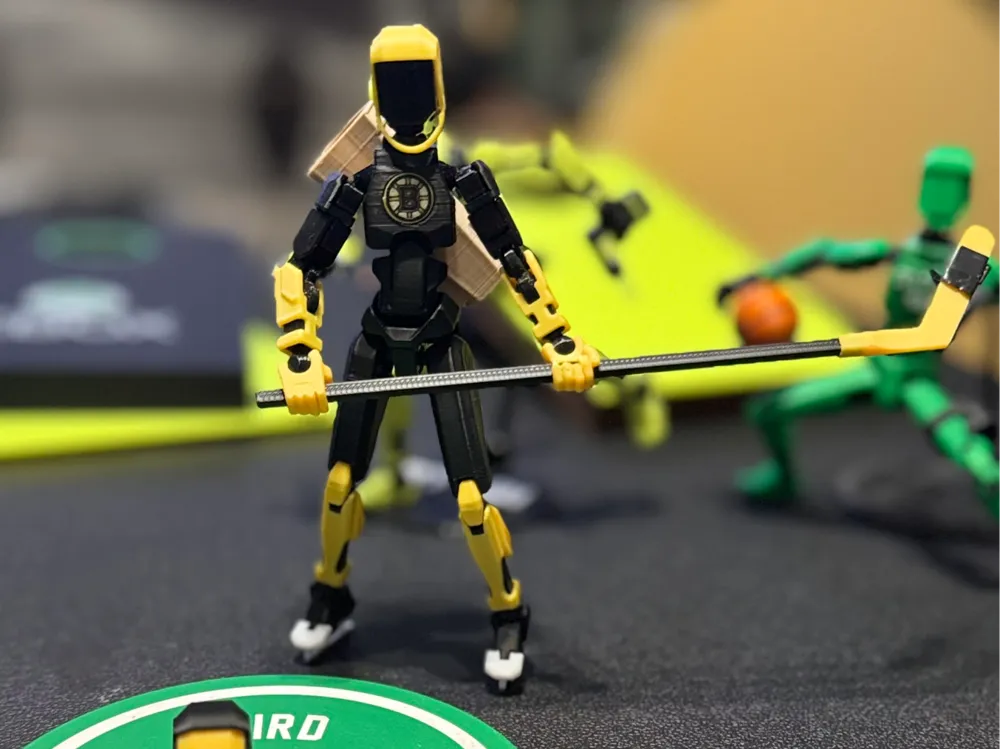
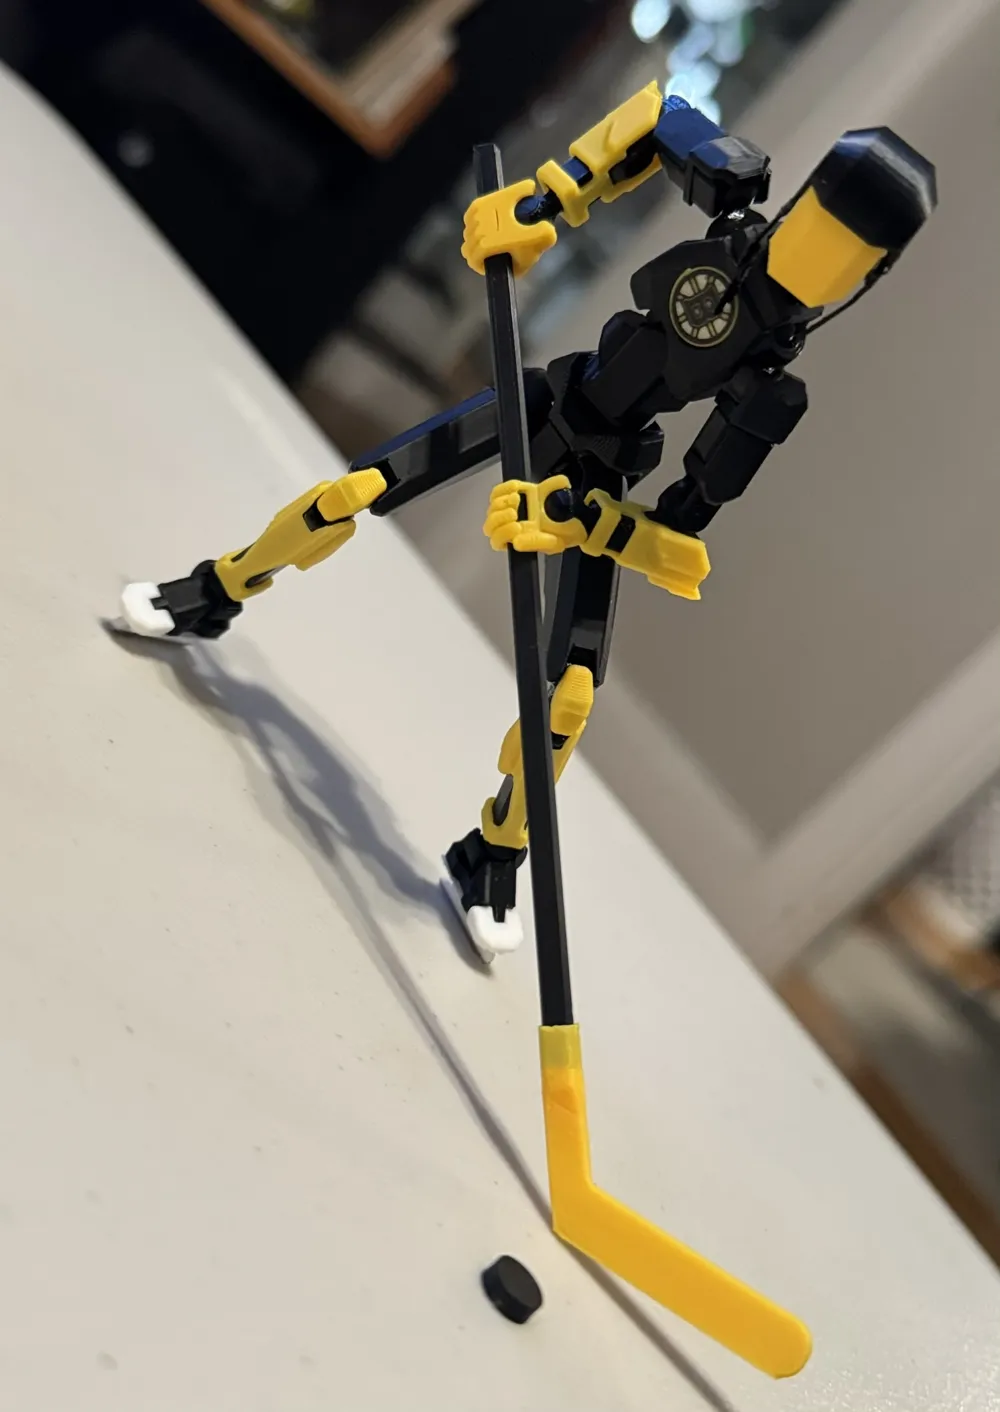
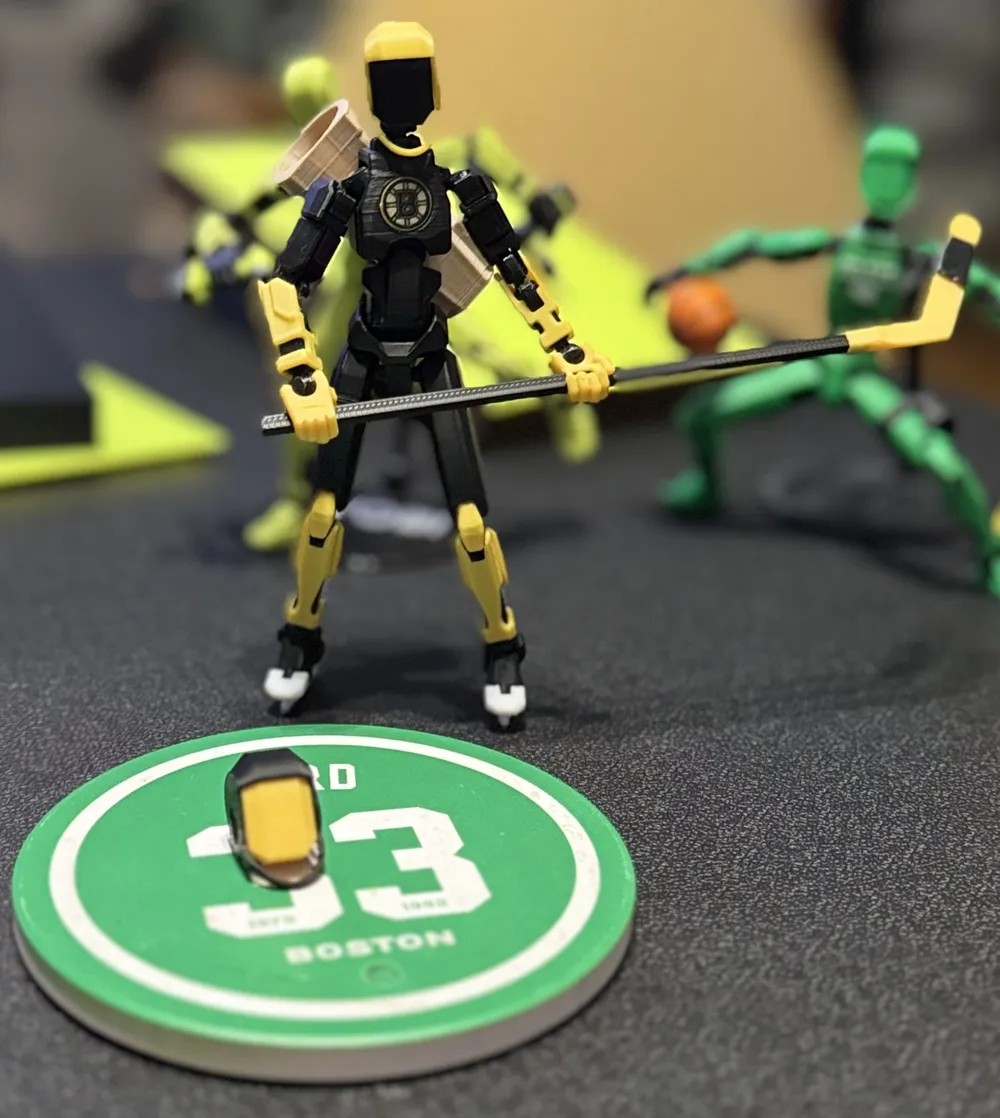
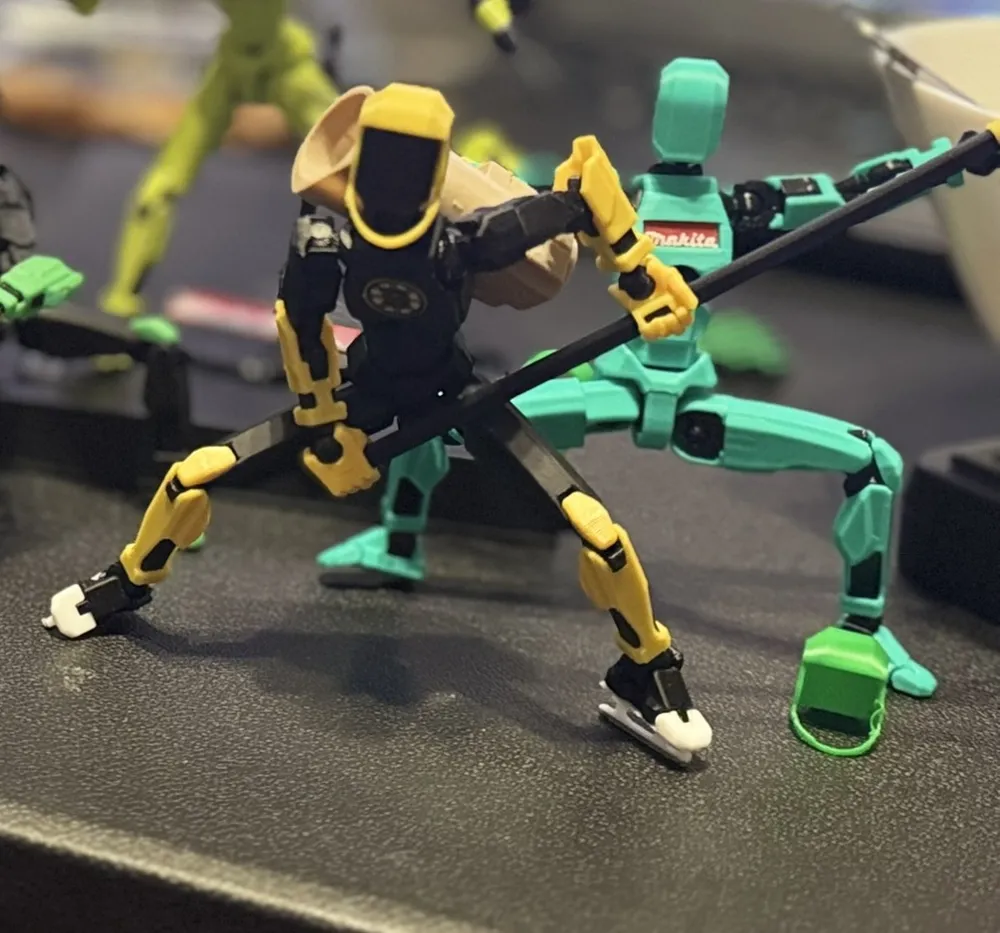
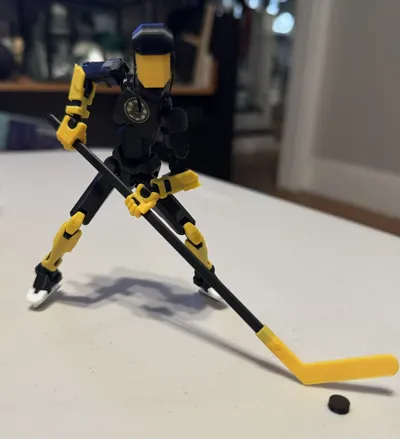
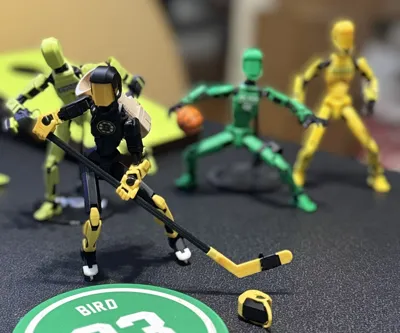
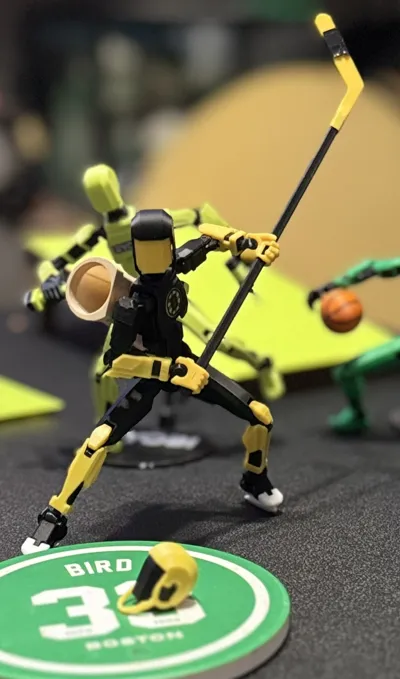
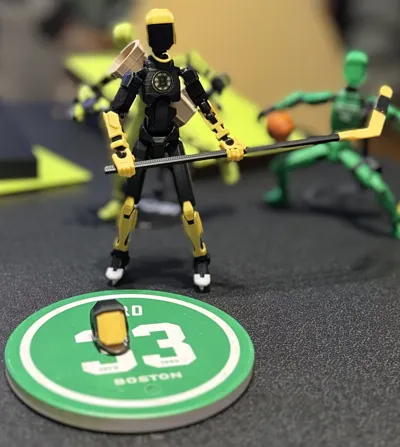
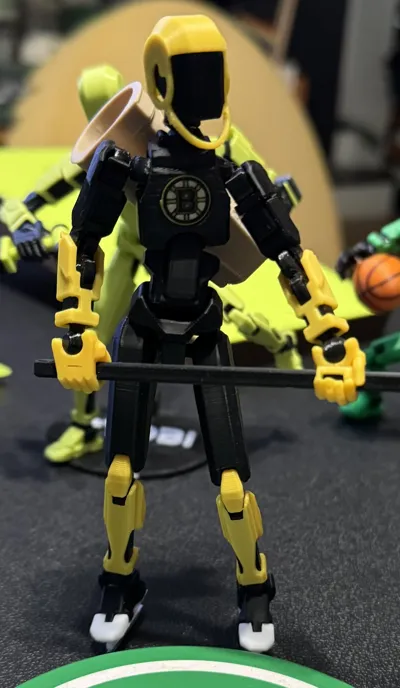
Dummy 13 models bring me tons of joy, having a growing army of them around my workspace. I decided to design a few remixes and am sharing them in case others want to print these versions.
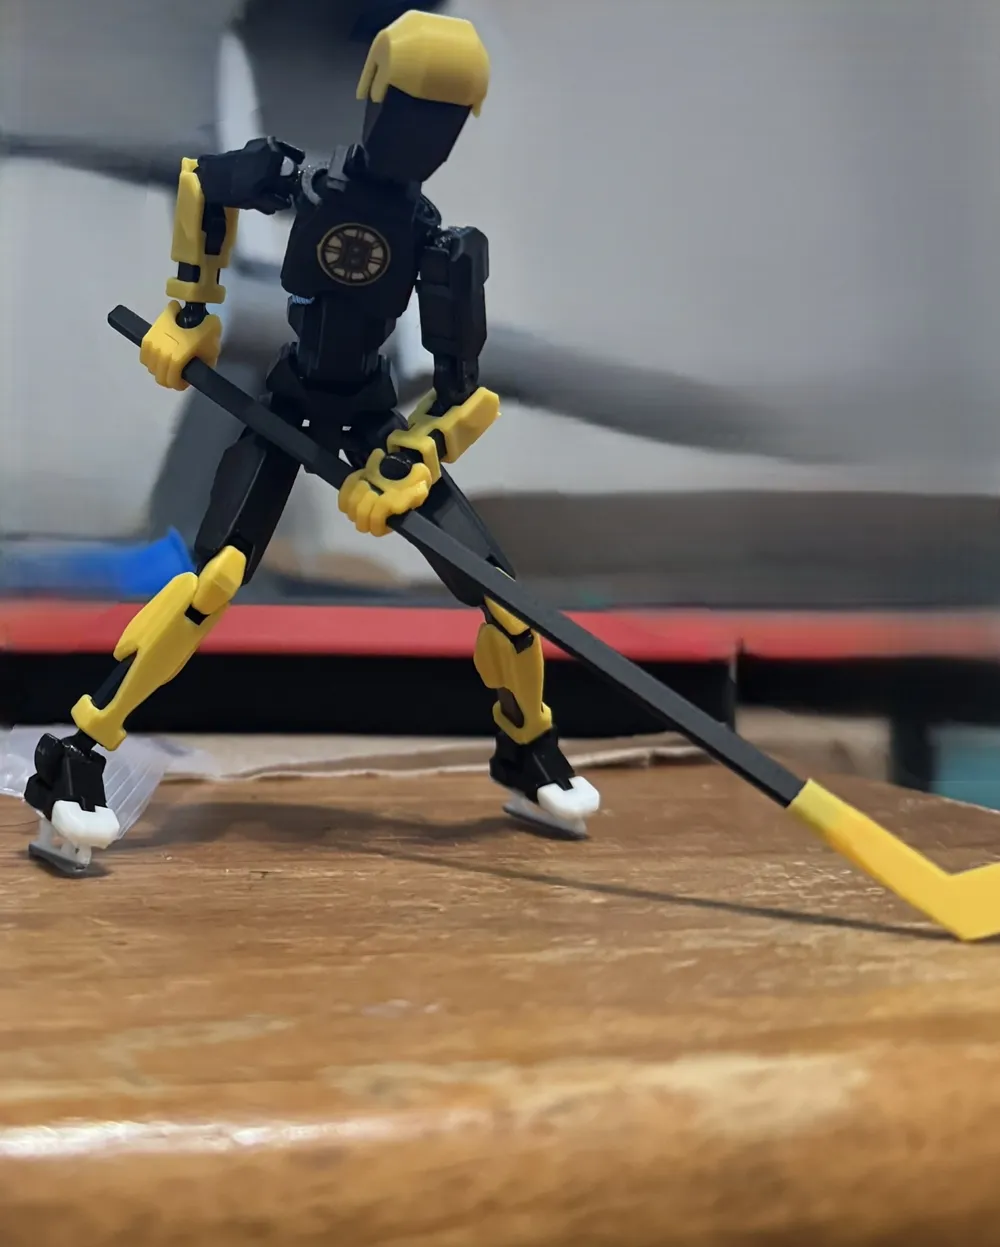
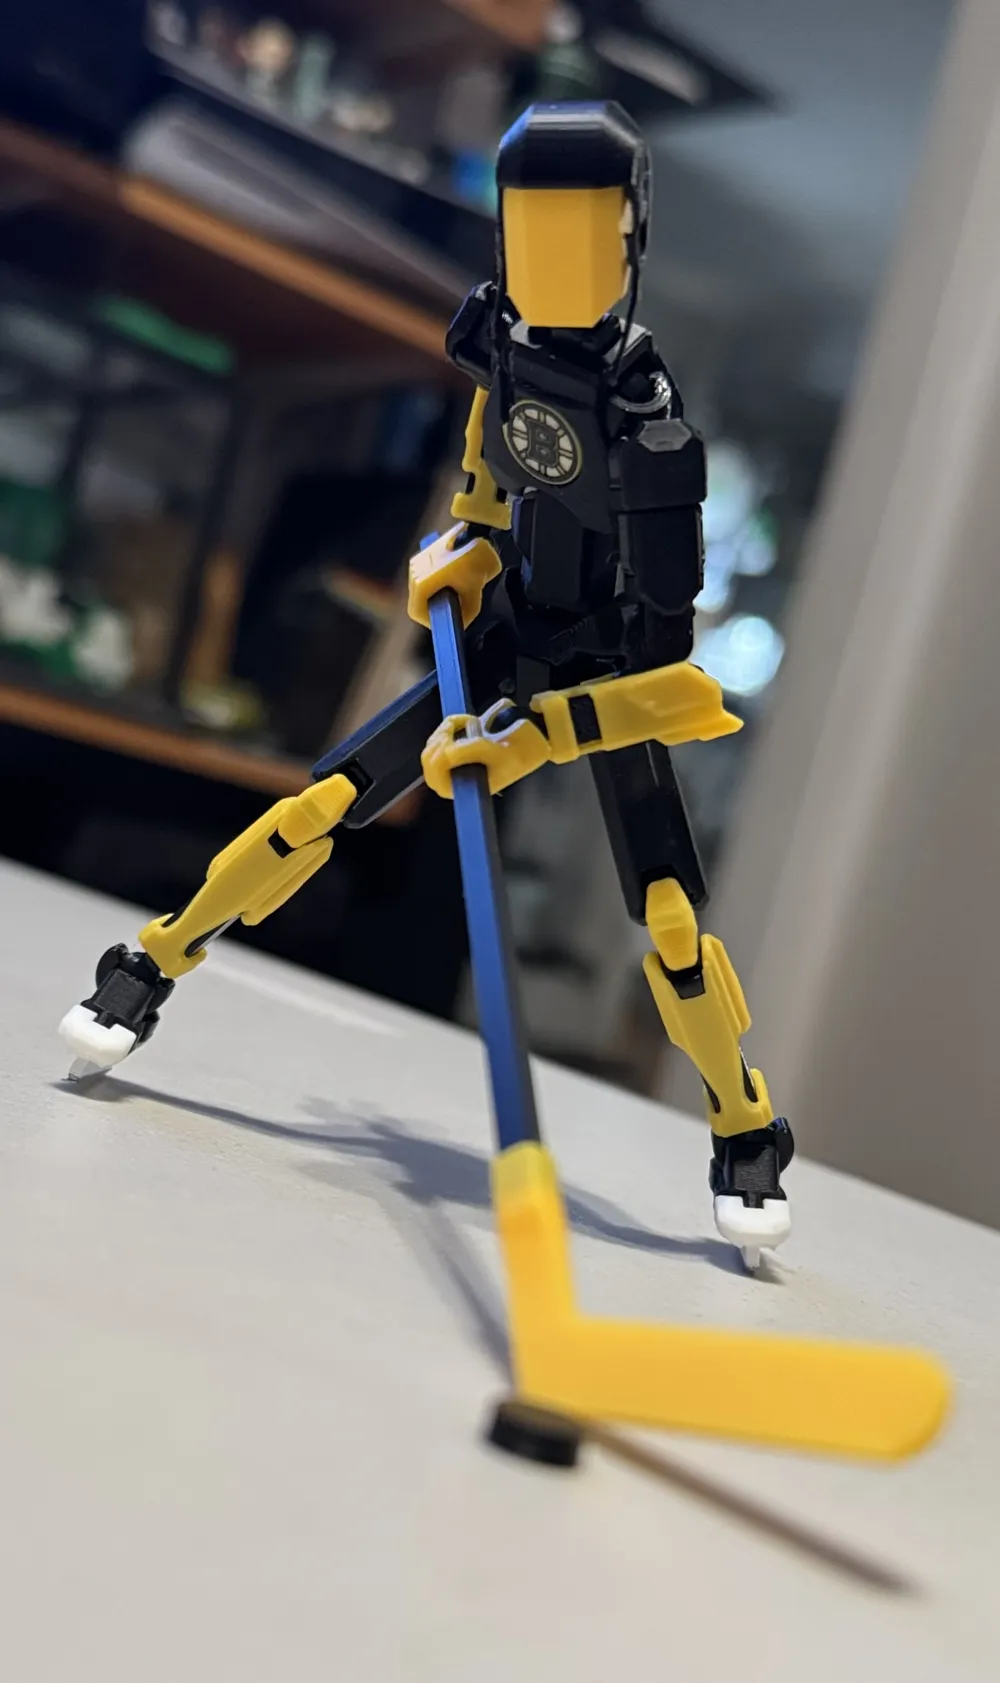
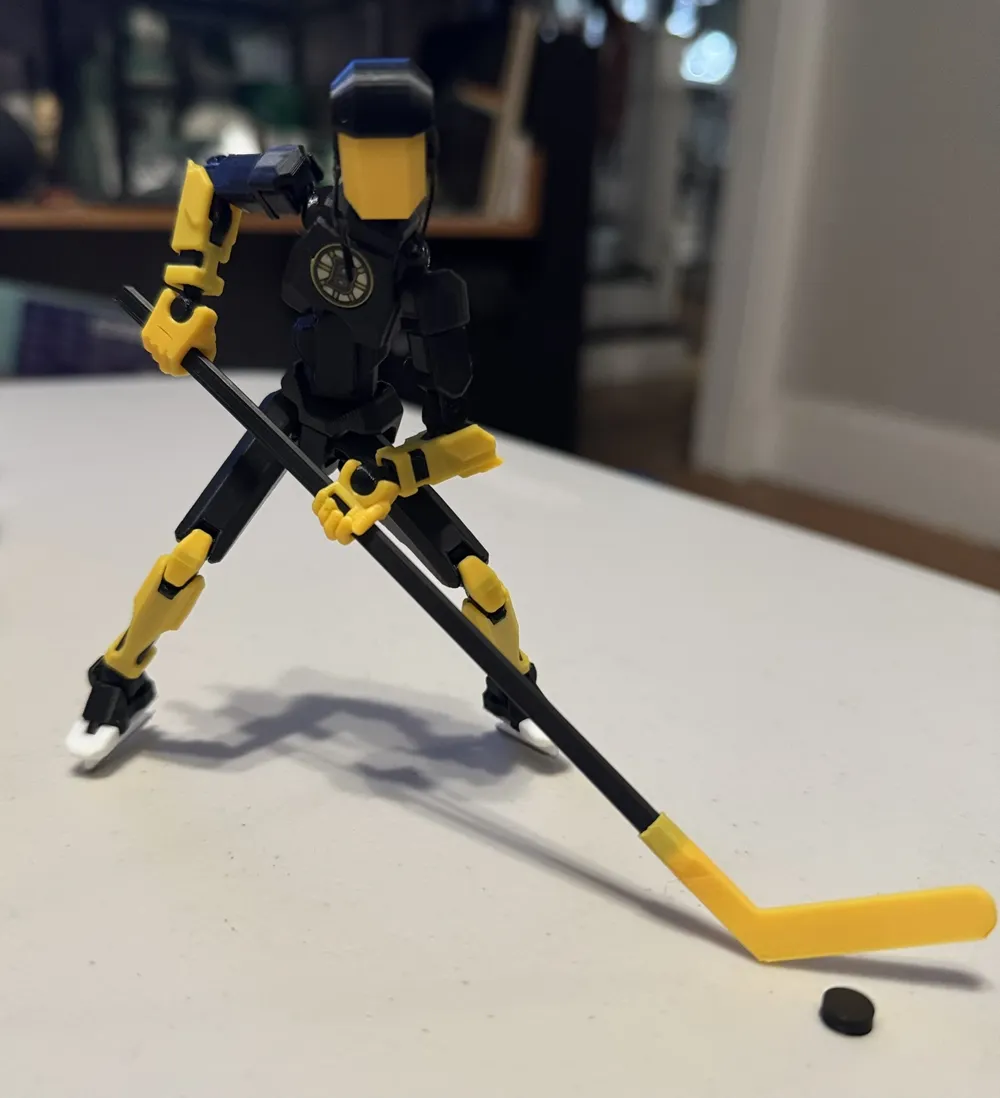
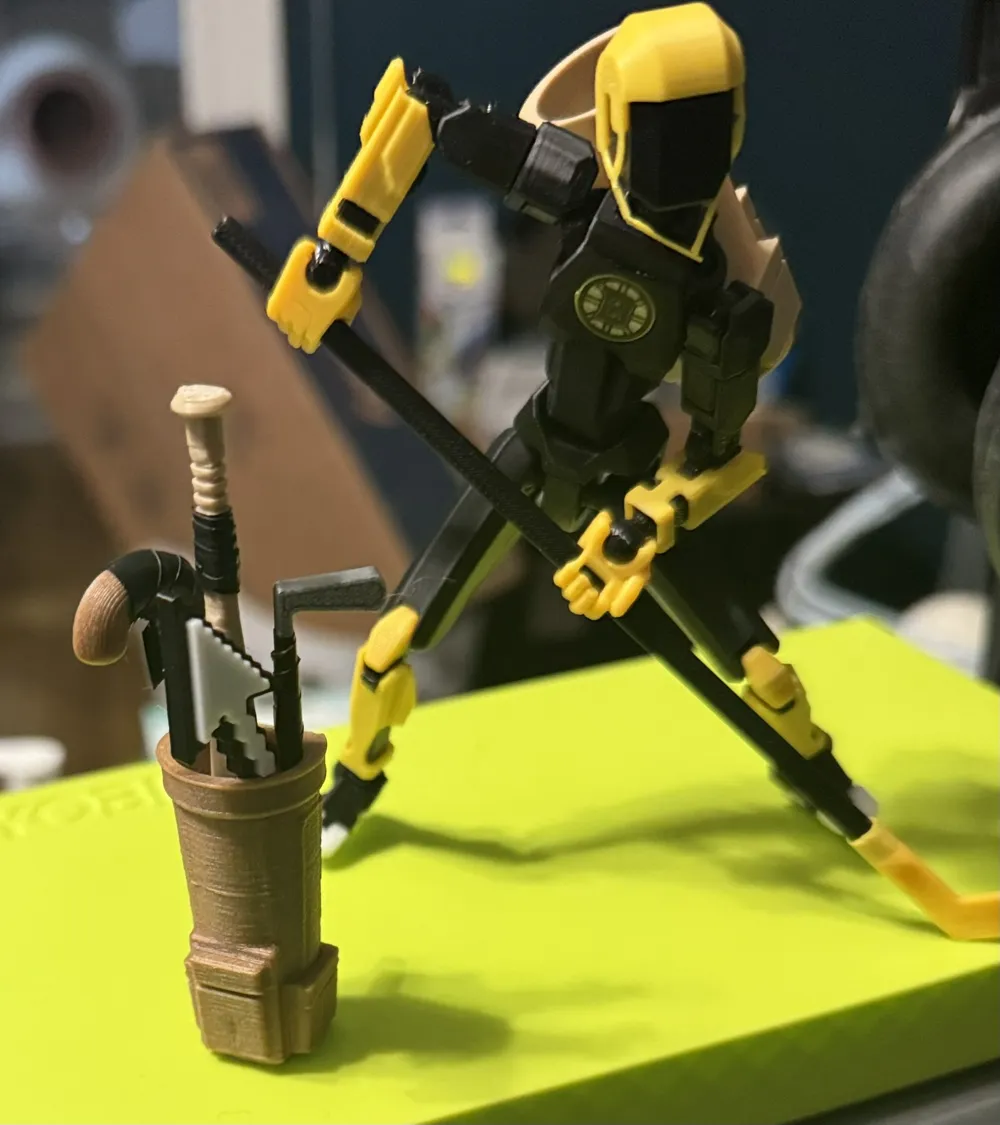
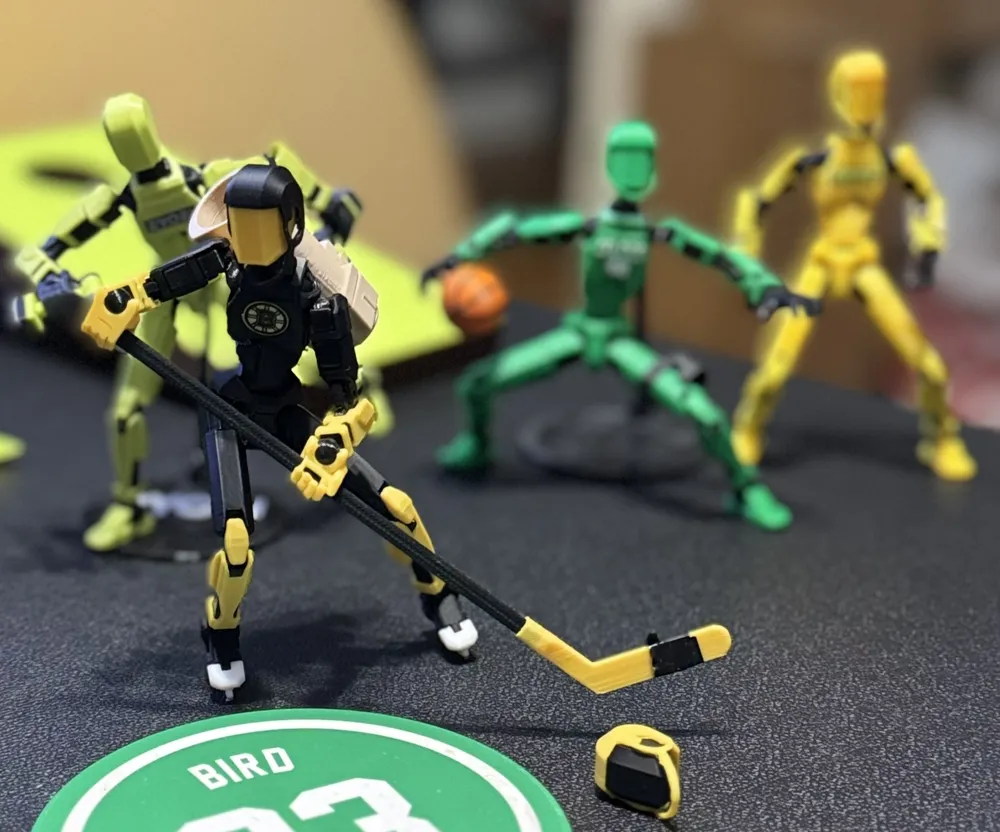
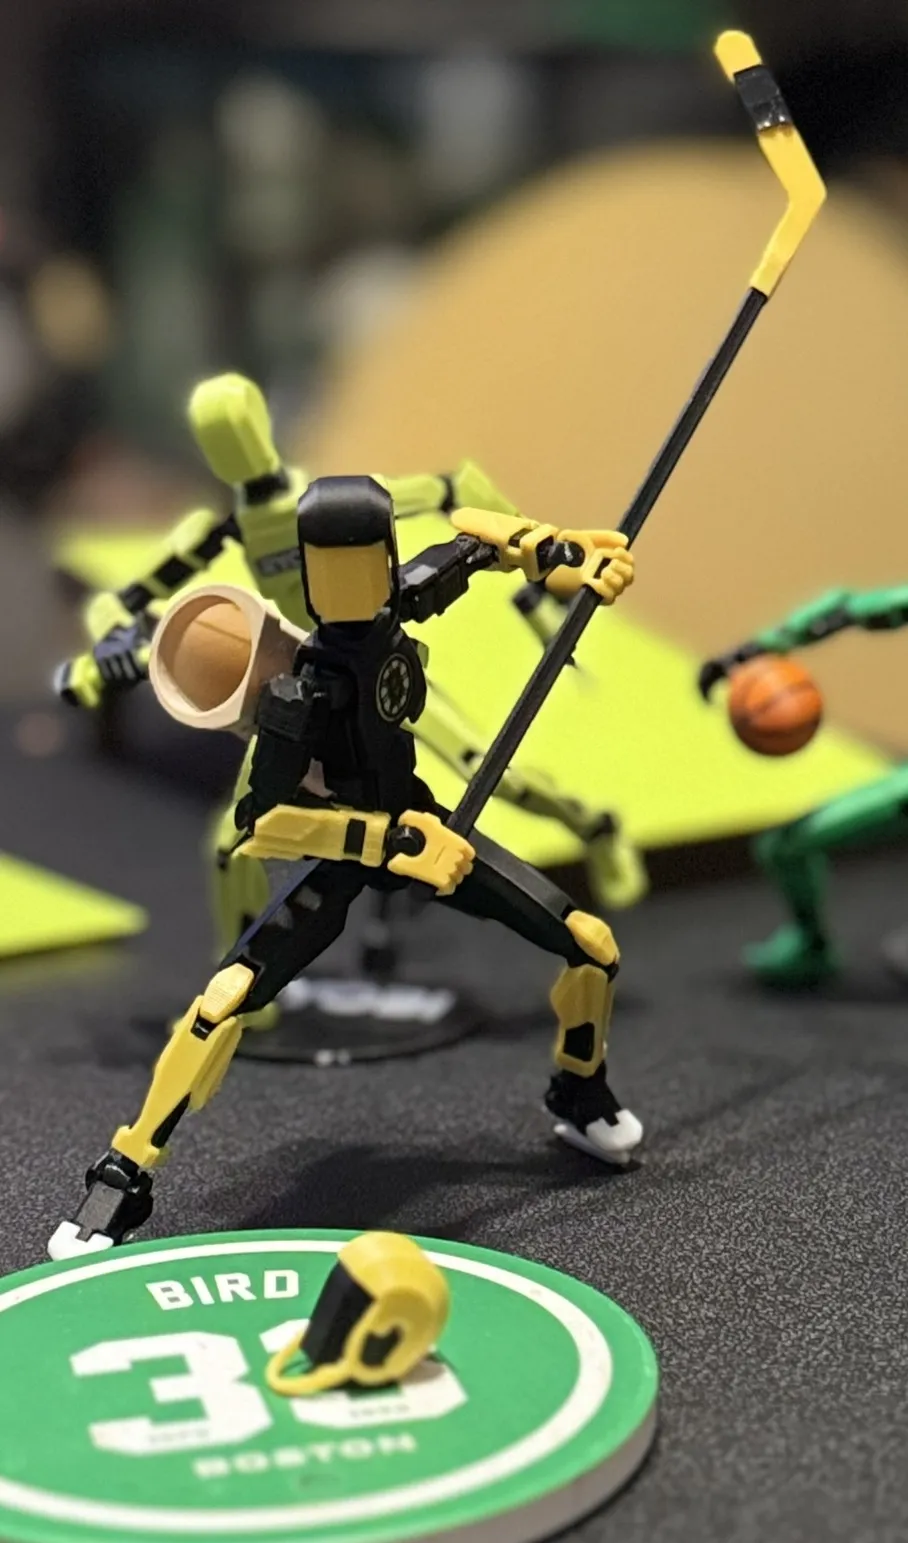
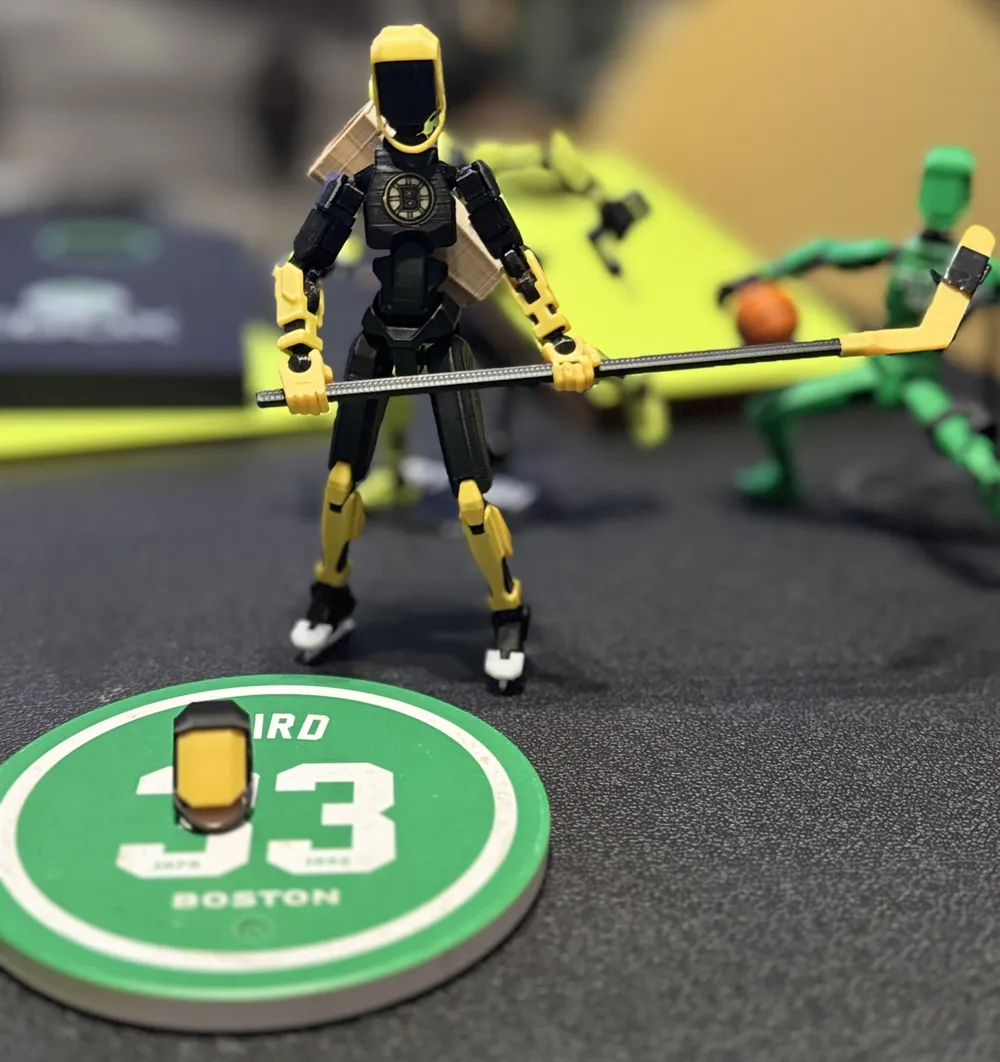
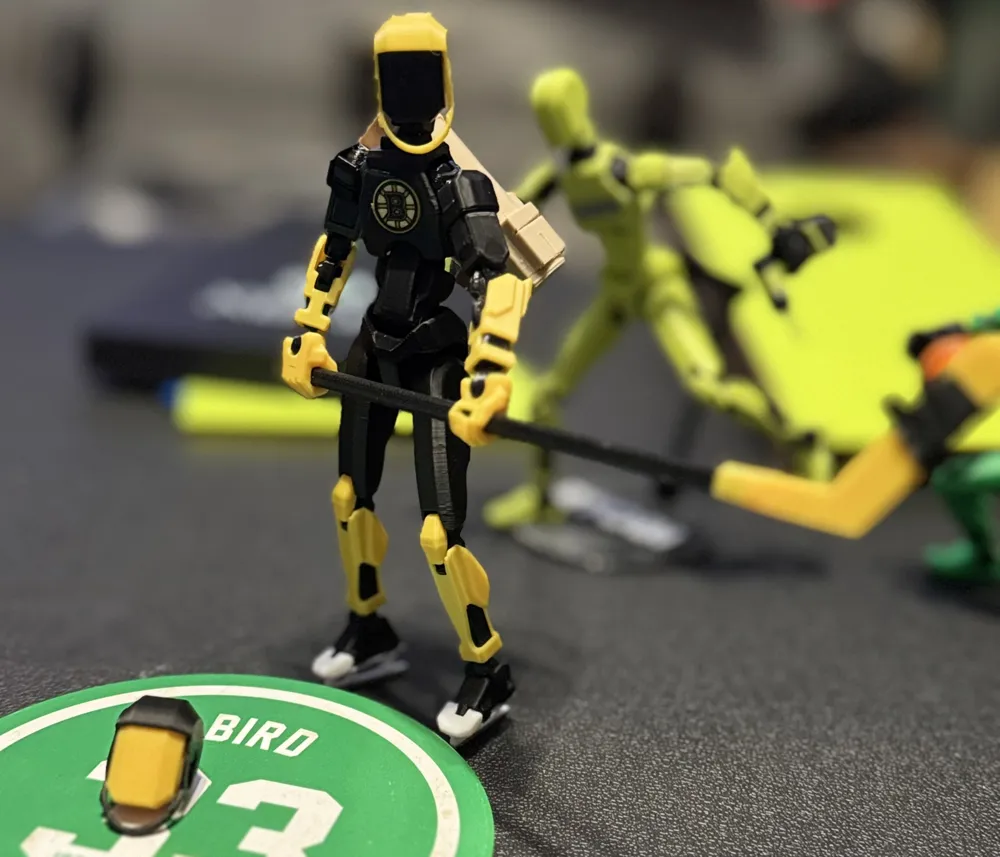
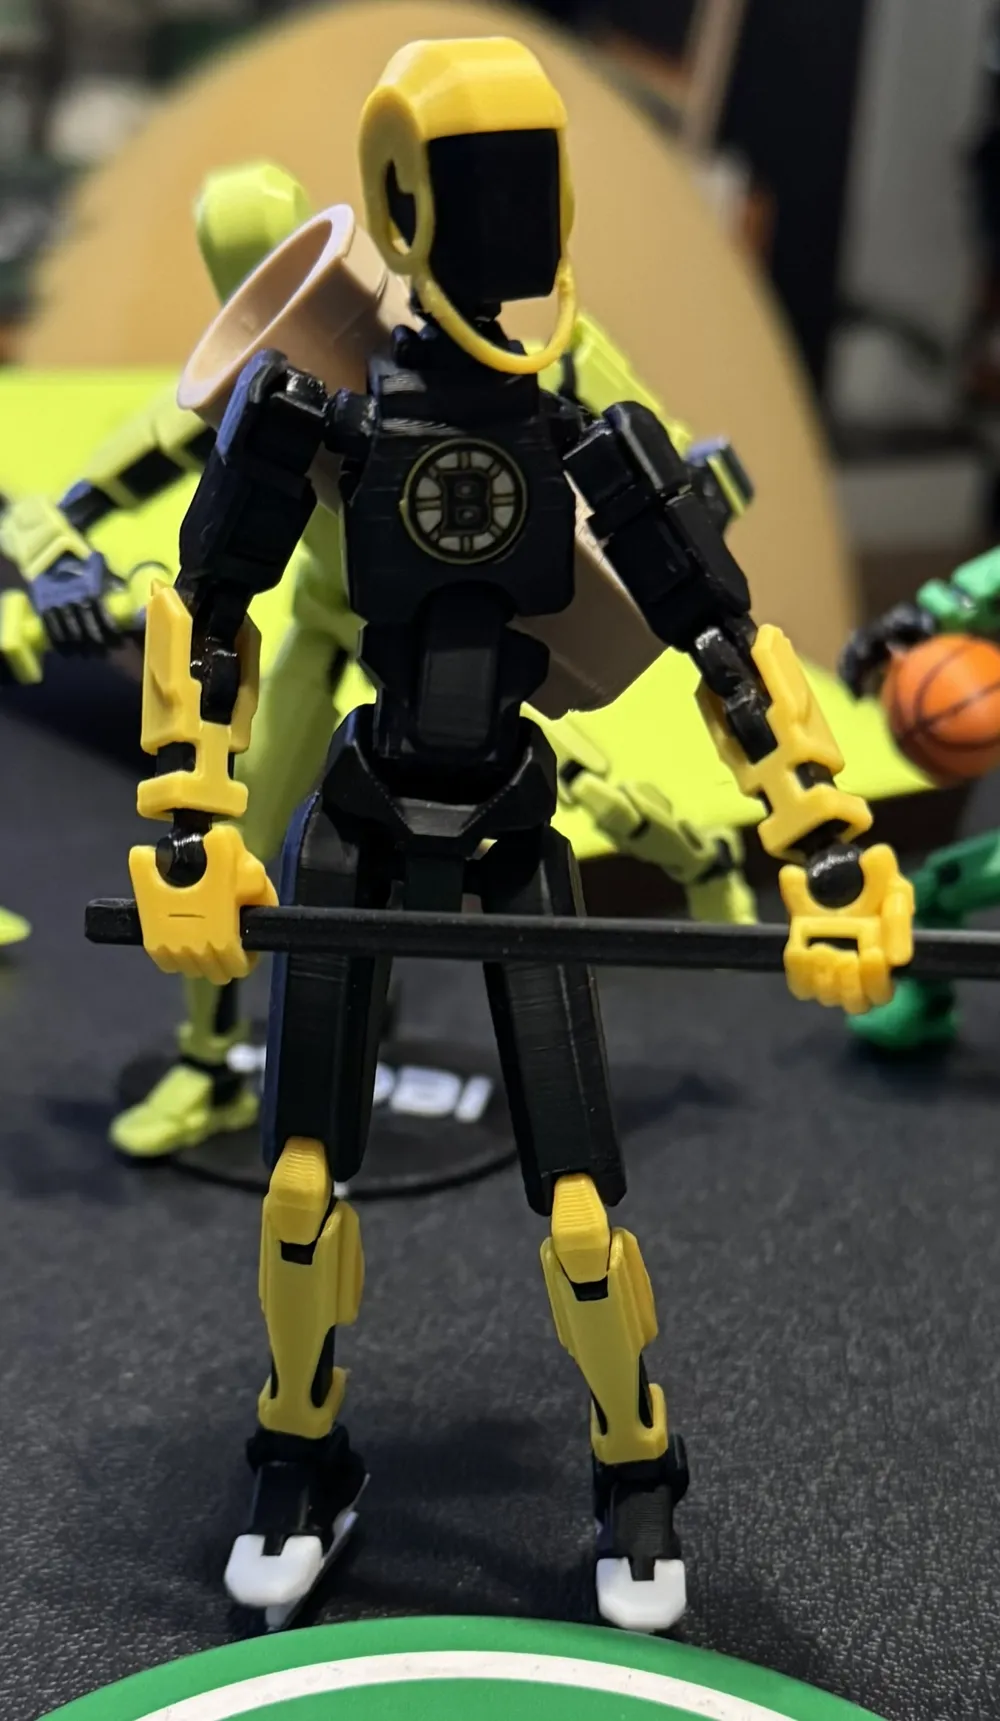
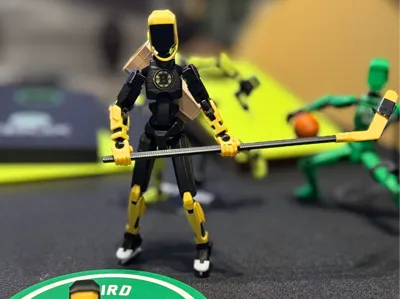
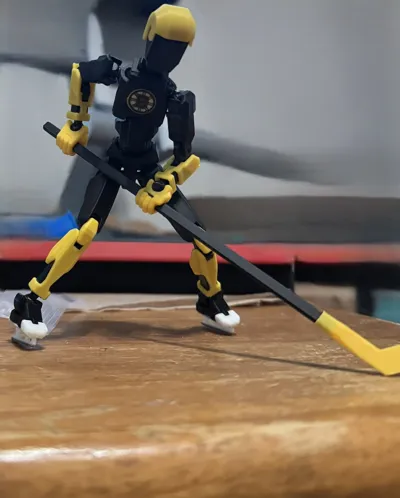
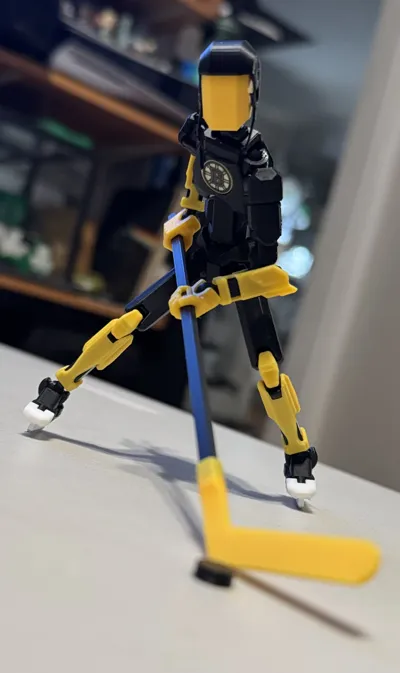
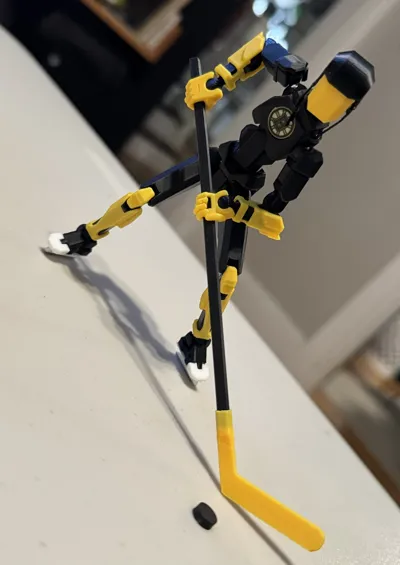
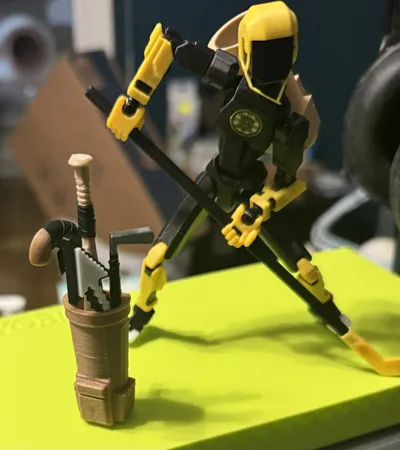
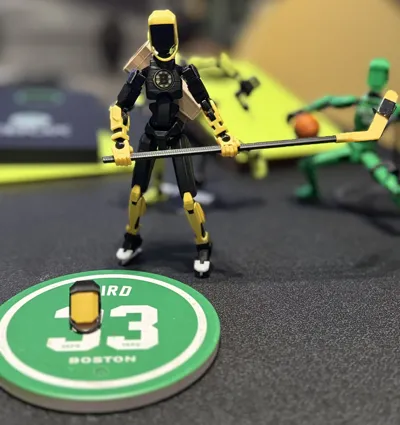
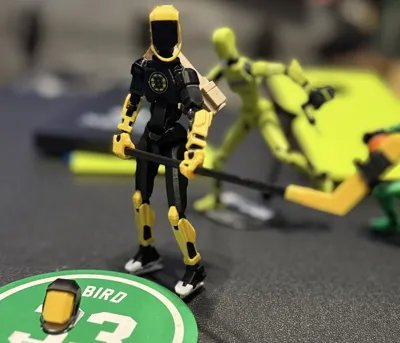
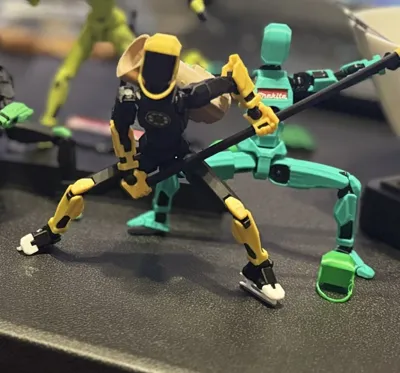
This remix is based on https://makerworld.com/en/models/638587-dummy-13-version-1-0#profileId-564186 and is modeled after the Boston Bruins hockey team, with an inset in the chest for the team logo, an optional custom stand with inset for the Bruins logo as well, and in this one I'm including miniature hockey gear (helmet, skates, stick, and puck; I borrowed the gear from the following model https://makerworld.com/en/models/884368-dummy-13-hockey-gear?replyId=3839716&replyType=4#profileId-839165 but modified the helmet to add earcups and strap, and modified the skates changing the blade to a larger one that attaches to the dummy's foot by replacing the default toe piece).
If you are new to Dummy 13 please check the original model for detailed information related to Dummy 13, assembly etc.
The frame (and optional stand) is recommended to be printed in PETG for improved strength and durability, with all armor and accessories being PLA.
There are lots of small parts, so if you are using a non-sticky plate, make sure your plate is very clean and you may consider using liquid glue stick on your plate, i do this for most of my prints and the adhesion is almost flawless this way. I do have periodic adhesion issues with the forearm armor since they have thing surface area touching the bed, so be warned :).
- Armor Color - I used Sunlu PLA in Black, Vivid Yellow, and White, as well as Bambu Lab SIver PLA for the skate blade.
- Chest and Logo - The logo badge should fit nicely into the inset on the chest, be careful as you could break the chest piece putting these together if you press too hard, support the chest as you press the parts together, and I recommend you use a tiny dab of CA glue behind the logo if it fits loose.
- Chest Logo Badge - I recommend 0.2mm nozzle for the chest badge for the fine detail in the logo letters, otherwise it is muddled. Everything else prints well with 0.4mm nozzle. You should print all your parts from Bambu Studio as normal and make sure to switch to 0.2mm nozzle for the chest logo before printing it.
- I am including a separate profile with tuned settings for the chest logo for printing directly from Bambu Handy to 0.2mm nozzle.
- Adhesion - I use Bambu glue stick on the plate for most of my prints, some of these small pieces may come loose, so be warned.
- Stand - I included an optional stand in this print with inset cutout for an optional Bruins logo badge you can press fit into it.
If you're a Bruins fan, check out my model for mini Desktop Cornhole which you can customize with this Bruins faceplate I designed: https://makerworld.com/en/models/2190059-boston-bruins-faceplate-for-desktop-cornhole#profileId-2377767
This remix is based on


License



Comment & Rating (2)