
U1 ptc heater with HEPA, activated carbon filter
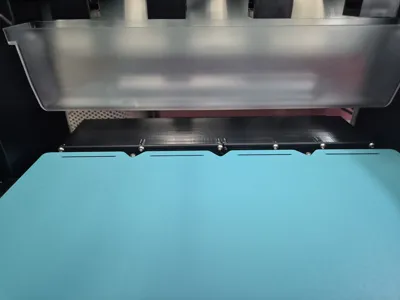
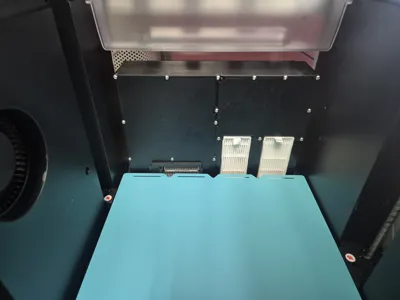
Print Profile(1)

Description
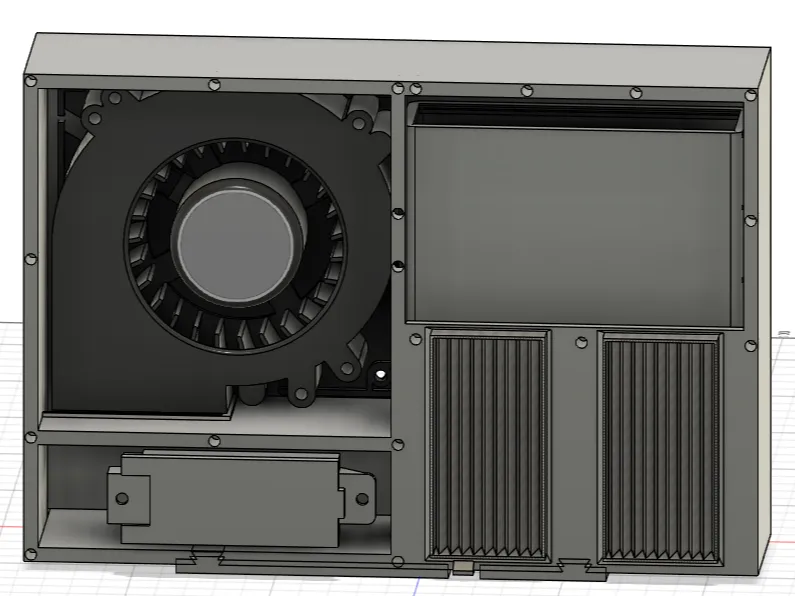
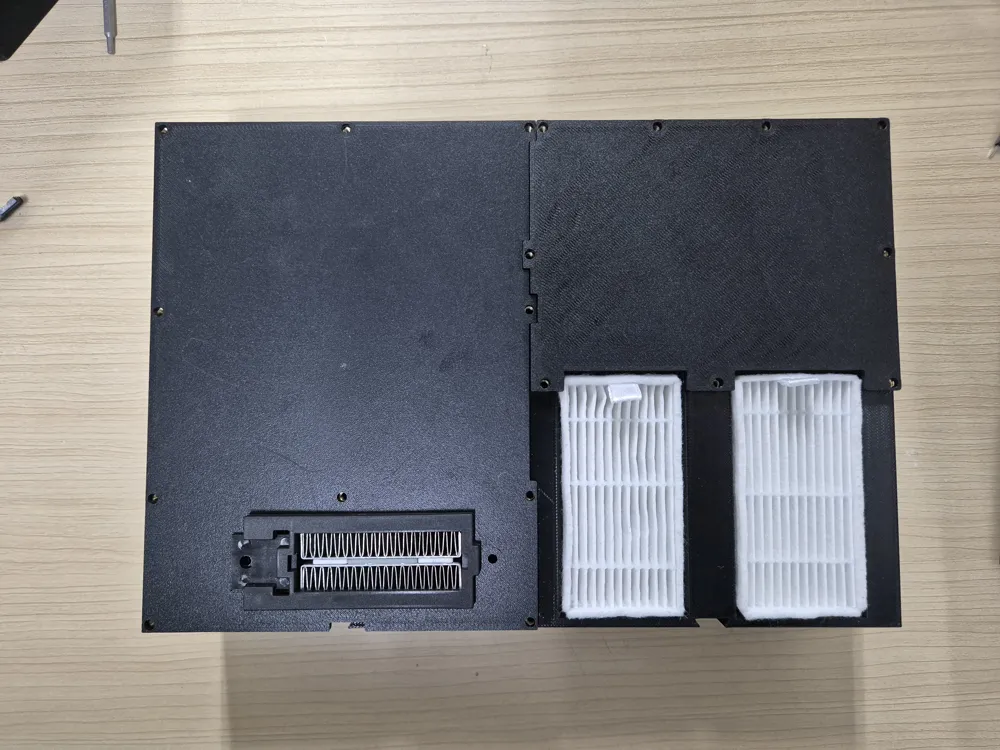
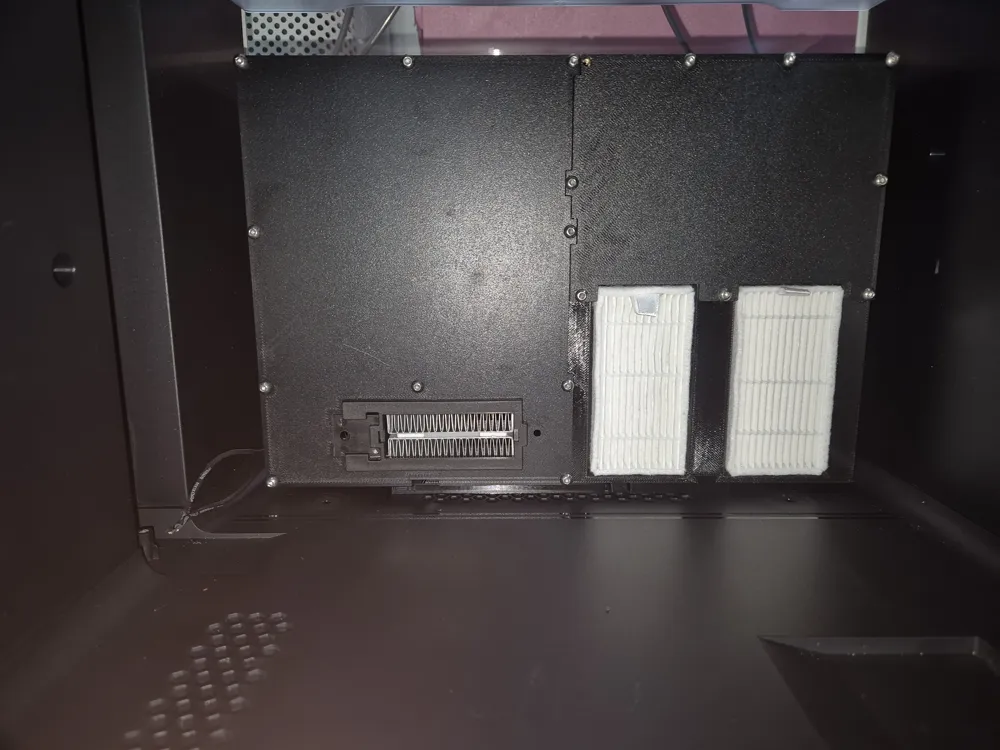
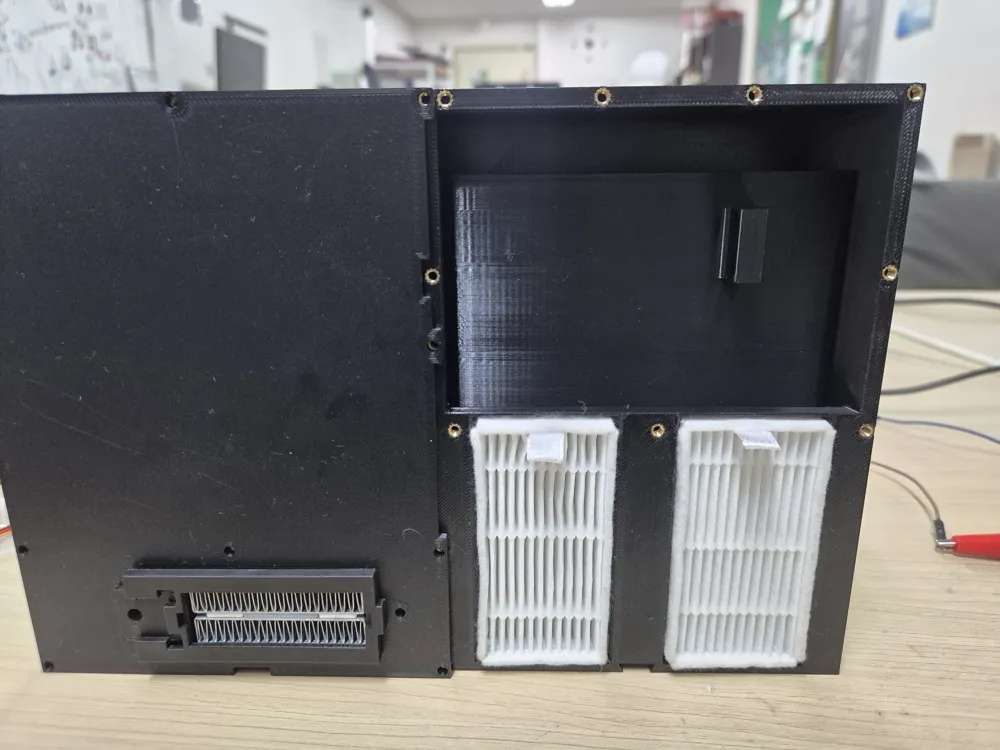
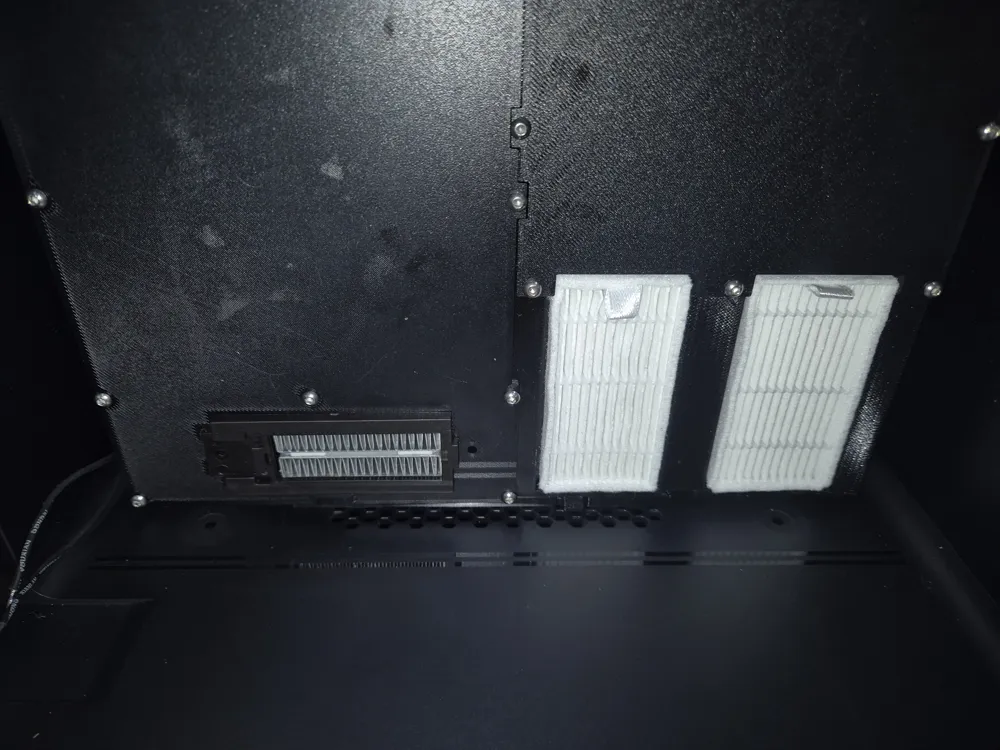
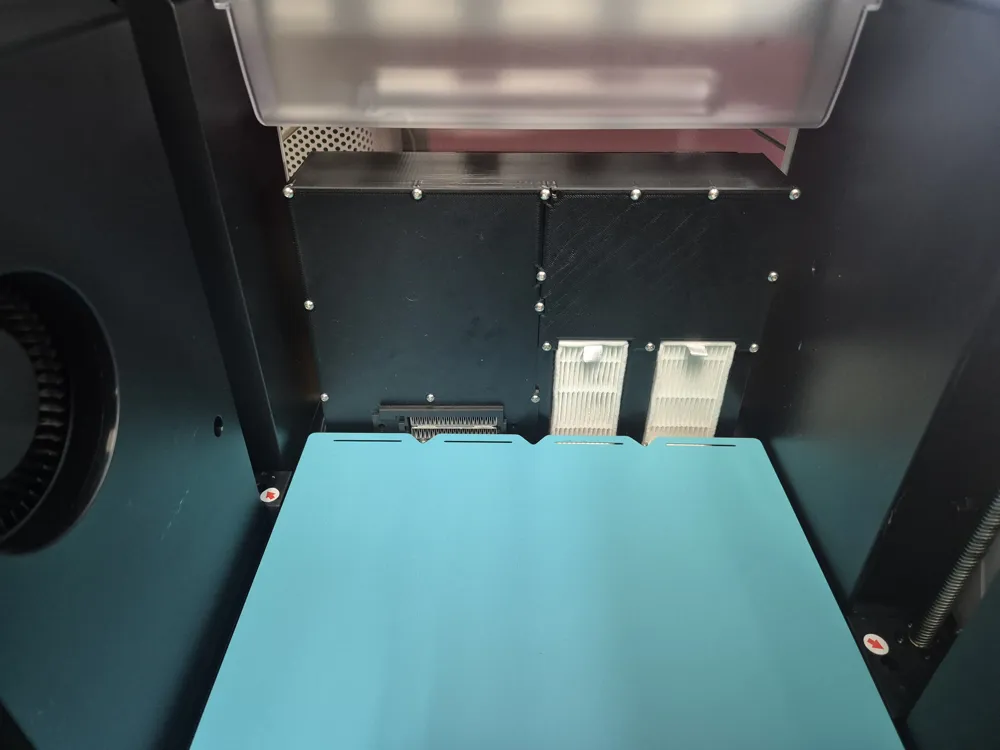
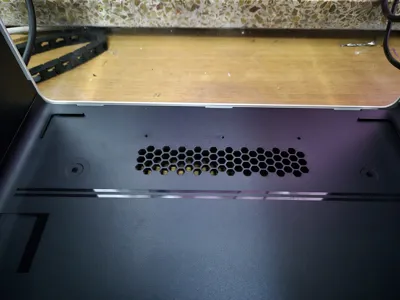
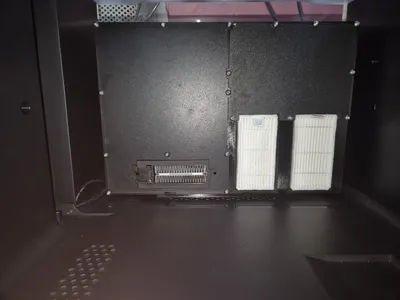
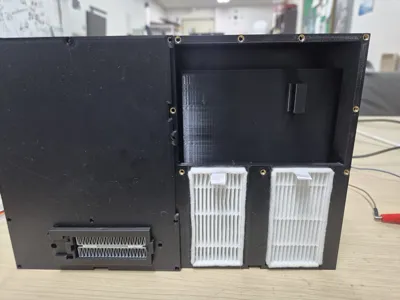
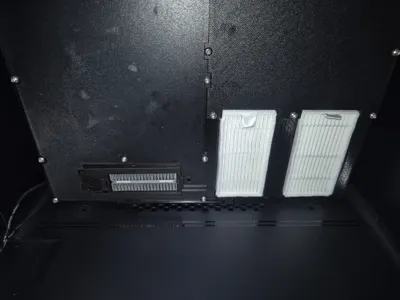
This project is an air purification and chamber heating module designed specifically for the Snapmaker U1 printer.
It helps maintain the internal chamber temperature when printing high-shrinkage filaments, while simultaneously filtering out harmful gases and particles.
✨ Key Features
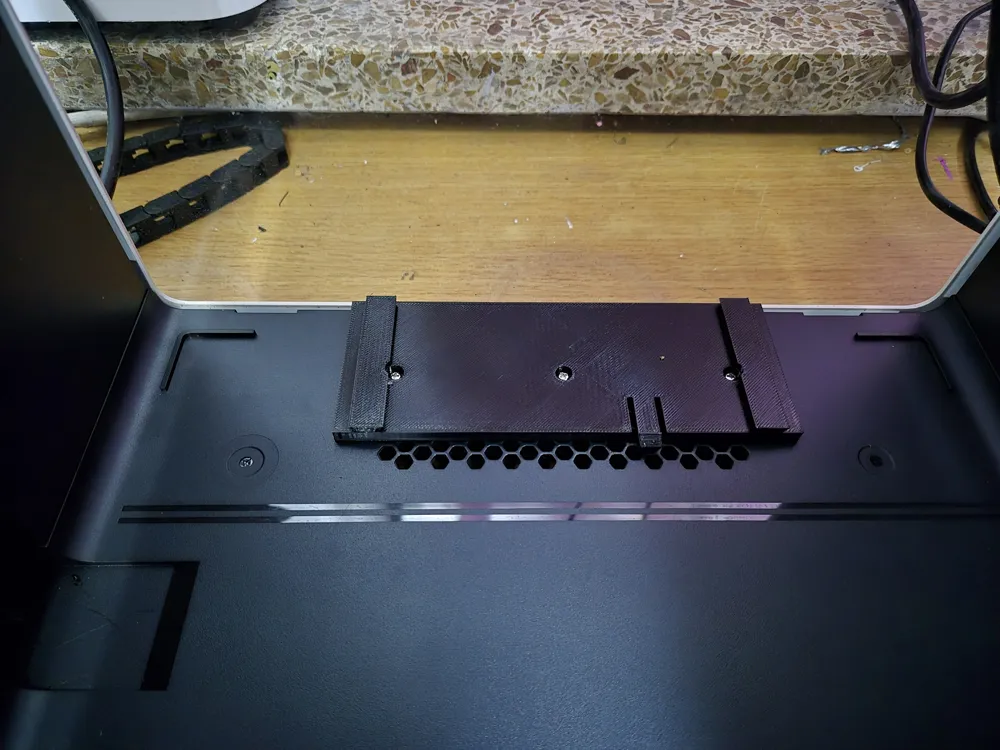
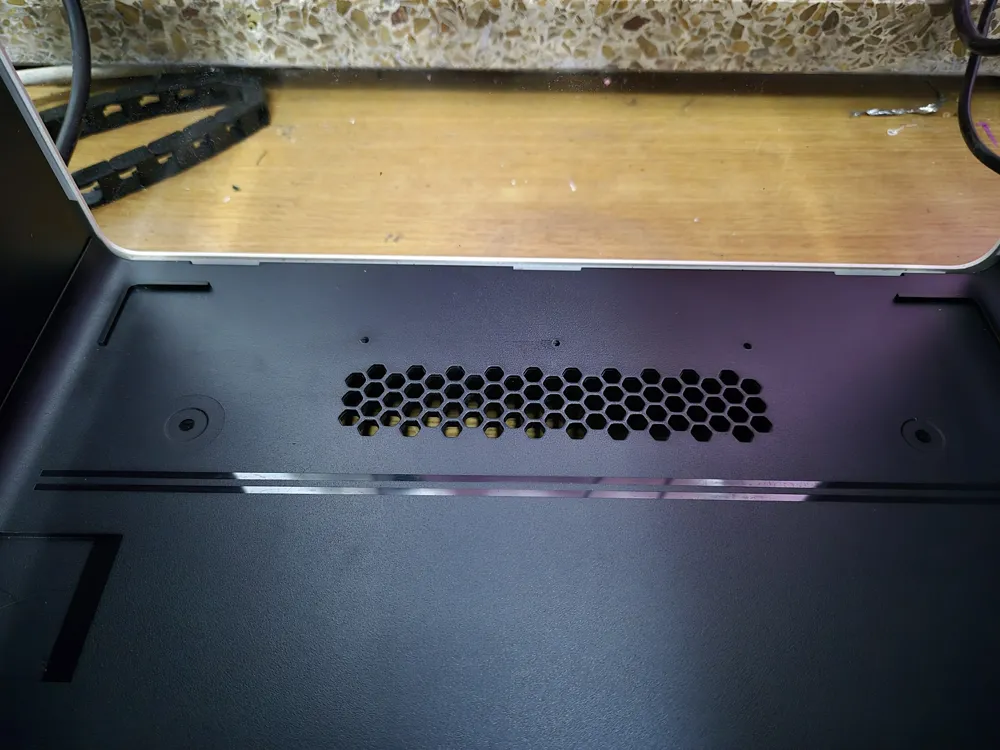
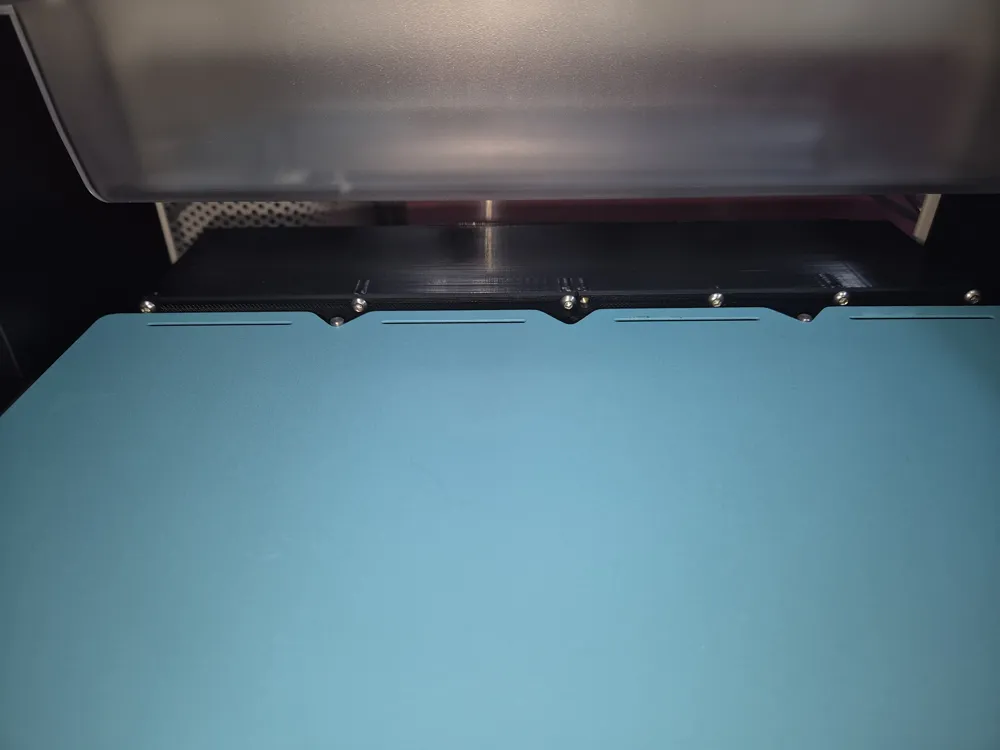
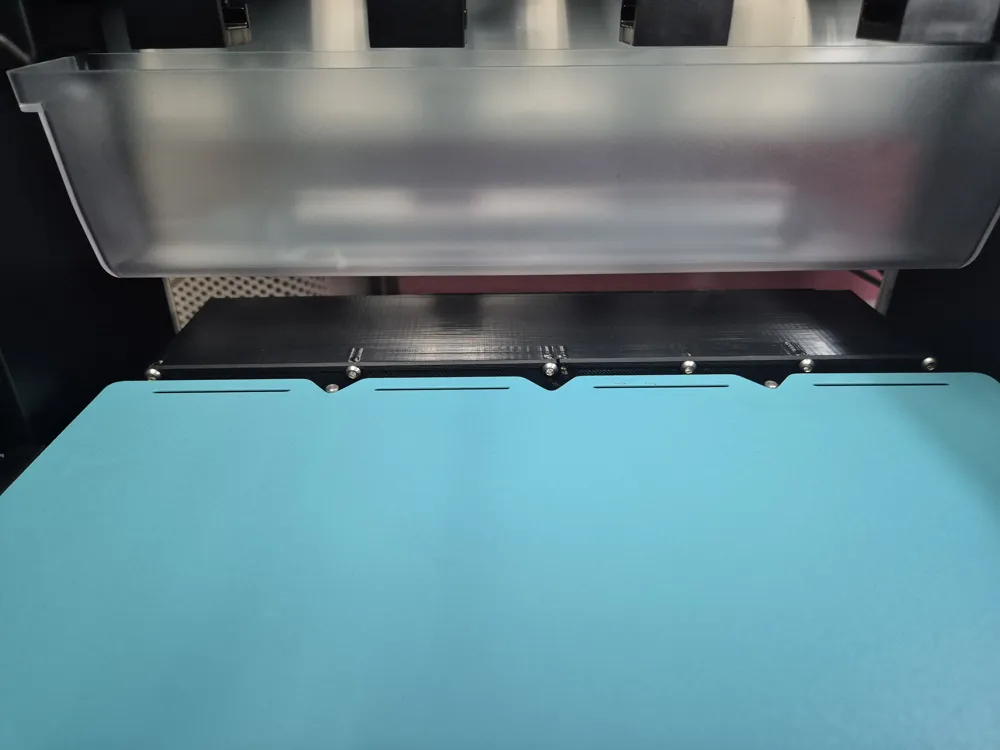
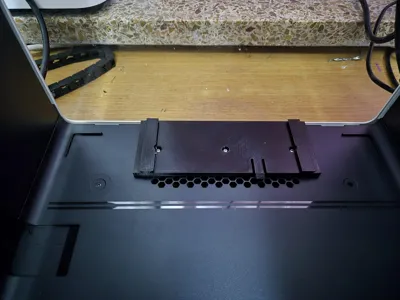
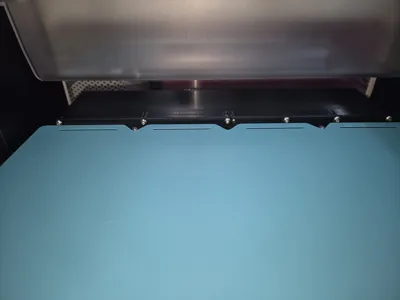
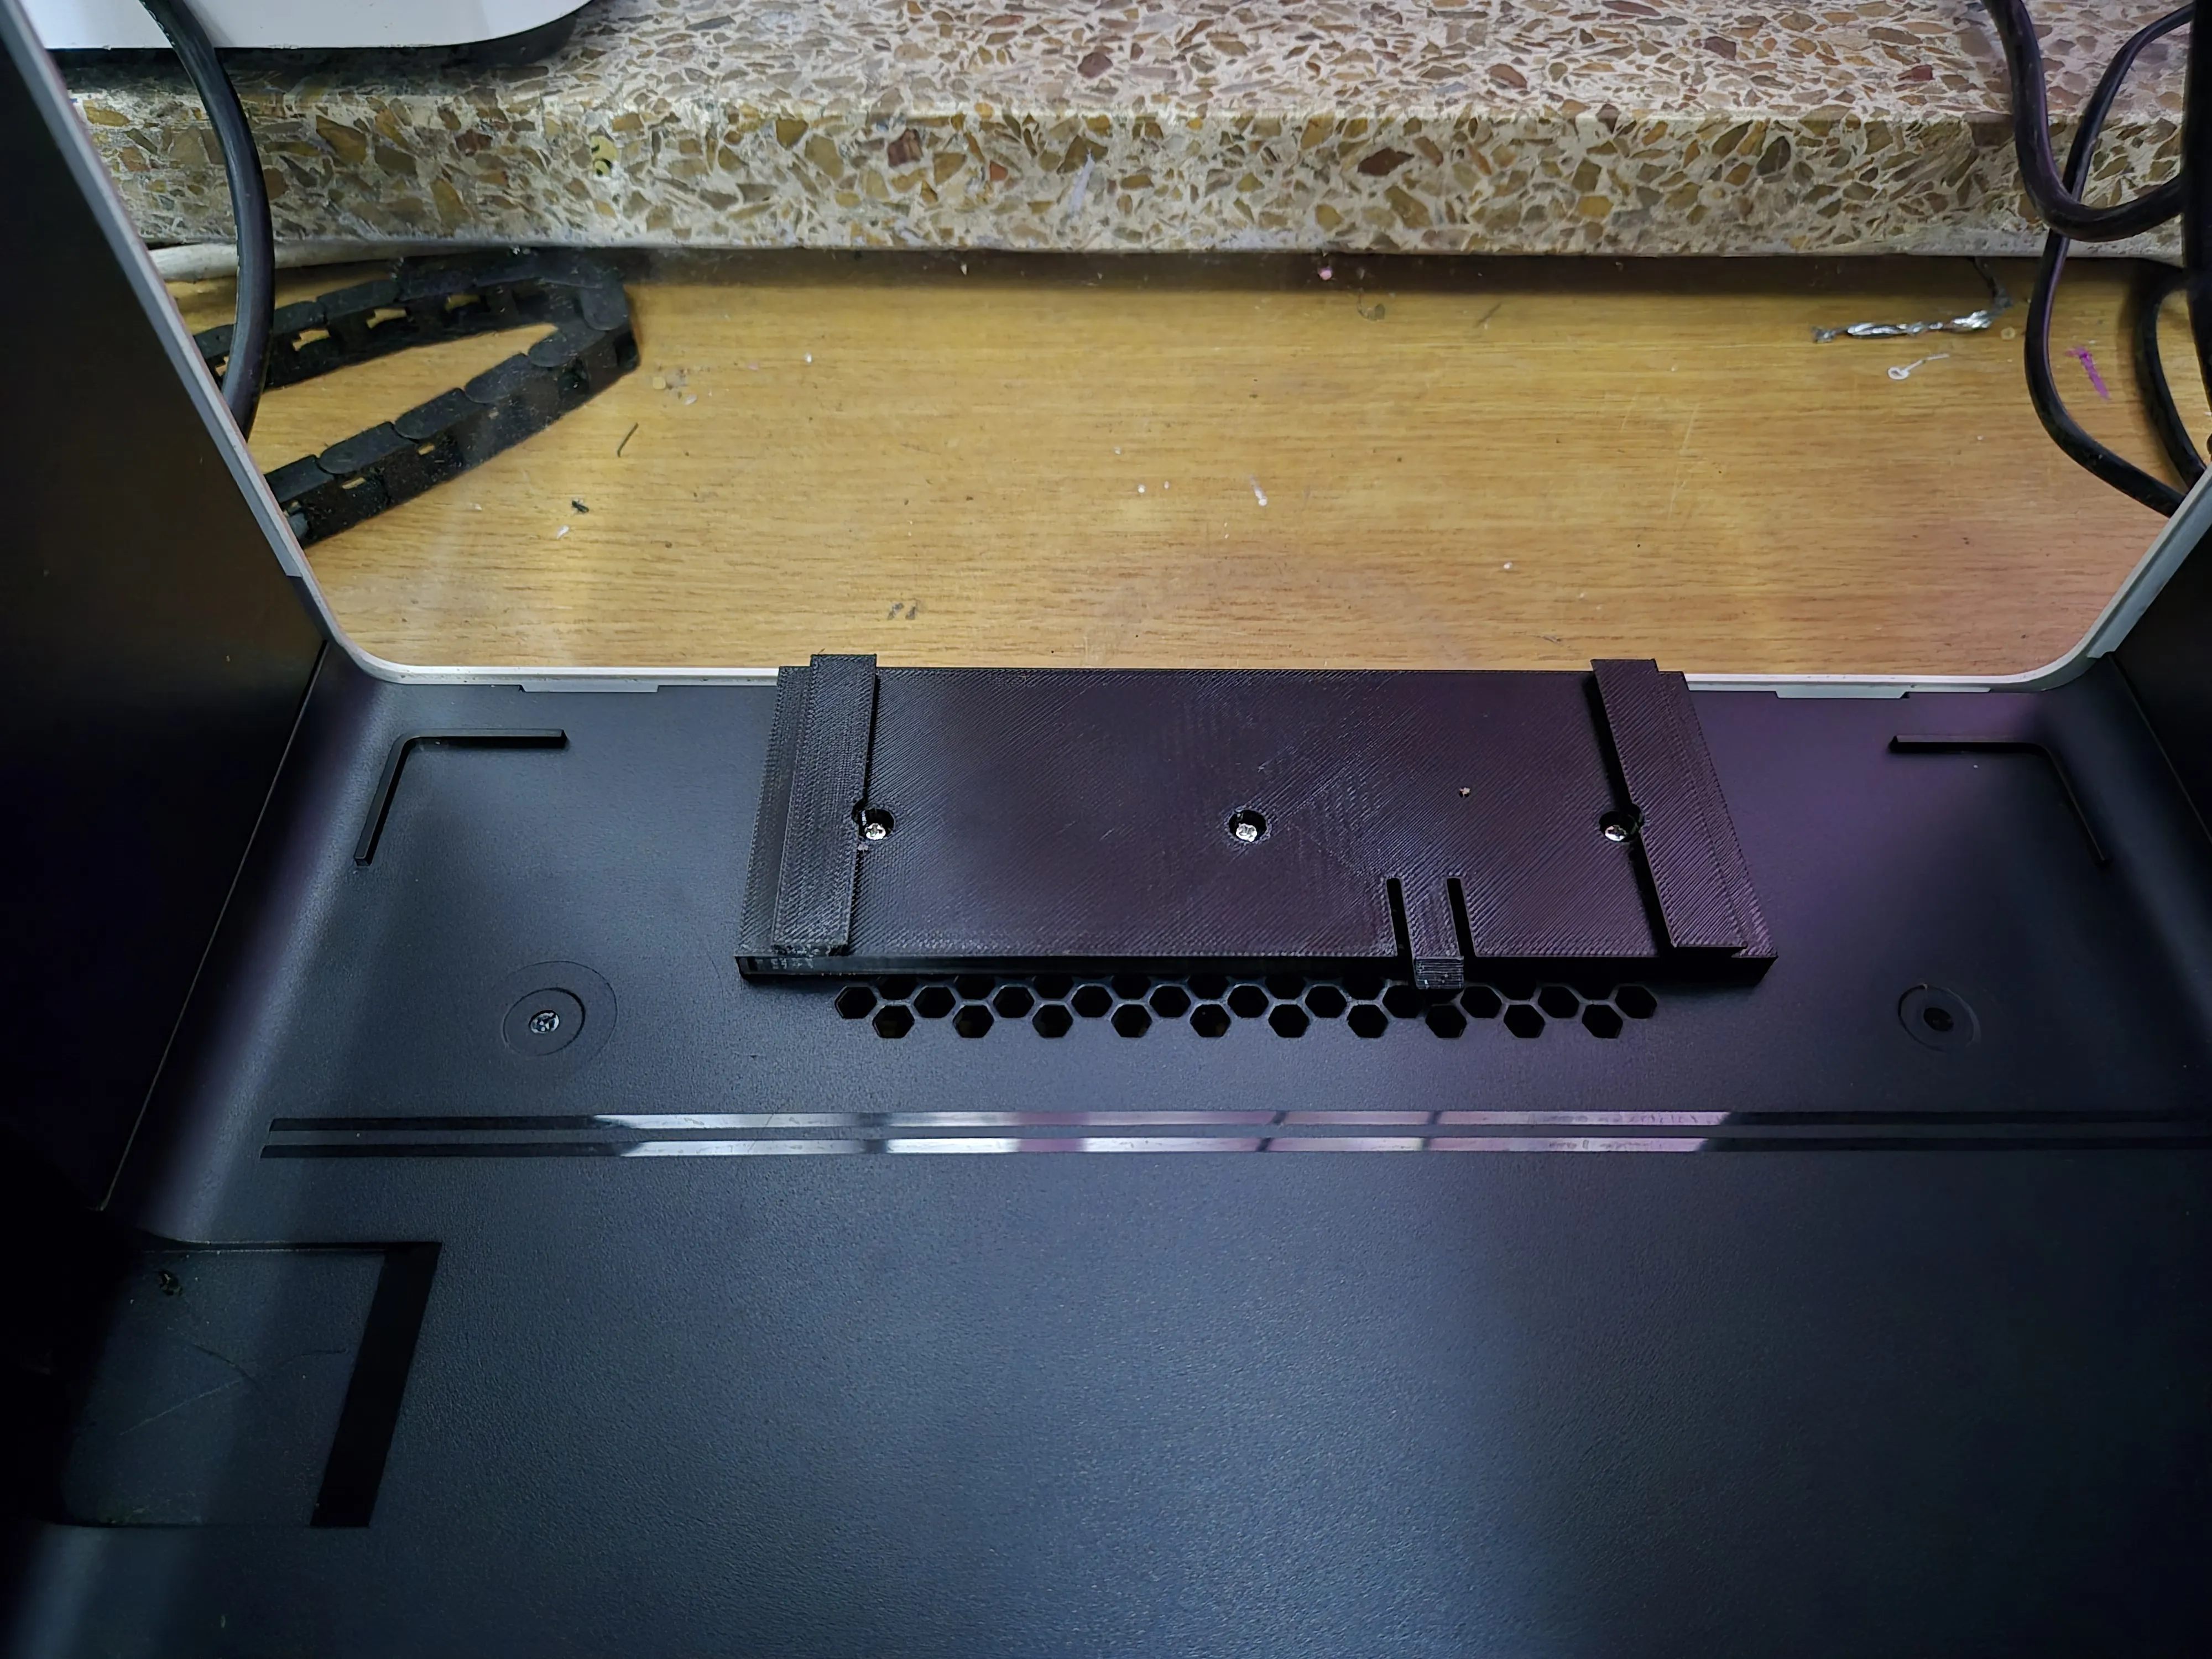
- Minimal Modification: The mount is designed to utilize the existing screw holes originally used for securing the heat bed during shipping. No drilling or permanent modification to the printer is required.
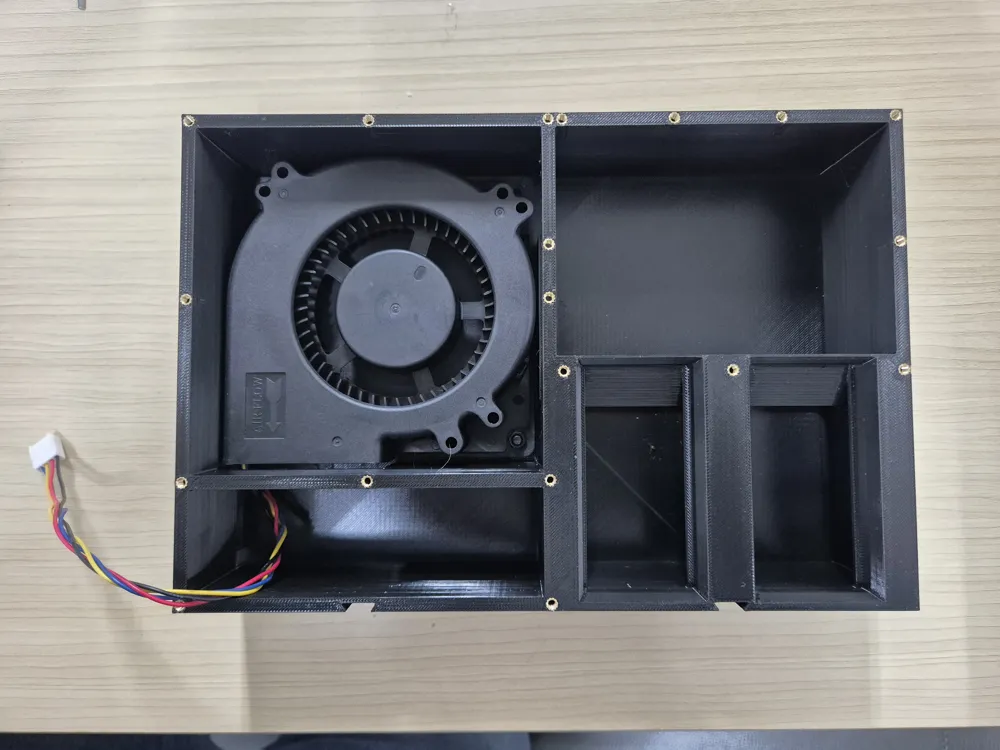
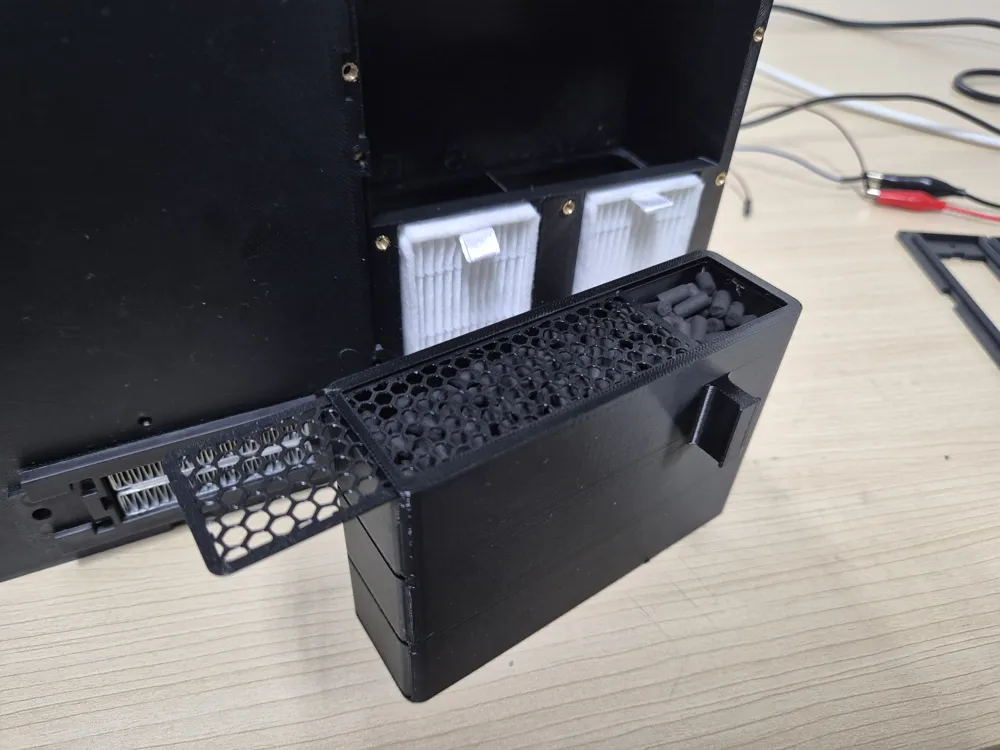
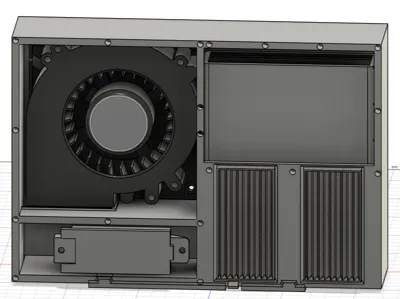
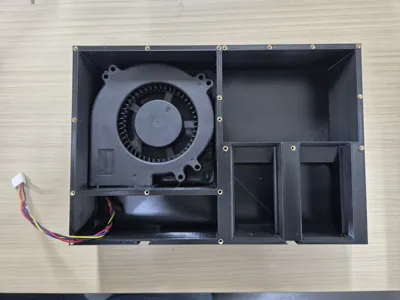
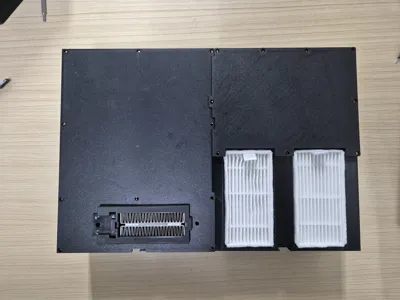
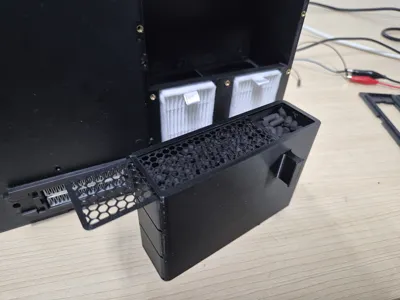
- Dual Filter System: A dual-layer filtration structure combining a HEPA filter for fine particles and an Activated Carbon filter for VOCs.
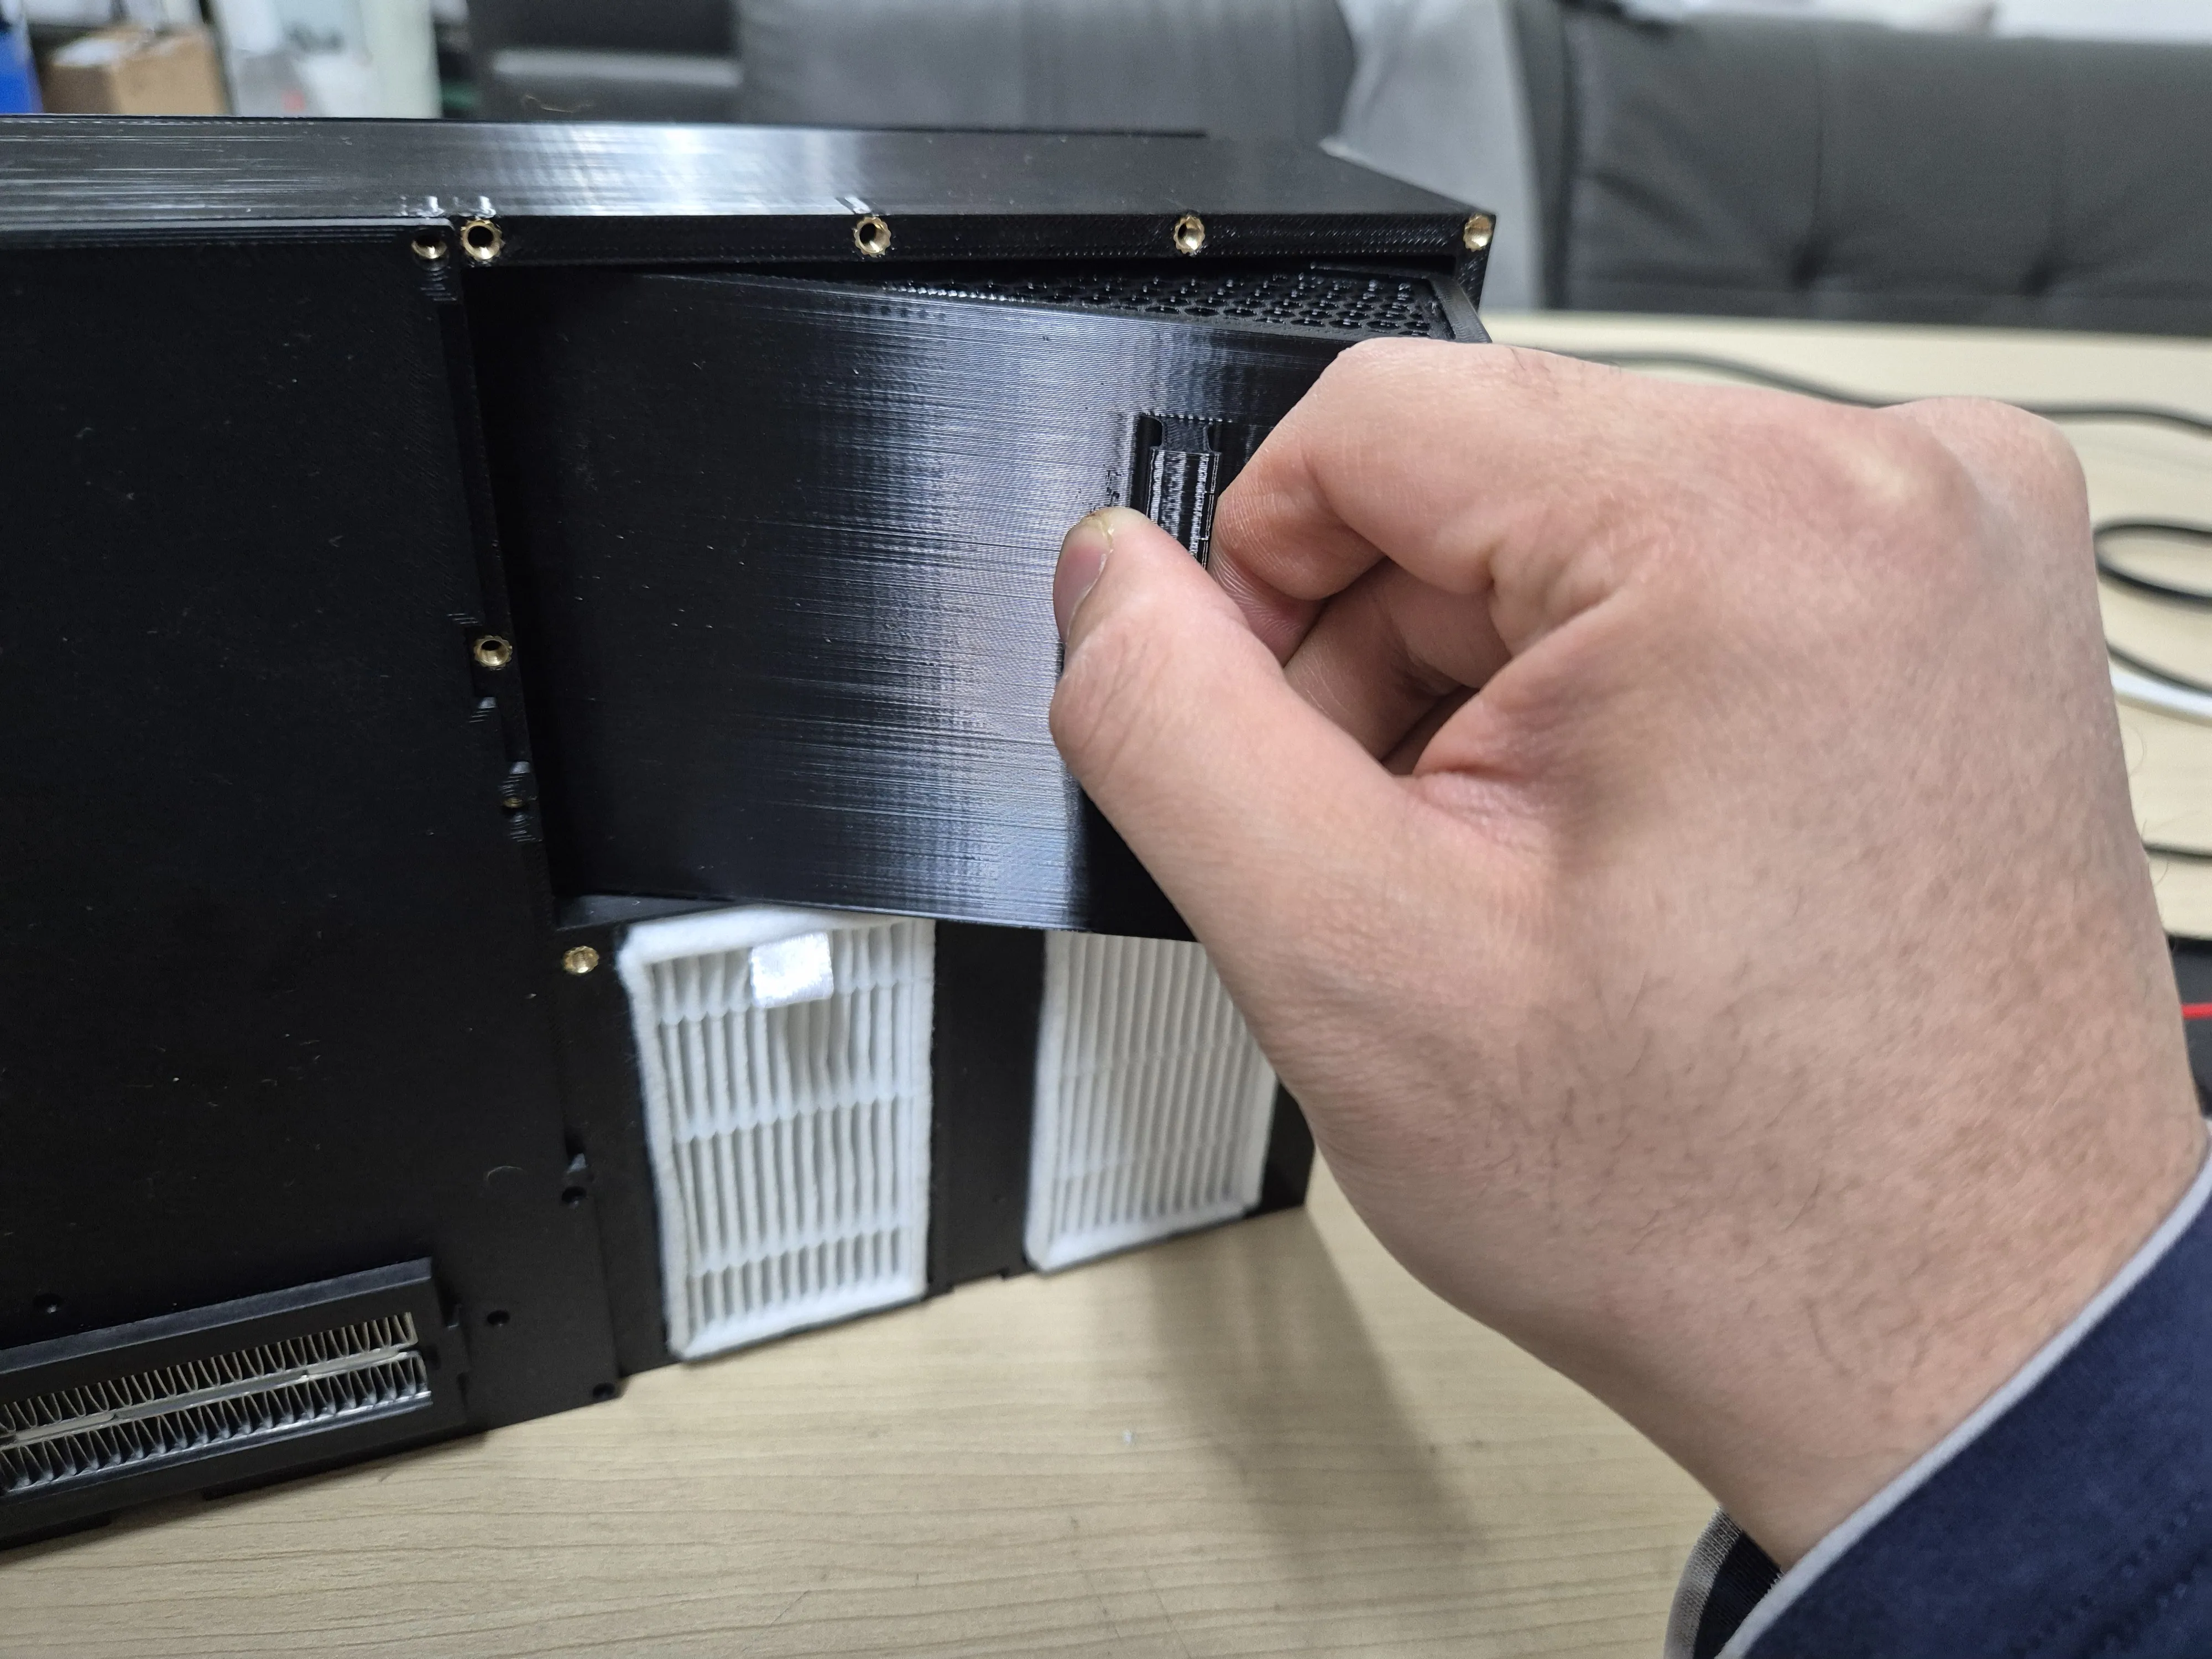
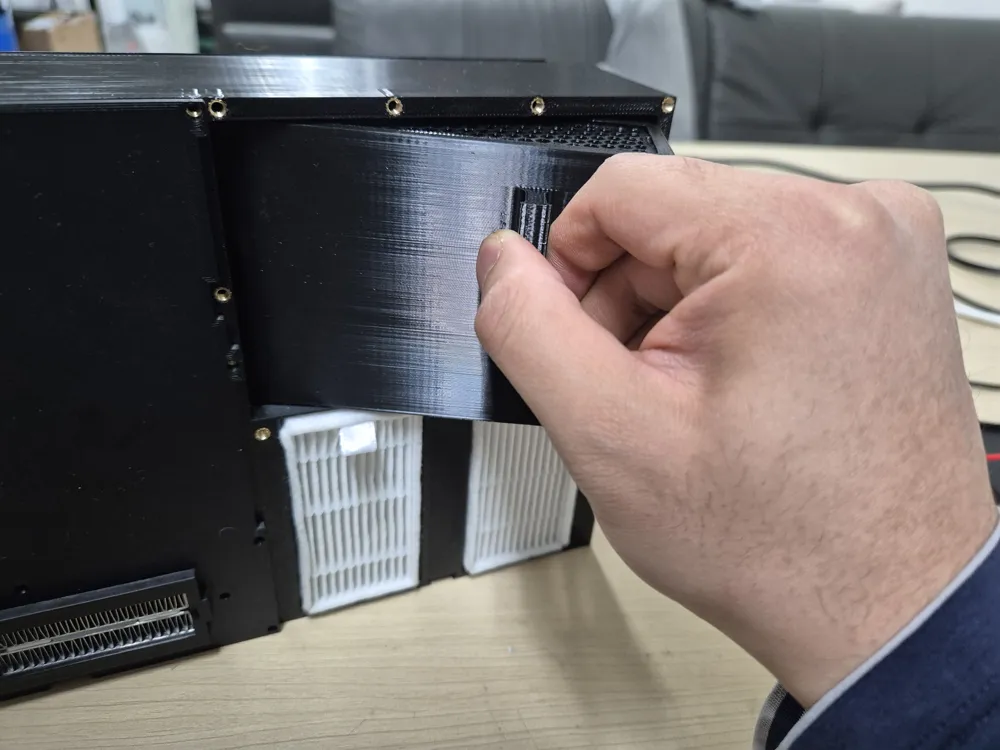
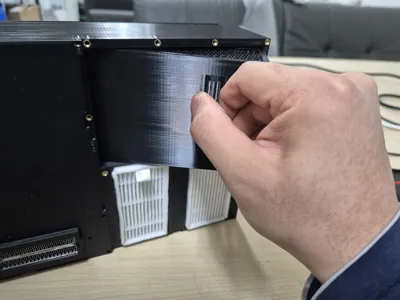
- Easy Maintenance: Features a user-friendly design where you can open the cover to refill the activated carbon pellets without detaching the main unit from the printer.
- Smart Control: Supports fan speed and heater temperature management via Arduino PWM. I plan to provide code that enables remote monitoring and control through the Arduino Cloud.
🛠️ Bill of Materials (BOM)
1. Essential Parts
- HEPA Filter: 80mm x 40mm x 15mm (Use filters compatible with iLife V5/V3 robot vacuums).
- Activated Carbon: Refillable Pellet Activated Carbon.
- Main Cooling Fan: 12032 Blower Fan (12V).
- Note: A high-static pressure fan is recommended to overcome filter resistance. I used a 4-Pin model for PWM control.
- PTC Heater: 12V or 24V PTC Heater with a plastic enclosure (Commonly available on Aliexpress). I personally used a 24V 200W model.
- Fasteners & Hardware:
- M3 Threaded Inserts
- M3 x 8mm Bolts
- M4x15mm Countersunk Bolts
- M4 Nuts
- M2.6x8mm Screw or M3x8mm Tapping Screws (for fixing the mount)
2. Electronics - Reference Setup
This project can be configured in various ways depending on your power environment. Below is the reference spec based on my actual 24V setup.
- Main Power (PSU): 24V 350W SMPS (Utilized an Ender-3 replacement power supply).
- Caution: Ensure the PSU has sufficient capacity for your specific PTC heater's power consumption. Also, place the PSU outside the printer chamber to ensure adequate cooling.
- Voltage Converter (Buck Converter): LM2596 Step-down Converter (For converting 24V → 12V to power the fan and Arduino).
- Control Board (MCU): Arduino Nano 33 IoT.
- Reason for selection: Enables remote connectivity (Wi-Fi/Bluetooth) and chamber temperature monitoring without an external sensor by utilizing the built-in IMU temperature sensor.
- MOSFET: High-Current Control Module for PTC heater
- Spec: Supports max 15A / 36V (If using Arduino Nano 33 IoT, a module triggerable by 3.3V logic level is required).
In addition, wires, an AC power socket, and soldering tools are required for assembly. A complete BOM (excluding printed parts) and the Arduino code will be uploaded soon.
If you found this project helpful, please consider giving it a Like and a Boost! It really supports my work. The Arduino code and full BOM will be uploaded soon, so stay tuned. Happy Printing!
License



Comment & Rating (8)