
Model Railway N Gauge Bridge - Masonry and Steel / 1
Print Profile(1)

Description
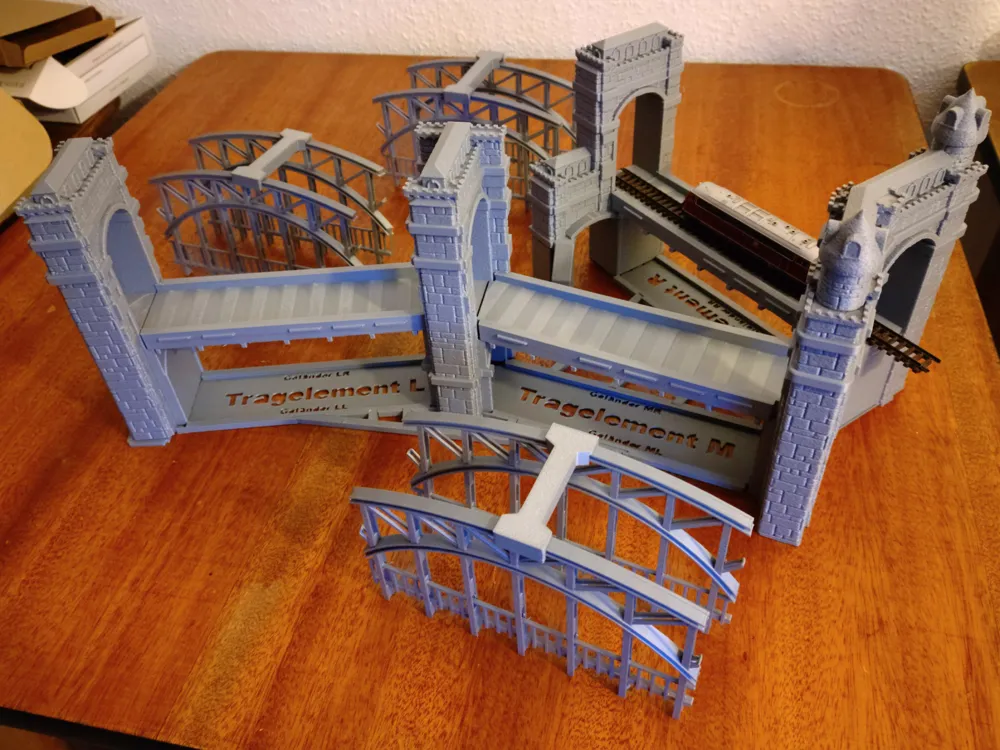
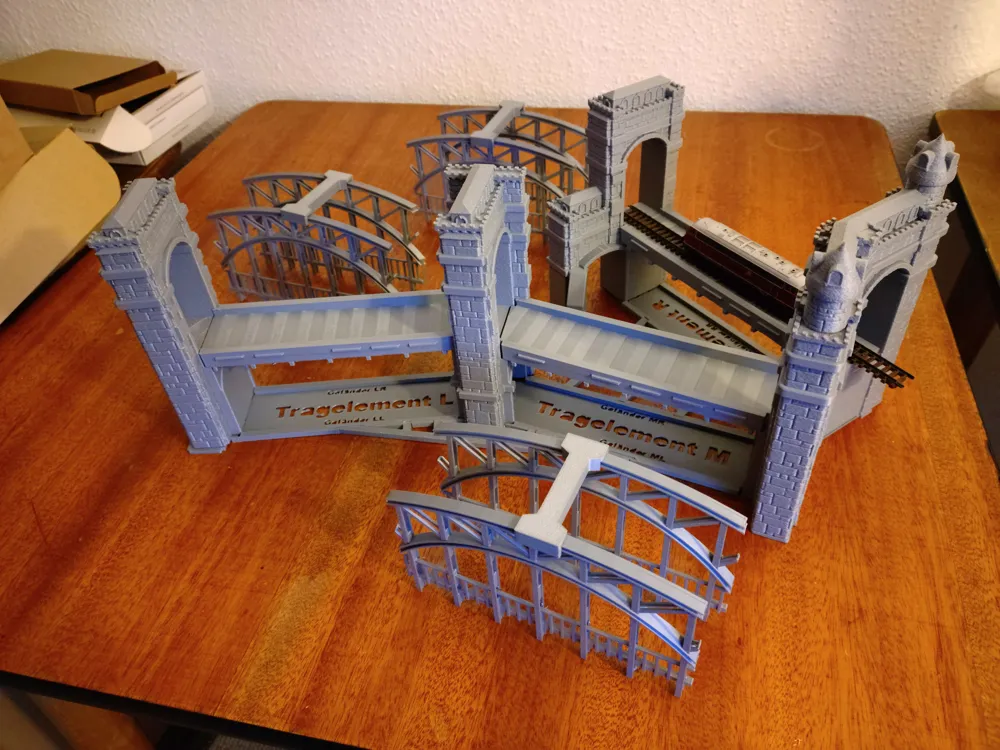
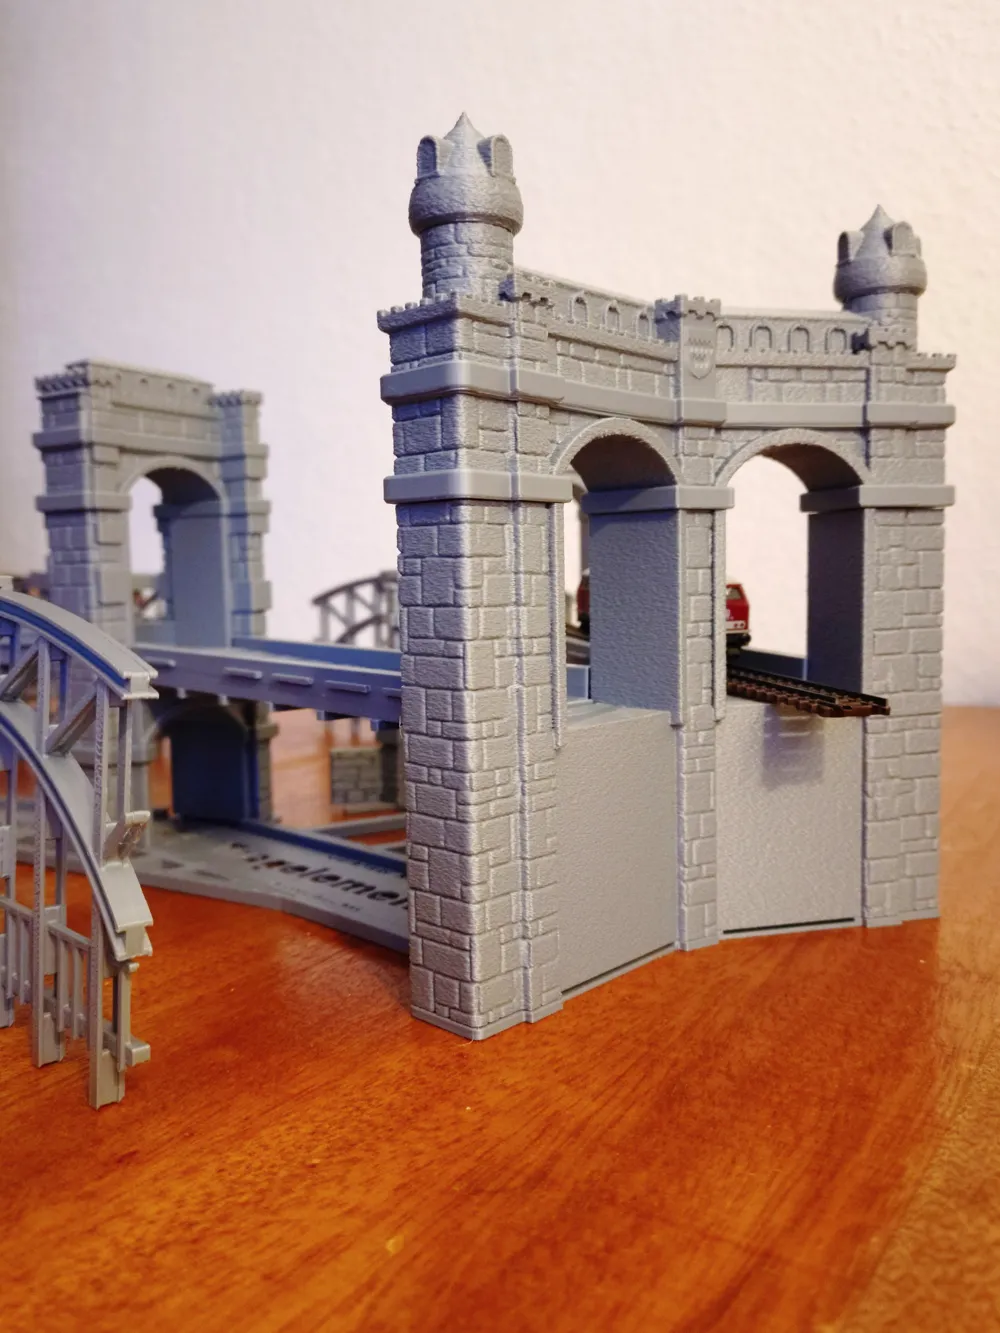
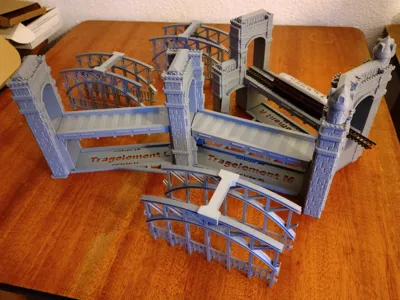
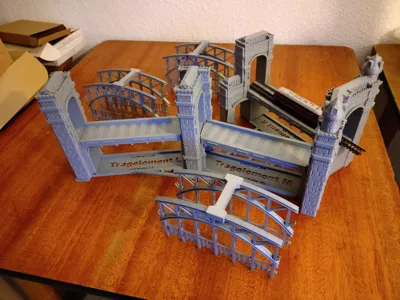
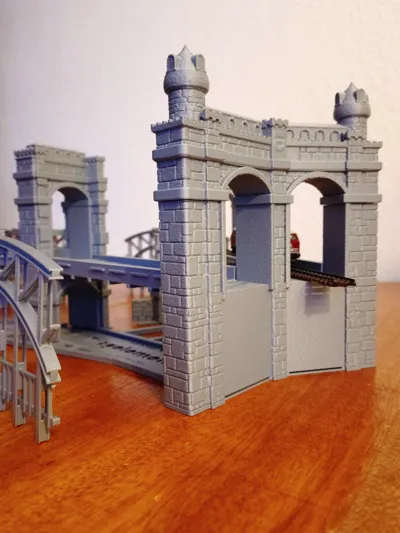
N Gauge Model Railway Bridge made of Masonry and Steel
The old Elbe bridge served as inspiration
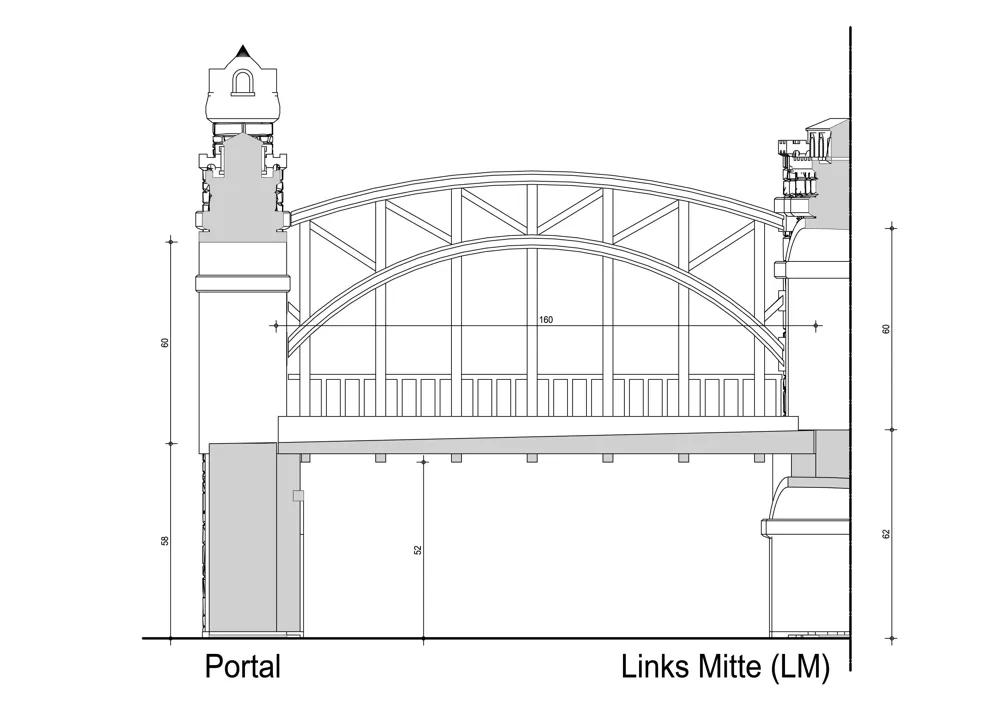
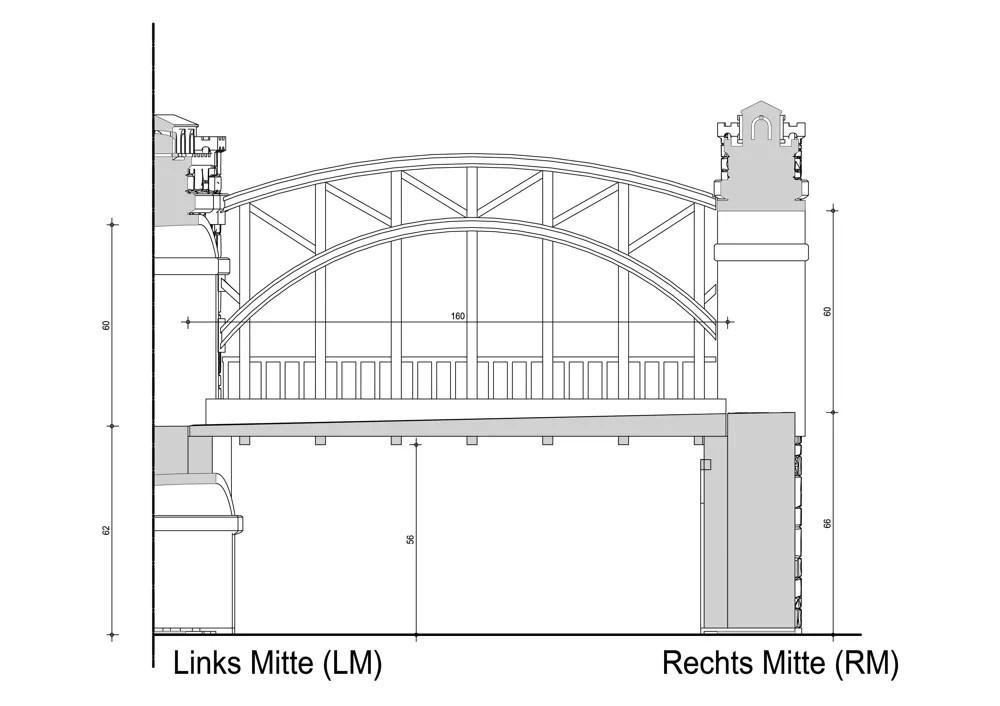
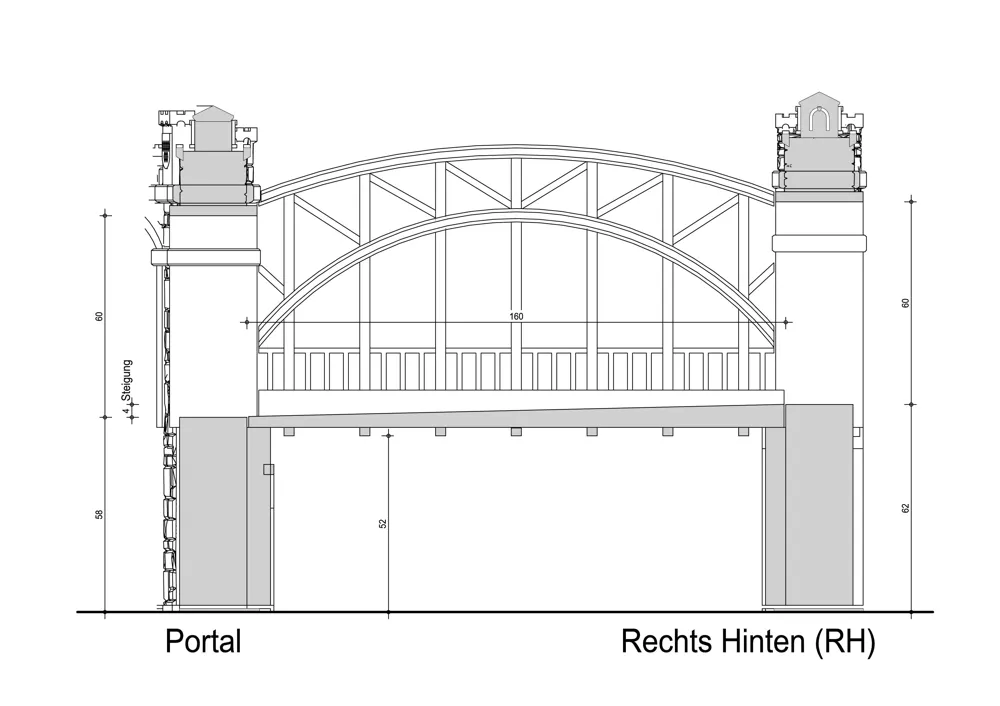
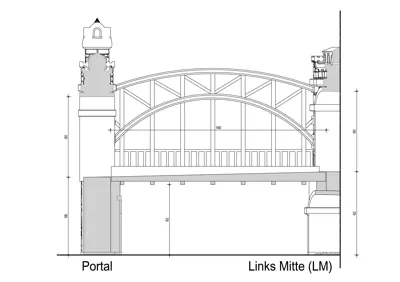
Please note that there is an incline within the bridges
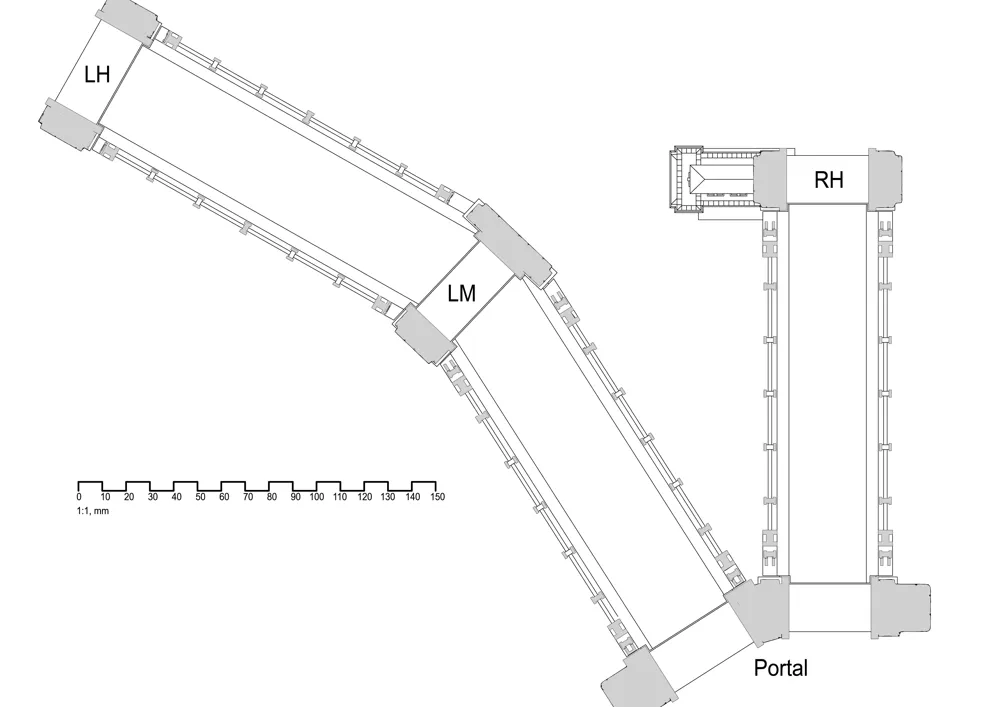
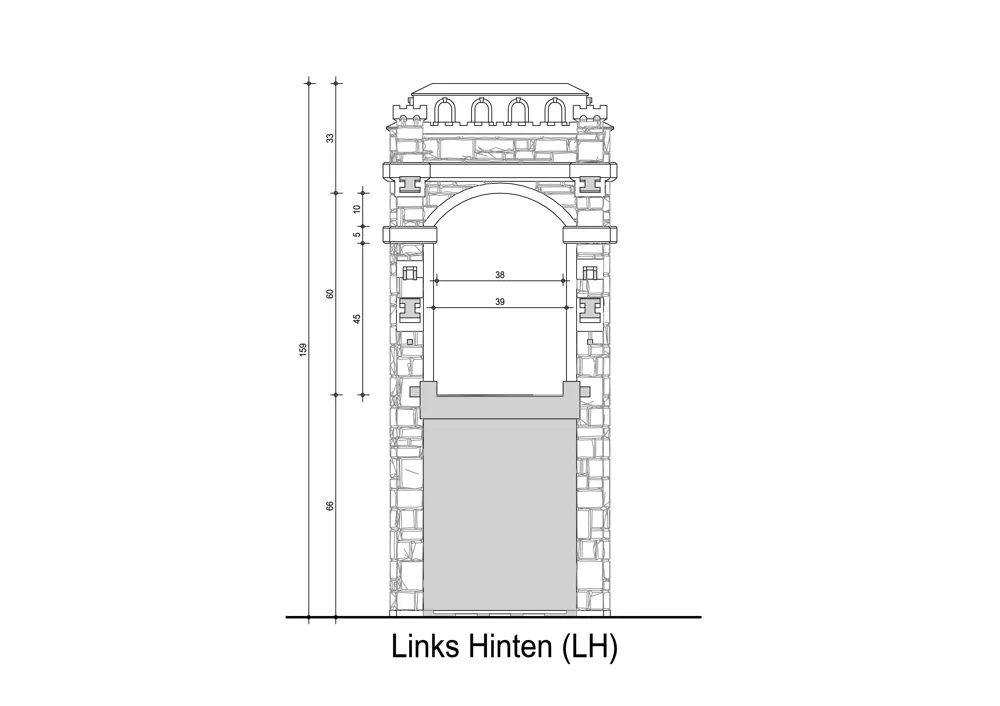
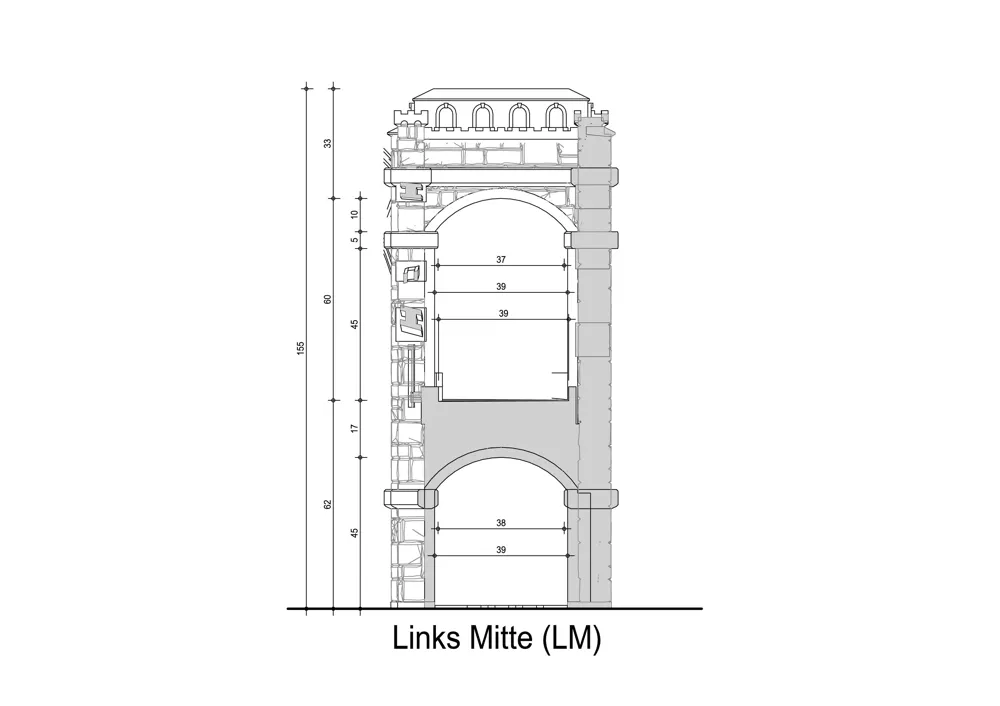
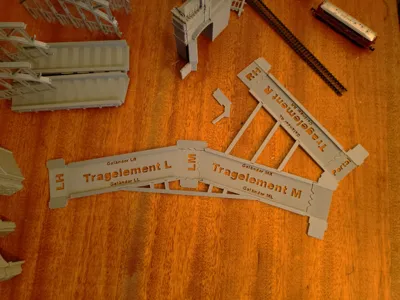
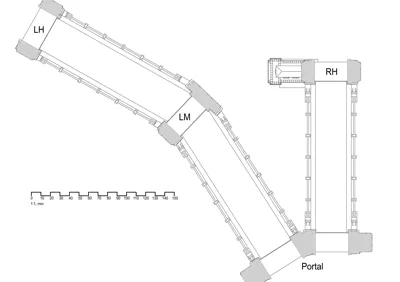
To see if this bridge fits your layout, you can either print the print plates with the base plates or the jpg file with the layout plan. This has been created in 1:1 on an A3. A scale is also included on this layout plan
Basically, I have enabled Fuzzy Skin for the masonry with a point distance of 0.3mm and a strength of 0.2mm. If you want to change this, you can adjust it globally. All elements that should not have Fuzzy Skin are already set accordingly
To test the Fuzzy Skin, I had previously created a small test which I uploaded here
Fuzzy Skin Test for Model Building
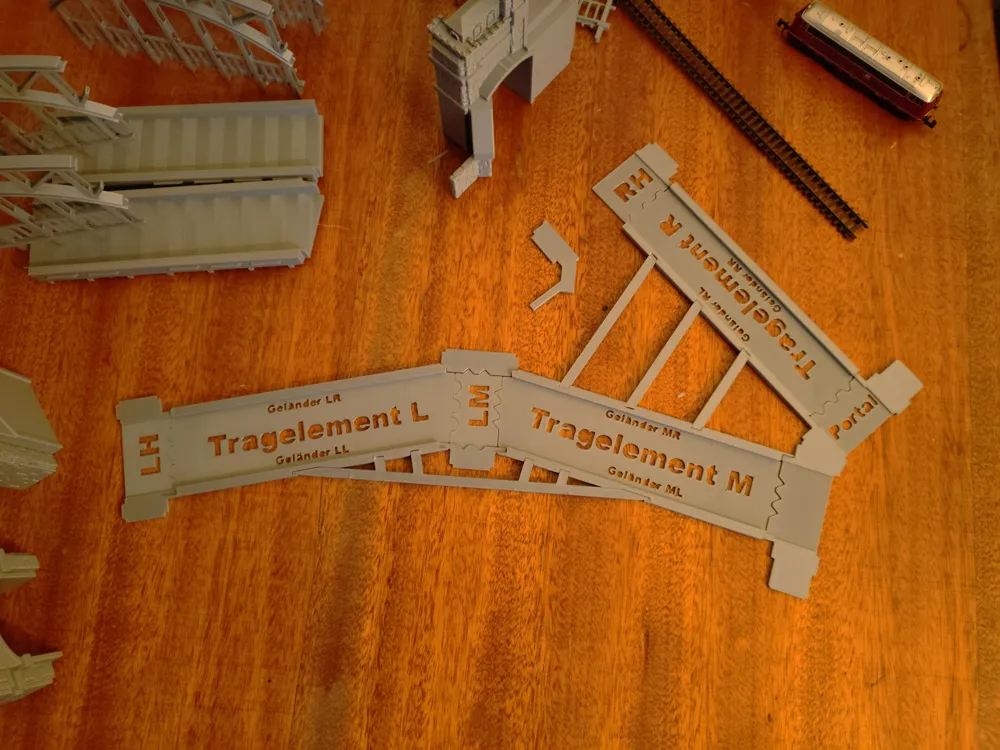
There are base plates with a height of 2mm to position and screw down the bridge on the layout. For these base plates, I planned a smaller distance between the elements than for the actual bridge elements. For these, I always left a 0.5mm clearance
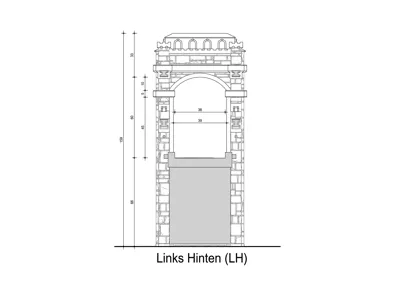
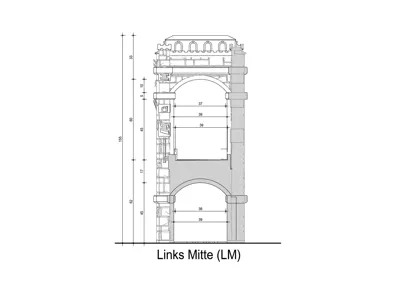
The masonry elements are two-part so that the tracks can be laid neatly first, and then the upper arch can be attached
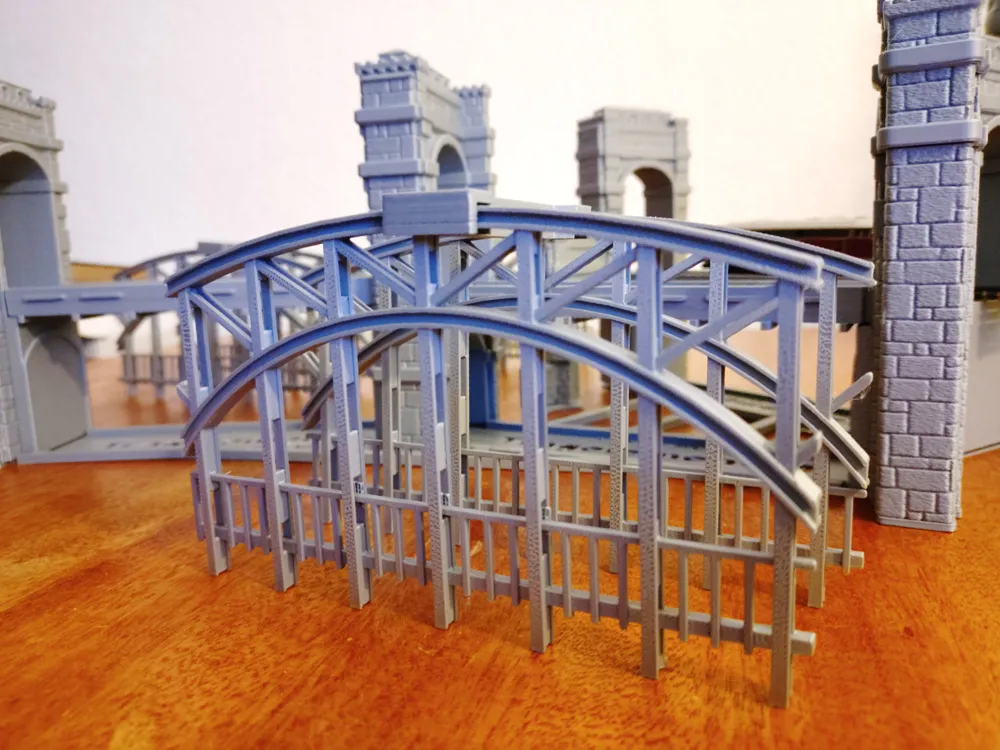
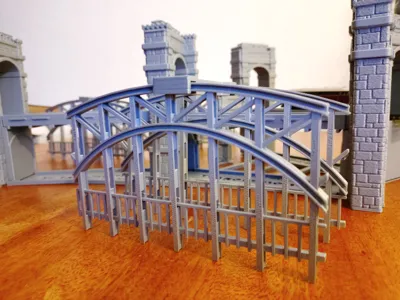
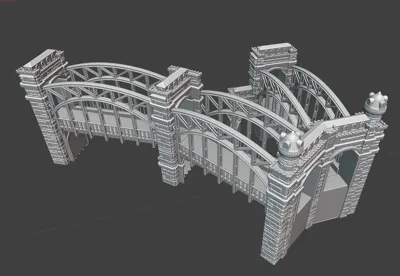
For the steel girders / railings, there is a "dash marking" at the load-bearing connections, so that it is clear which element goes where. Based on this marking, you can also see which side will later be glued to the connections. Depending on how the bridge will be placed on your layout later, it makes sense to rotate these parts by 180° and redraw the supports. The nicer side is the one facing upwards, not the one on the print plate
A holder is always printed on top of the print plates for the steel girders / railings. This is only to ensure that the distance between the two railing parts is maintained during subsequent gluing. These holders can then be discarded
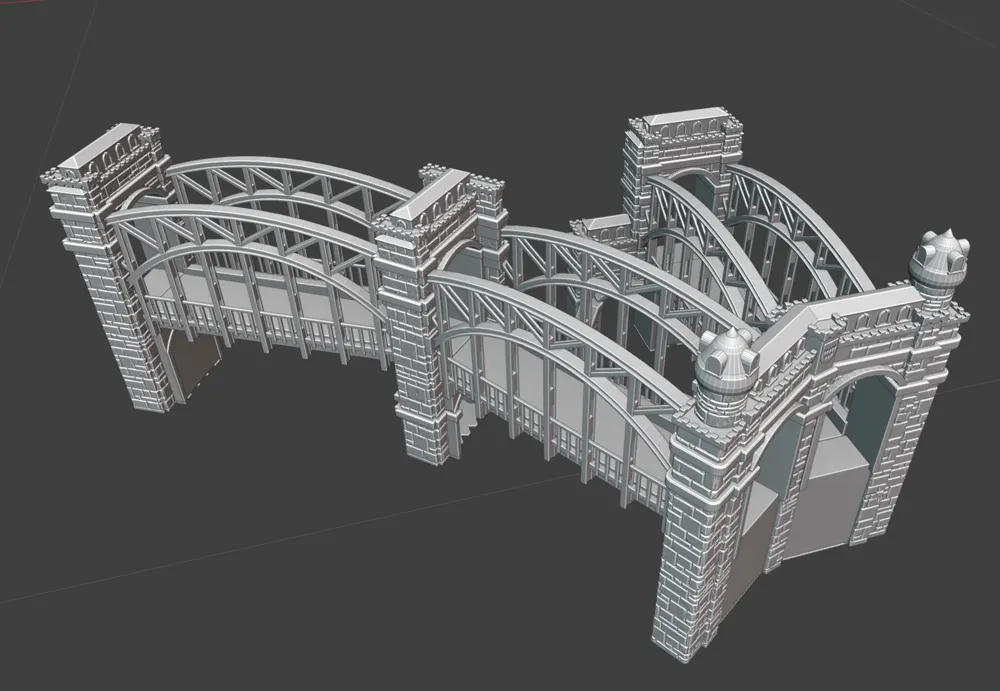
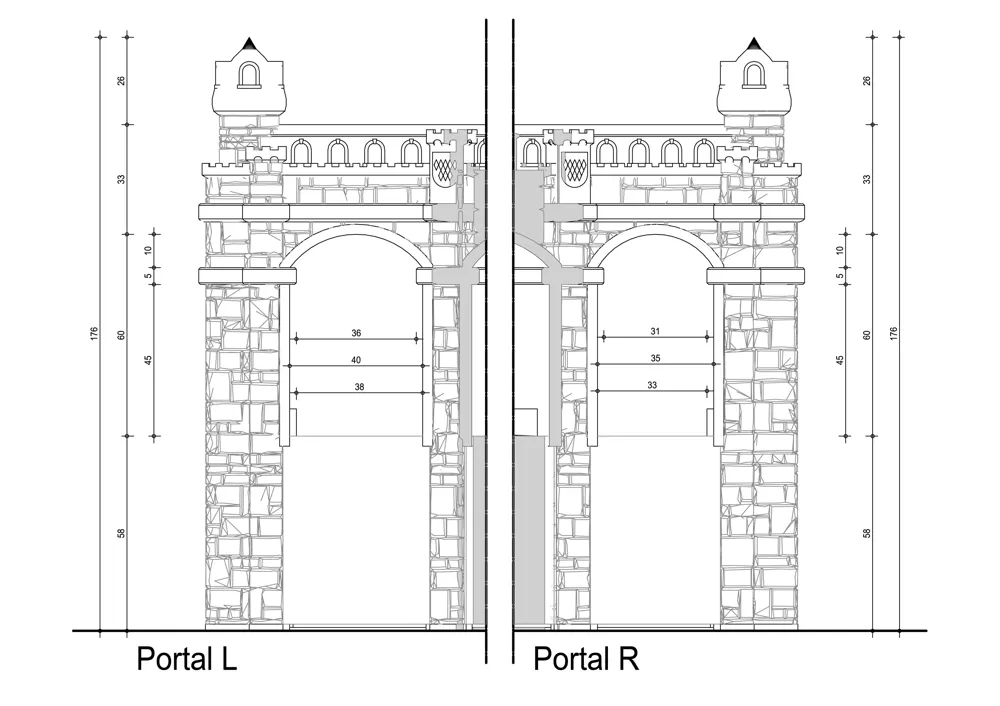
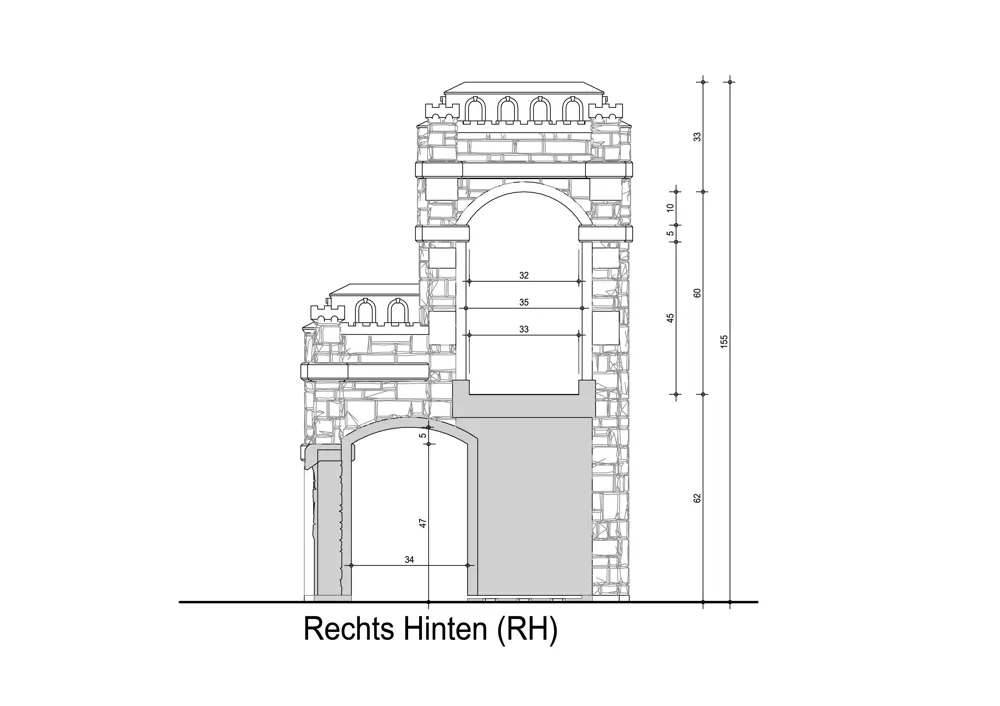
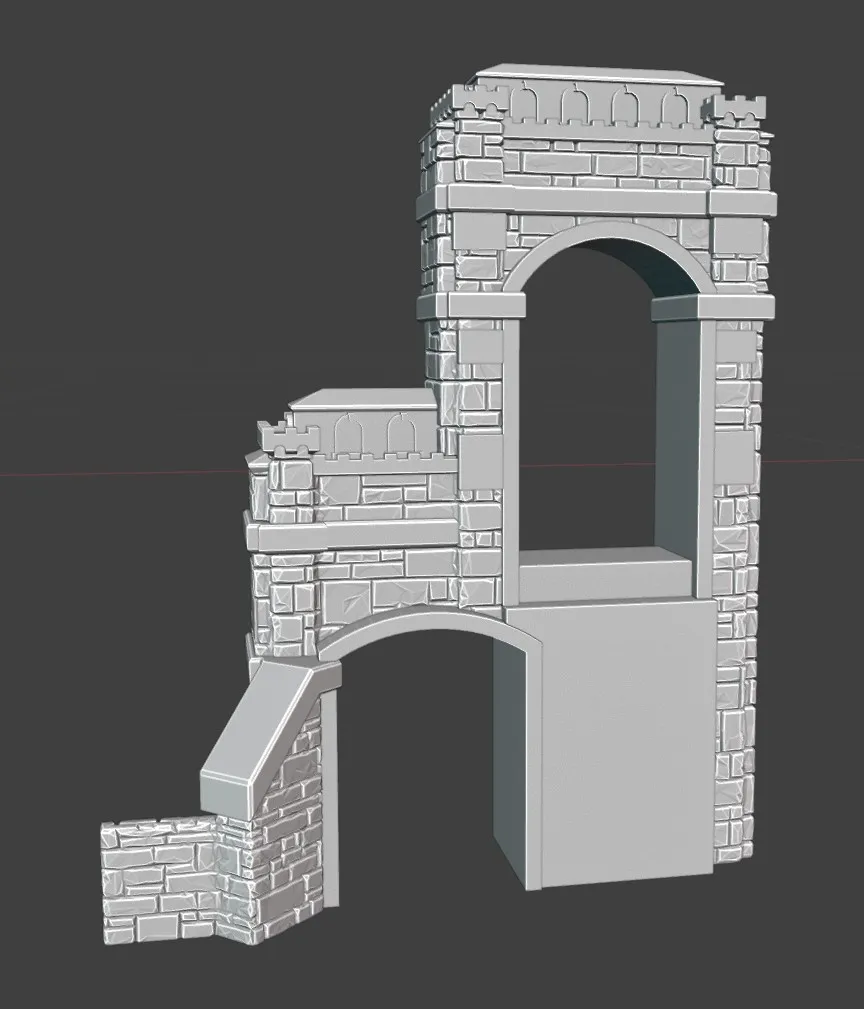
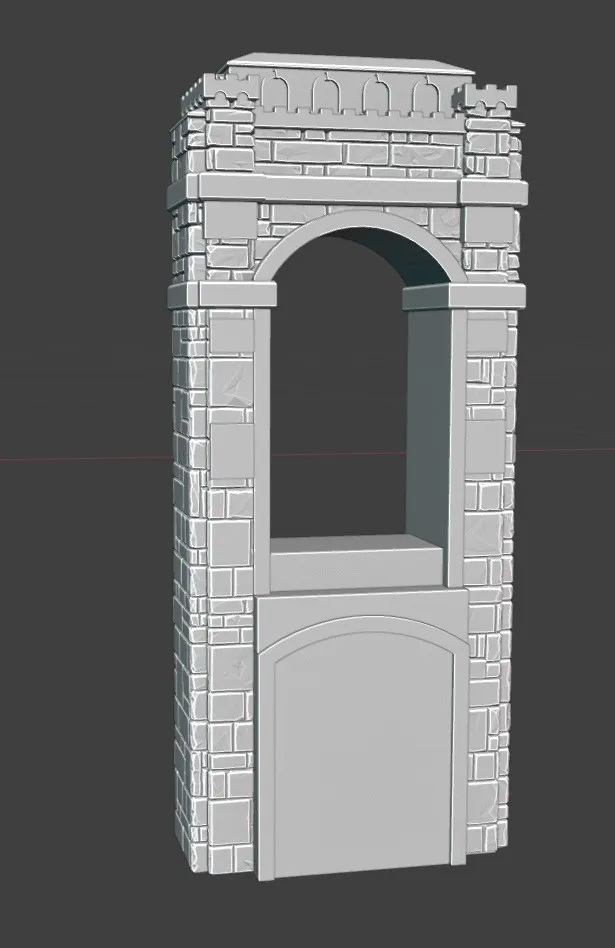
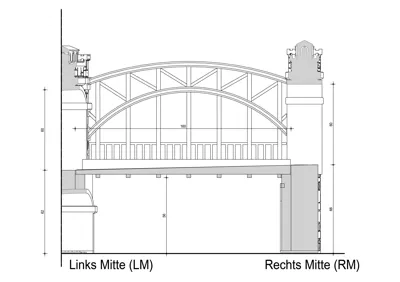
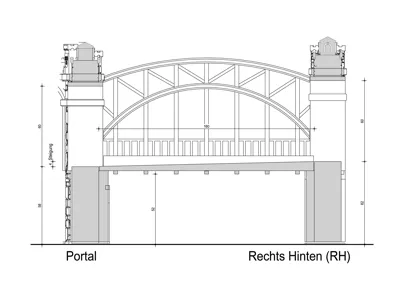
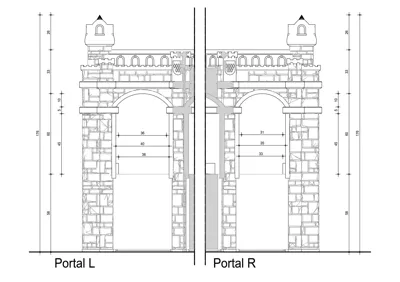
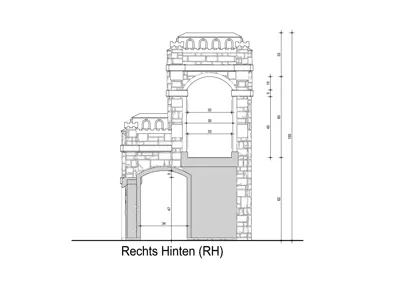
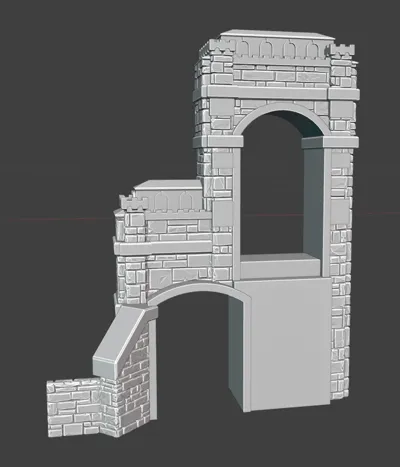
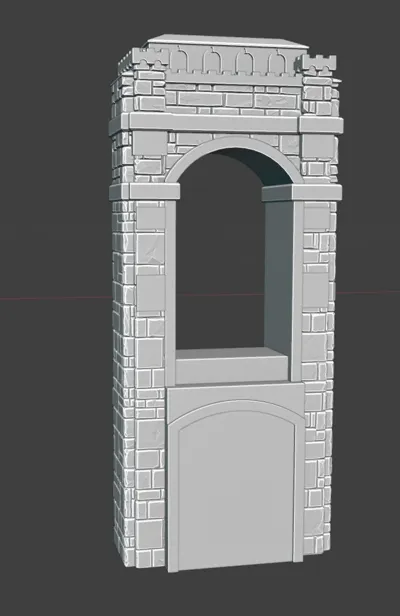
A variant for the right rear area is included, as it is unlikely that you will need a tunnel portal in that area. The difference is visible in the two images from Blender. In the print profile, these are located on the last two print plates
License

You may create derivative works based on this object, provided that all such derivative works are published exclusively on the MakerWorld platform and include proper attribution to the original creator. You may not share, upload, host, distribute, or publish this object—or any derivative work of this object—on any other digital platform, marketplace, or distribution channel. Commercial use of this object and any derivative works is strictly prohibited. This includes, but is not limited to, selling, renting, sublicensing, or using the object in any context in which you receive monetary compensation or other financial benefits.


Comment & Rating (2)