
DJI Mic 3 Stereo Mount & Mic Holder for Cameras
Print Profile(3)


Description
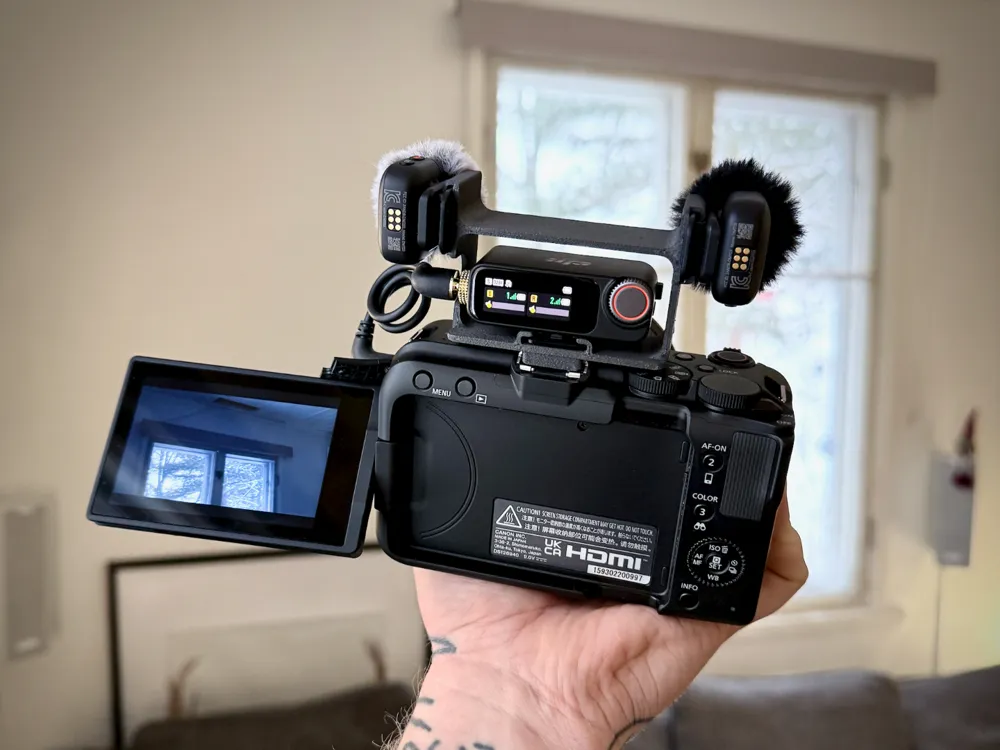
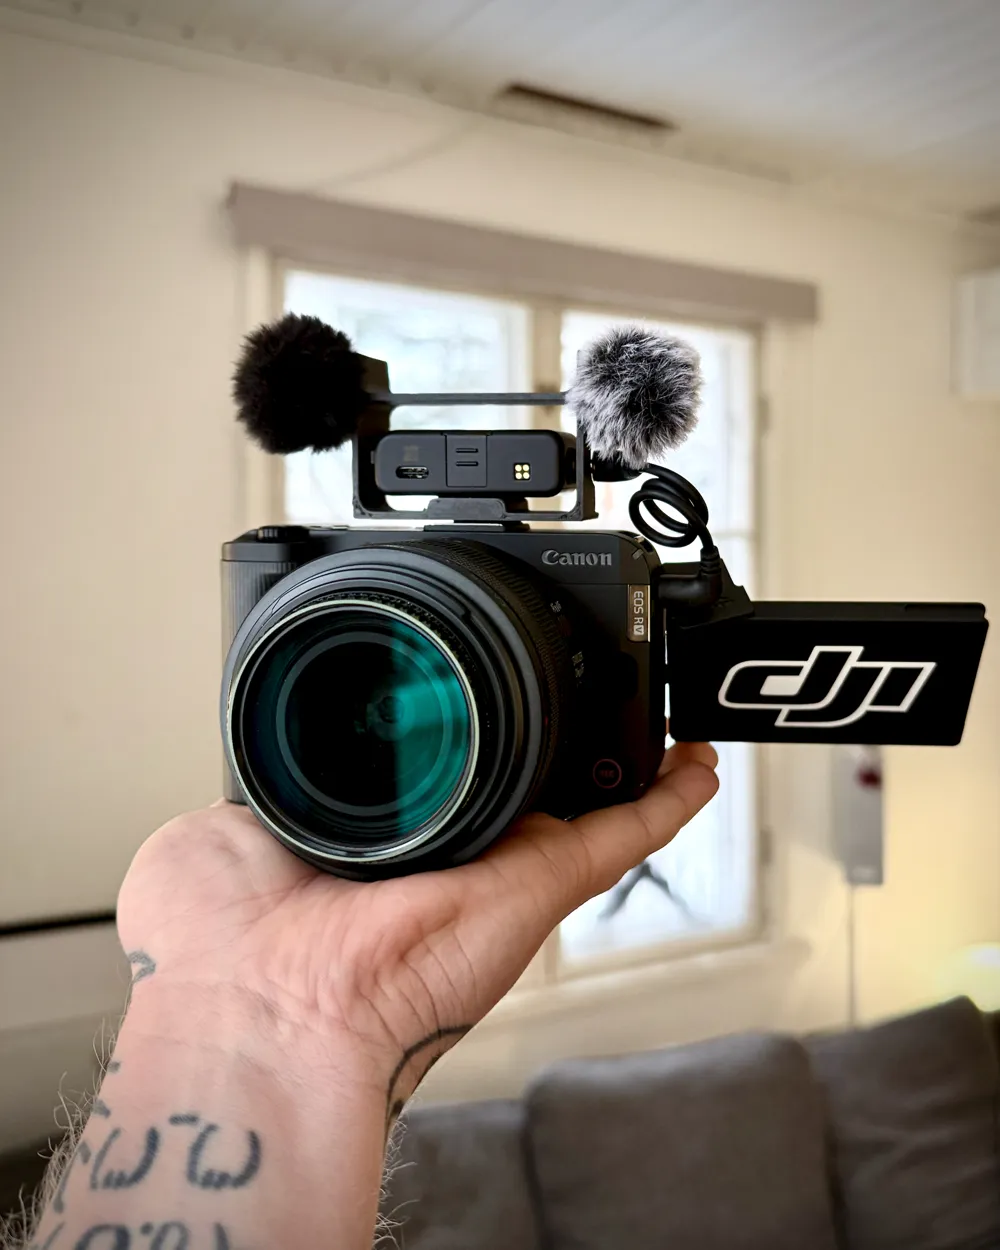
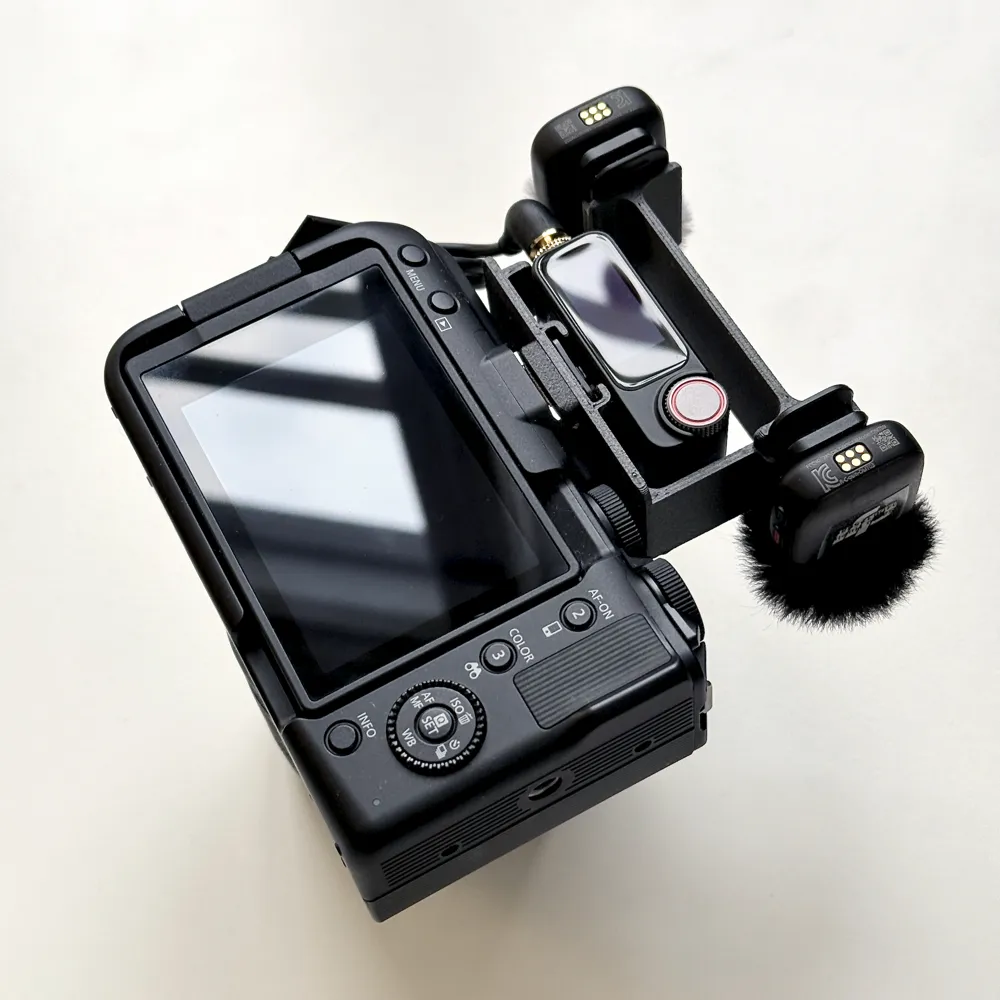
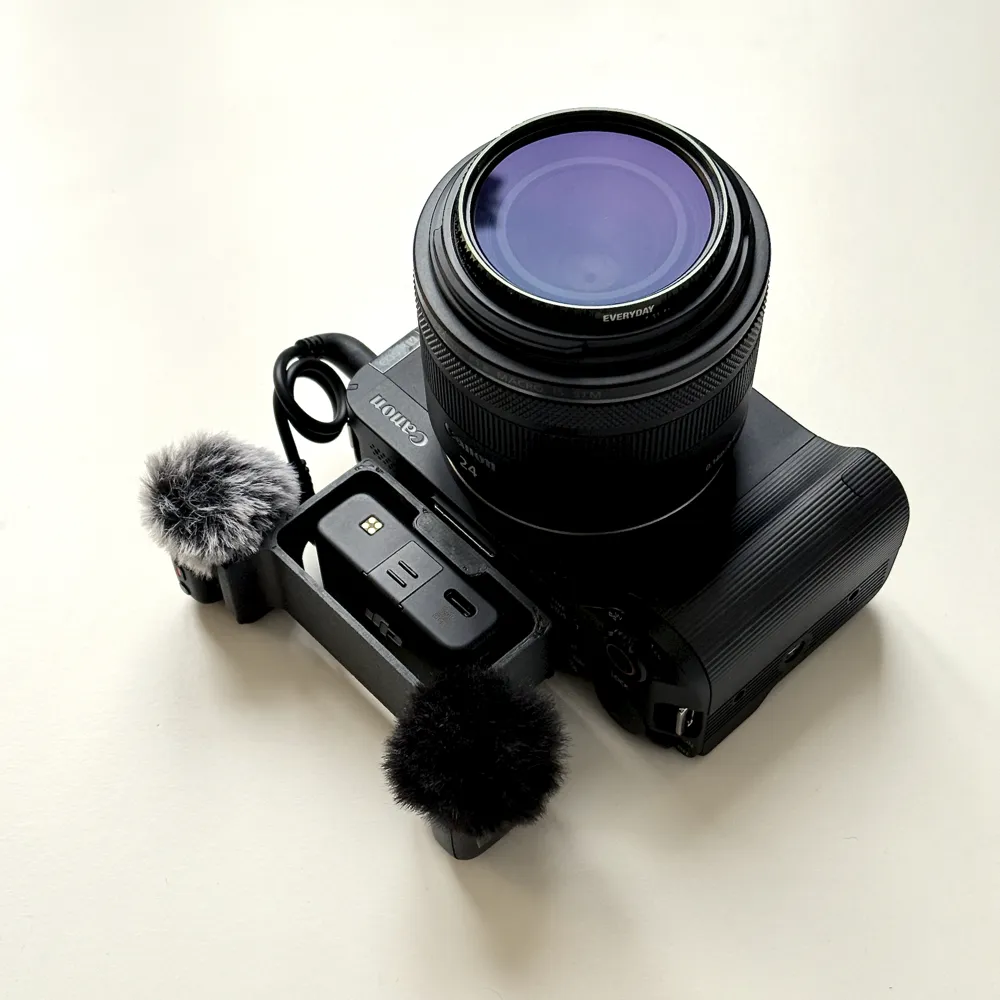
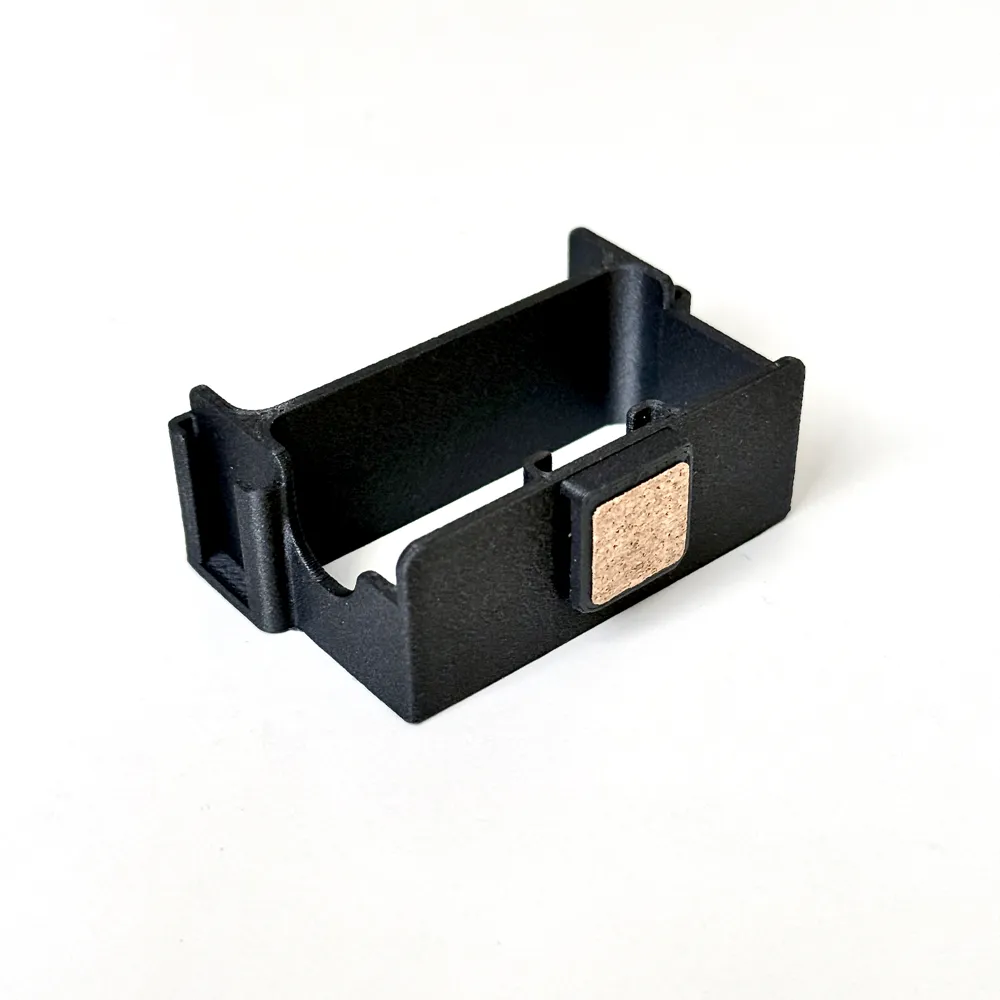
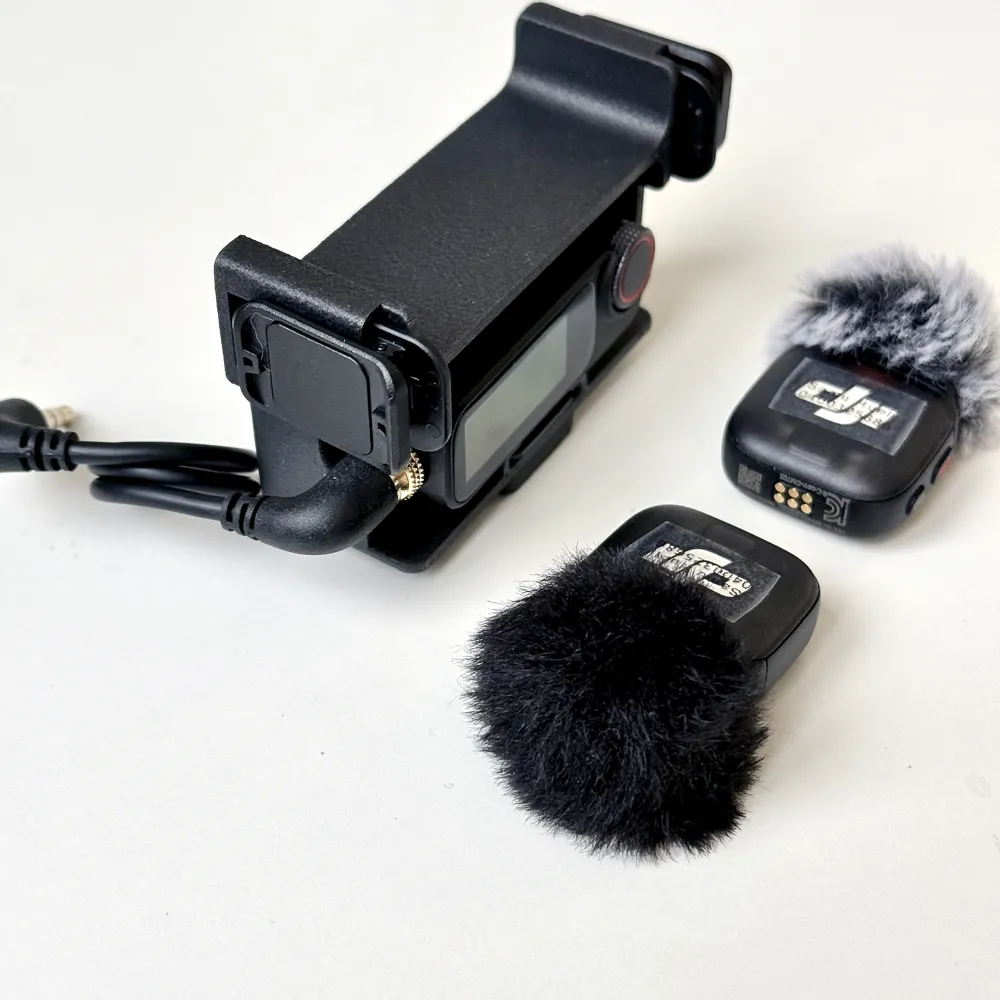
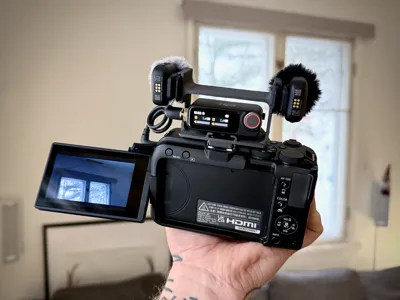
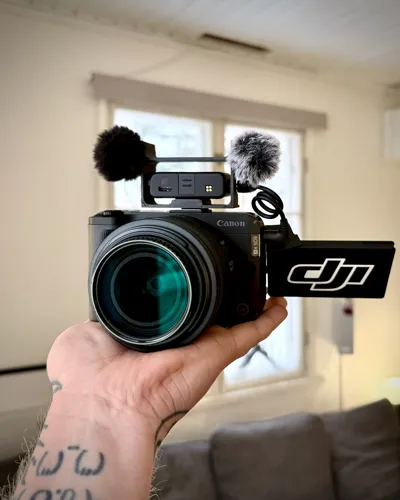
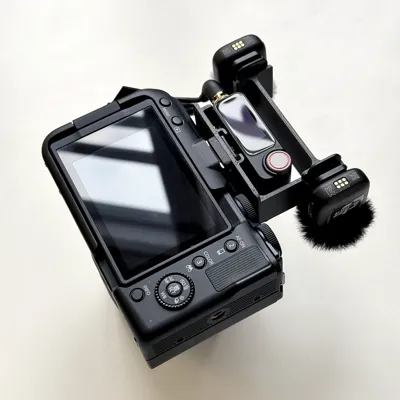
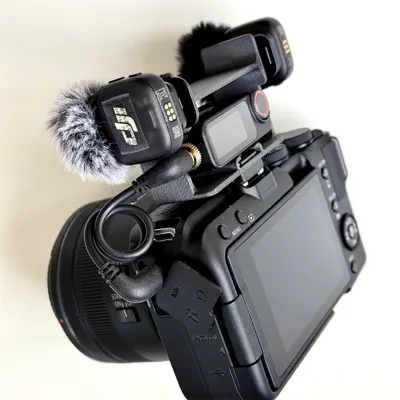
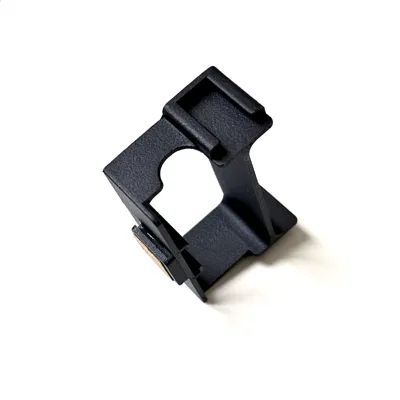
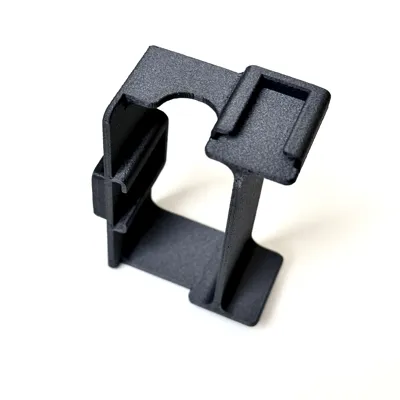
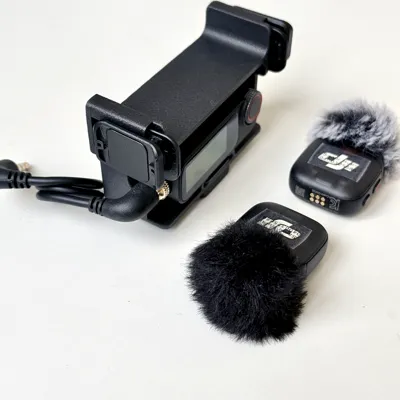
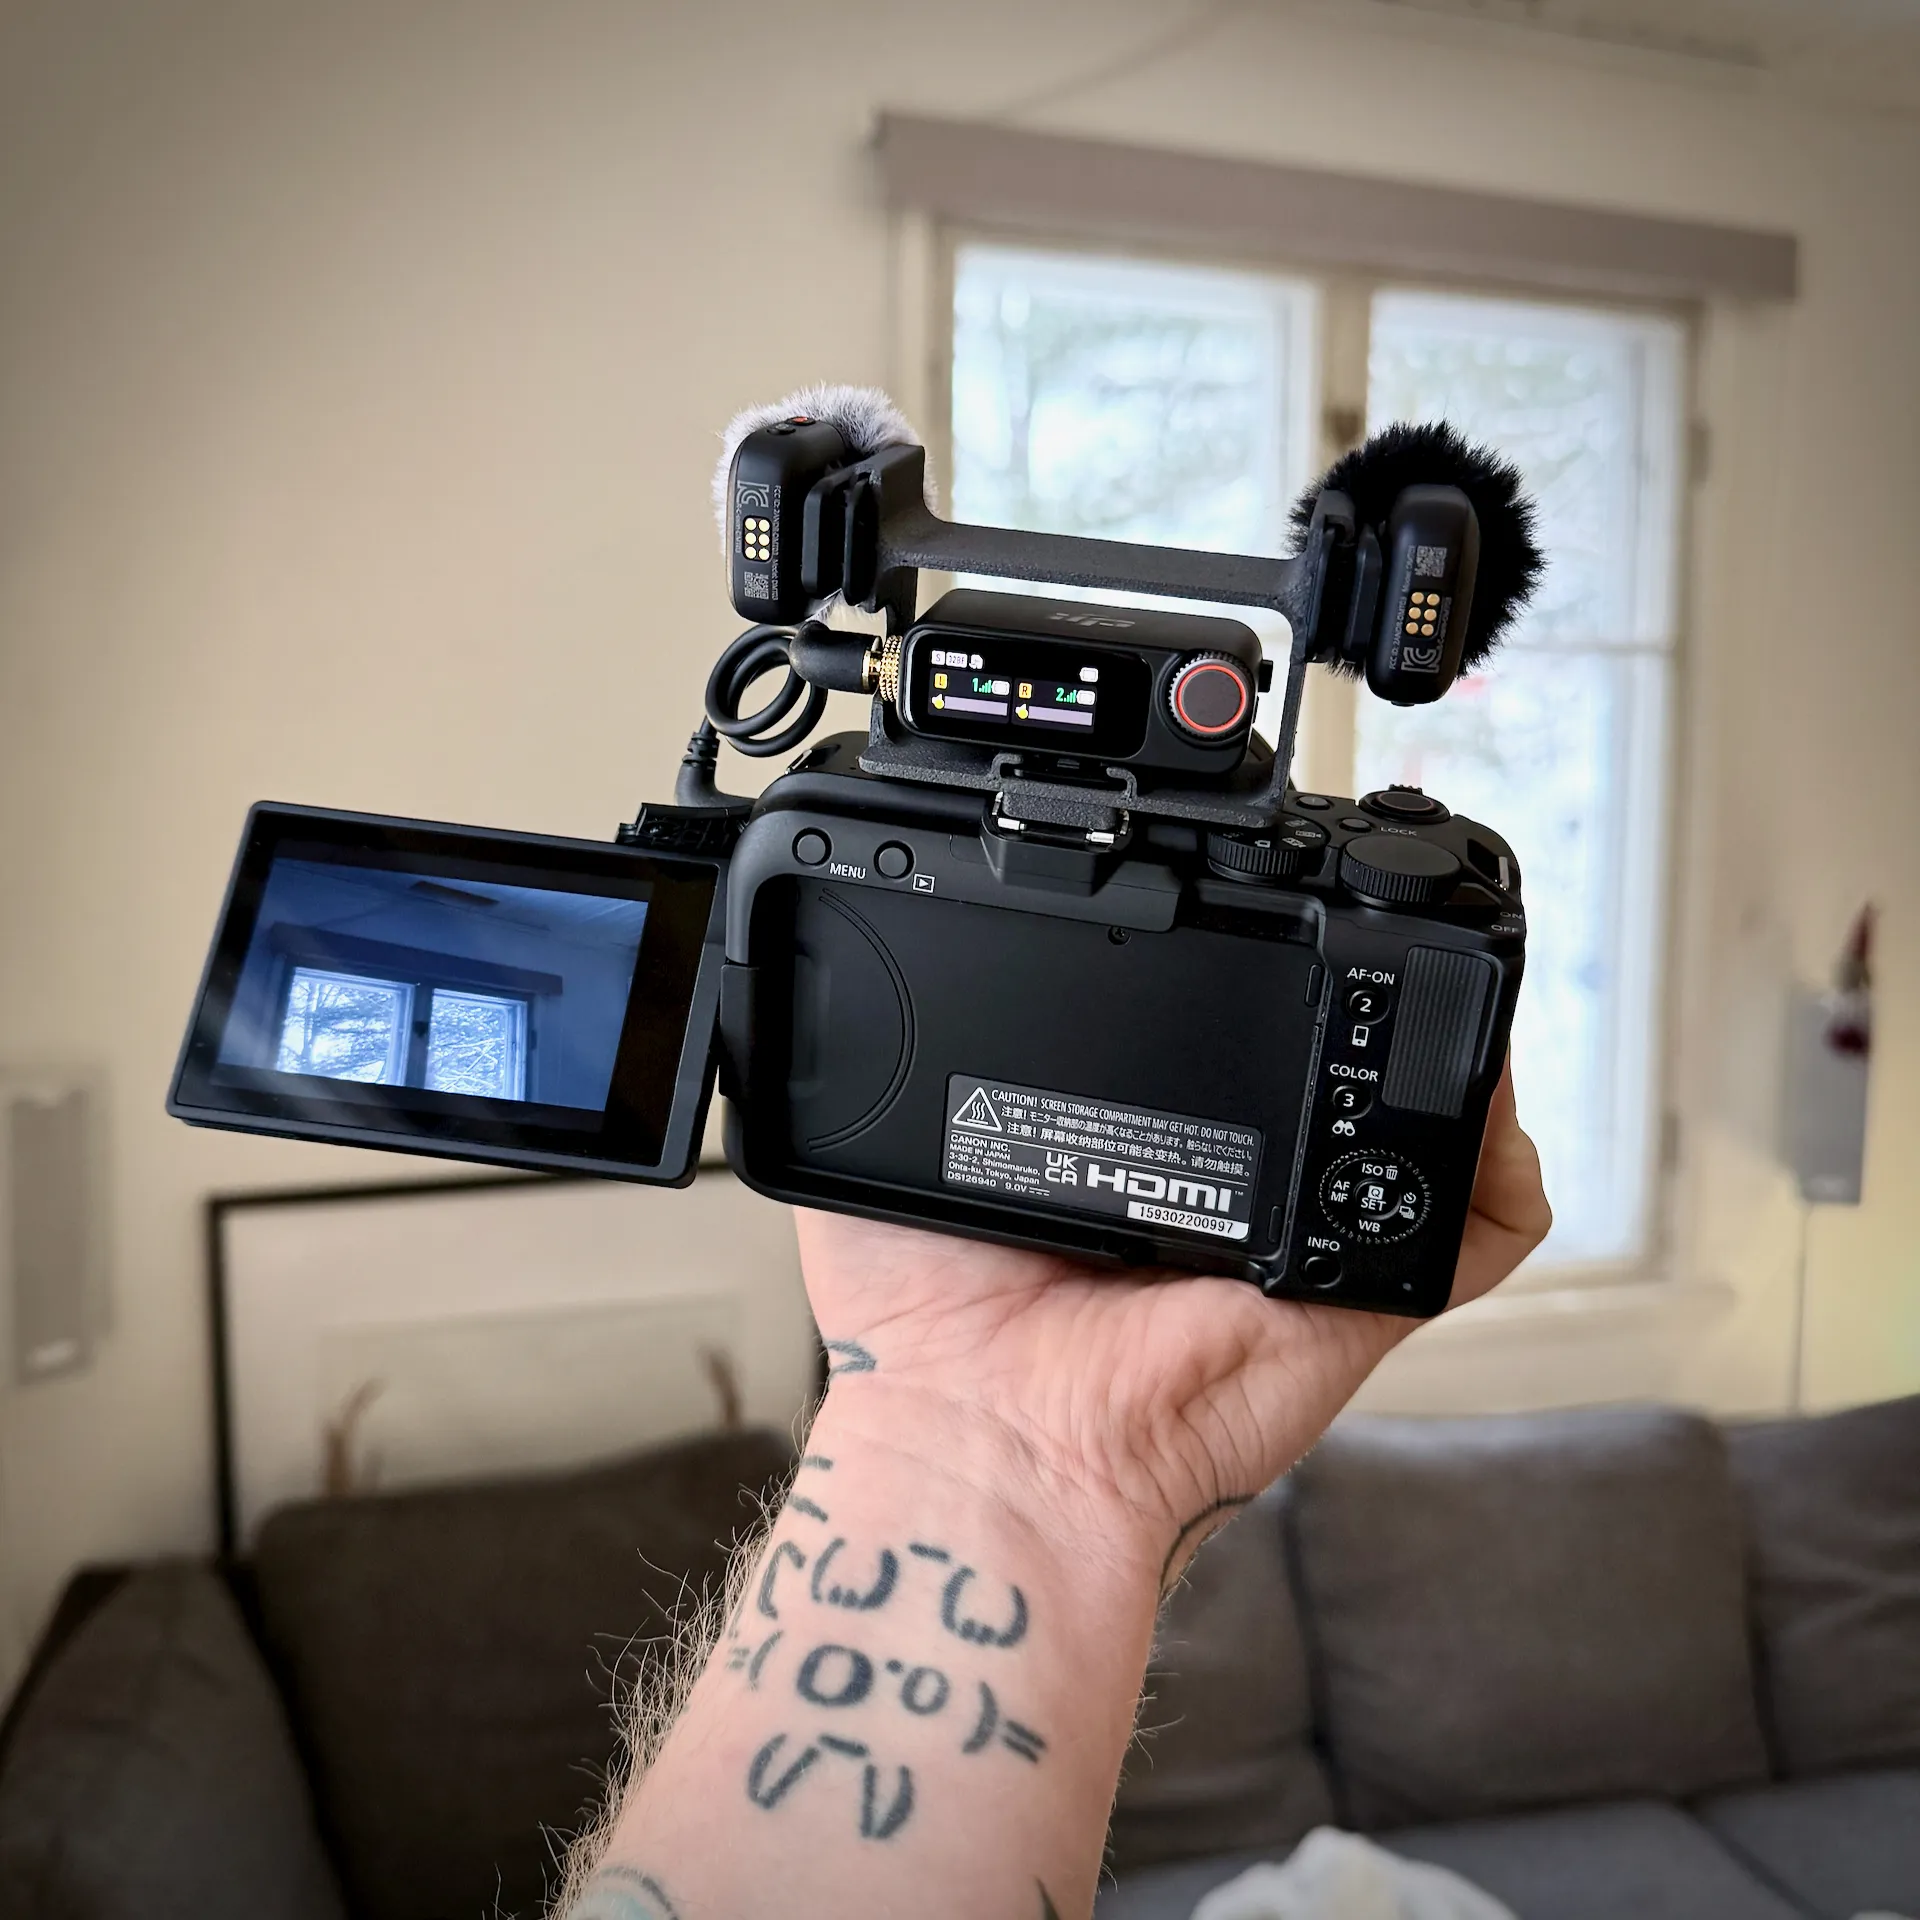
This 3D printable mount securely attaches the DJI Mic 3 receiver to the multi-function hot shoe of the Canon EOS R50V (or similar cameras), enabling easy stereo audio capture, convenient transmitter storage, and added protection for your gear. Whether you're vlogging, filming events, or just need a quick audio setup, this design keeps everything compact and ready to go – no more fumbling with loose mics!
Why I Created This
I recently got a Canon EOS R50V and wanted to integrate my DJI Mic 3 system seamlessly. The receiver clips nicely to the hot shoe on its own, but I envisioned a way to mount the transmitters as well for true stereo recording or simply to store them when not in use. Plus, the frame adds a layer of protection against bumps. While stereo mic configs might be niche and not optimized for audio quality, the storage and safeguarding features make this useful for any DJI Mic 3 owner looking for a low-profile, all-in-one solution.
Design Process
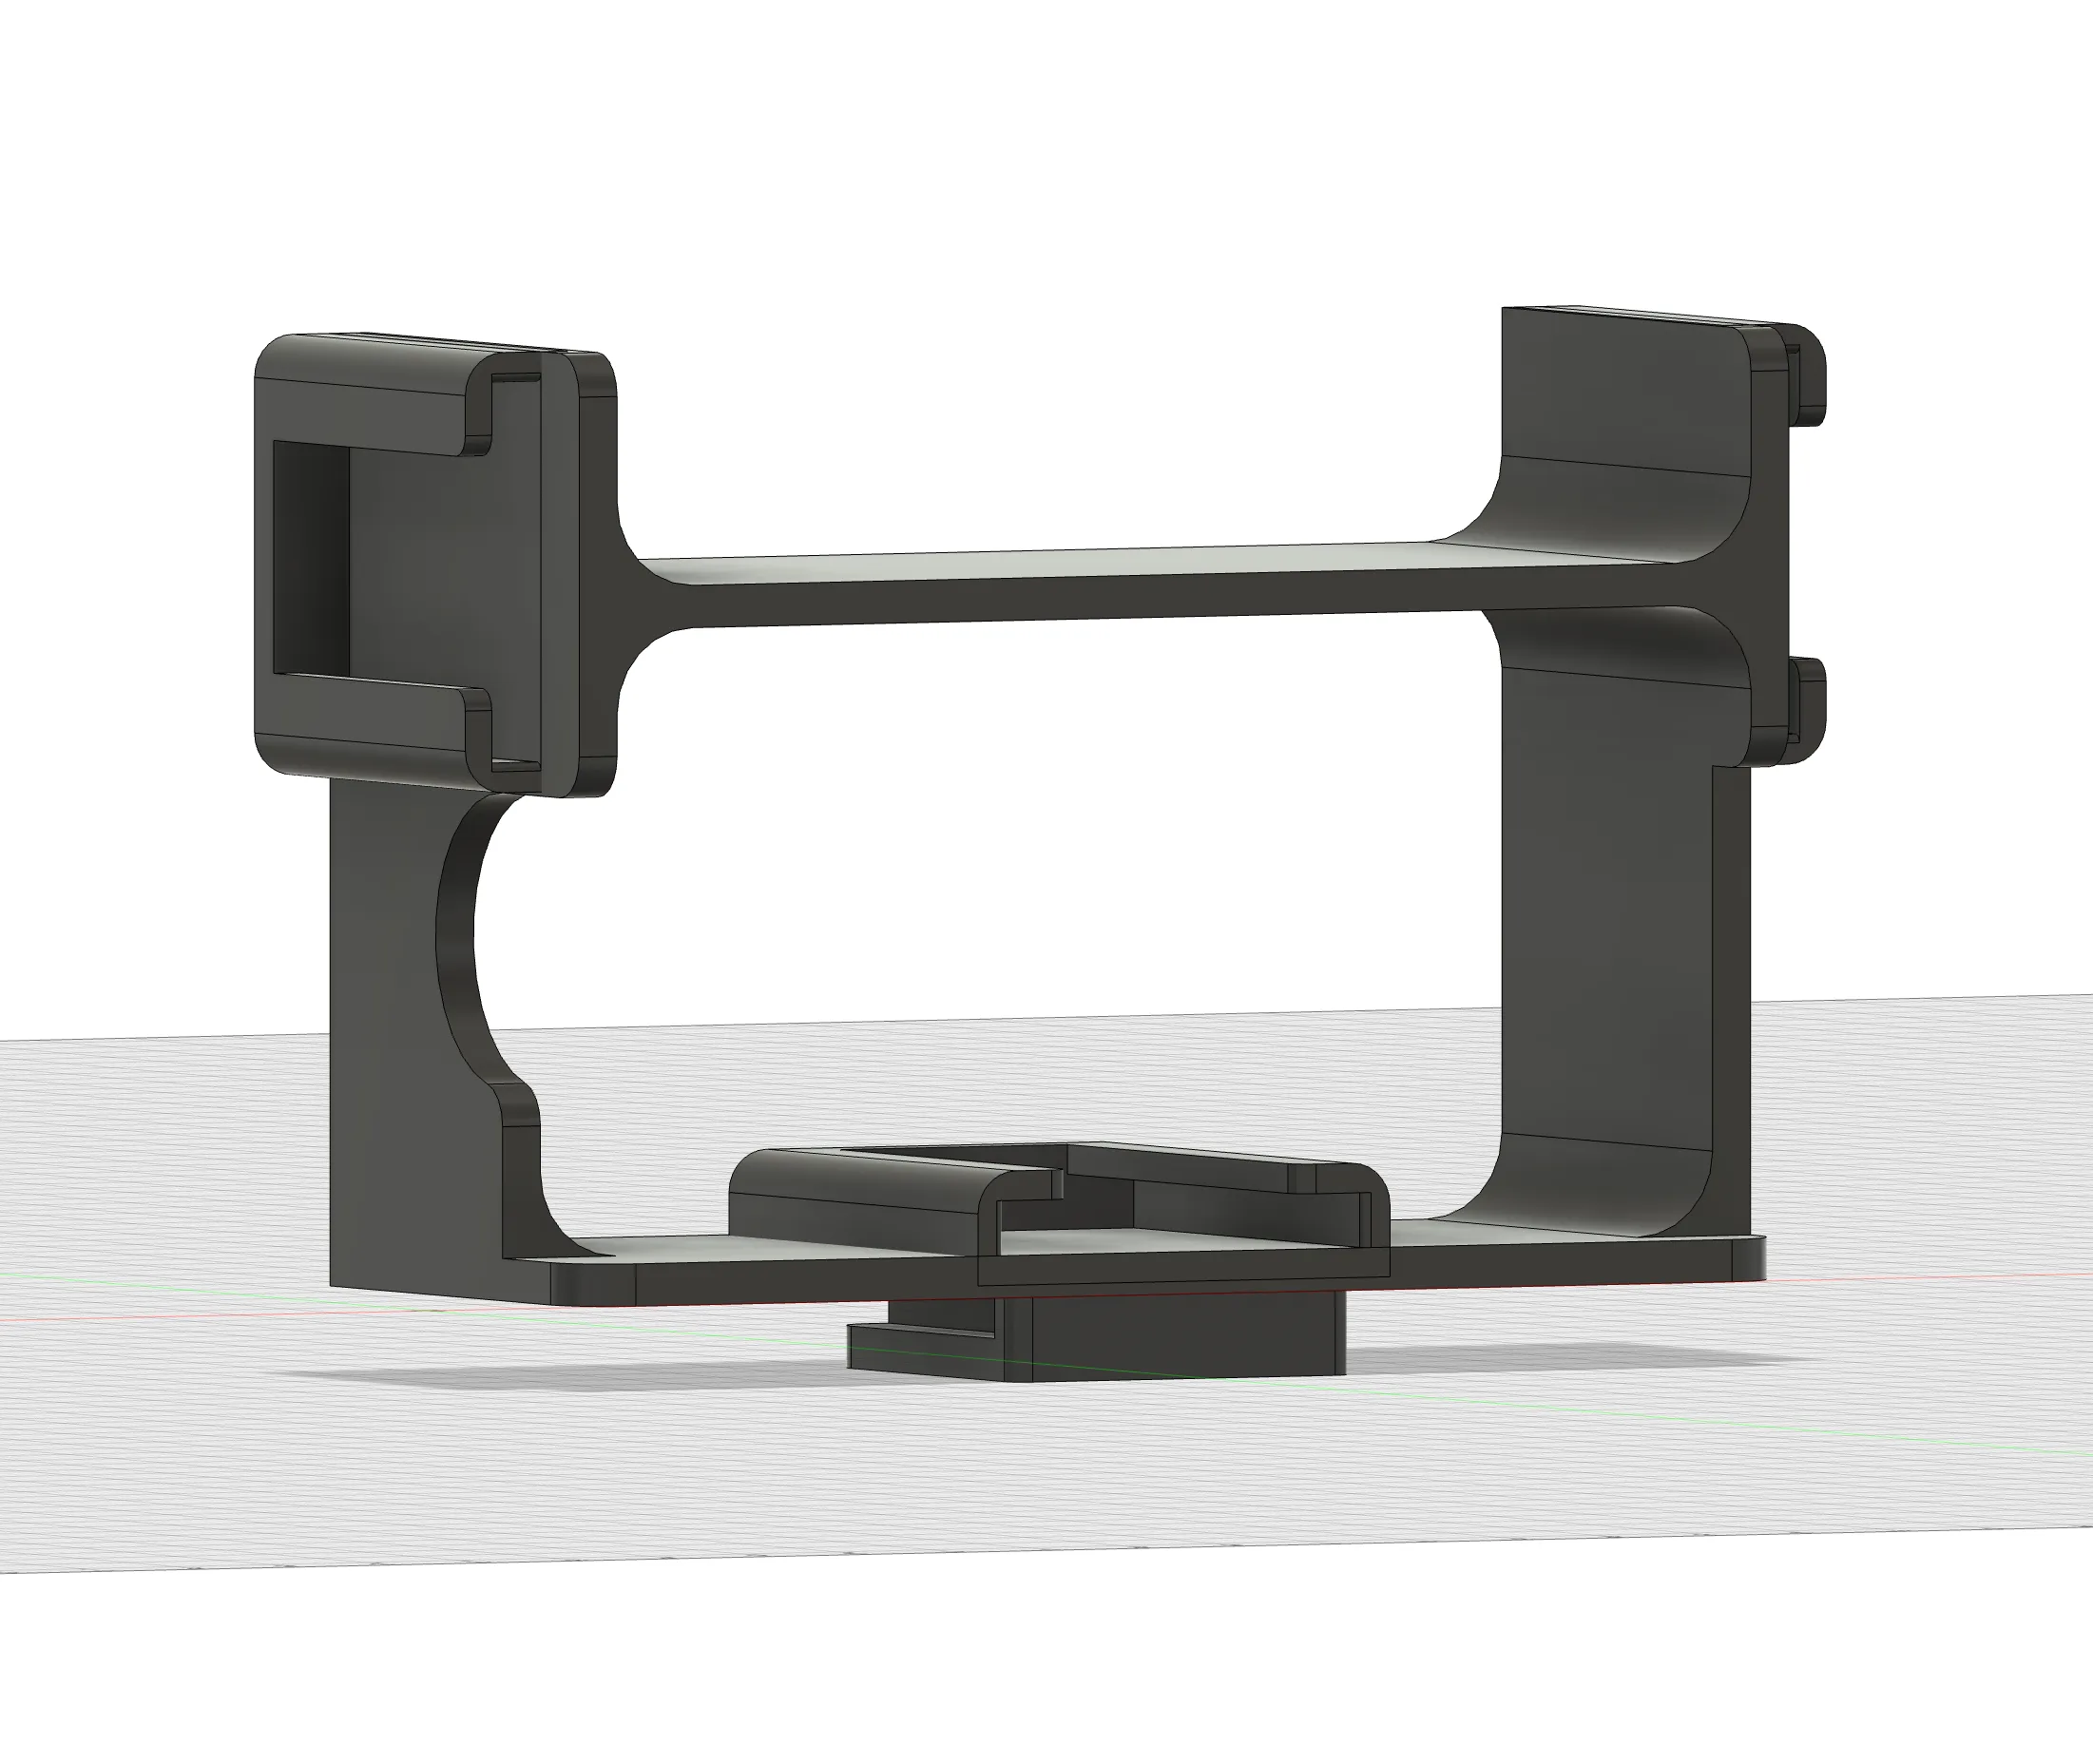
As someone with limited CAD experience, this was among my first proper 3D models – a great learning project! My initial prototype borrowed from an existing cold shoe design, but it fell short on fit, measurements, and usability. For version 2, I started from scratch, focusing on precision and optimization.
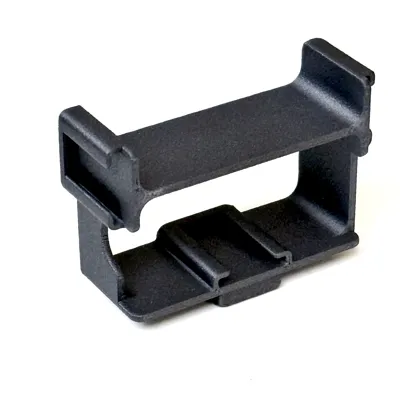
Drawing from my 3D printing experience, I prioritized printability from the start. The design emphasizes straightforward geometry for fast, reliable prints: minimal supports (or none if printing separate attachment point), strong rigidity in key areas like the holding lips, and user-friendly features for easy attachment. I balanced functionality with a compact form factor to keep the setup lightweight and unobtrusive. Philosophy-wise, I believe in designs that adapt to real-world needs – here, that means friction-based mounting over screws for quick setup/removal, while ensuring durability for on-the-go use.
Key Features
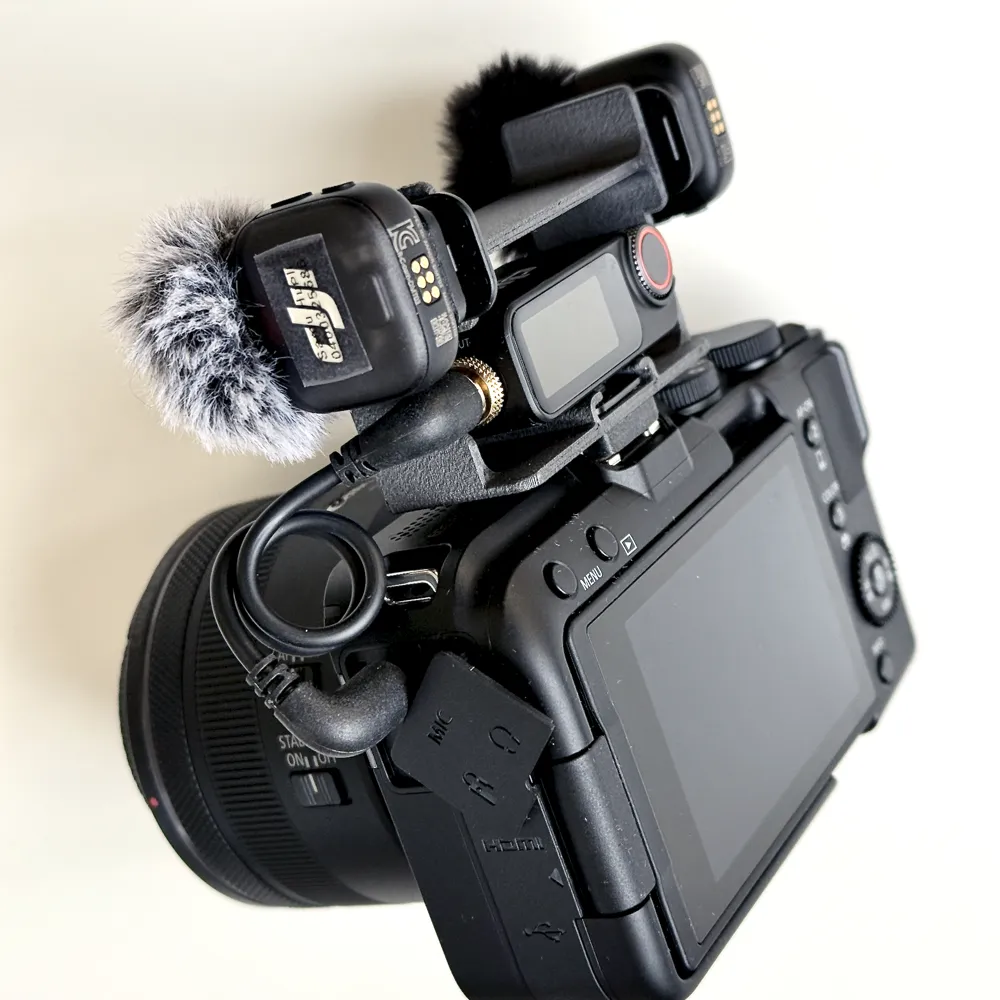
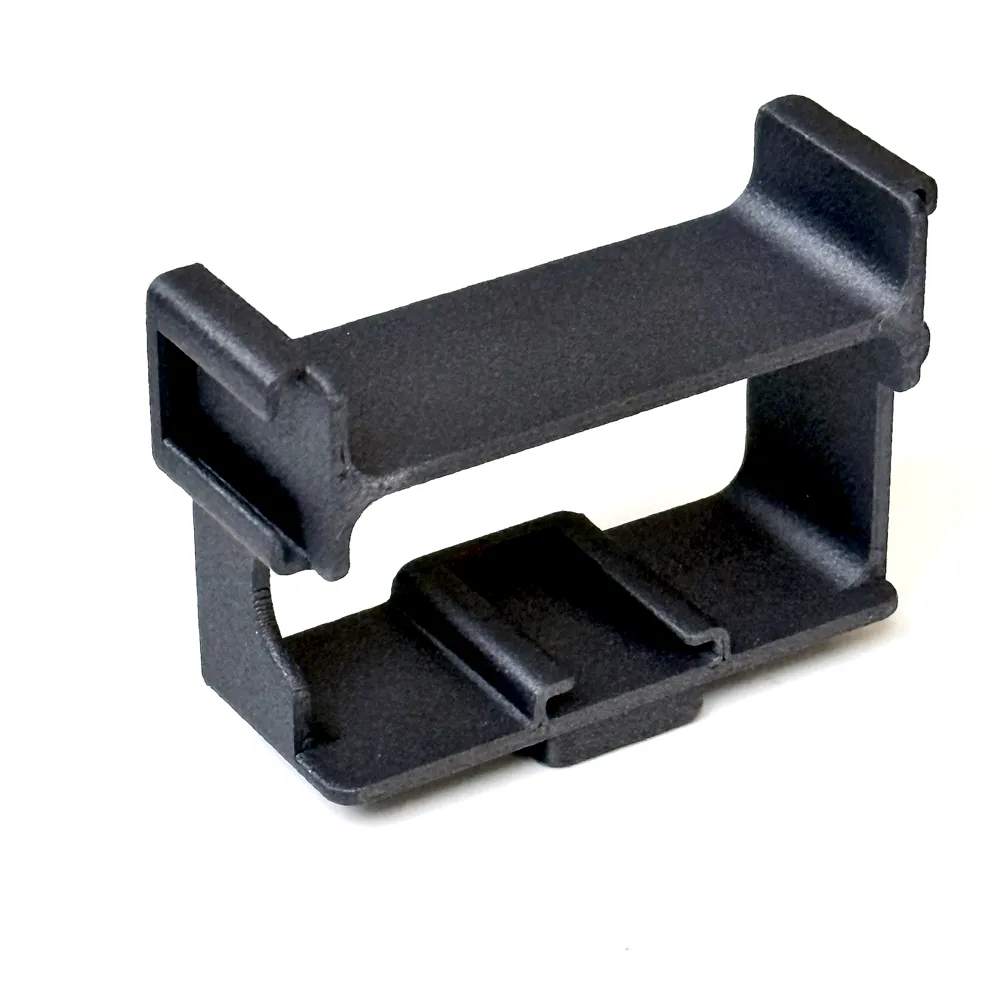
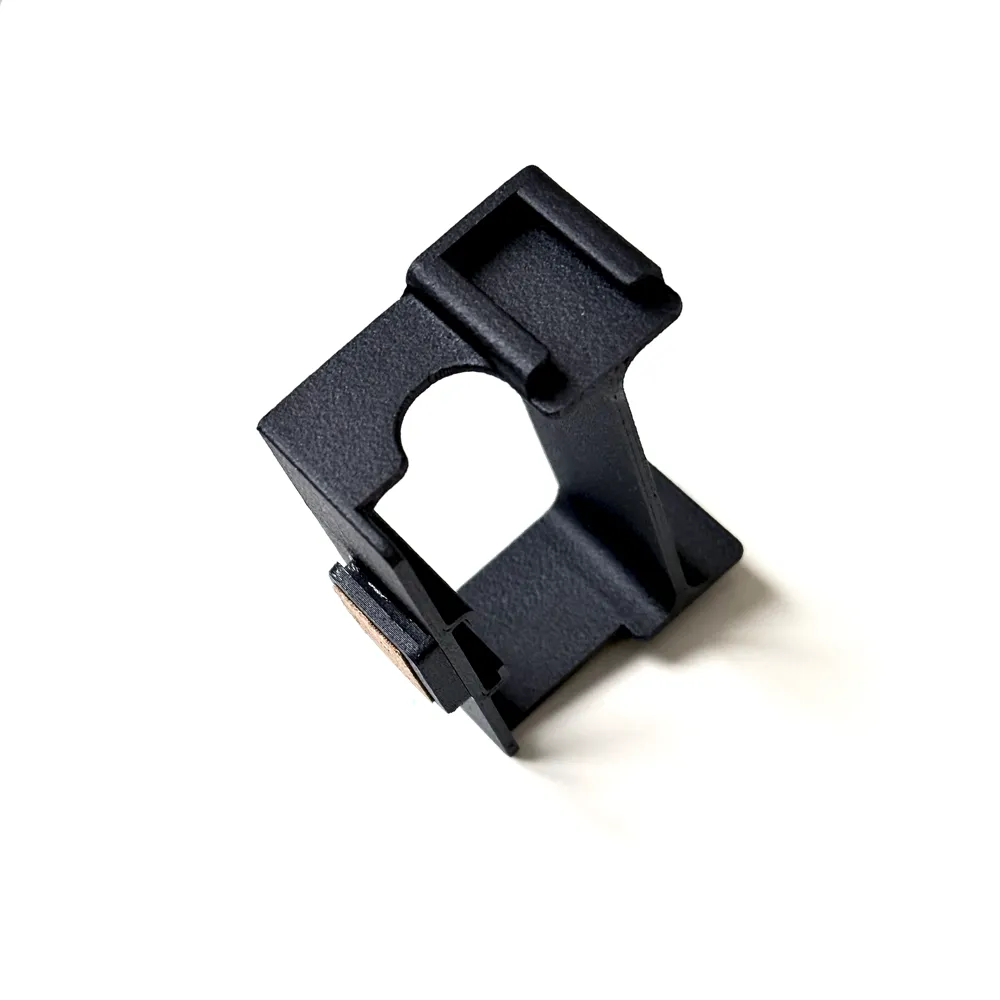
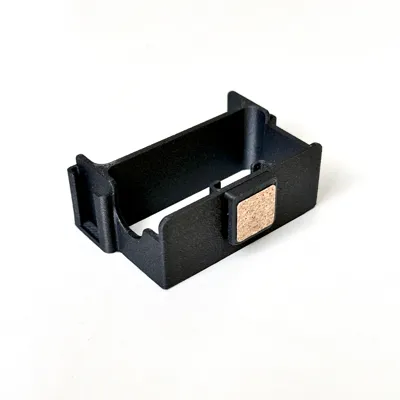
- Secure Mounting: Clips the DJI Mic 3 receiver to the Canon EOS R50V (or similar) hot/cold shoe with a friction fit (add a small cork sticker for extra grip – it's light enough to skip tightening screws).
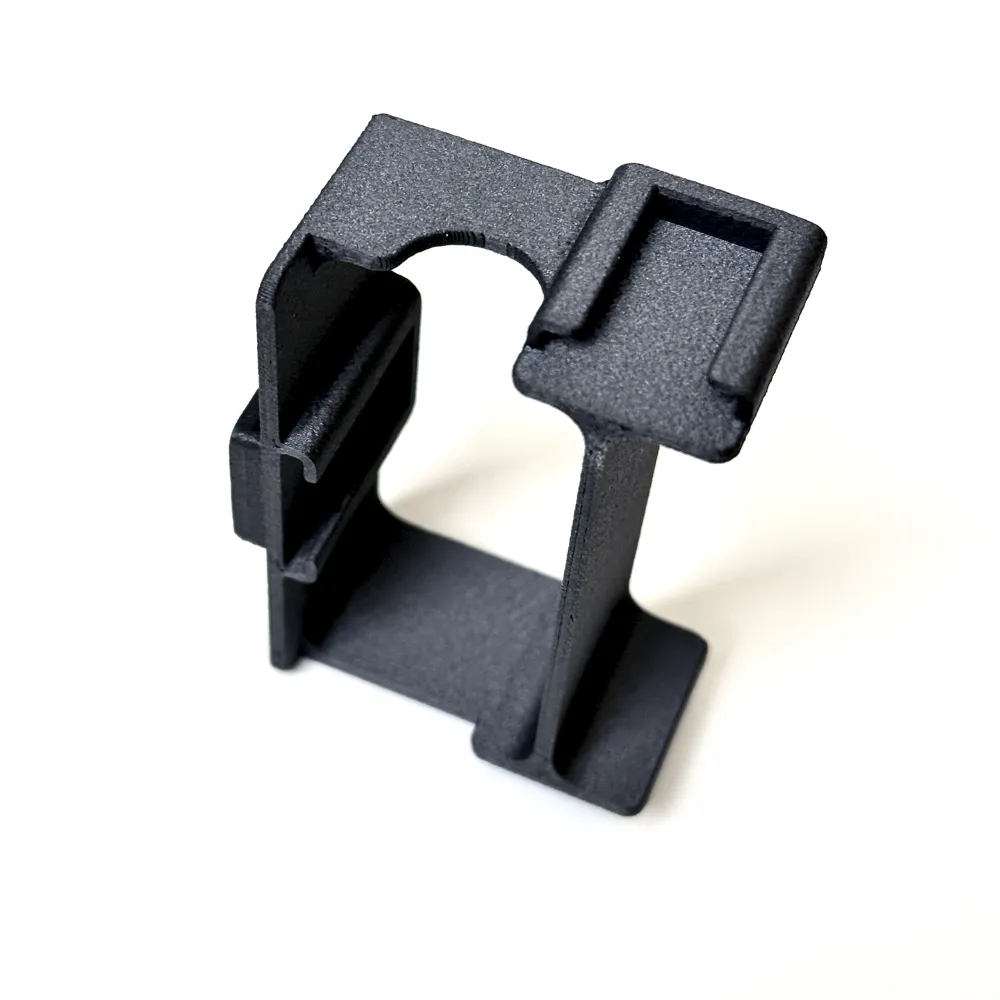
- Cutout for the cable: Rounded access point for the audio cable. Attach the cable before inserting the receiver to the frame.
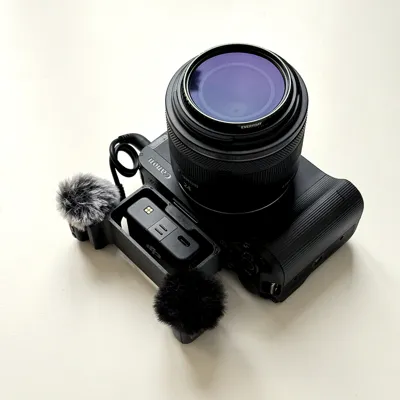
- Stereo Audio Option: Magnetic clips hold two DJI Mic 3 transmitters on the sides for improvised stereo recording (untested audio quality, but handy in a pinch if you lack dedicated stereo mics). You can even play with the mic orientation!
- Storage & Protection: Doubles as a protective frame and storage holder for transmitters, keeping your kit organized and shielded.
- Compatibility: Tested with DJI Mic 3 RX/TXs and Canon EOS R50V. May work with similar hot/cold shoes, but verify fit. Keep in mind that upper attachment points are a bit tighter than standard cold shoe. Test other accessories with caution.
- Low-Profile Design: Keeps the overall setup slim and balanced for handheld or gimbal use.
Printing and Assembly Notes
Printed in carbon-fiber stabilized polycarbonate (PCCF) with a 0.6mm nozzle for strength and a matte texture that bonds exceptionally well with superglue (I chose the glue option for the attachment point). However, any filament should work fine – just avoid PLA if your setup might encounter heat (e.g., in a car or sunny outdoor shoots), as it could warp. Other materials like PETG or ABS are great alternatives for durability.
Orient the print on it's back side for near-support-free results, prioritizing layer strength in the attachment points. If printing the hot shoe adapter separately, superglue adheres reliably to PC-based filaments. Total print time is quick, making this an accessible project for beginners.
If you give this a try, I'd love to hear your feedback! Leave a comment, share your makes, or suggest improvements for future iterations. Community input could lead to even better versions – thanks for checking it out!
License

You may create derivative works based on this object, provided that all such derivative works are published exclusively on the MakerWorld platform and include proper attribution to the original creator. You may not share, upload, host, distribute, or publish this object—or any derivative work of this object—on any other digital platform, marketplace, or distribution channel. Commercial use of this object and any derivative works is strictly prohibited. This includes, but is not limited to, selling, renting, sublicensing, or using the object in any context in which you receive monetary compensation or other financial benefits.


Comment & Rating (10)