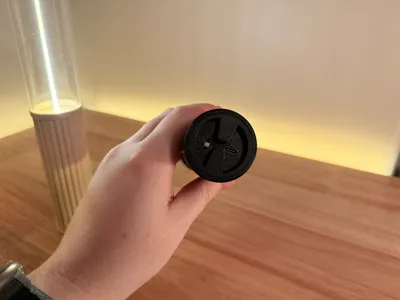
Gravity Light - Modern Torch


Print Profile(1)

Bill of Materials


- https://a.co/d/5O1zL3l x 1: Tilt Switch (ball or mercury switch)
Description
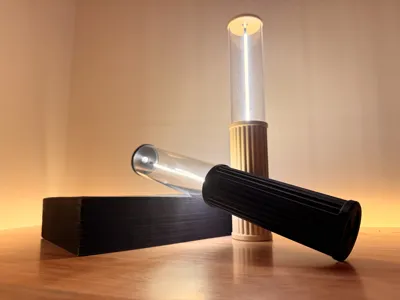
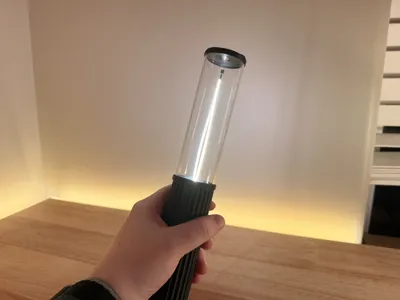
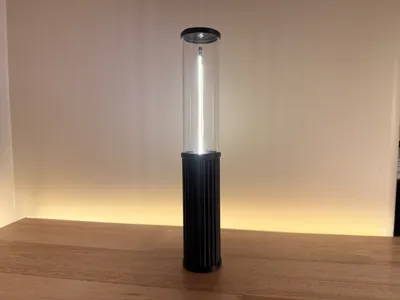
This is the Gravity Light, an easy to use lamp that turns on when you flip it over. This feature makes it easy to use to quickly get some light without fumbling around in the middle of the night looking for a switch or button. Though this feature is handy, it also works with a simple toggle button with the flipping functionality completely optional. You can expect a 6 hour battery life and it recharges with USB-C.
Assembly:


Optional: Do this step if you want the flipping functionality, but it requires some simple soldering.
Cut a 1/2in (13mm) section out of the red wire connecting your light to the power board. Take your tilt switch and verify what direction is on, and what is off. On a multimeter you can set it to Ohms or resistance and on will be the side that says a low value near 0 where off will be OL. Solder it onto the wire with the up/on direction pointing to the end of the wire that connects to the light. I like to put a piece of heat shrink over top after I solder it, but electrical tape works fine too. Just make sure you do not leave any metal or wire exposed.


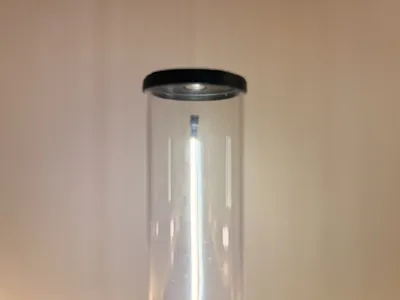
Cut 3-4mm below the end of the acrylic, this will give you room for a few magnets to hold it in place. The more you cut away the larger the hovering gap will be but the less stable the light is. You can always cut more off later so only cut a small amount at a time.


This is optional, but I put a piece of heat shrink on the end to hold the magnets better to the end of my light. If you are suing good glue then this isn't necessary.

The magnet press fit into the lid can be a bit tight if your tolerances are off, but heat helps this go into place. And if it is too loose I would add a bit of glue to the other side.


Boost Me (for free)
If you made it this far I wanted to say thank you for reading through the description and assembly. If you have any extra boosts and feel this model deserves it I would really appreciate your support. Boosts are how I am able to continue uploading free projects exclusively to makerworld and any support helps.
Membership
If you like my work and want to sell this model or any others, this is how you get the license to do so. Please reach out if you have further questions.
License
You shall not share, sub-license, sell, rent, host, transfer, or distribute in any way the digital or 3D printed versions of this object, nor any other derivative work of this object in its digital or physical format (including - but not limited to - remixes of this object, and hosting on other digital platforms). The objects may not be used without permission in any way whatsoever in which you charge money, or collect fees.
Comment & Rating (11)