P2S_Riser_with_Exhaust_no_supports


Print Profile(1)

Bill of Materials


.jpg)
Description
Plate Printing Times
Plate 1: 2hrs [84.6g]
Plate 2: 1hr 58min min [80.3g]
Plate 3: 4hrs 29min [180.2g]
Plate 4: 4hrs 24min [165g]
Plate 5: 1hr 58min [85.8g]
Plate 6: 58min [35.6g]
Total: 15hr 47min [632g]
Features
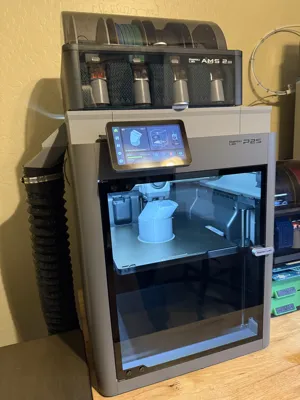
50mm rise
No supports needed
No glue or screws needed
Six plates for easy printing on 256x256 beds
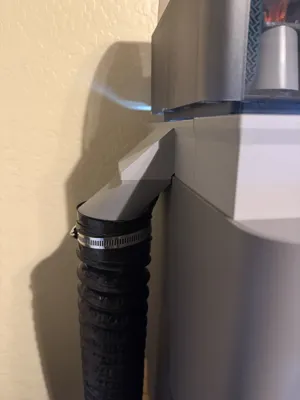
Exhaust magnetically attaches to riser
Integrated exhaust duct
Exhaust can be placed on either right or left side
Materials
High quality PETG or high-temperature PLA
16 10x3 round magnets
Printing Notes
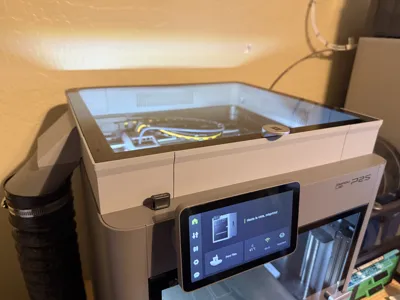
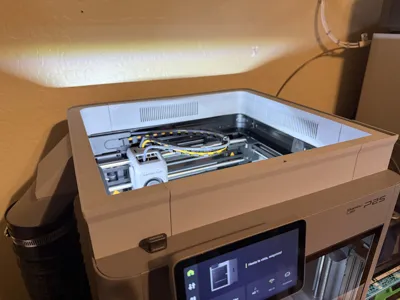
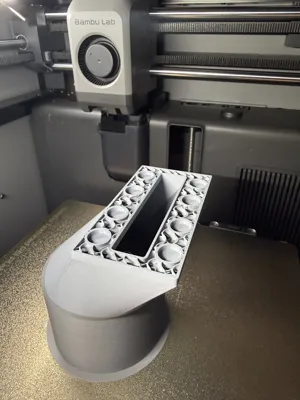
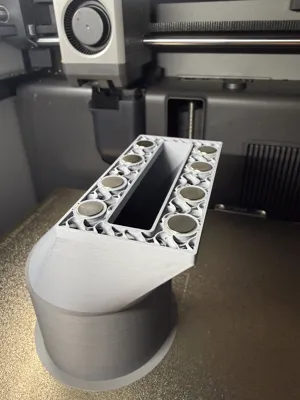
P2S riser with integrated exhaust. This model was designed with tight tolerances to ensure a tight fit in order to facilitate proper air flow and eliminate the need for gluing. I ended up using high-temperature PLA because the cheap PETG I tried was shrinking too much while cooling. The exhaust coupling can be printed with regular PLA since the air temperature will be below 57C by that point. The model also uses 16 10x3 round magnets to ensure a strong connection when an exhaust hose is attached.
The magnets are embedded within the Exhaust Rail and the Exhaust Coupling. Pauses have been added to the print profile to allow for insertion.
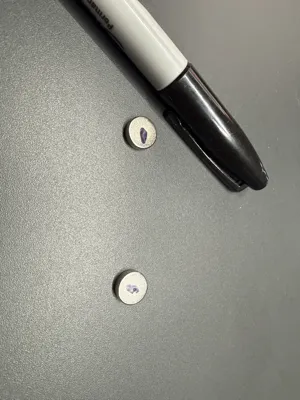
SPECIAL NOTE: Magnet orientation matters! I would recommend printing the Exhaust Rail before the Exhaust Coupling. Lay out 8 magnets on a worksurface assuring they are all magnetically aligned. Use a marker to place a dot on the top surfaces. Insert the magnets into the rail with all marks facing in the same direction when the printer pauses, then resume. Once the Exhaust Rail has completed printing, place the remaining magnets onto the surface of the magnets embedded in the Exhaust Rail and mark the faces with a marker. Then, when printing the Exhaust Coupling, be sure to press the magnets into place with the marks facing down.
Comment & Rating (0)