
3x3 Dice Rubik's Cube
Print Profile(3)


Description
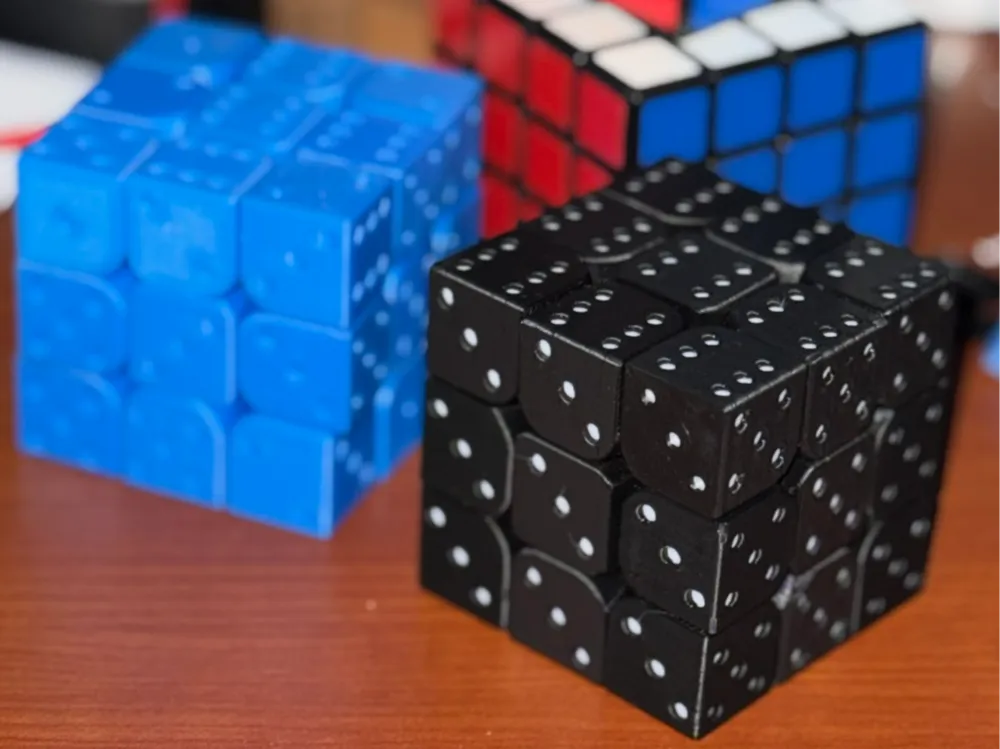
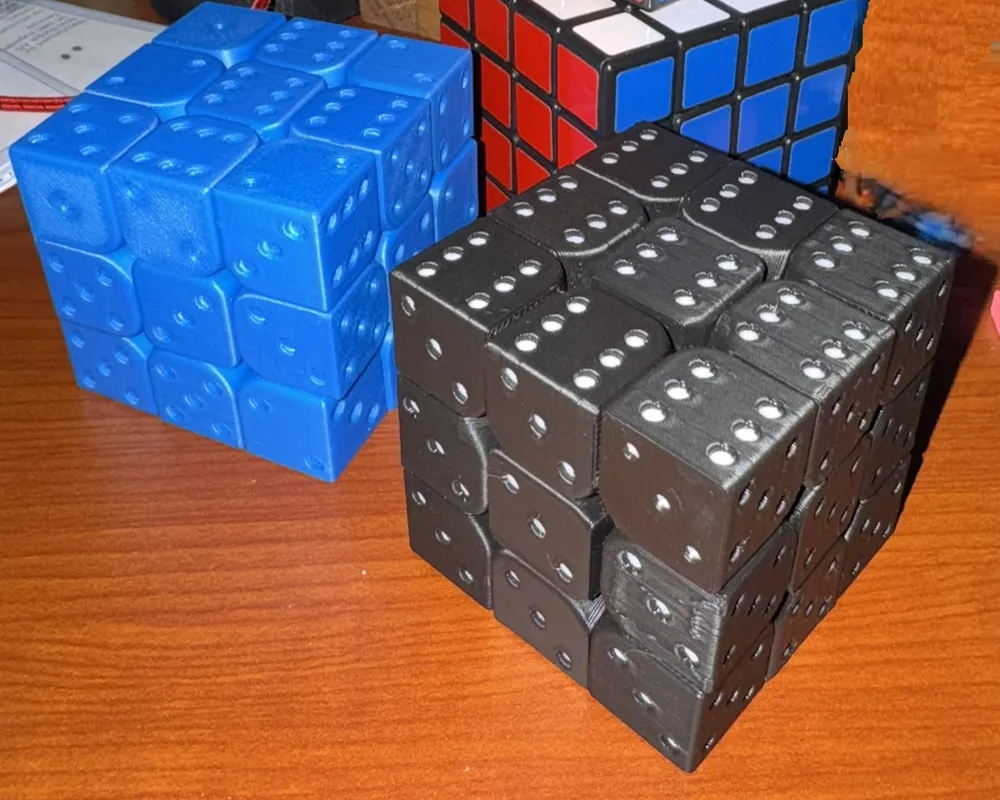
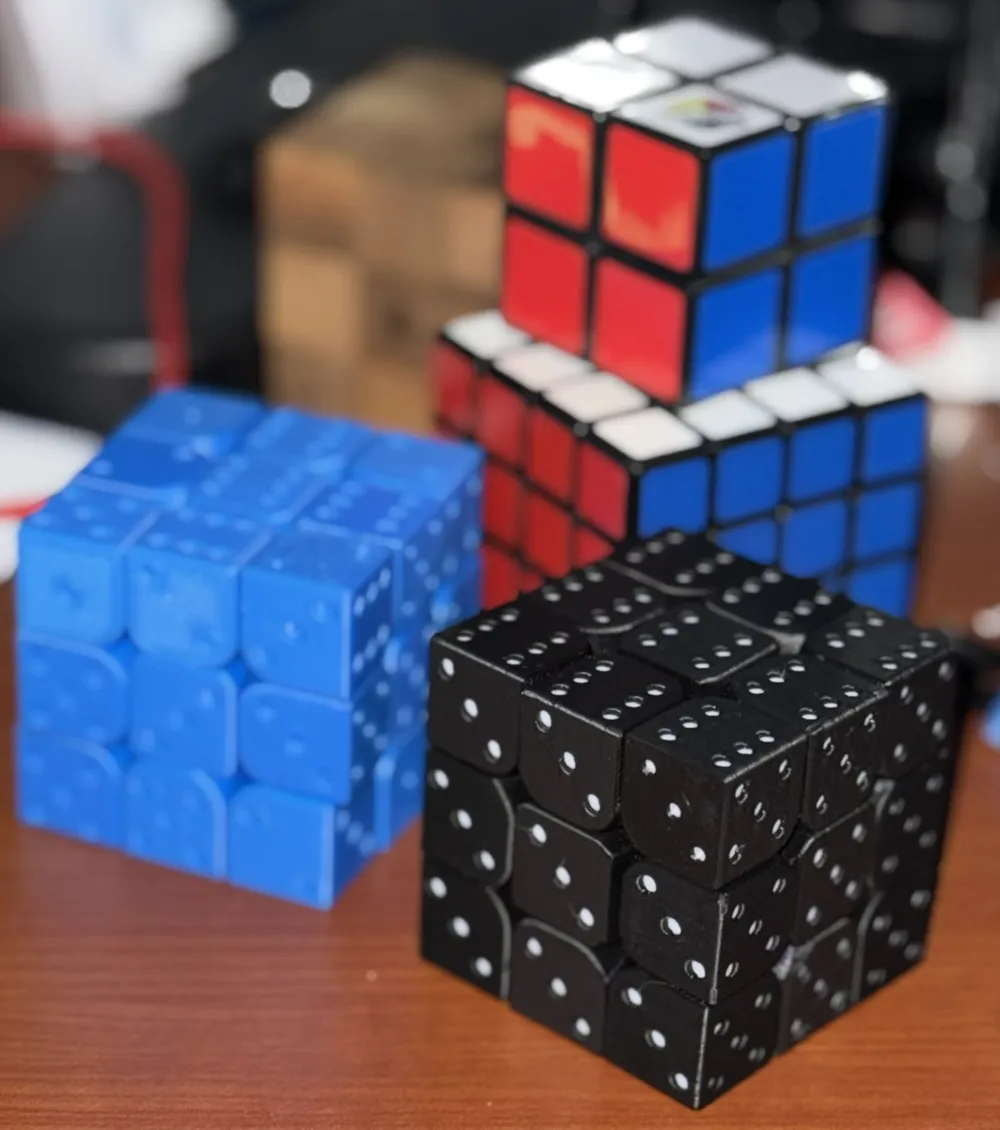
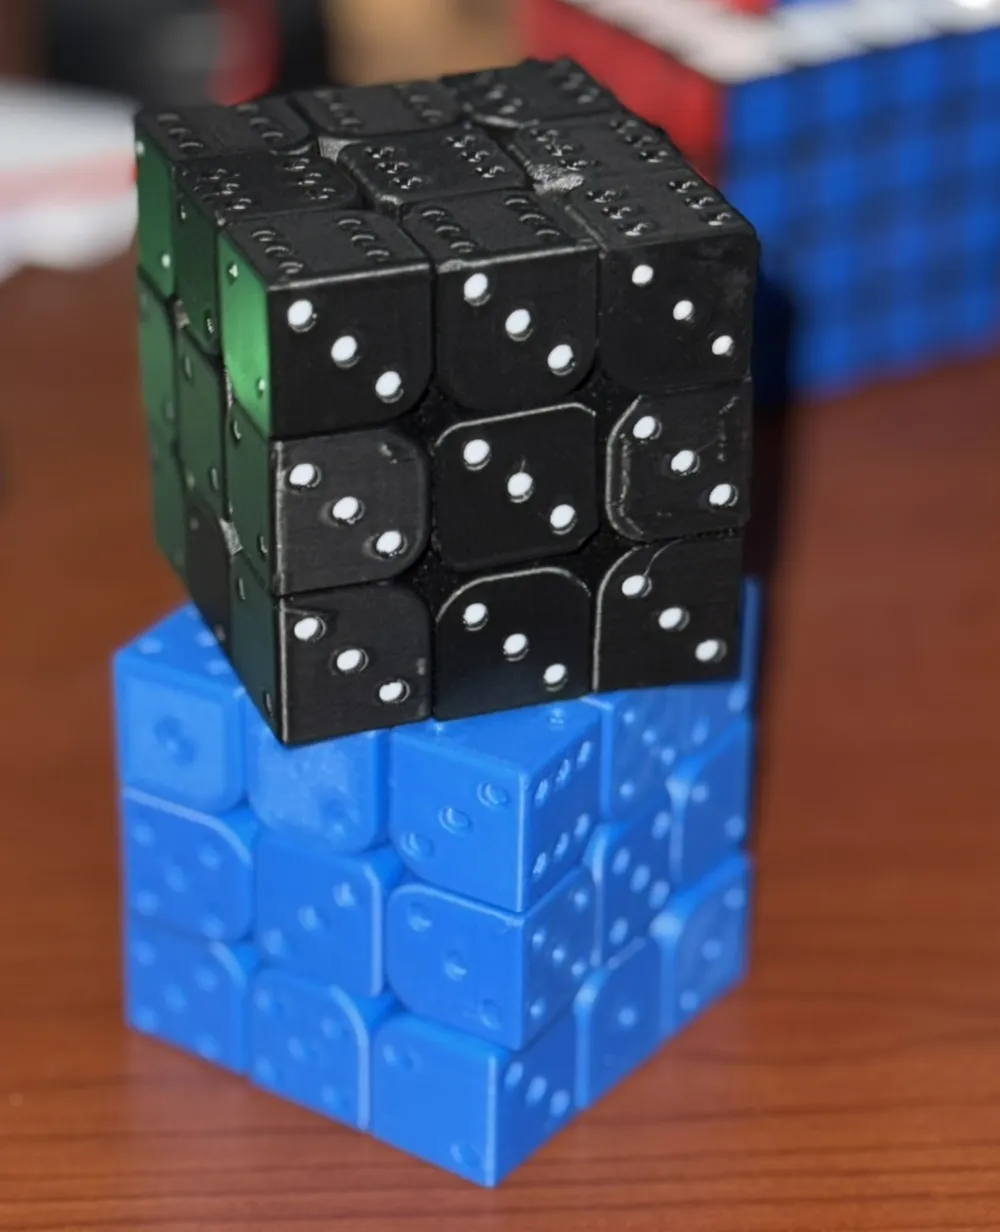
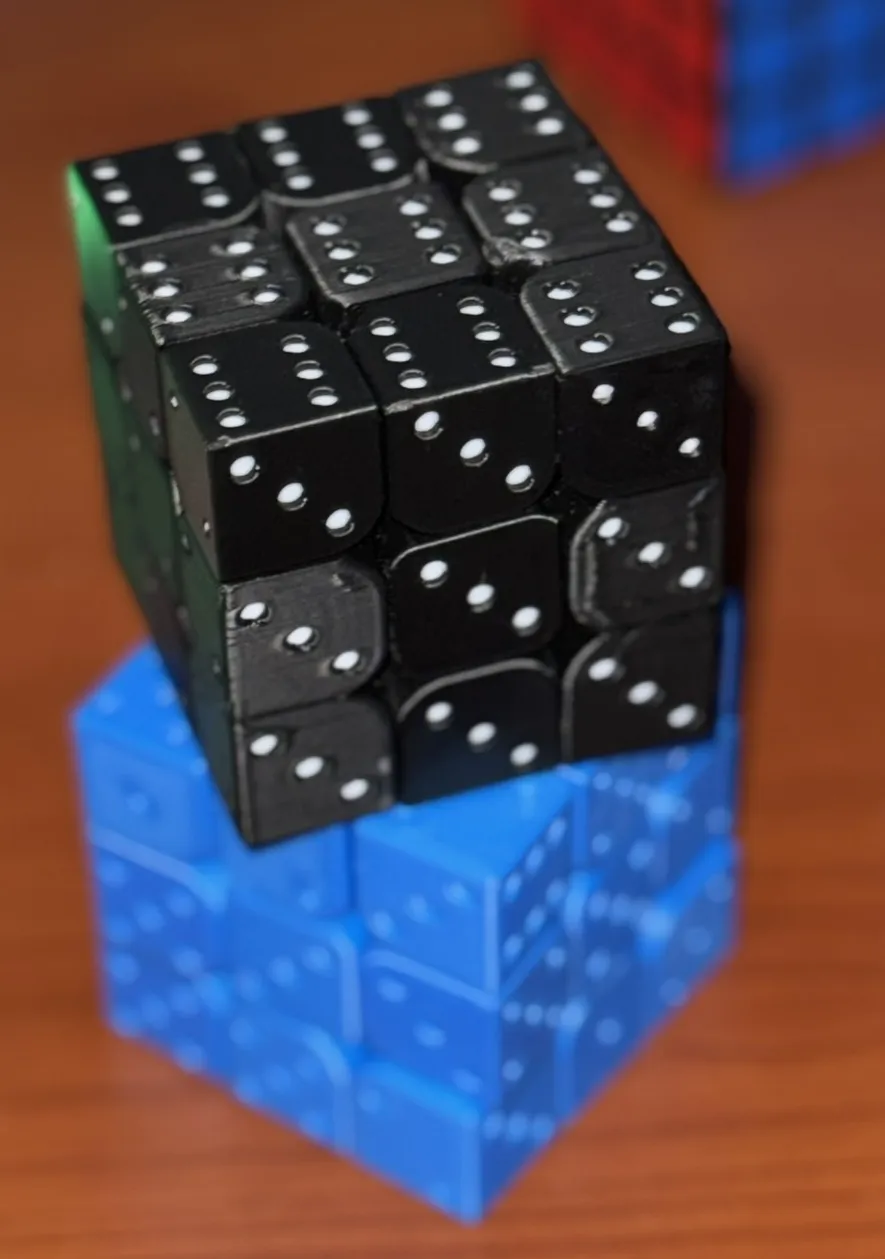
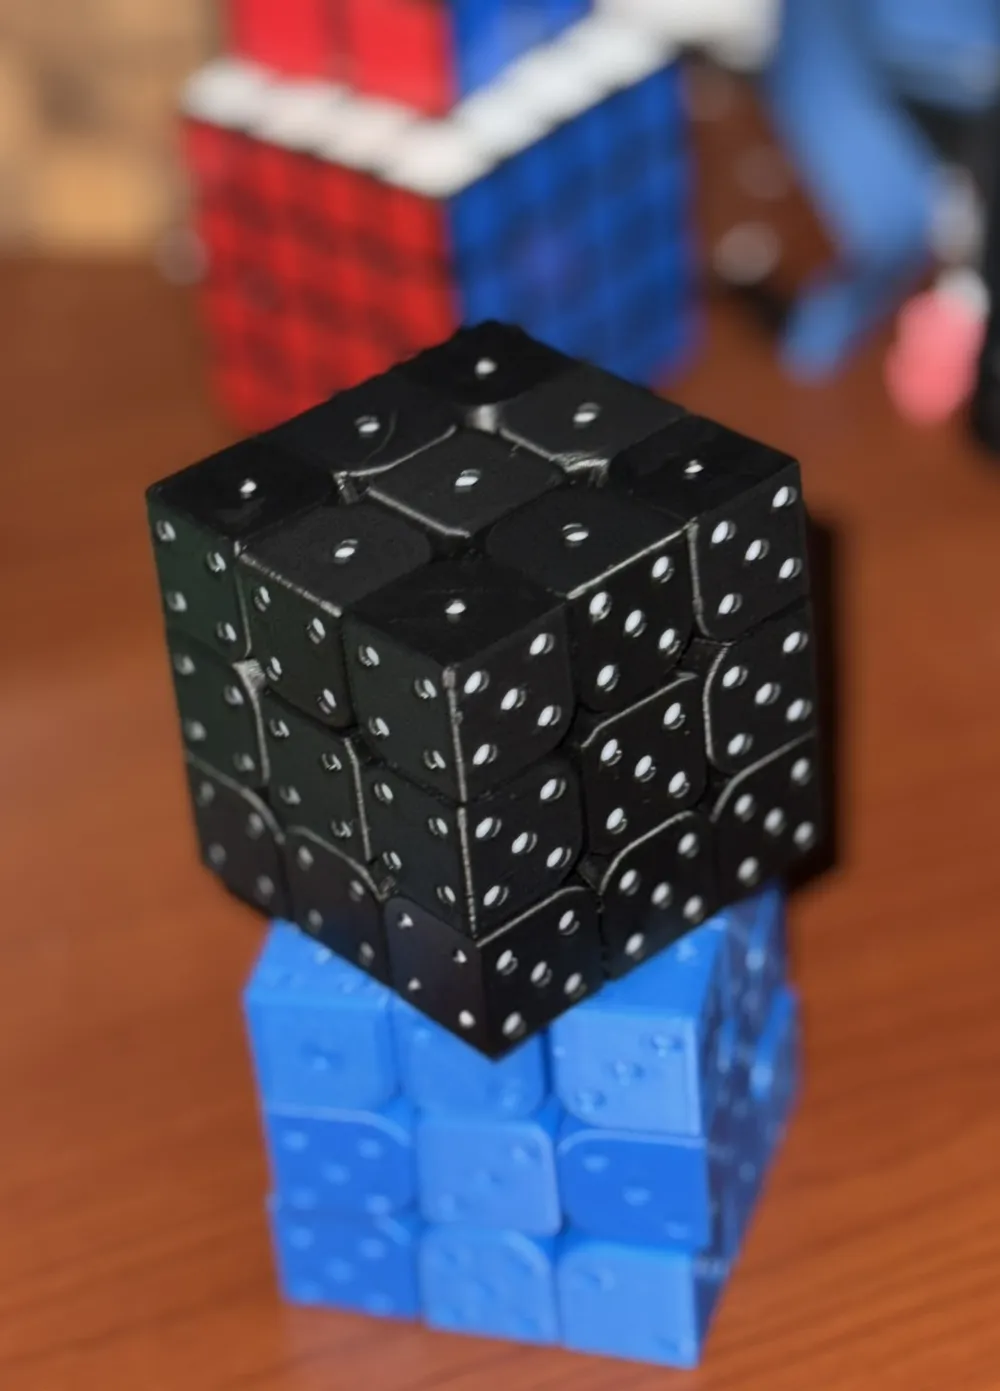
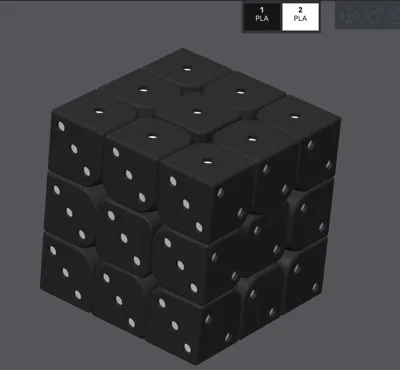
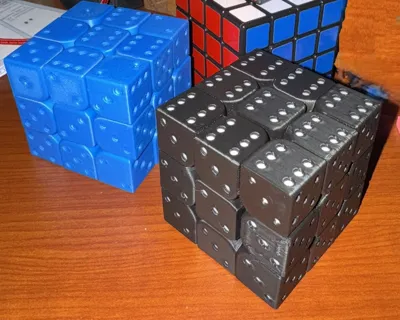
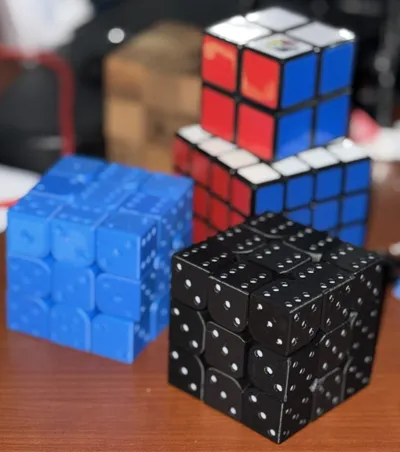
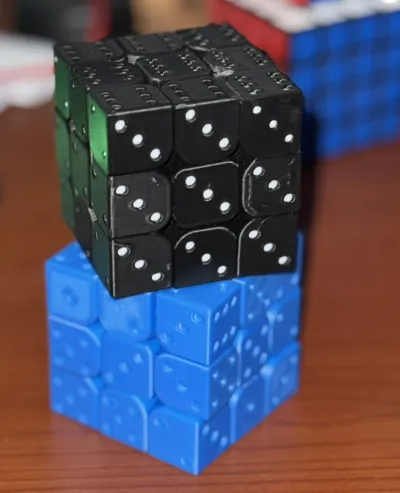
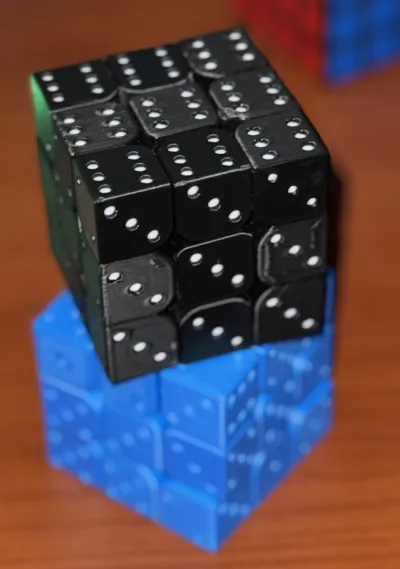
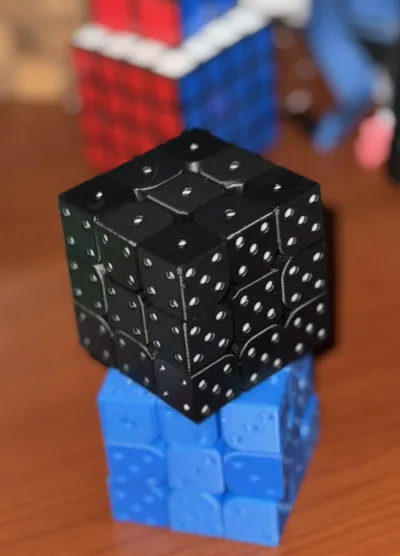
Solving Rubik's cubes is another hobby of mine, I liked the idea of a fully 3D printed cube, and decided to make a remix to print. The model I based my remix on caught my eye here on MakerWorld, I liked the look of the cube with the symbols on it and decided to remix it to look like 27 stacked dice (but really 26 pieces plus 1 center core).
This is by no means a speed cube, the turning is very tight, I made some adjustments from the other model to loosen it a bit, I had to extend the post on the Center “1” to get it to click into place as I had trouble with it popping out with the original settings due to the tight tolerances. Although tight, the cube feels pretty good in the hand and loosens with use over time.
Be warned that while testing my design I had one or two pieces have supports fail on at least 3 different prints, likely due to the small surface area and the number of pieces on the plate, the nozzle does a lot of work moving around the plate. Make sure your plate is very clean before printing, you may want to use liquid glue stick if you have it, on a smooth or PEI plate, unless you use Supertak. You can just reprint those pieces if needed.
Once printed, you should do some cleanup of the edges on the pieces (debur/sand, etc) to improve the smoothness/friction of the turning.
Assembling tip:
- I recommend the following assembly order:
- Insert all the centers except for the 1 into the core, they should click into their slots and have a little wiggle/bounce to them.
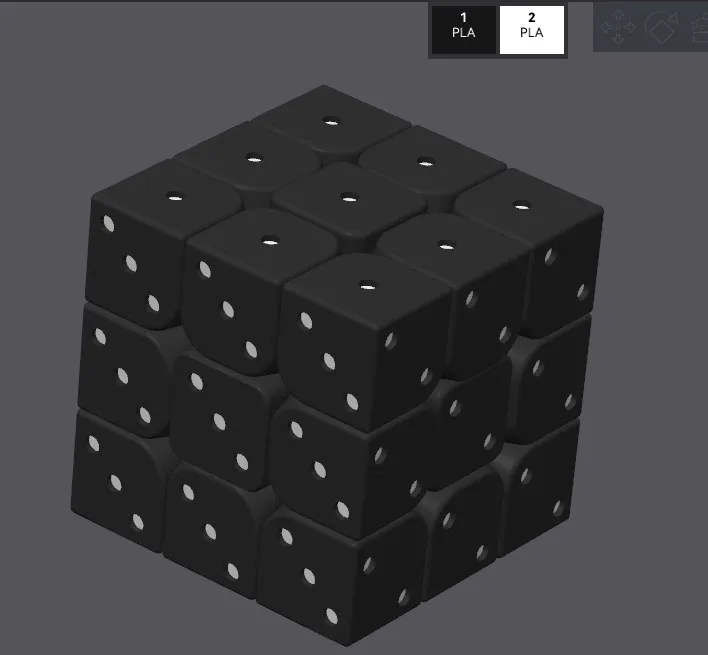
- The faces are as follows: Top=1 (opposite 6), Left=2 (opposite 5), Front=4 (opposite 3), Right=5 (opposite 2), Back=3 (opposite 4), Bottom=6 (opposite 1)
- Assemble:
- the 9 bottom (side 6) pieces,
- turn the cube so the front (side 4) is facing you and assemble the middle 8 pieces, then
- assemble the top corners (side 1), and do the edge pieces in between their respective corners, then lastly insert the side 1 center piece, it should click into the core just like all the other centers.
- Insert all the centers except for the 1 into the core, they should click into their slots and have a little wiggle/bounce to them.
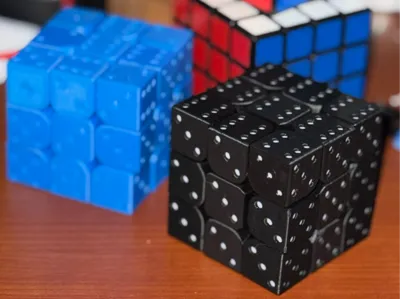
I'm including 2 profiles, one is single color, takes about 4.5 hours to print, the other is 2 colors which I thought looked really cool but does add about 3 hours for approximately 8 hour print (i generally shy away from designing models that have to do color changes at every layer to save on filament and optimize print times, but not this time). I colored the dots on the 2 color version, i had previously tried coloring the dots with acrylic markers after printing but it bled slightly and looked messy.
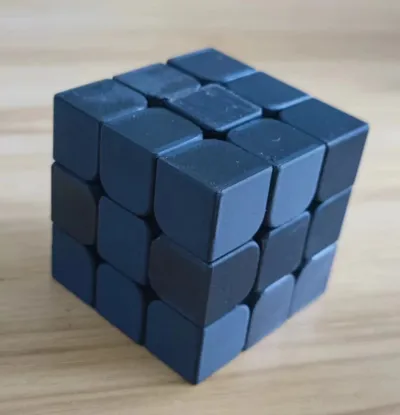
This remix is based on

License



Comment & Rating (6)