
Engraving Template – Rectangular Wooden Keychain
Print Profile(1)




Description
Boost Me (for free)
🙌 Thank you for visiting my creative world! Every boost you send me is much more than just a click: it's a real spotlight on my work, and a huge source of motivation to continue creating unique lamps, decorations, and objects. ✨ If you like what I do, a boost helps me to: -Gain visibility on MakerWorld -Create even more original models -Offer exclusive content to members 💡 A boost is simple but super powerful support. 💖
Membership
✨ Welcome to my creative workshop! I design original, decorative, and customizable 3D printed lamps. Whether you're a fan of geek, retro, design, or artistic decor, you'll find something here to illuminate your space differently.
🔒 Important: Most of the models I offer are based on licenses or brands belonging to their original creators. They are therefore intended for strictly personal and non-commercial use.
🍻 Want to use a model for commercial purposes
I just ask for a small gesture for the time invested in modeling
💬 Buy me a virtual beer (€2.50 where I live!)
You can do it via PayPal right here ⬇️
🙏 Thank you for respecting the work, and for your support!
https://www.paypal.me/clairenteau
My Etsy shop ✌️
📝 Description:
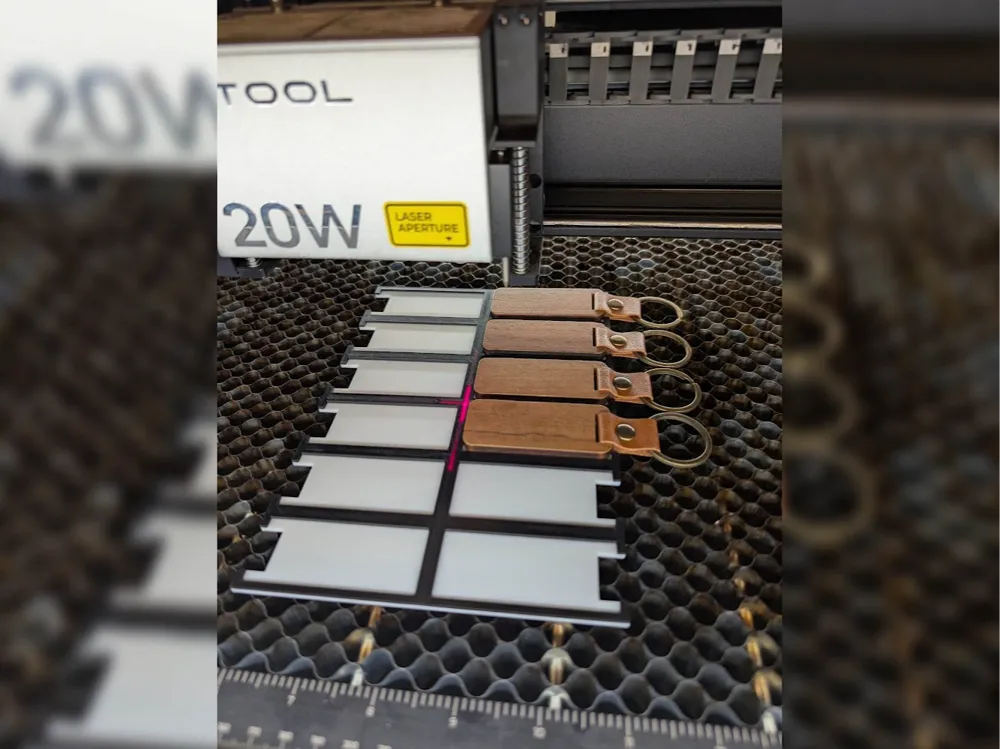
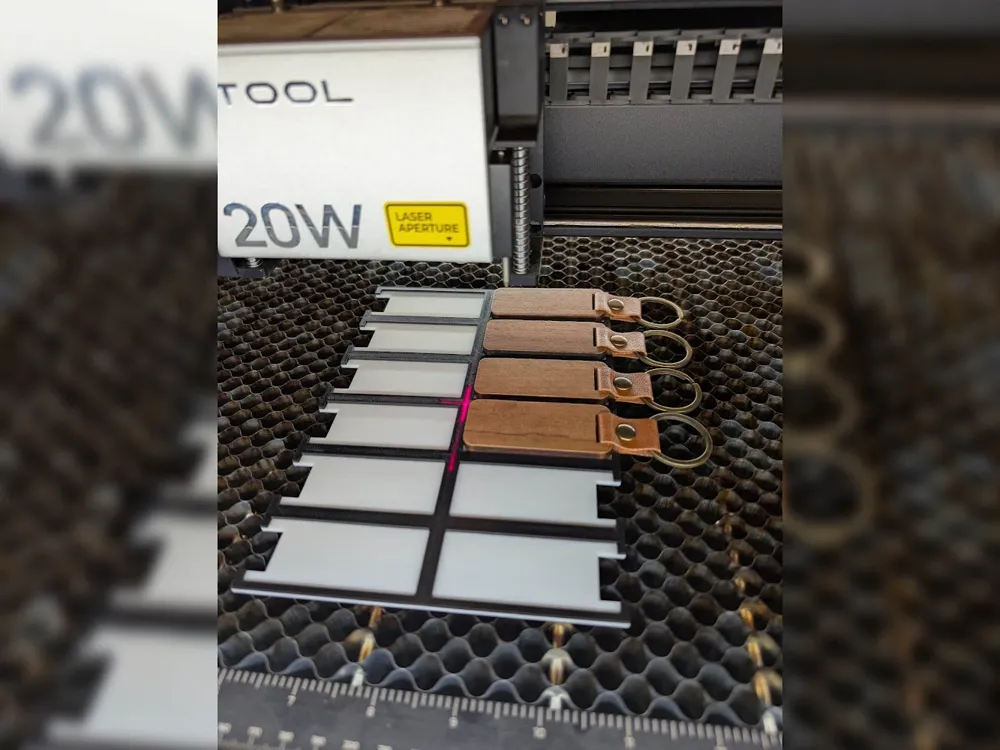
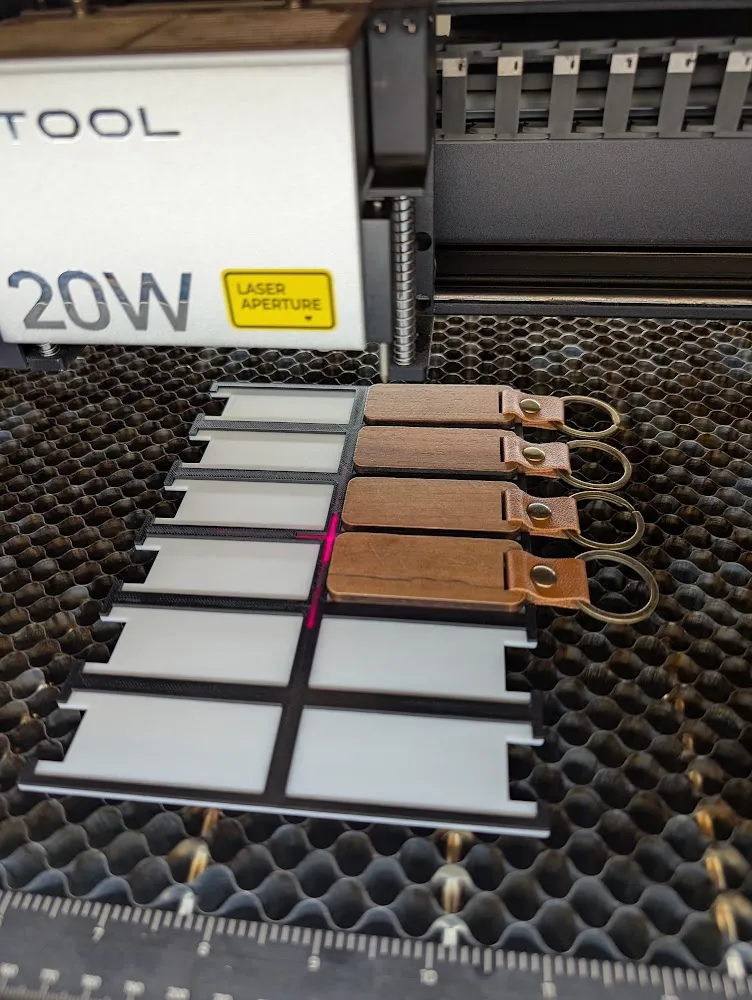
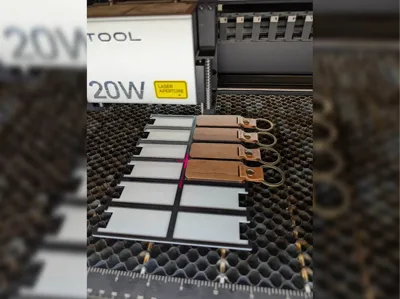
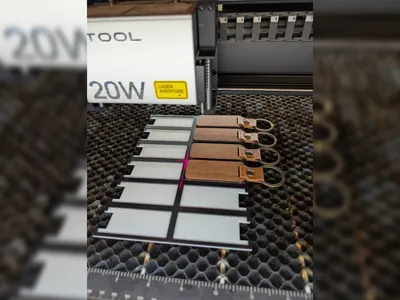
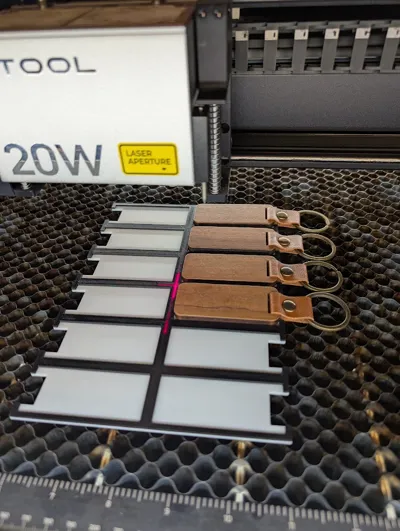
This engraving template was designed specifically for the rectangular wooden keychains with leather straps, very common on AliExpress.
It allows for precise, fast, and repeatable positioning of keychains to achieve a well-centered and homogeneous engraving, ideal for series production.
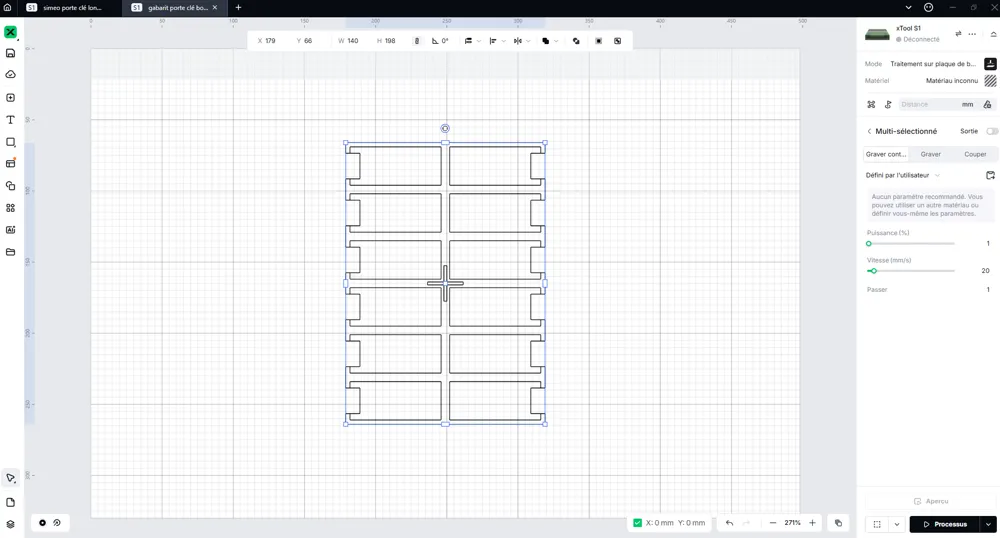
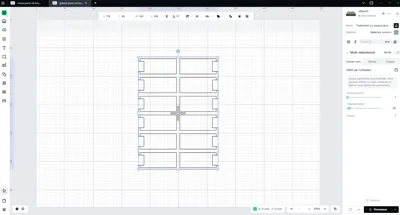
The DXF file is included and can be directly imported into your laser engraver's software.
👉 Important: once the DXF is inserted, remember to set the template to “output OFF” so that it is not engraved or cut during the operation.
Template successfully tested and used on xTool S1, but compatible with any laser engraver accepting DXF files.
An essential accessory to save time, avoid placement errors, and achieve a professional result.
🛠️ Tips for perfect adhesion in 3D printing:
Carefully clean your build plate before each print. Grease residue, dust, or fingerprints can impair adhesion and cause detachments.
Check the build plate calibration: a well-leveled plate ensures a uniform and well-adhered first layer.
Use an appropriate adhesion surface: depending on your material, apply a thin layer of glue stick, an adhesive spray, or a specific tape (e.g., Kapton, BuildTak).
Correctly adjust the build plate temperature to promote adhesion depending on the material used (PLA, ABS, PETG, etc.).
Reduce the printing speed of the first layer: a slower speed allows for better filament adhesion to the build plate.
Provide a “skirt” or a “brim” in your slicer to stabilize the first layer and limit warping.
License

You shall not share, sub-license, sell, rent, host, transfer, or distribute in any way the digital or 3D printed versions of this object, nor any other derivative work of this object in its digital or physical format (including - but not limited to - remixes of this object, and hosting on other digital platforms). The objects may not be used without permission in any way whatsoever in which you charge money, or collect fees.


Comment & Rating (2)