
Little Legend: RTO Hot-Rod Mini BUS
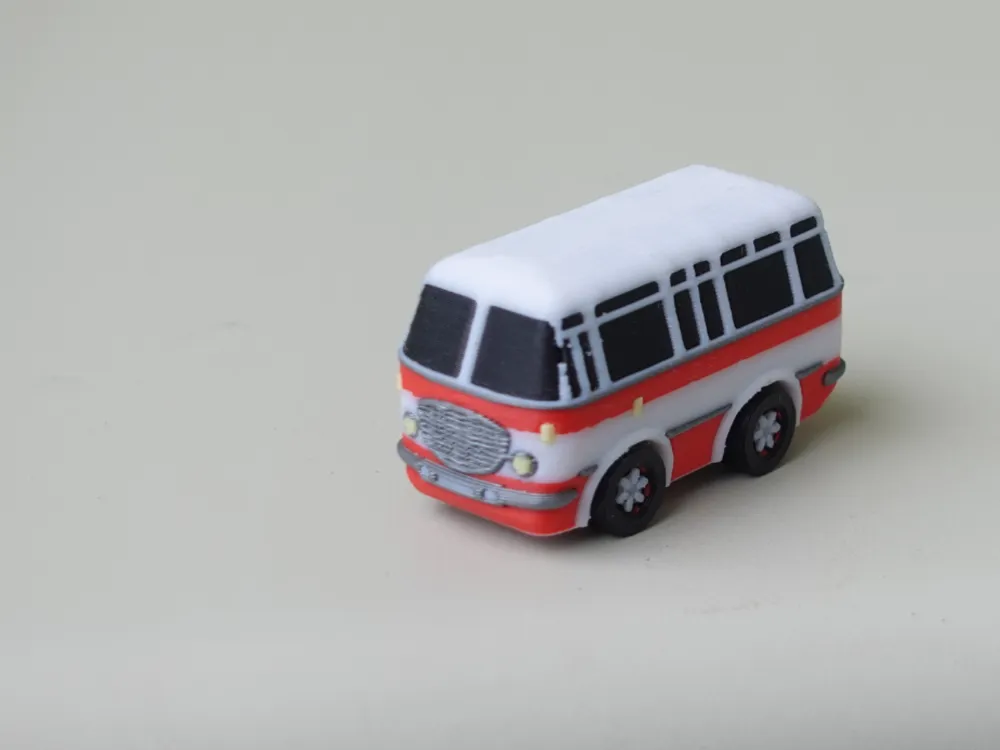
Print Profile(3)






Description
Boost Me (for free)
If you like this project, a boost or sharing pics of your build means a lot 😊
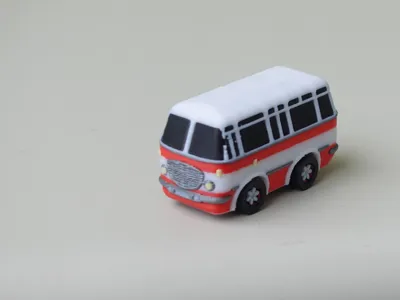
The "Shorty" Hot-Rod
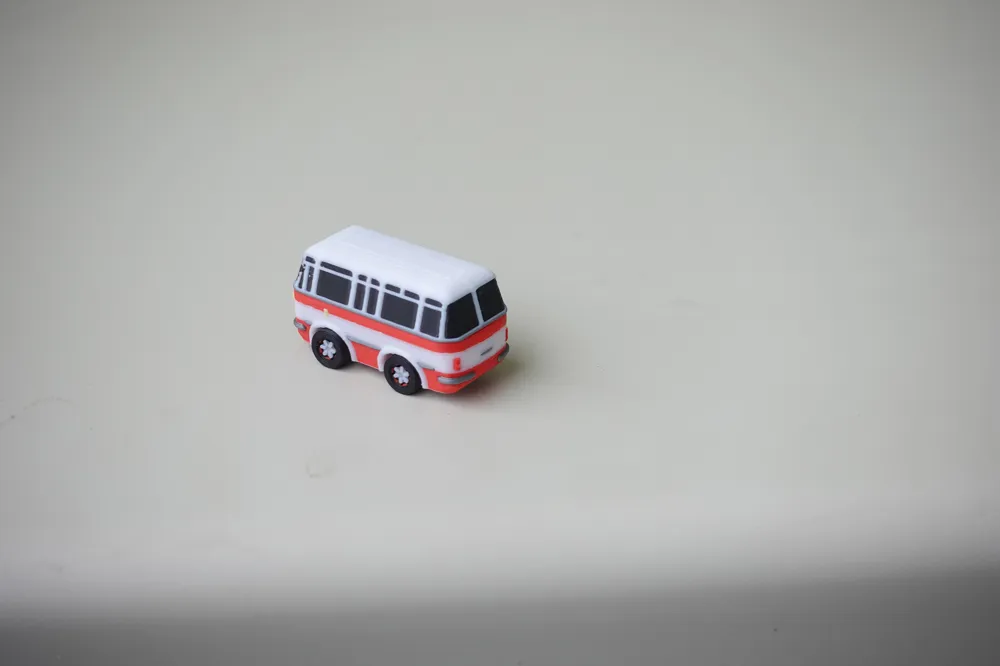
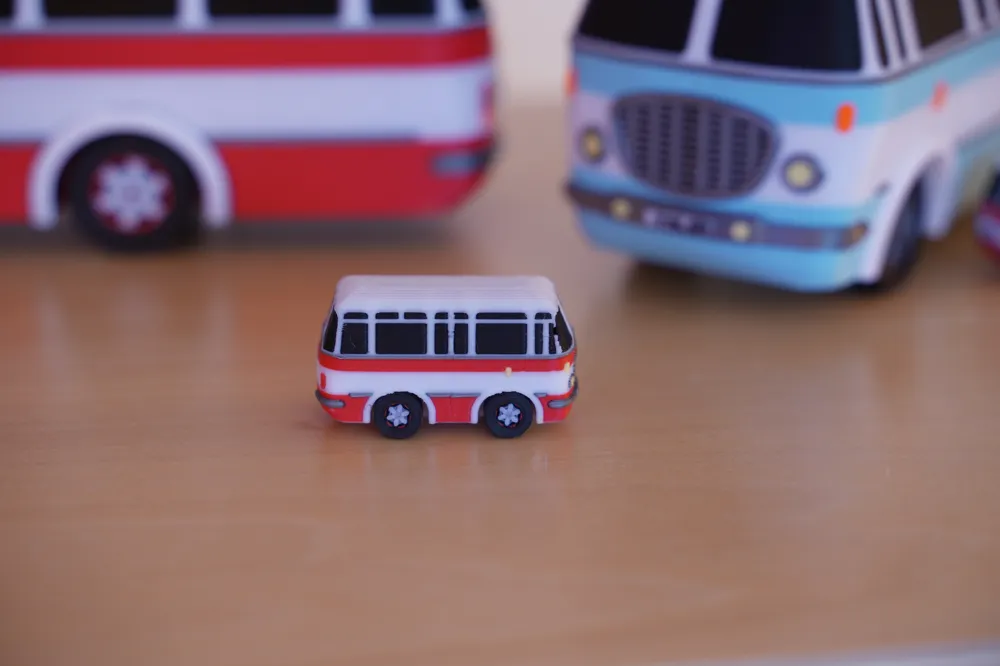
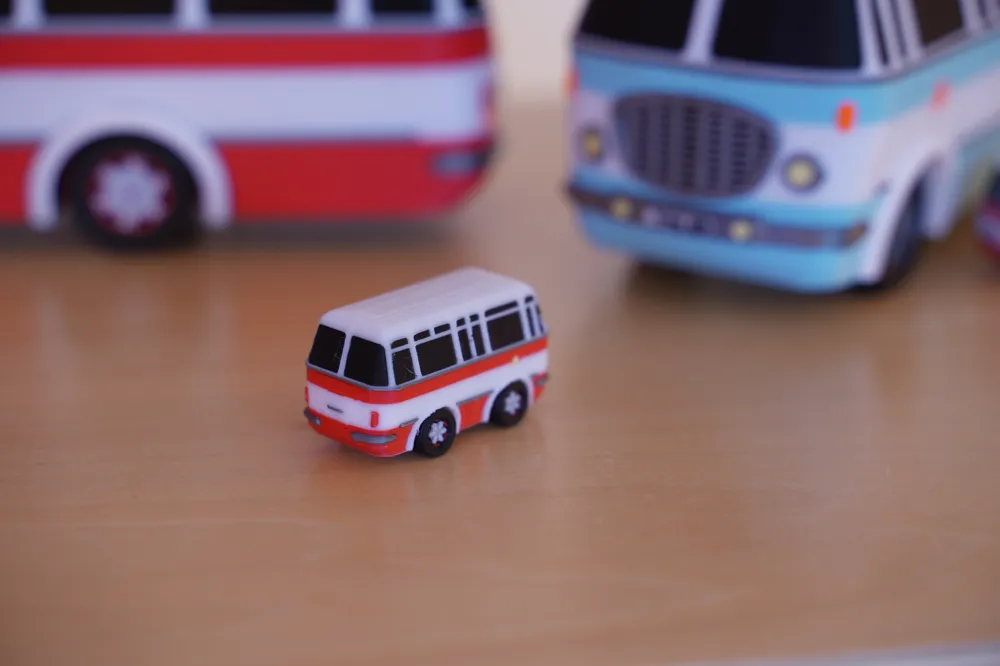
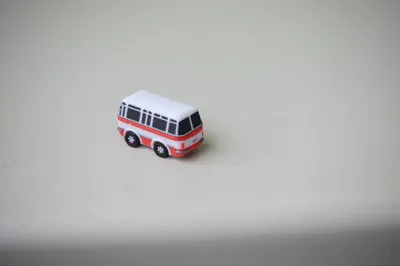
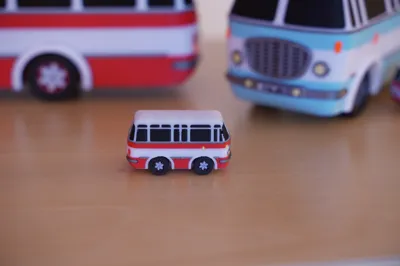
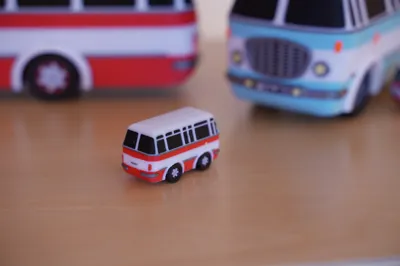
The Czechoslovak legend, but squashed! This "Toon" Edition takes the classic 1:144 scale RTO and gives it a shortened wheelbase (only 4.5cm long) and a wide, aggressive stance. It’s ridiculous, it’s cute, and it looks like a retro hot-rod.
⚡ Highlights
- Toon Styling: Super-short body + wide track = Maximum personality.
- Filament Axles: Uses cut pieces of standard 1.75mm filament for axles. No hardware needed.
- Fidget Friendly: The perfect pocket-sized rolling toy.
Small, squat, and ready to roll!
🛠️ Assembly Manual
Step 1 – Cut the Axle Shafts to size (No Calipers Required)
Take a piece of PLA filament and straighten it roughly. It does not need to be perfectly straight.
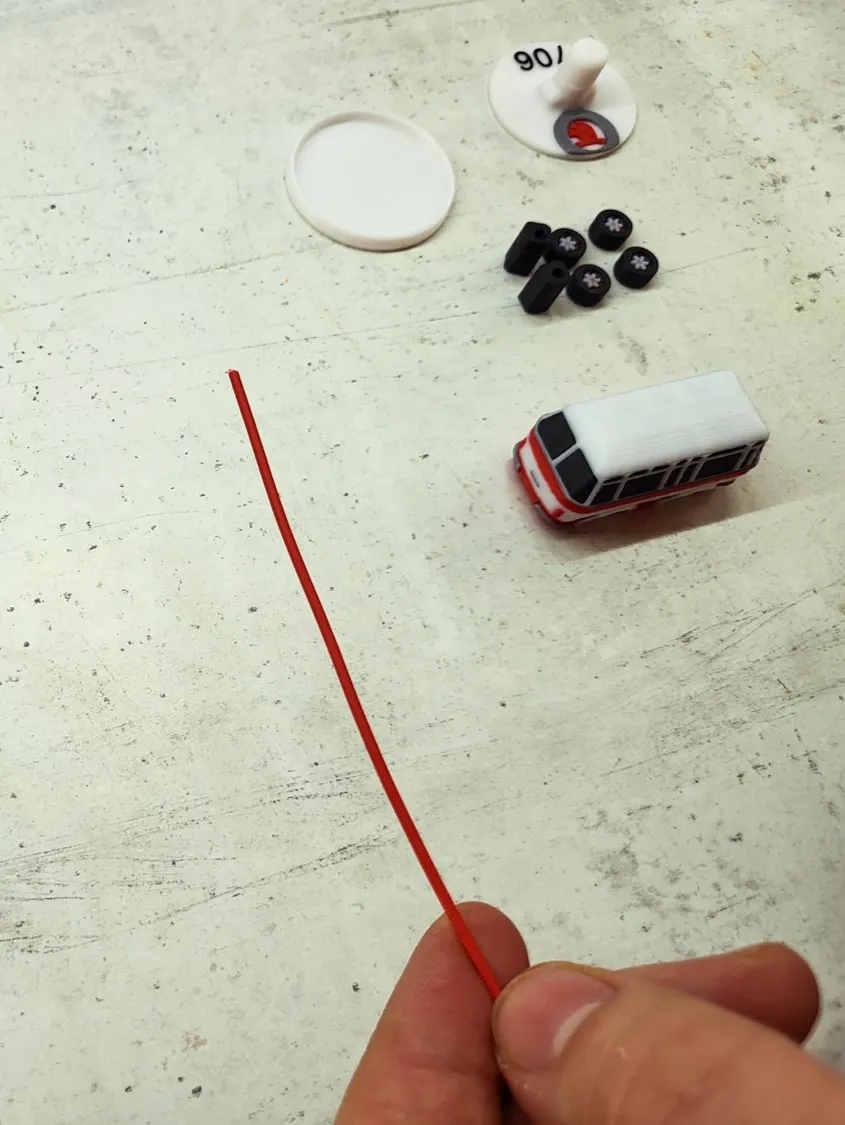
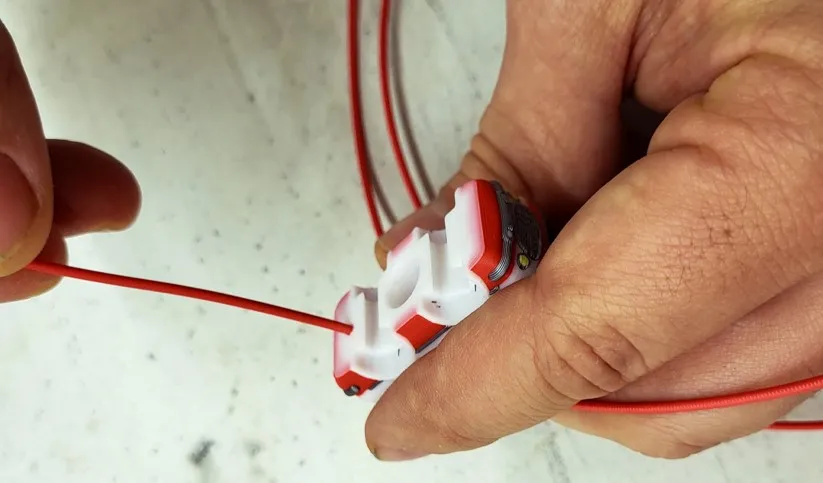
- Insert the filament into the small measuring hole on the underside of the bus and push it all the way in until it stops
- Trim the filament flush with the bottom surface of the bus.
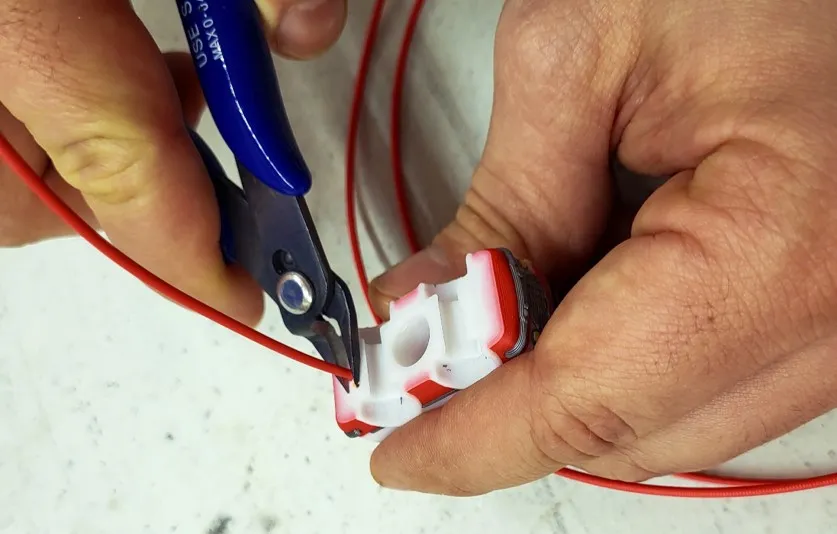
- Flip the bus so the trimmed piece falls out — this is one perfectly sized axle shaft.
Repeat once more so you have two axle shafts.
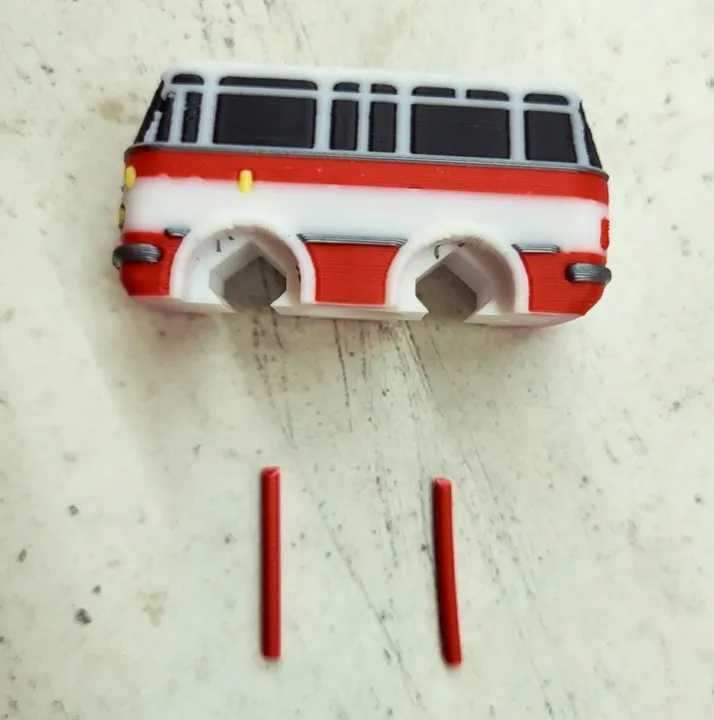
Note:
The small hole in the bus acts as a built-in measuring tool, ensuring correct shaft length without calipers or tools.
Step 2 – Install the Slip Inserts
- Insert the two slip inserts into their slots on the bus body from the side.
- Orientation matters: make sure the hole in each slip insert faces downwards.
Push them fully into place until flush with the bus.
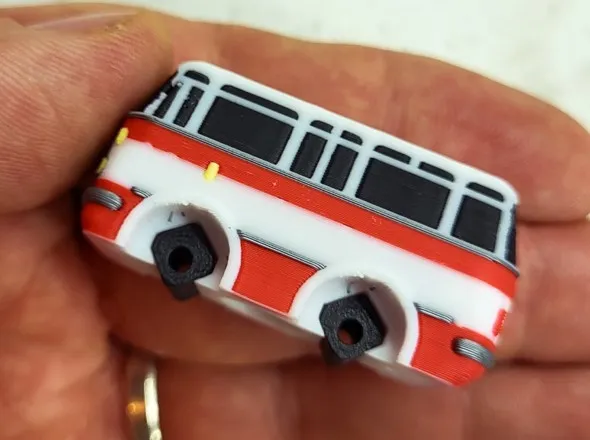
Step 3 – Assemble Wheels and Axles
- Slide one axle shaft through the hole in the slip insert.
- Place one wheel onto each end of the shaft.
Press the wheels firmly onto the shaft until fully seated.
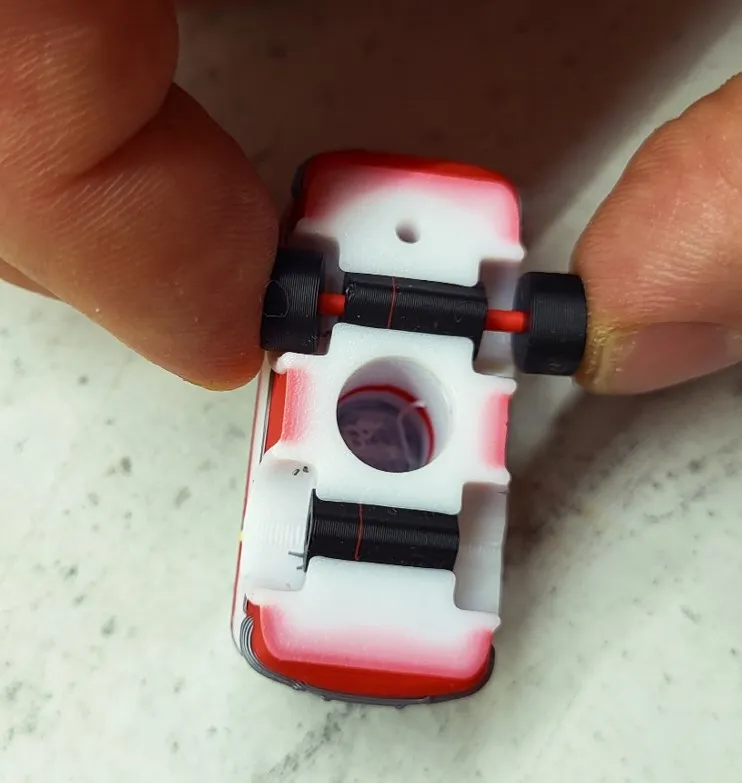
This step requires noticeable force by design.
The tight press-fit ensures the wheels stay securely in place during play.
Pro tip:
For easiest assembly, place the bus on its side on a desk or stable surface.
Align the axle and wheels, then press down from above using steady pressure.
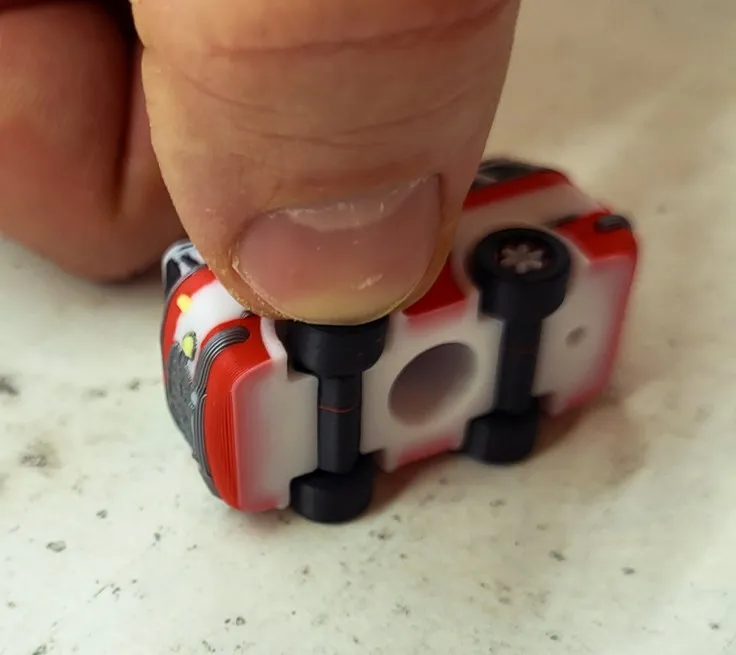
- Repeat the process for the second axle.
Enjoy 😊
License

You shall not share, sub-license, sell, rent, host, transfer, or distribute in any way the digital or 3D printed versions of this object, nor any other derivative work of this object in its digital or physical format (including - but not limited to - remixes of this object, and hosting on other digital platforms). The objects may not be used without permission in any way whatsoever in which you charge money, or collect fees.


Comment & Rating (7)