Broadlink RM 4 Mini Angled Wall Mounting Arm


Print Profile(1)

Bill of Materials

Description
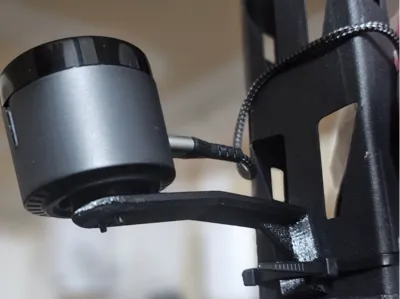
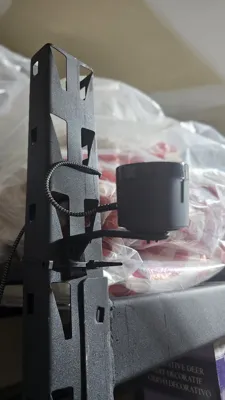
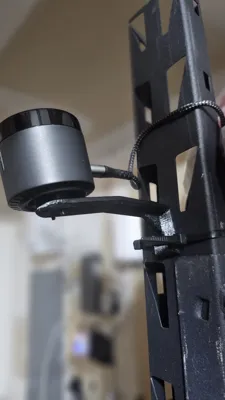
This is a simple, strong fixed-angle extension arm that pairs with Bo’s “Broadlink RM4 mini wall/ceiling mount” (MakerWorld creator: Bo, @ropemaster). His adapter mounts great to a flat surface, but I needed the RM4 up high on a wall and aimed downward toward a heat-pump / mini-split indoor unit’s IR receiver.
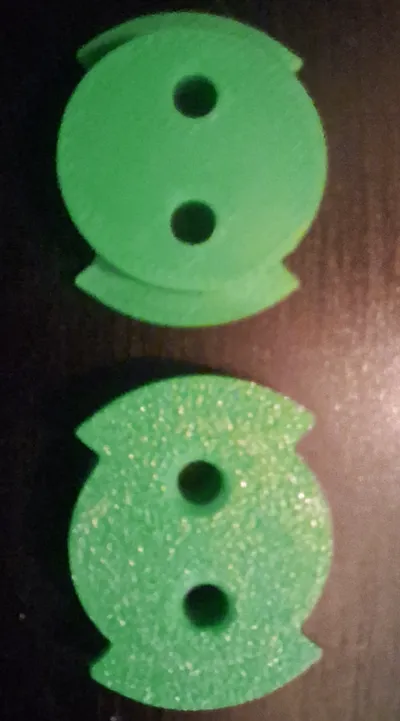
So I made this arm: a straight extension with a built-in bend to provide a consistent downward tilt. No articulation, no moving parts — just a clean, quick print that puts the RM4 where it needs to be.
What this solves
- Mount the RM4 7–8 ft up while aiming at an IR receiver 3–4 ft off the floor
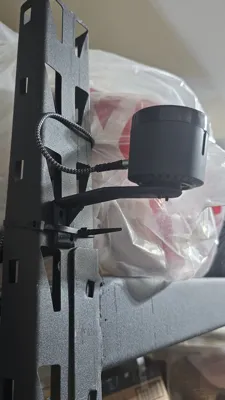
- Keeps the install neat (no improvised shims / weird angles)
- Strong print orientation for real-world mounting (printed on its side)
Compatibility / credit
- Requires Bo’s mount to actually hold the Broadlink RM4 Mini
Search MakerWorld for: “Broadlink RM4 mini wall/ceiling mount” by Bo (@ropemaster) - This model is an enhancement/add-on and is meant to be used with his part.
Hardware
Hardware shopping list
Wall/Ceiling mounting (back plate):
- (2) #8 screws (drywall screws OK)
- (2) #8 wall anchors (if mounting to drywall)
Arm-to-Bo mount connection (recommended):
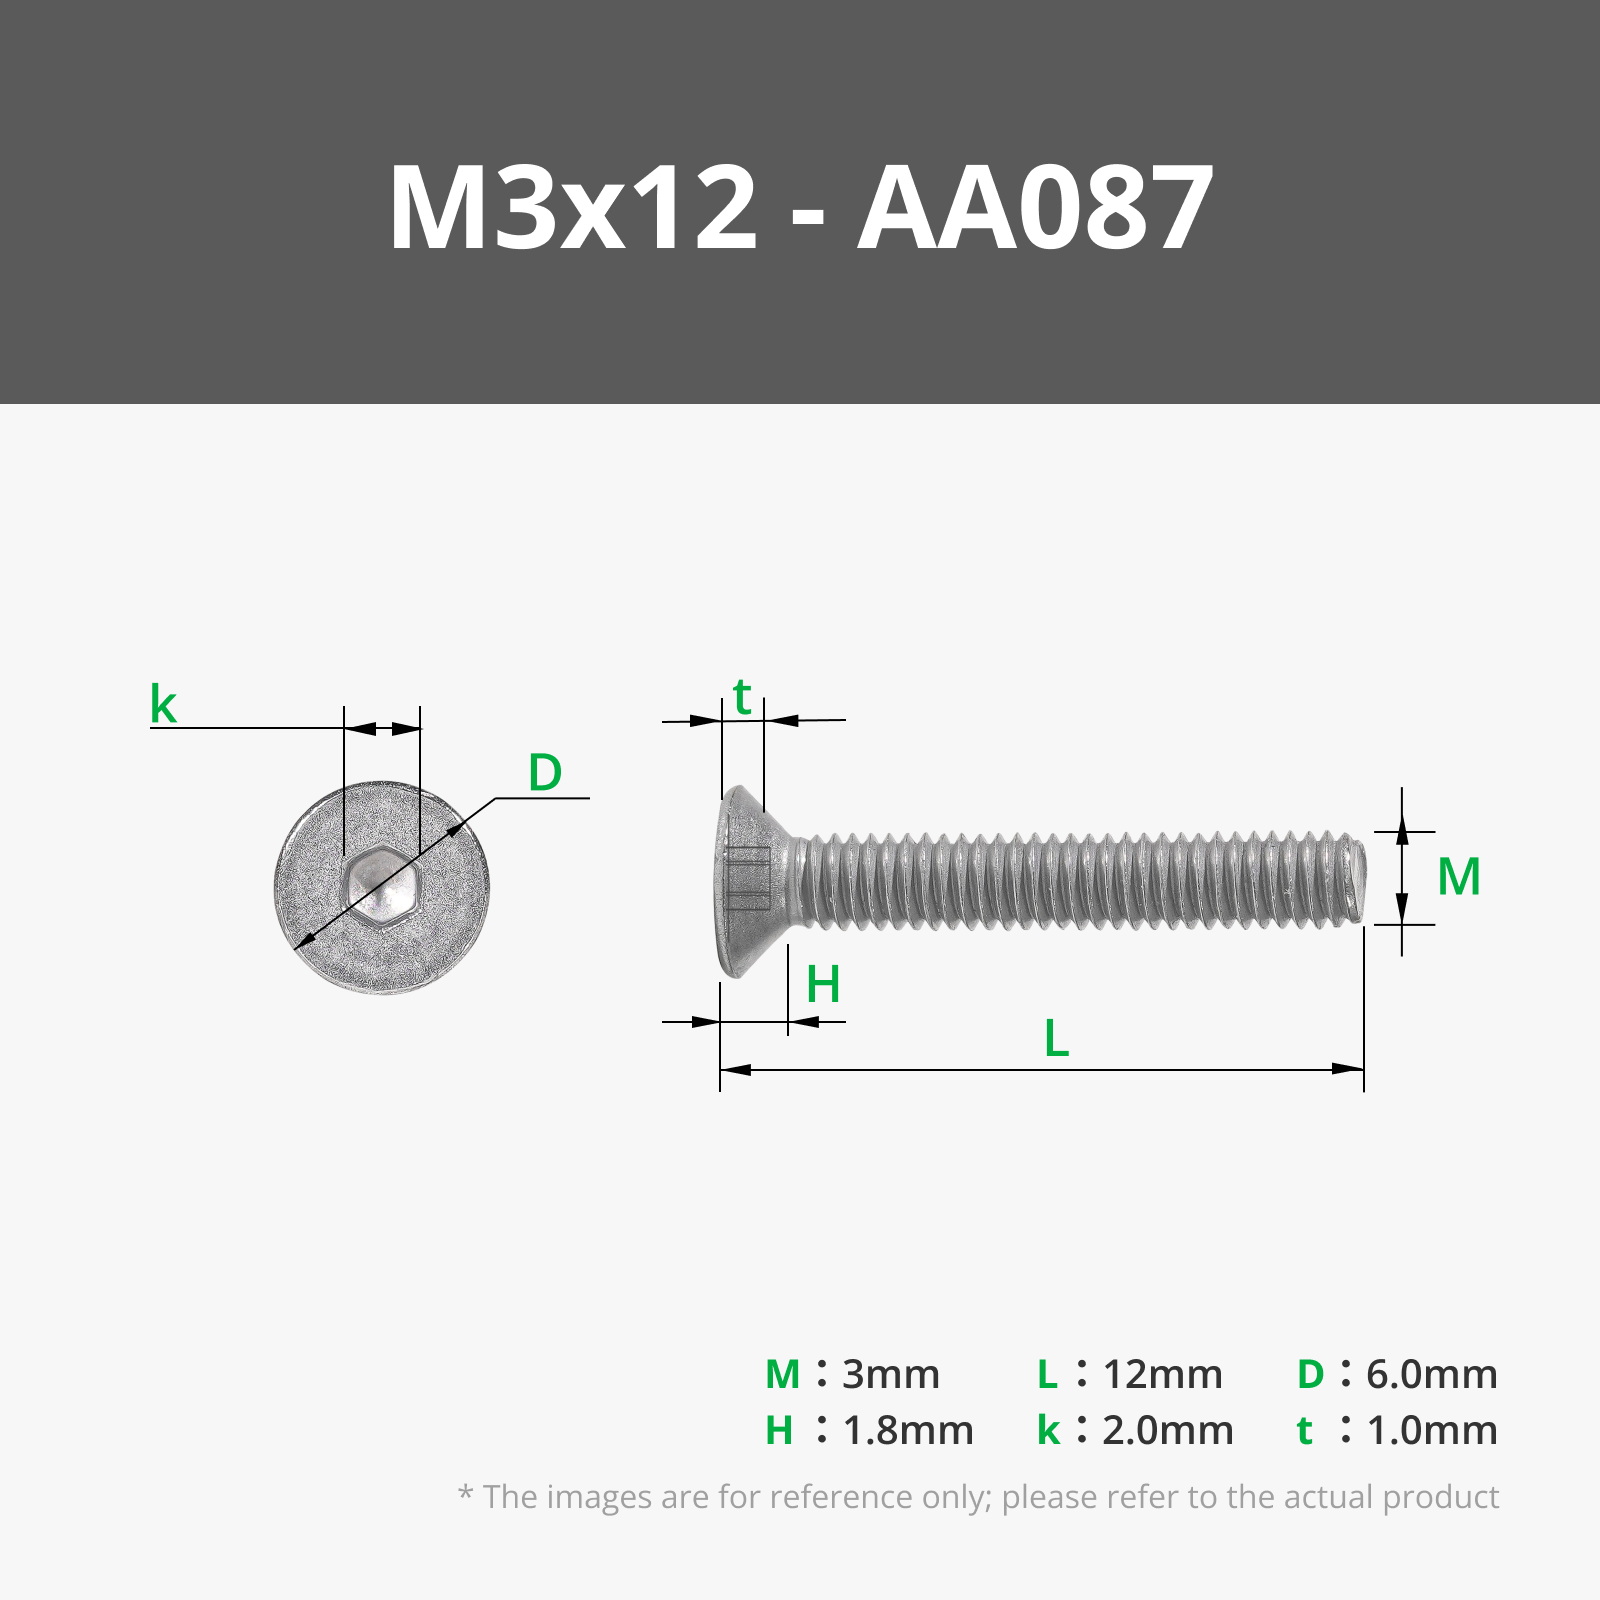
- (2) M3 x 12 mm flat-head screws (countersunk into Bo’s part)
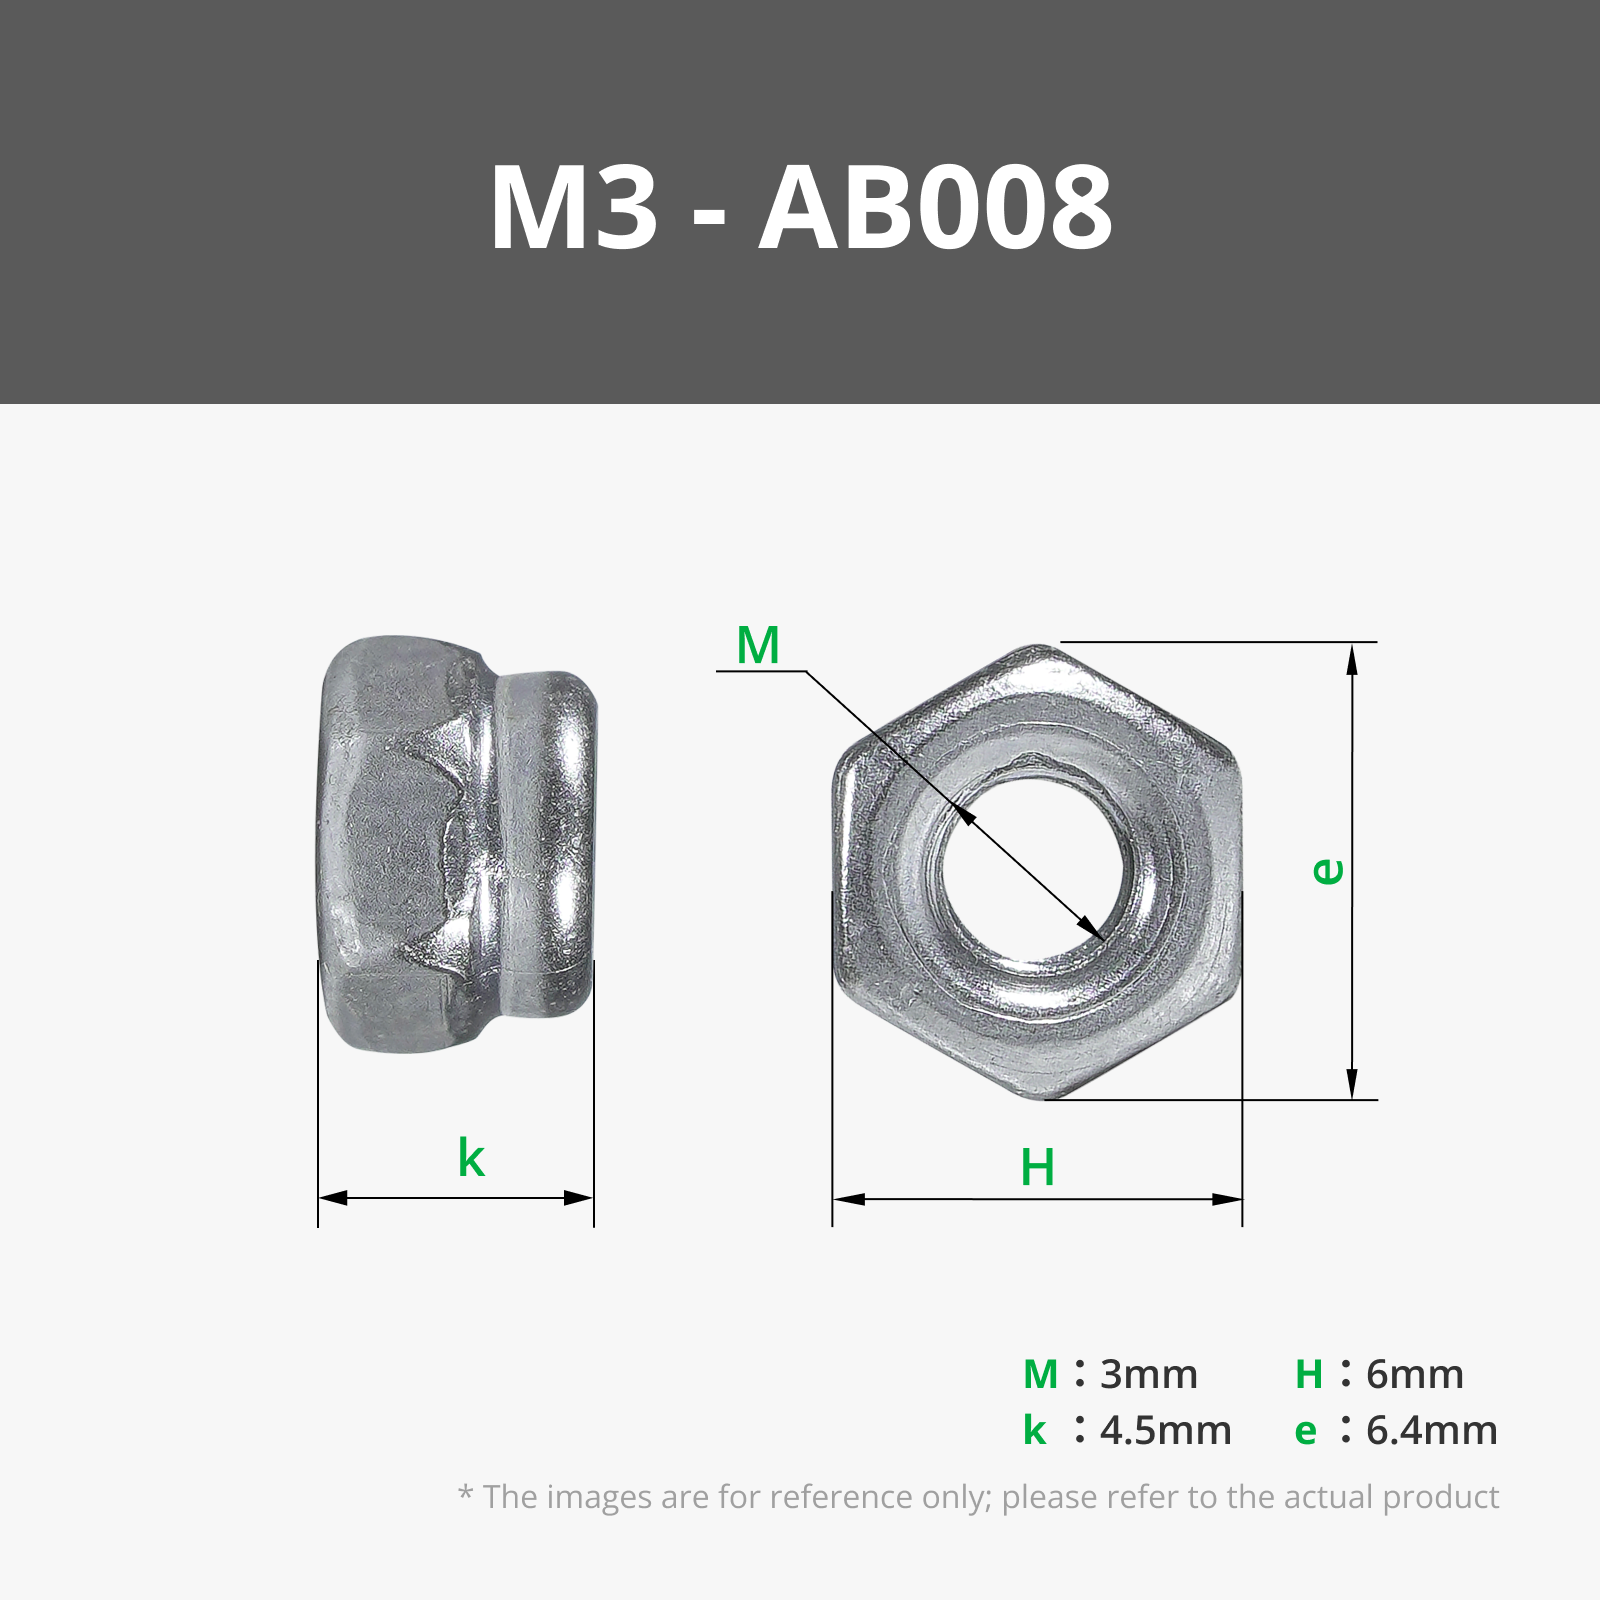
- (2) M3 hex nuts (press-fit into the back of this arm; no glue needed)
Notes:
- Nut pocket is designed for a snug press-fit.
- Typical M3 hex nuts are about 5.5 mm across flats.
- Nut dimensions vary slightly by supplier — even if yours aren’t a perfect “snap,” this joint doesn’t carry much weight and will still assemble fine.
Optional: Buy the M3 hardware from Bambu Lab (Maker’s Supply)
- M3 Flat Head Cap Machine Screws (FHCS): https://us.store.bambulab.com/products/m3-flat-head-cap-machine-screws-fhcs?id=42376310194312
- M3 Self-Locking Hex Nut: https://us.store.bambulab.com/products/self-locking-hex-nut?id=42410685038728
Quick note: self-locking nuts can be slightly bulkier than standard M3 hex nuts. If the fit is extra snug, that’s normal. If needed, lightly deburr the pocket or press-fit with pliers/vise.
Print notes (tested)
Printed on a Bambu Lab X1 Carbon with a Textured PEI plate and 0.4 standard-flow nozzle.
- Material: Bambu PLA Metal
- Print time: ~27 minutes
- Filament: 11.84 g total (includes ~0.33 g supports)
- Walls: 3
- Infill: 12% Cross Hatch
- Top layers: 5
- Bottom layers: 5
- Supports: minimal (small support under the gusset only)
- Orientation: Print on its side for strength (recommended)
- Brim: 5 mm around perimeter
Files included
- .3MF (ready-to-print project)
- .STL
- .STEP (for easy remixing/editing in Fusion)
Assembly
- Print Bo’s mount and this arm.
- Press-fit (2) M3 hex nuts into the nut pockets on the back of this arm.
- Use (2) M3 x 12 flat-head screws through Bo’s mount into the captured nuts.
- Mount the back plate to wall/ceiling with #8 screws + anchors as needed.
- Snap in the RM4 and aim toward the IR receiver.
Boost Me (for free)
Tried it? Please Boost and post a photo of your install! Seeing real-world placements (heat pump / mini-split, ceiling, high wall, etc.) helps everyone. This is an add-on for Bo’s RM4 wall/ceiling mount (@ropemaster) — give his model a boost too.
Comment & Rating (0)