Zeroing Spacers for Coolfire Sidekick


Print Profile(1)

Description
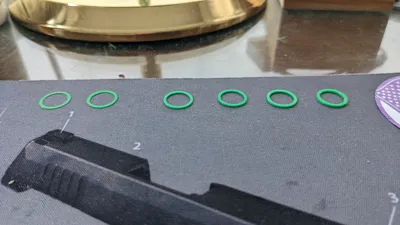
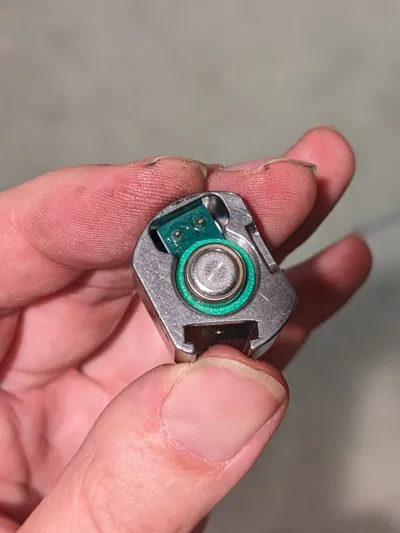
The Coolfire Sidekick works great in my AR-15, but the hits on target were about 1" to the left when shooting from 12 yards. There appears to be no zeroing adjustment screws on the laser unit, so I decided to try making some custom spacer washers to change the orientation of the laser. I unscrewed the laser from the base, like what you do to change the batteries. I found that the threads were one revolution per millimeter, so I made spacers that would provide different rotation amounts in increments of 1/8 revolution. So, the thickness of these washers is 0.125, 0.250, 0.375, 0.500, 0.625, 0.750 and 0.875 mm. Print in PLA using the smallest layer height your printer will support. Because they are so thin, the spacers are difficult to remove from the build plate. Let the plate cool to room temperature and use a good removal device such as “The Last Scraper You Will Ever Need” by flessa.
The animated GIF shows where the laser was hitting for the 8 different spacer options. I was aiming at the headshot bullseye for all of these. You can see that the shots are about an inch to the left with no spacer, and then they move around roughly in a circle as the spacer thickness increases. Spacer #3 provided the most centered result, so that's the one I decided to stick with. This 20" rifle is sighted in for 100 yards, so that's why there is so much holdover needed at 12 yards.
Comment & Rating (1)