6W Solar Mesh Node /w Magnetic Mount


Print Profile(2)

Description
Versatile mesh node based on the soshine 6w panel. Can be used with magnets, screws or zipties to mount it. Designed to be a meshcore repeater, but can be used to power any mesh radio. Intended to be used with lipo batteries, but 18650s should fit if necessary. Magnets are very strong and can easily support the weight in varied conditions.
Shopping List & Parts:
Solar Panel - https://amzn.to/4qb3n7l
Rak 4631/19007 - https://amzn.to/3Ys2x9T
Battery - https://amzn.to/3N8aQ8A
Silicone Tubing & Sealant - https://amzn.to/4qyHDlw & https://amzn.to/3Njyoap
M3 heat inserts - https://amzn.to/4qMjwzX
SMA extended bulk head mount - https://amzn.to/450927x
M3 & M5 nuts and bolts - https://amzn.to/3LnzVf5
Magnets (optional) - https://amzn.to/4pqYypa
Alfa Antenna & Adapter (optional) - https://amzn.to/49nyjtI & https://amzn.to/4b65N2r
INA219 (Optional) - https://amzn.to/3N8b53u
Assembly Notes:
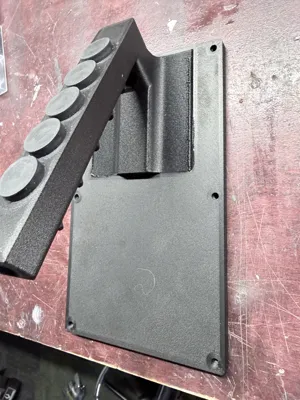
I highly recommend not printing this in PLA, you might be able to get away with PETG, but I would recommend PETG-CF at a minimum. Ideally, it would be printed in PET-CF, ASA, or ABS. I recommend hitting it with a code of spray paint regardless of what you print it in for added protection.
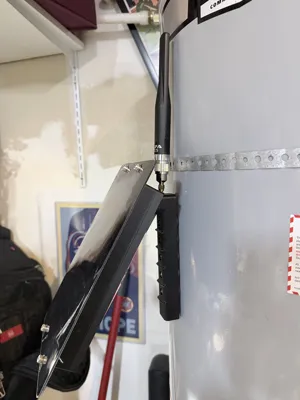
I recommend mounting it so the SMA bulk head is pointing down, but as long as you put sealant on it, you can get away with doing it upright and using a smaller bulk head extension. The node is designed to be used with SMA antennas, but you can use an adapter to attach a N-type antenna.
External charge controller is not strictly necessary, but highly recommended since the built in RAK charge controller can only handle a max of .18A and the board maxes out at aroung .5-.6A (a bit less than the advertised 1A).
INA219 can be added for additional solar telemetry.
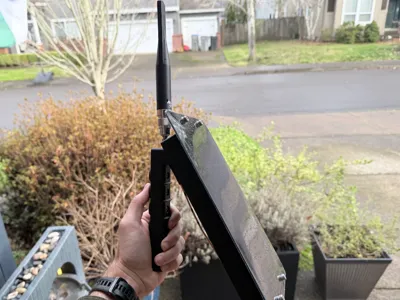
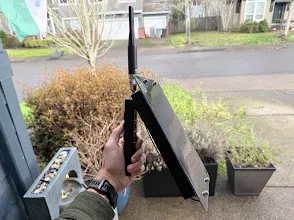
Completed node:

Magnets are designed to be installed using the hardware they come with. Screw should pass through and be secured with the nut and then the magnets attached tot he screws.


Mount arm should be secured to the lid using a generous amount of CA glue.


When attaching the main body to the panel apply silicone in multiple circles on the back, and then place and additional bead inside the body around the box since this is the main ingress point for water.


License
You may create derivative works based on this object, provided that all such derivative works are published exclusively on the MakerWorld platform and include proper attribution to the original creator. You may not share, upload, host, distribute, or publish this object—or any derivative work of this object—on any other digital platform, marketplace, or distribution channel. Commercial use of this object and any derivative works is strictly prohibited. This includes, but is not limited to, selling, renting, sublicensing, or using the object in any context in which you receive monetary compensation or other financial benefits.
Comment & Rating (3)