


Print Profile(4)


Bill of Materials






Description
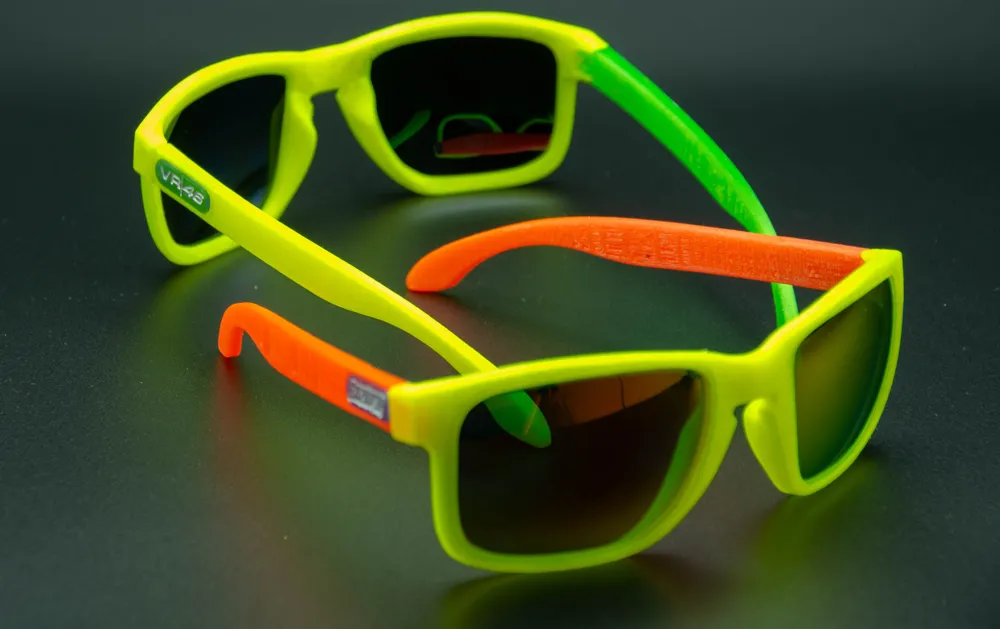
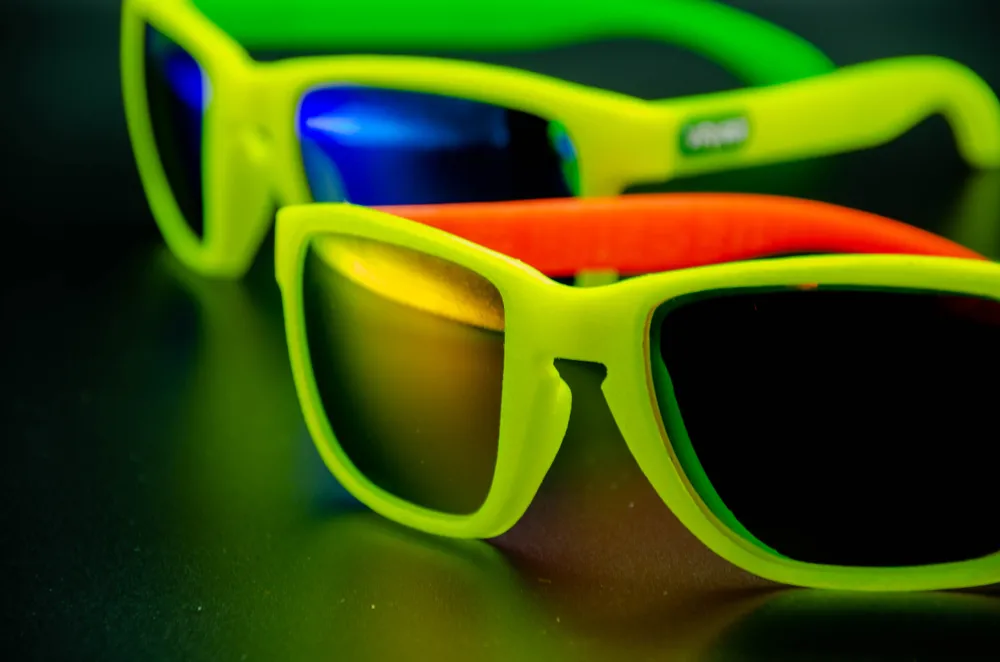
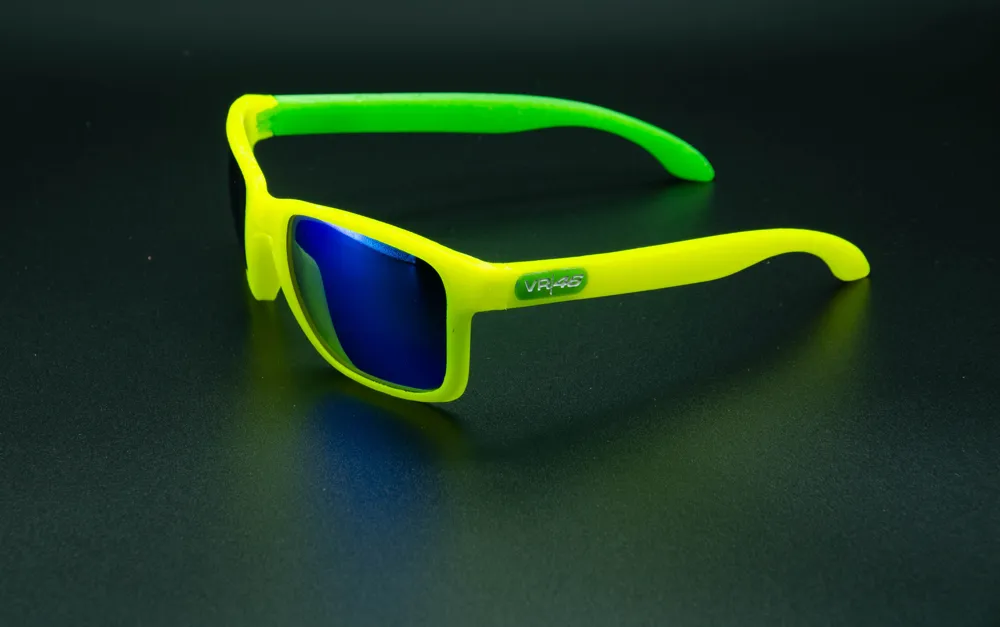
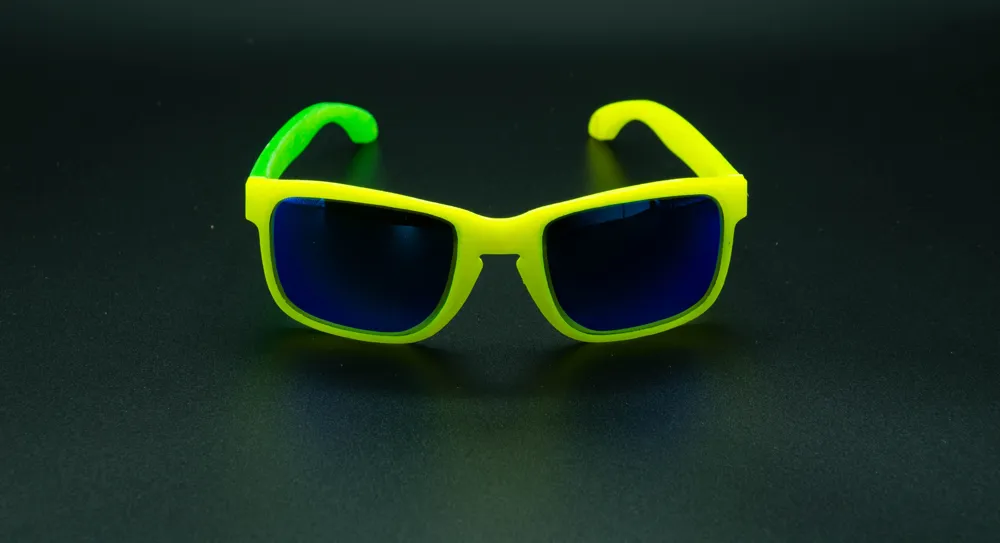
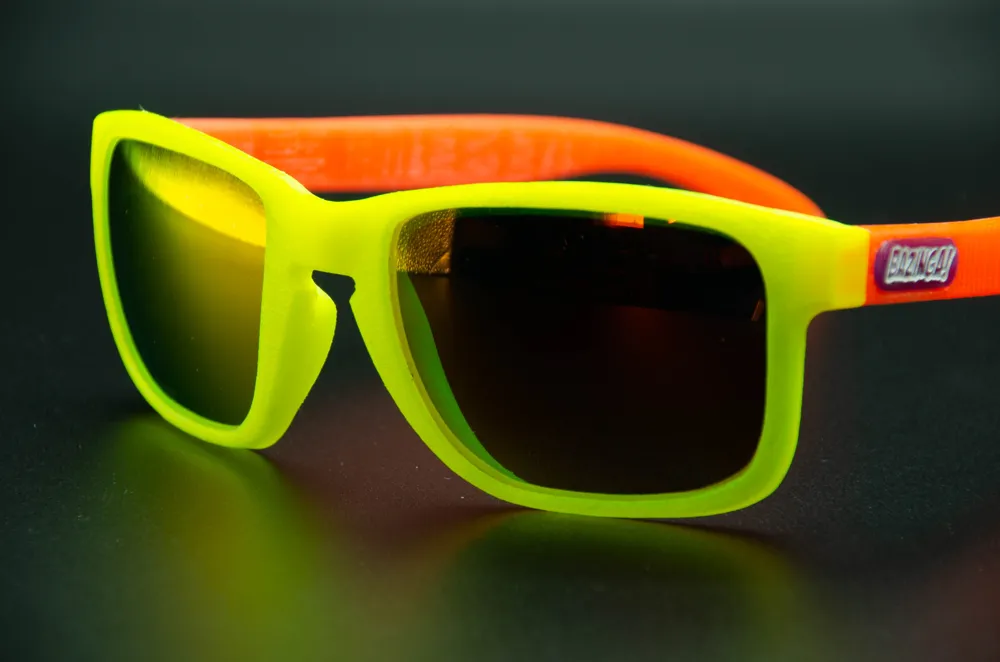
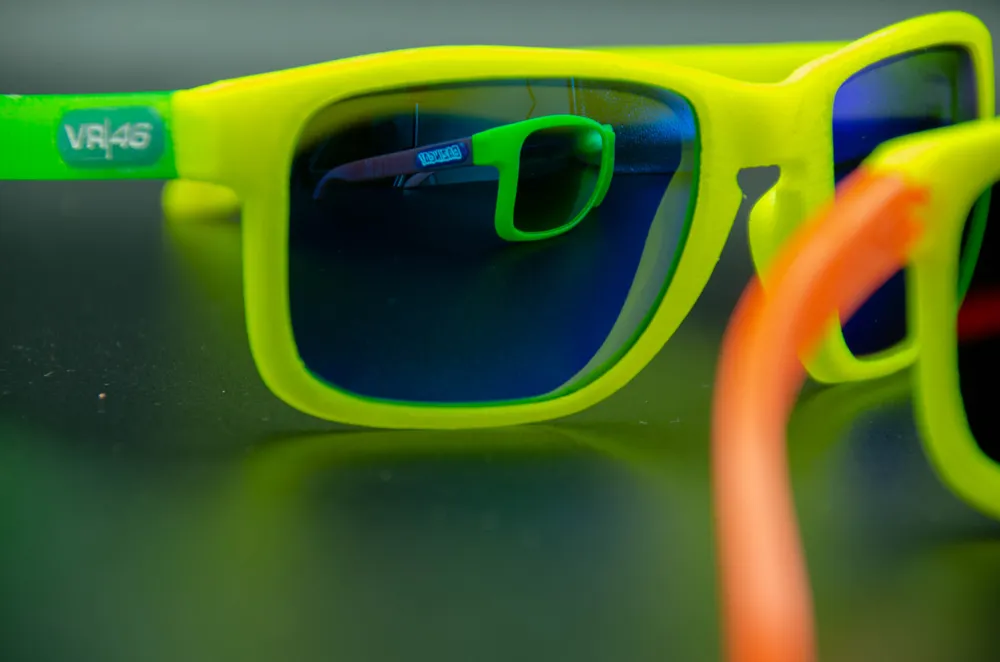
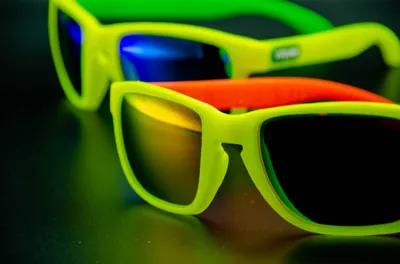
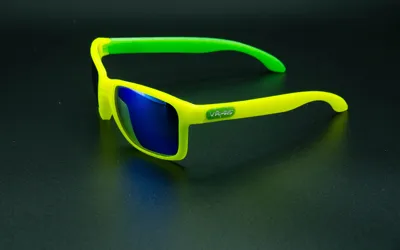
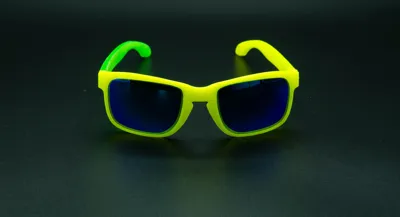
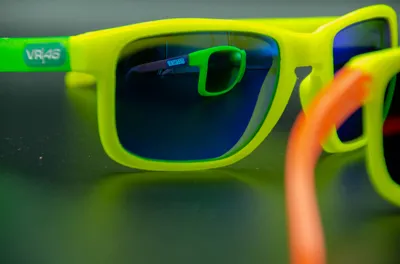
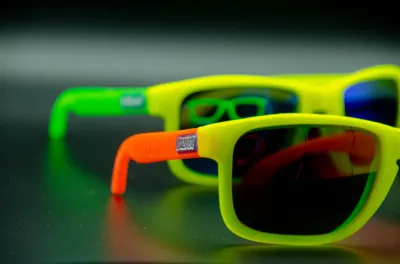
I designed these sunglasses a few years ago after my sunglasses (Oakley Holbrook) broke while mountain biking. The goal was to continue using the lenses and have an inexpensive frame that could be easily and affordably replaced if damaged
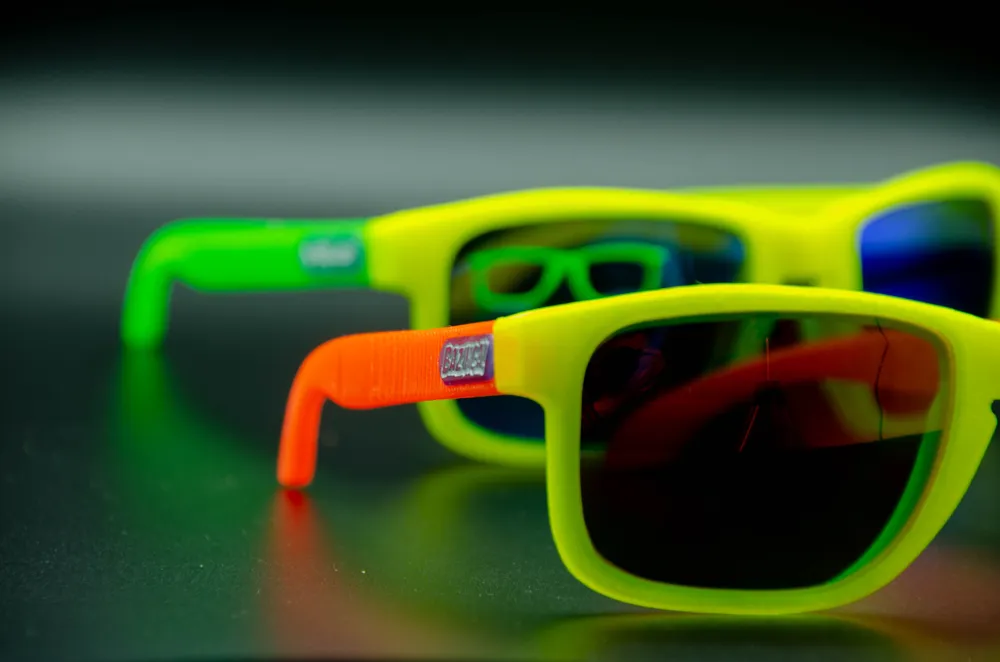
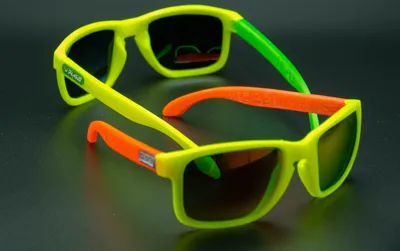
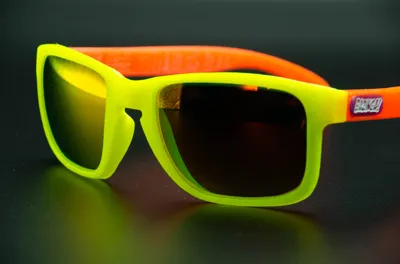
Since I was enthusiastic about the customization possibilities, I created additional temples into which a logo can be glued. As an example, I have inserted my "Bazinga-Logo" here. You can design your own logo for the sunglasses based on this, or you can use the temples without a logo
I deliberately avoided additional hinges etc. during the design because I wanted to assemble the glasses without extra tools. This way, you have the option to exchange parts without tools, even when you are on the go. To do this, you just need to insert the temples into the frame; they will then click into place and should (with suitable printer settings) have enough pre-tension so that the temples do not open by themselves (in the closed position)
The frame is designed so that you can use Oakley Holbrook lenses. However, I have also tried various replica lenses, and these worked for me without any problems (you can find them on eBay or AliExpress - please try them yourself)
Material Recommendation, Settings, and Post-processing (Finishing):
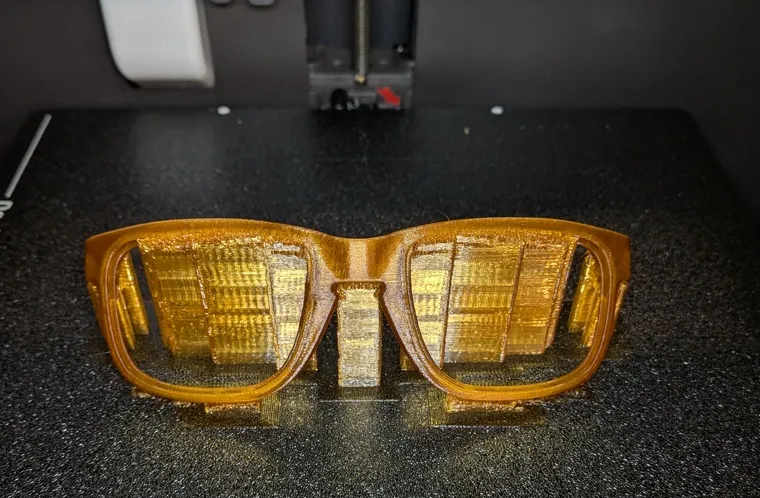
In the pictures, you will see a suggestion for positioning during the printing process
For maximum strength, the temples and frame should be printed in a similar position as shown:
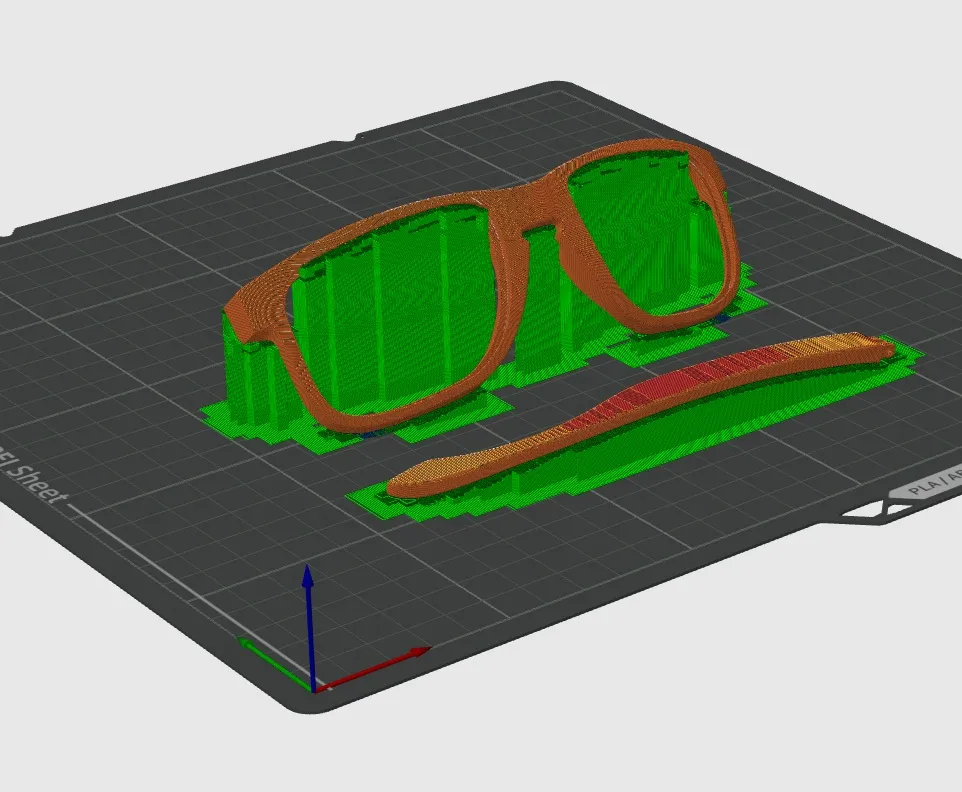
For material selection, I would recommend (at least) PETG, as the glasses might sometimes be left in the car at summer temperatures
Materials with higher strength are, of course, an upgrade and make the sunglasses more stable. Tests with ASA and ASA-X (CR3D) have shown that while ASA would be a good material due to its excellent UV resistance, my prints were quite brittle and lacked sufficient strength. Despite filament calibration, I could only mount the lenses if the model was scaled by approximately 1% (X;Y,Z)
Due to the necessary supports, I would suggest some post-processing (light sanding of the surface) in certain areas to increase wearing comfort
Depending on the material, you can also chemically smooth the material (e.g., when using ABS)
Another way to simplify post-processing is to print the support interface layers using PLA (if PETG is used as the main material), see image (Orange = PETG, Black = PLA). PLA does not bond with PETG and can therefore be removed very easily (see instructions: https://www.youtube.com/watch?v=Matf1Mna2zI )
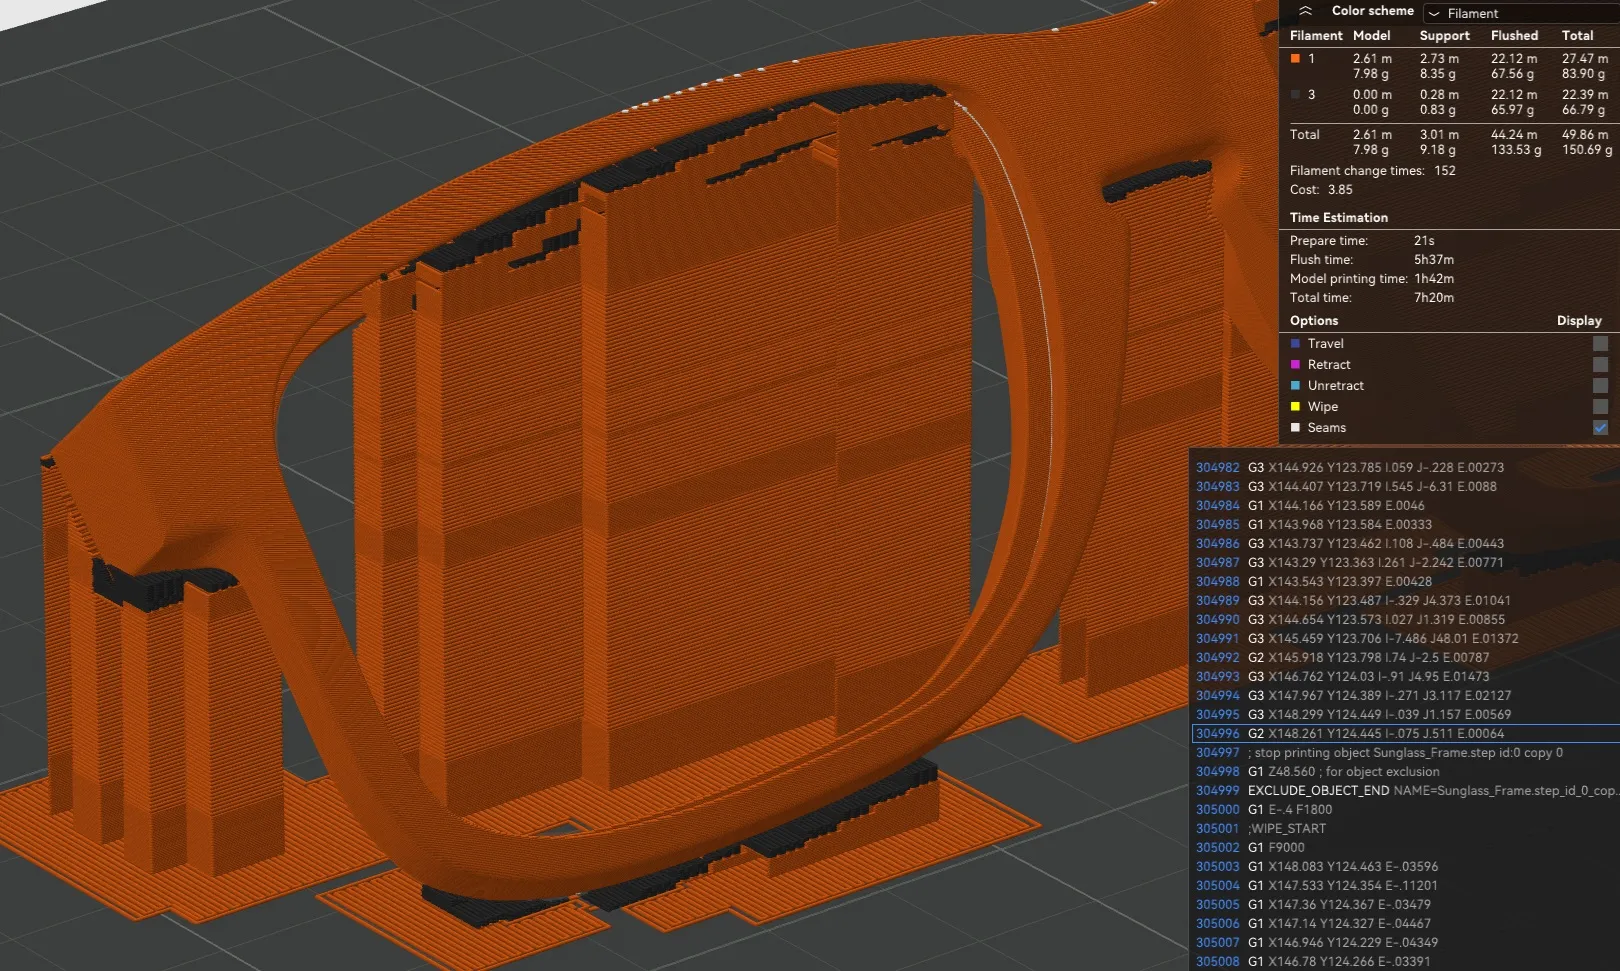
For printing, I would recommend a layer height of at least 0.2mm or smaller. I always printed with at least 2 wall loops, 5 top and bottom shells, Gyroid infill style (better strength than Grid), or simply print with 100% infill
Assembly of the Parts
After the frame is finished, all support material should be completely removed. Especially in the areas where the lenses sit, no support residues should remain. Sharp edges should be lightly sanded at this step to optimize wearing comfort
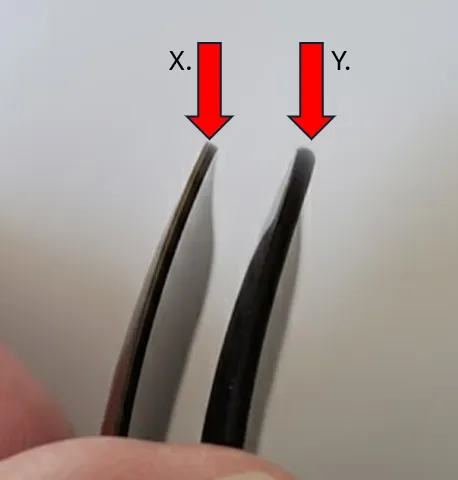
When selecting lenses, it should be noted that the original lenses (Y.) are slightly thicker, see photo. The glasses were originally designed for the original lenses. However, you can also use thinner lenses (X.), in which case there might be a bit more play between the lens and the frame, but this should not be a problem:
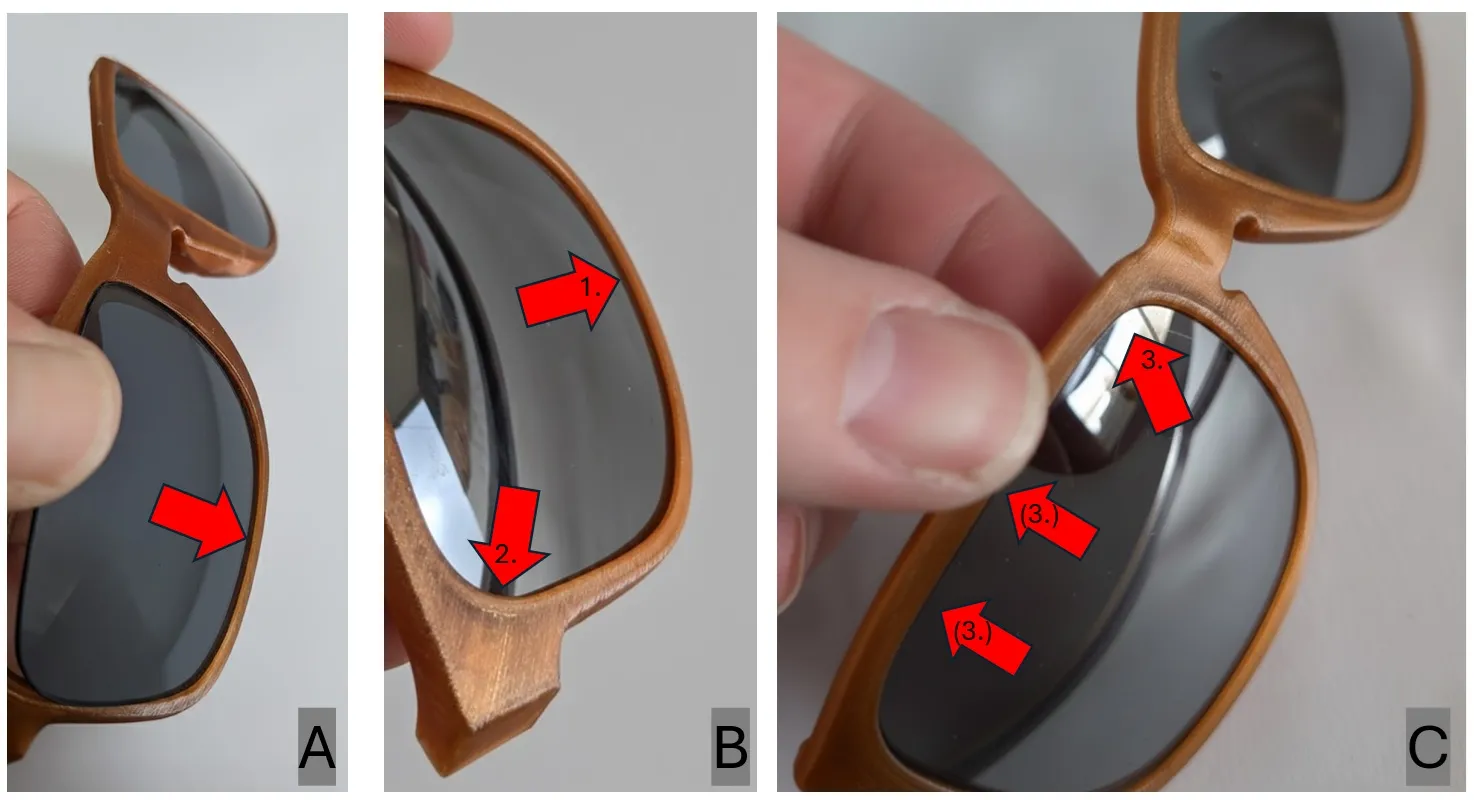
For mounting the lenses, the following procedure has proven effective for me (see image):
A. : Insert the lens into the bottom slot of the frame and apply light pressure with your thumb
B. : Continue to apply downward pressure with your thumb and use your other hand to press the lens into the slot of corner 2
C. : The lens should now hold itself in the slot, but it is not yet in its final position. Continue to apply slight downward pressure and use your other hand to press the lens into the slot of corner 3. Alternatively, you can also press the lens piece by piece from corner 2 (see (3.) ) into the slot until you reach corner 3
For disassembly, apply the steps in reverse order. Sometimes, during the mentioned steps, you may need to align the lens with the frame if it slightly twists
The temples of the sunglasses must also be freed from supports and, if necessary, slightly smoothed on sharp edges (from the support). It is important that the gap at the tip of the temples is clear, so that this area can flex inwards when assembling the temples
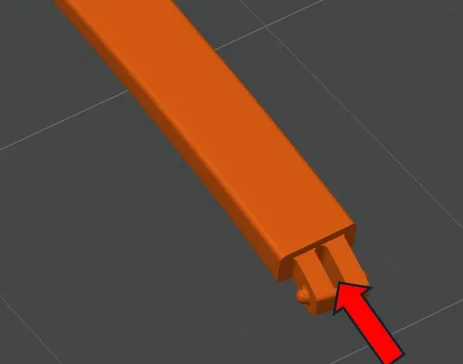
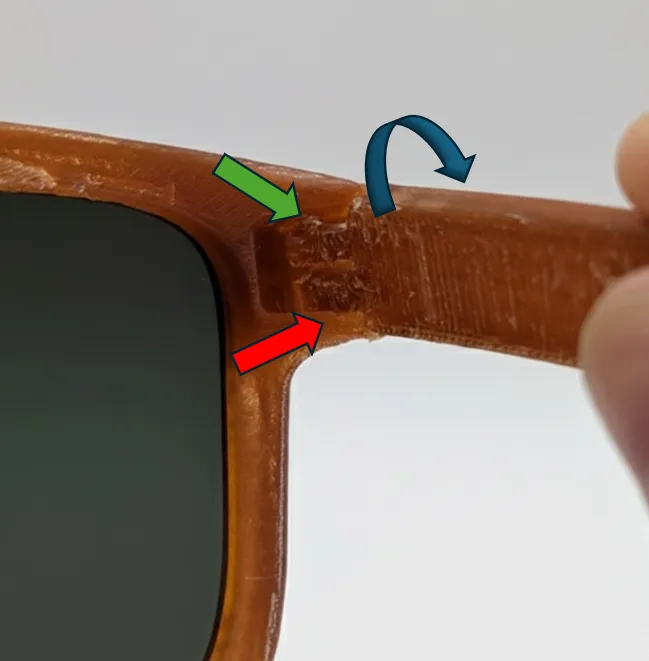
If this is the case, twist the temple slightly and insert only the lower side into the frame (see image, red arrow); the upper side is still free here (see green arrow). Now rotate the temple so that the upper side rotates into the frame (see blue arrow). For disassembly, reverse the order. Important: Always rotate the temples during assembly, do not simply pull. The temples are very difficult to assemble/remove by pulling/pushing, which is intentional so that they sit securely during use
Happy Making…
License



Comment & Rating (30)