
CNC Toe / Edge Clamp
Print Profile(1)
Description
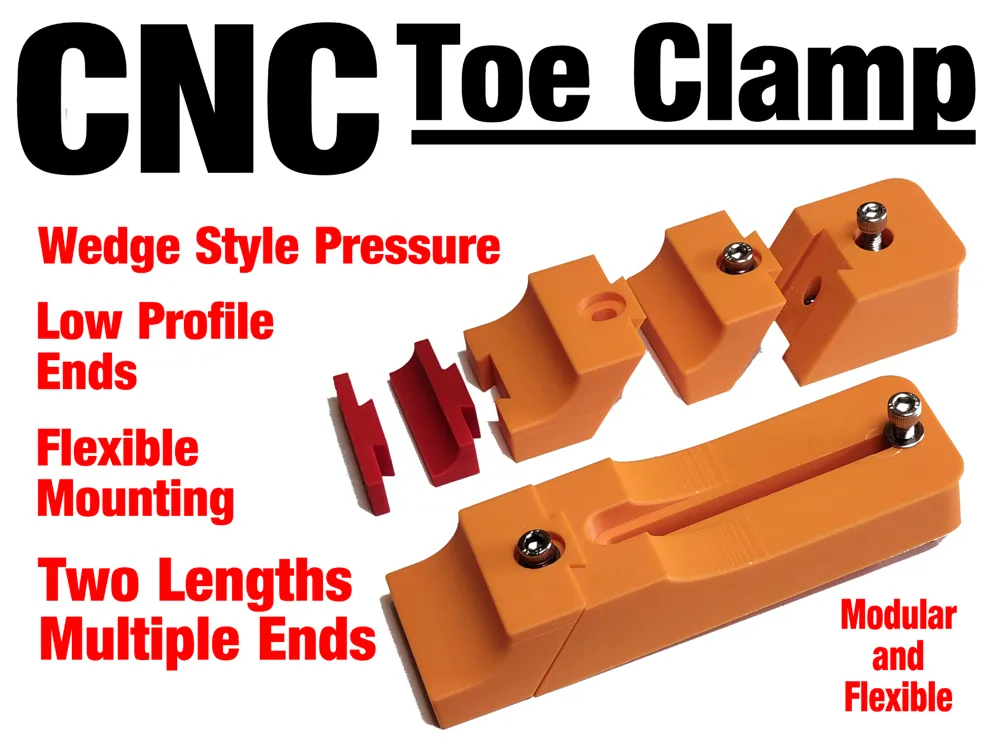
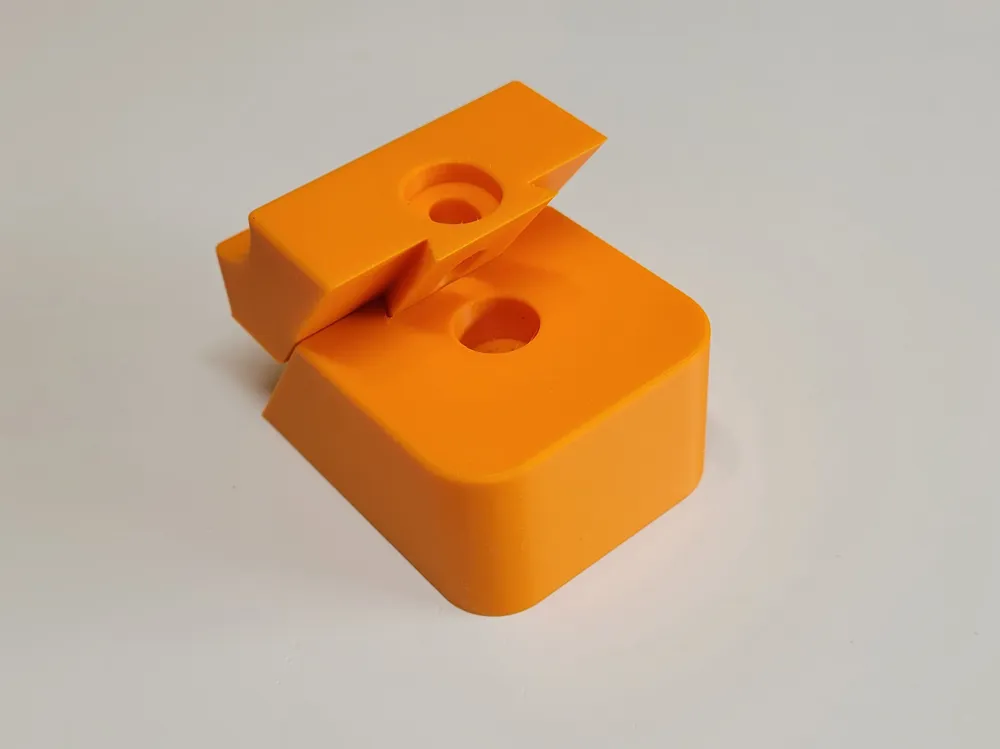
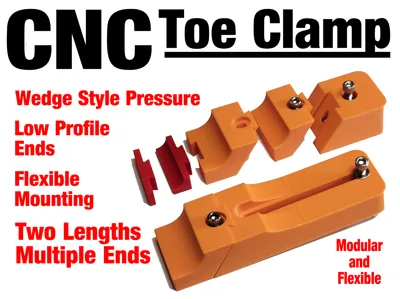
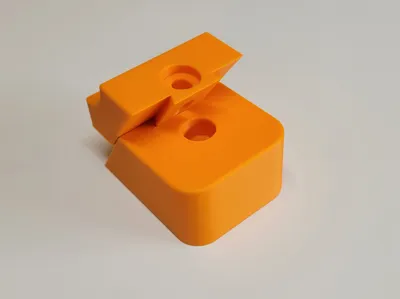
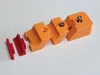
CNC Toe Clamp
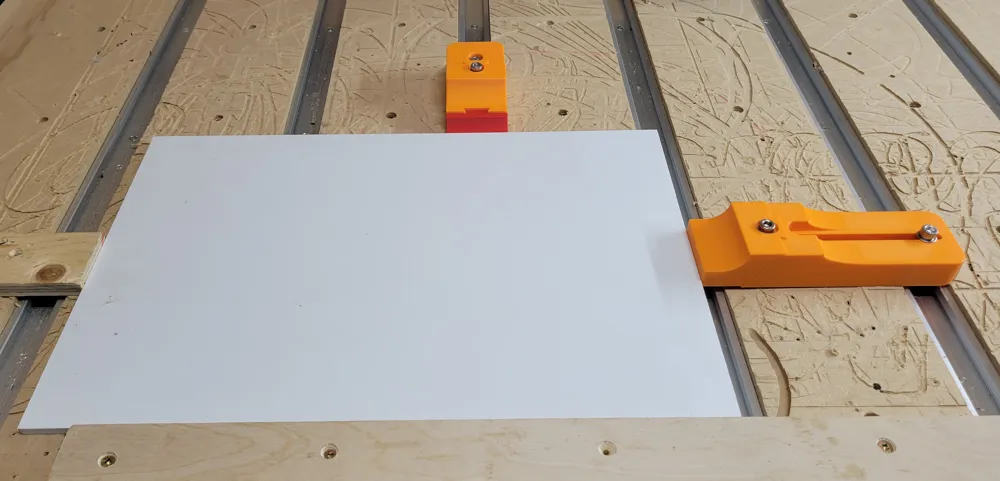
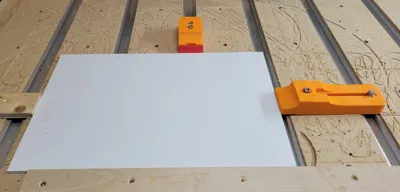
This is a flexible toe clamp for holding your wood on your CNC machine. This is Inspired by a model here: https://www.printables.com/model/398998-cnc-pivoting-wedge-clamp. I fully designed my version in Fusion for my needs and with expanded functionality.
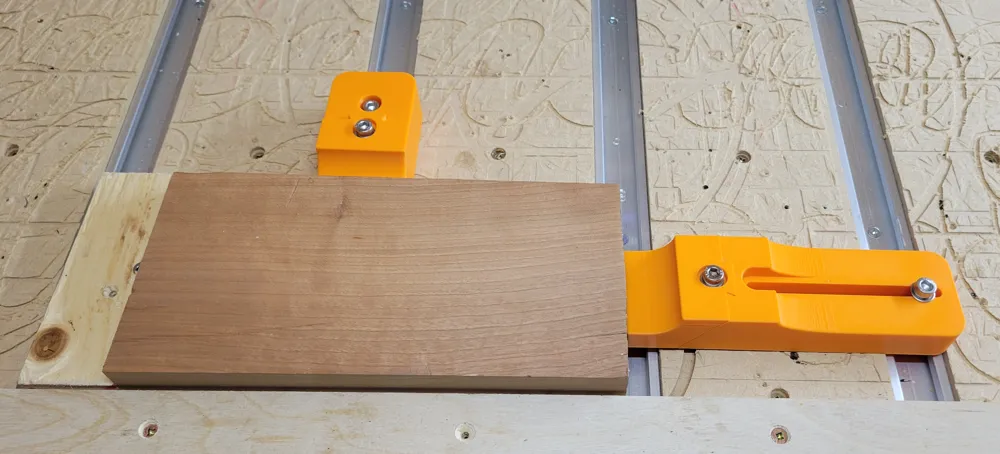
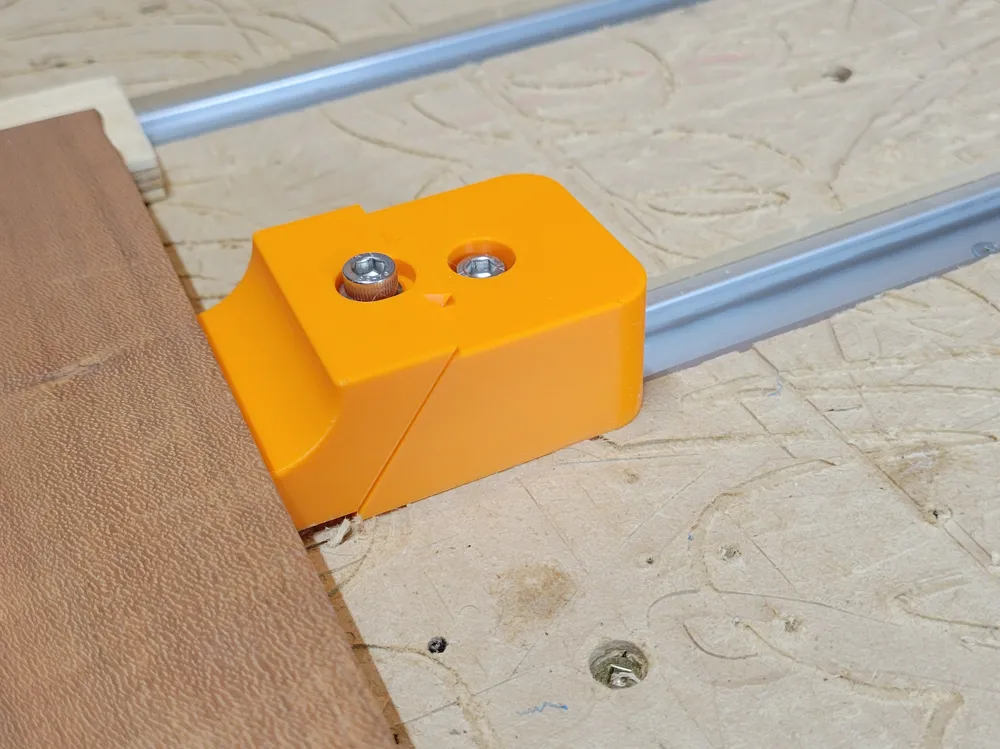
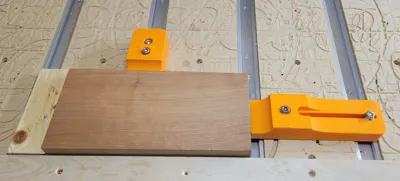
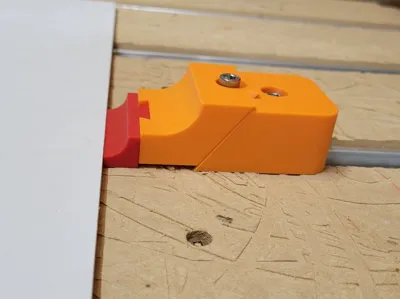
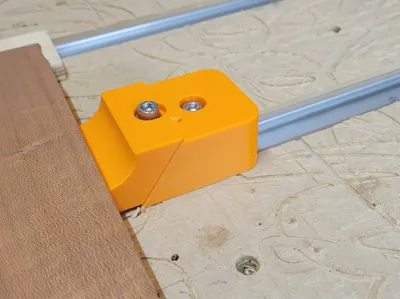
As a toe clamp, it does not clamp the wood down onto the CNC bed, it pushes on the sides with a slight downward thrust to hold it down. this allows you to route the entire top surface as needed. **make sure your wood is secure and safe before routing with your CNC**
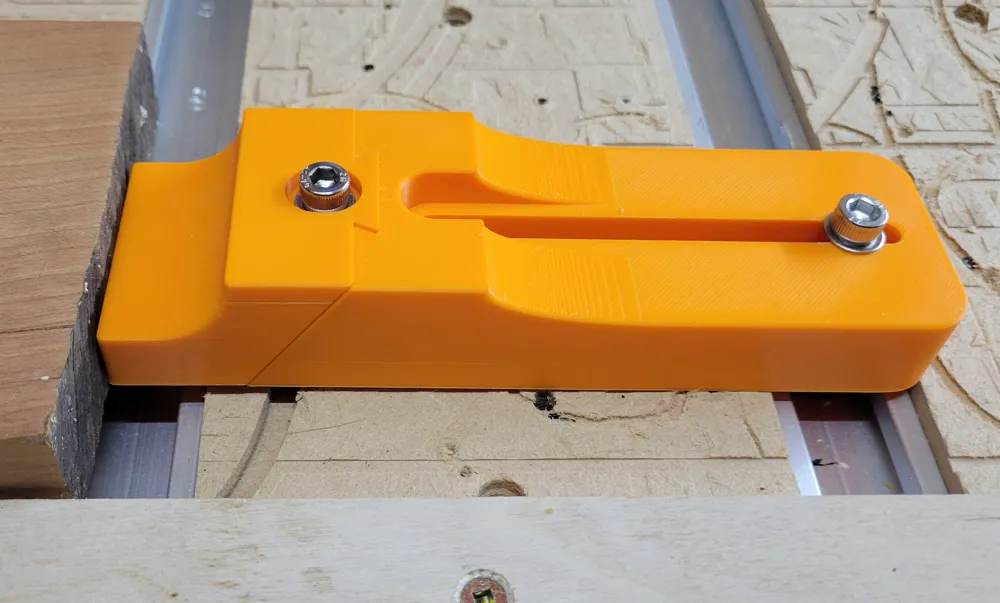
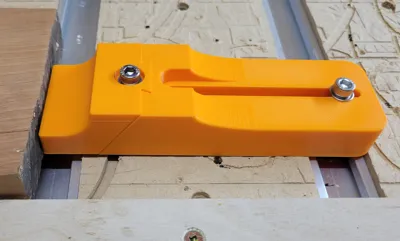
Long clamp is 170mm long x 50mm wide.
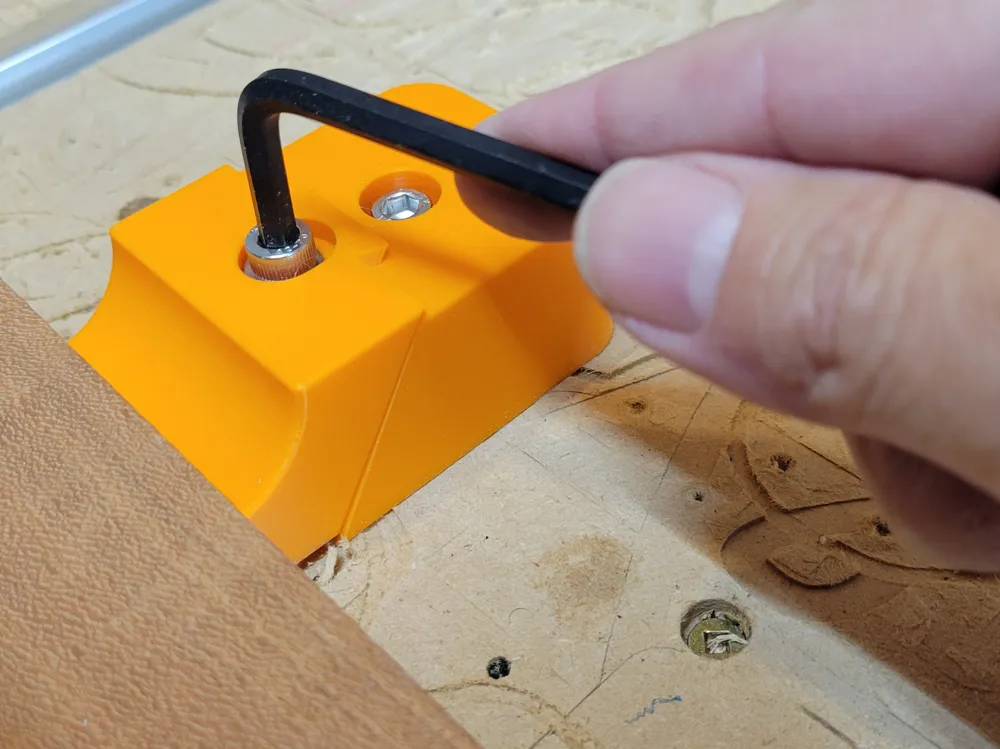
Short clamp is 80mm long x 50mm wide.
Boost Me (for free)
It takes time and effort to design these models, a Boost will encourage me to make more stuff.
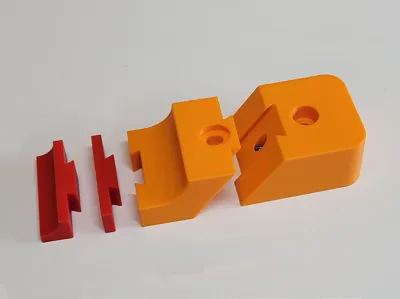
You get the following:
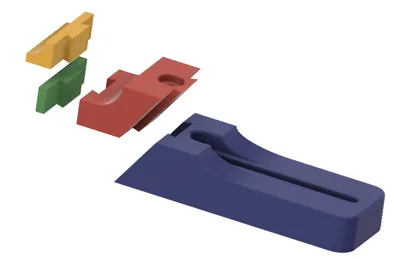
A long body (more flexibility in positioning)
A short body
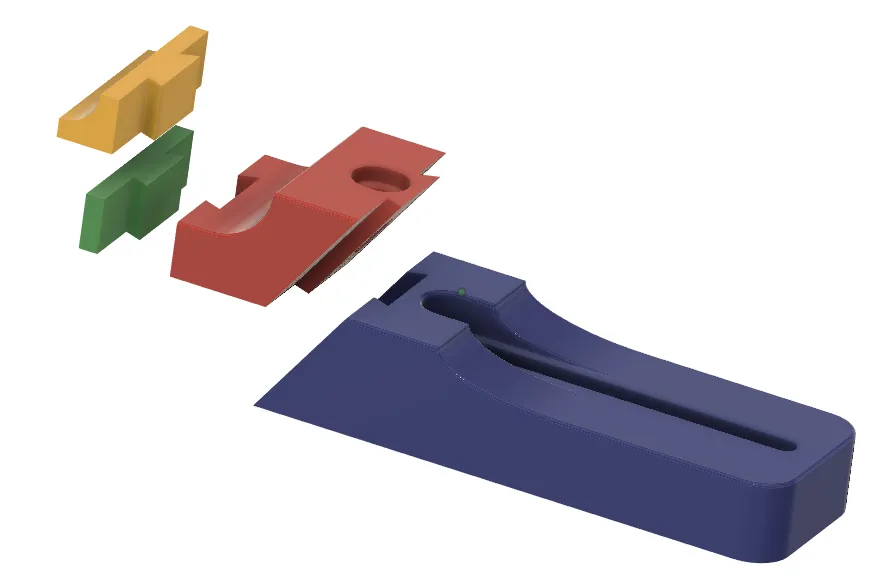
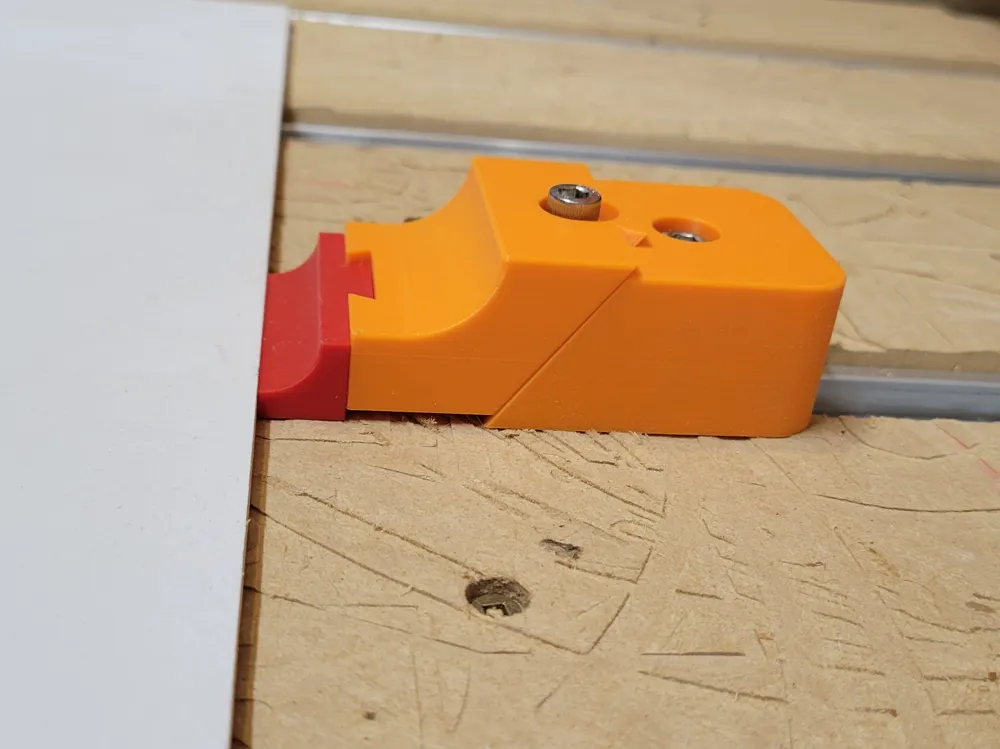
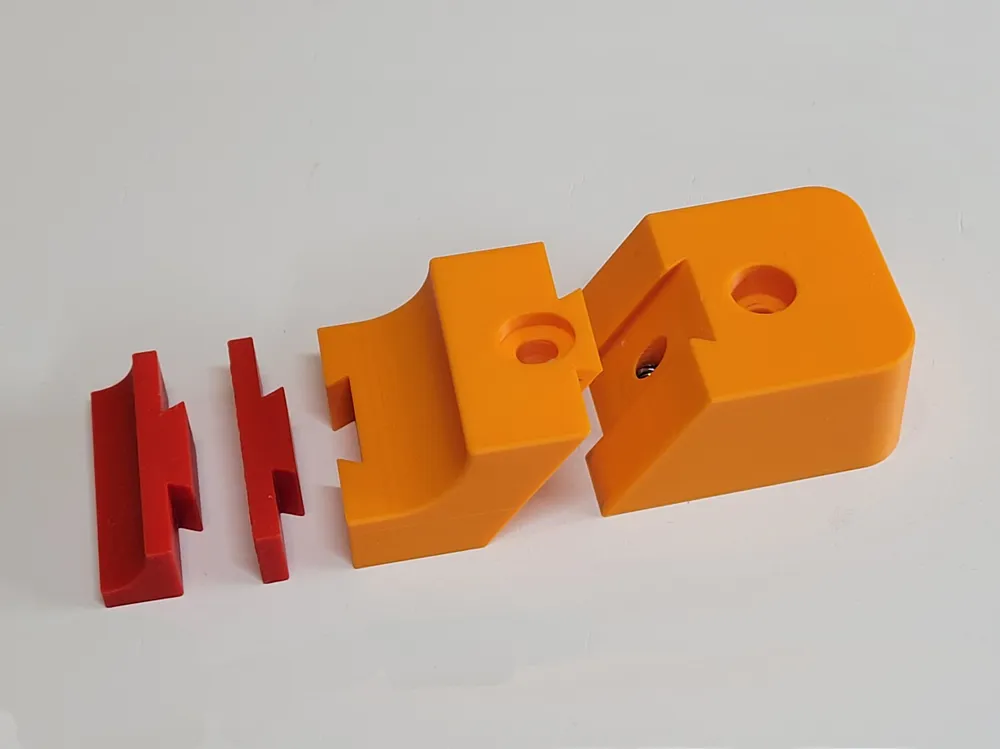
Two different faces, one with changeable ends
Two different ends for the changeable face
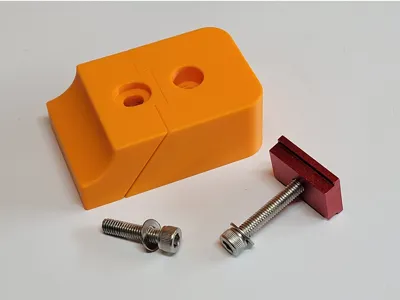
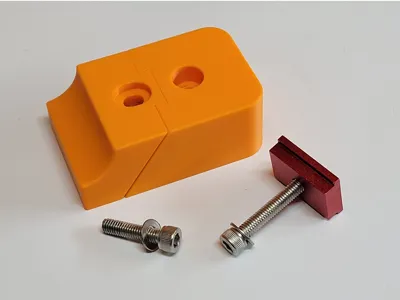
Hardware Required
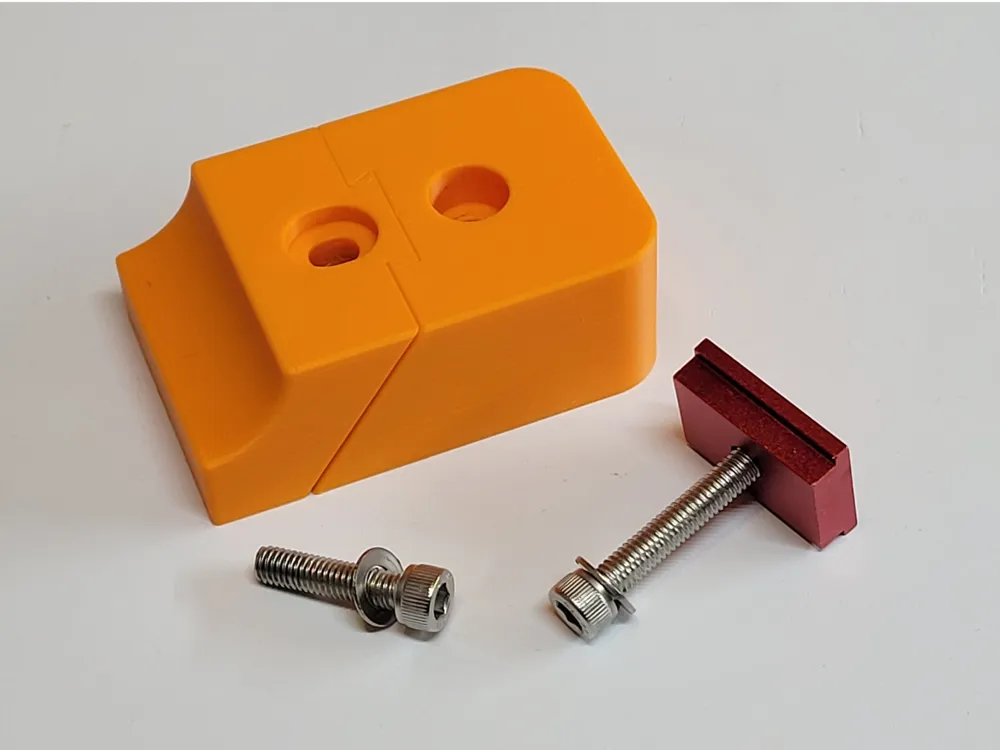
These use M6 bolts. I use the clamps with miter slots but you can also screw the bodies down with wood screws. You could also use a bench dog with m6 thread in the top. An imperial version may be available in the future.
For each clamp:
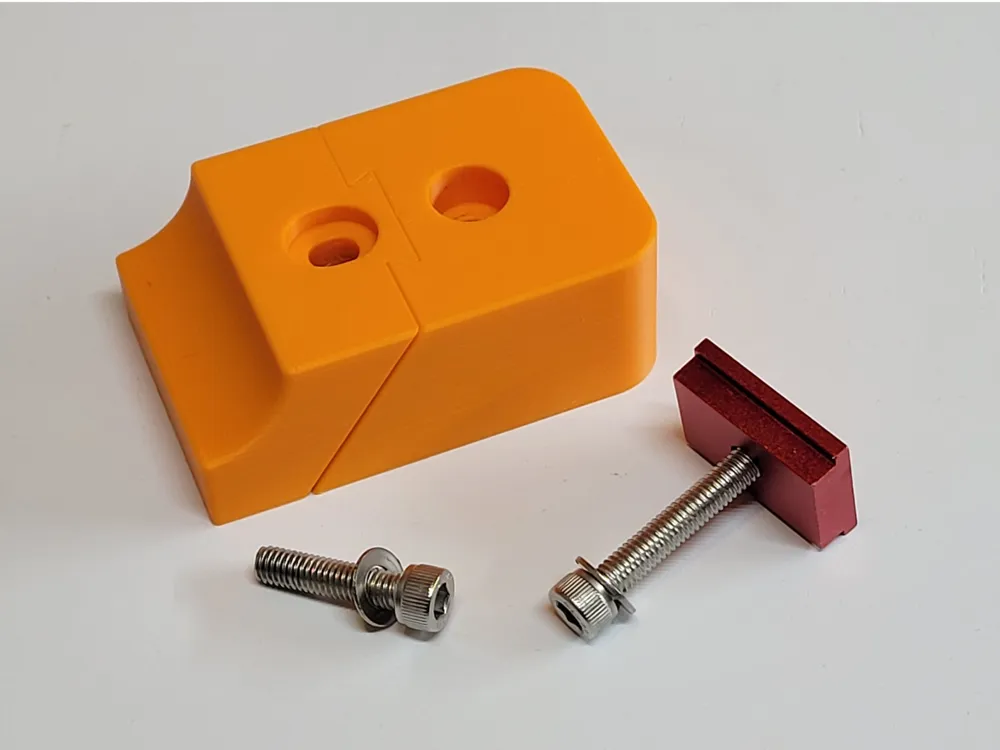
1x M6 35mm bolt (for the body, attaches to t-slot piece.)
1x M6 25mm bolt (for the face)
1x M6 nut (for the face)
2x M6 12mm OD washers
1x T-slot retainer (or any alternate to match your needs)
Printing
All parts are oriented for printing.
No supports are needed
I printed all parts in PLA with 4 walls and 15% infill.
Assembly
- Put an M6 nut in the hex hole on the bottom of the body
- Slide the face onto the body.
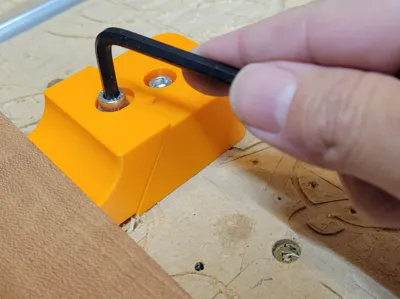
- Install the 25mm M6 bolt with a washer through the hole in the top of the face just until the threads engage with the nut.
- Install the 35mm M6 bolt with a washer though the hole in the short body or the slot in the long body and screw on your T-slot retainer on the bottom.
- If using the changeable end, slide the end attachment on.
Use
With the bolt on the face loose, position the clamp against your wood, push it tight so that the face rides up the dovetail a little. Tighten the body bolt to hold it down to the table. Then tighten the bolt on the face until it slides down the dovetail and puts tension on your wood.
You should always have a fixed stop on the opposite edge from where you use these clamps.
*** Always check to make sure your wood is secure enough before starting your CNC. ***
Design Notes
This was inspired by this model https://www.printables.com/model/398998-cnc-pivoting-wedge-clamp. but mine has a longer version and interchangeable ends. Designed in Fusion 360. Sorry, the CAD model won't be released.
License

You may create derivative works based on this object, provided that all such derivative works are published exclusively on the MakerWorld platform and include proper attribution to the original creator. You may not share, upload, host, distribute, or publish this object—or any derivative work of this object—on any other digital platform, marketplace, or distribution channel. Commercial use of this object and any derivative works is strictly prohibited. This includes, but is not limited to, selling, renting, sublicensing, or using the object in any context in which you receive monetary compensation or other financial benefits.


Comment & Rating (5)