H2 Exhaust Filter (Compatible with AMS Flipper)


Print Profile(1)

Description
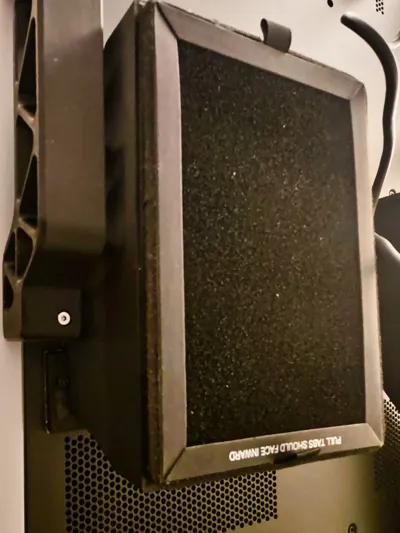
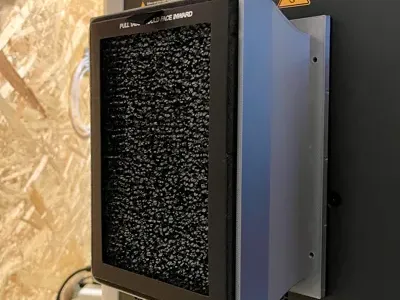
This is a simple yet efficient exhaust HEPA & Carbon filter for H2 printers. This model is also fully compatible with this great AMS flipper by Jakob_K_Design (Link Here).
As we all know, the H2 bypasses the internal filtering system when running on a cooling setting. This filter ensures the exhaust gases pass through at least one filtration layer.


Instructions
0) Print it (Well well well, we have a Sherlock Holmes here…)
1) Add the seal: You should also use a gasket to ensure no airflow leaks. I recommend this one - glue it to the back of our printed model, trim the excess on the sides, and poke the screw holes through the foam. I.e., place the foam tape normally, as if there were no holes, and then insert a screwdriver or something pointy to pre-open the holes in the foam.
You could also print a TPU gasket (included here as an optional profile). Use any glue to attach it to the printed model, strenght doens't matter as it will later one be secured with the screws as well.
2) Attach to the printer: This model can be installed with screws (preferred) or magnets. These are the required items:
- 16x 6x3mm magnets, example here, OR
- 4x M3 15mm screws, example here (If you decide not to use a gasket at all, you should use M3 12 mm screws instead)
If you already have the AMS flipper in place, you will need to unscrew the arm on the exhaust side, place the exhaust filter (this model), and then re-attach the flipper's arm (this is needed to access one of the screws the arm covers).
3) Add the HEPA filter: Filters can be found here: LEVOIT LV-H128 (Yes, looks different than the rendering above; this is the right one, I'm just not great at rendering texture in CAD). You literally just have to press the filter in. You might need to push a tiny bit on the sides of the HEPA to make it go through - that's very intentional as the goal is for the filter not to pop by itself later on.
I strongly recommend printing this in ABS, ASA, or at the very least, PETG. Do not use PLA, or it will warp during the first hot print you make.
Boost Me (for free)
Did I save you time or made your printing safer? If so, consider boosting me :)
Context of this model: I originally designed a unique filter that worked amazingly well (Link here), but eventually I needed to install an AMS flipper (This one), and that was incompatible with my original filter. Given that, I searched for a compatible filter and couldn't find one in MakerWorld. So I came across this very simple and efficient design by PvPs, which I could easily modify to achieve the compatibility that I wanted. In addition to making the filter compatible with the AMS flipper, I added an interference ring to hold the HEPA filters more securely and avoid gaps as the printer vibrates, and added the TPU gasket model.
Enjoy :)
Comment & Rating (8)