
6in Air Extractor Desktop Stand
Print Profile(1)
Description
Boost Me (for free)
You like the Design? Consider using your boost tokens to help and support me for free!
- Want to earn easy reward points? Rate the print profile by going to the Rating link on your Profile drop down menu.
- My own link is https://makerworld.com/en/@neocrisis/rating
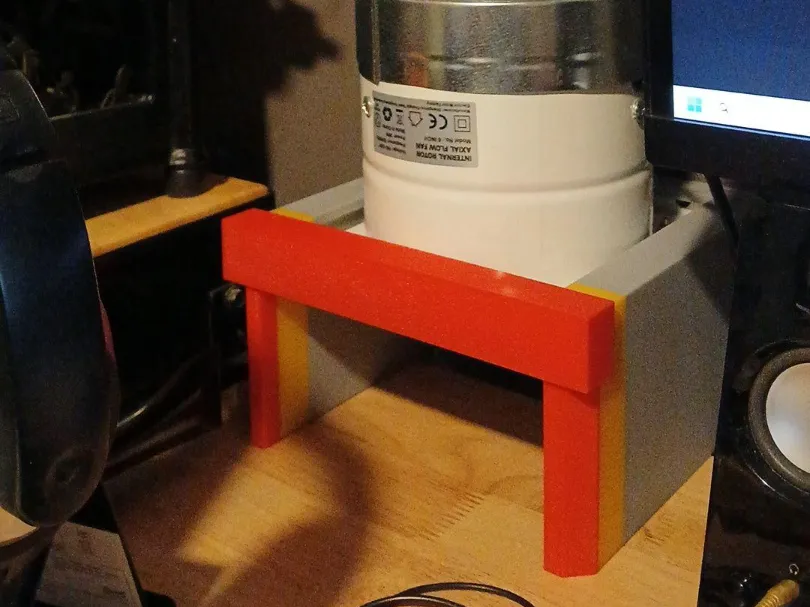
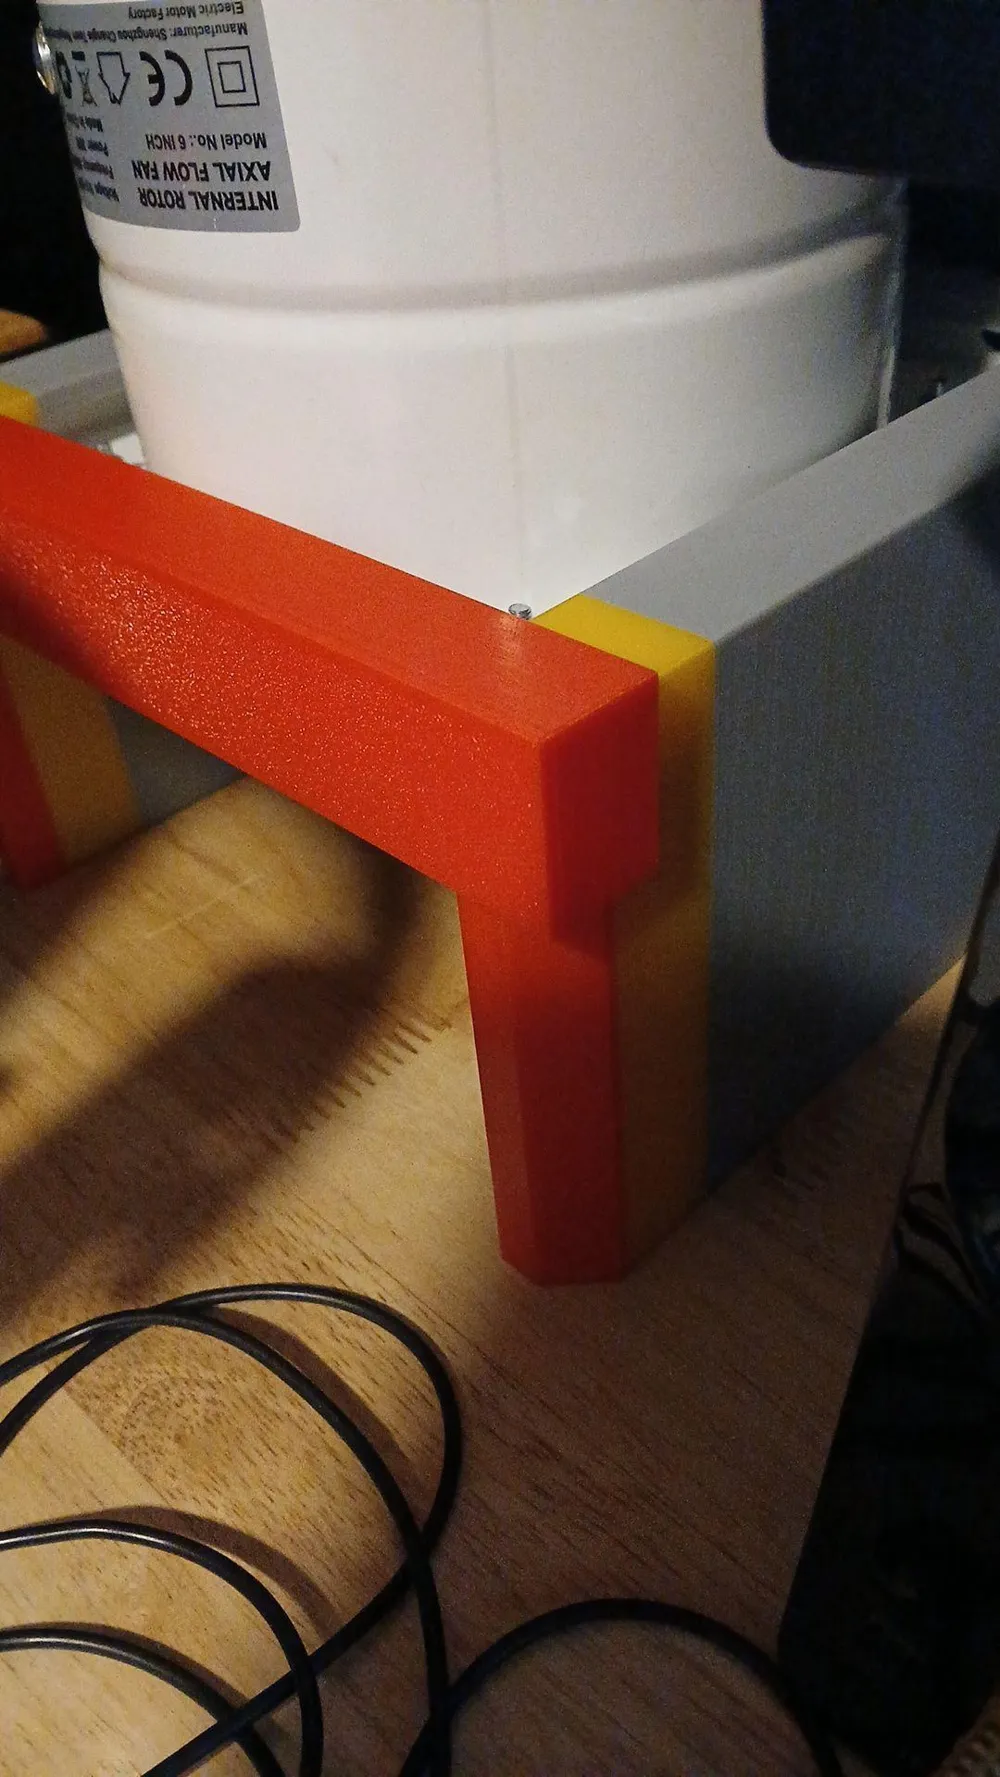
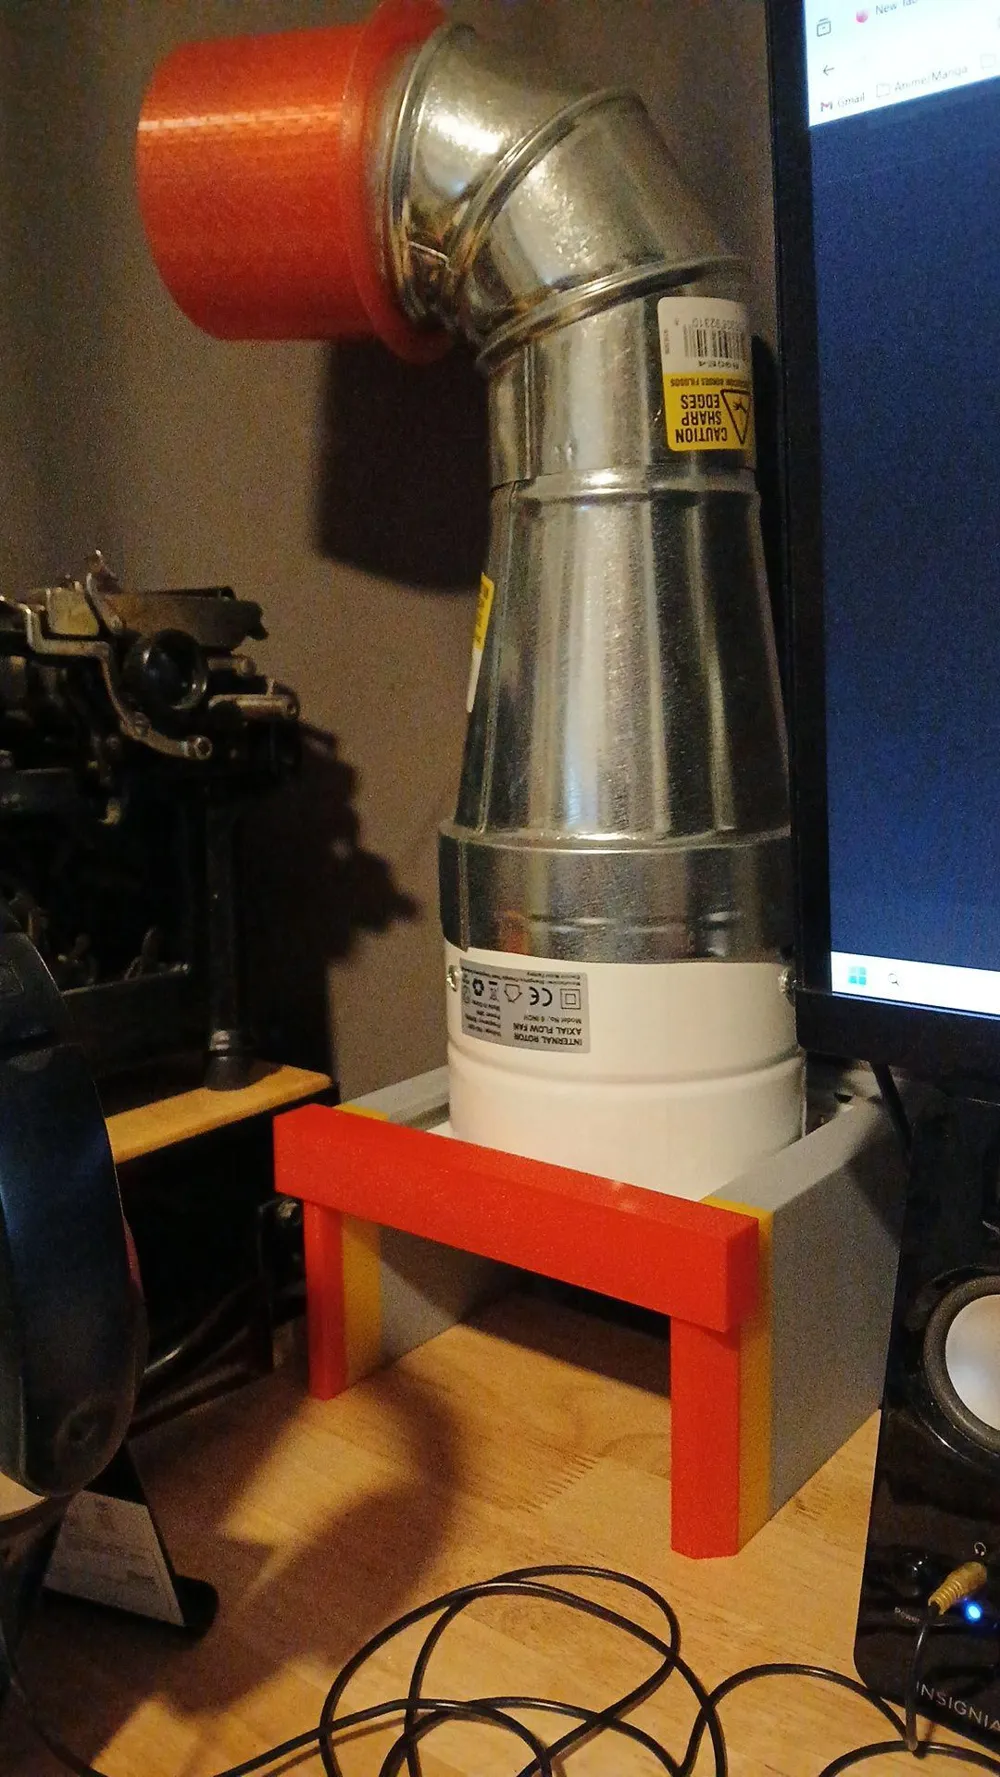
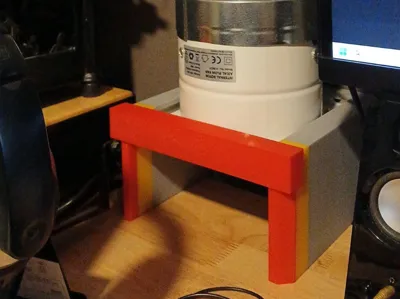
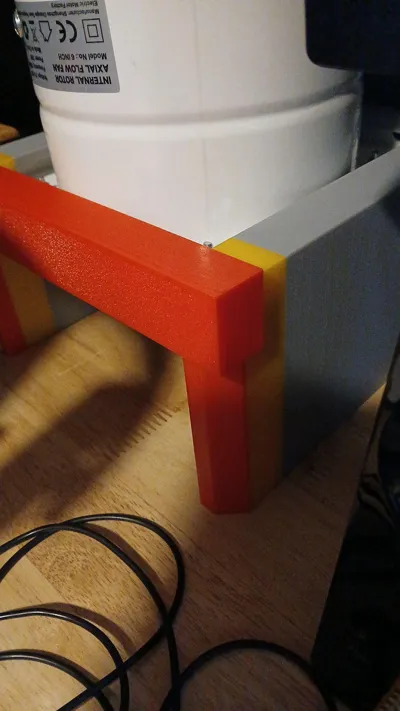
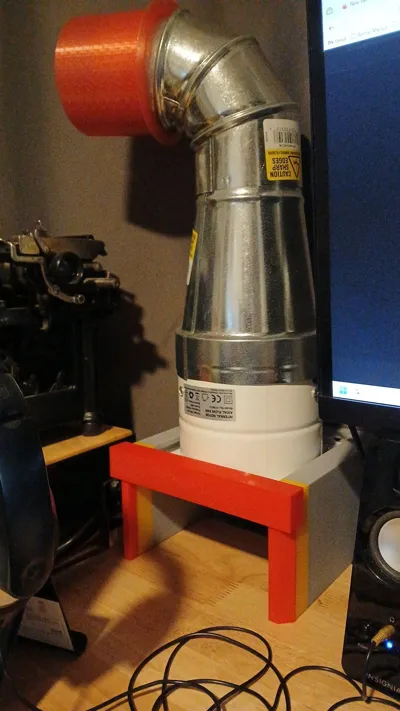
I designed a stand to hold a 6in extractor fan to vent my printer room
Why
I needed a way to vent my room where my printers are located in. I did have window fans that I used to vent my rooms but they are not air tight.
What I mean by "Air Tight" is that its currently winter which means its rather cold. Thus, the normal fans allow for a lot of cold air into the room. As a result, when I am printing at night, the room gets stupid cold.
Anyway, I wanted to properly vent my room without it getting stupid cold. Thus, I decided to get a extractor vent fan which would allow me to limit the amount of cold air that enters my room. Normal window fans are basically a nightmare to try to make air tight, a extractor fan is much easier to design around.
I was lucky enough to find a 6in extractor fan (lined further below) that is ready to use out of the box. This fan says it does 308 CFM, which is higher number than a bathroom fan which does 50 CFM. I originally planned to used a bathroom fan but it was not ready to use; needed to attached a power cord and needed cosmetic work.
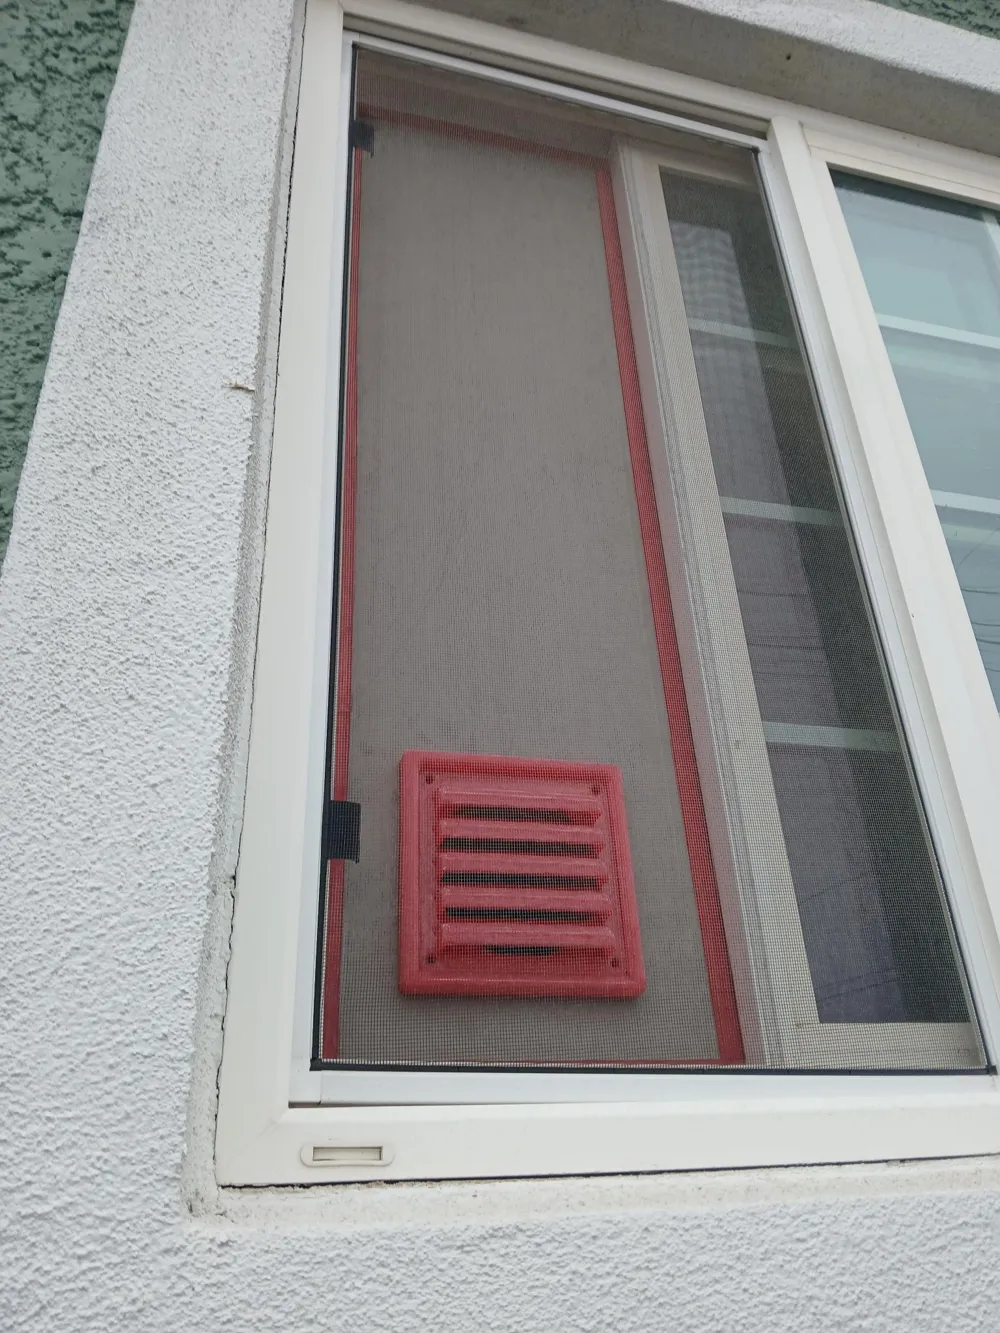
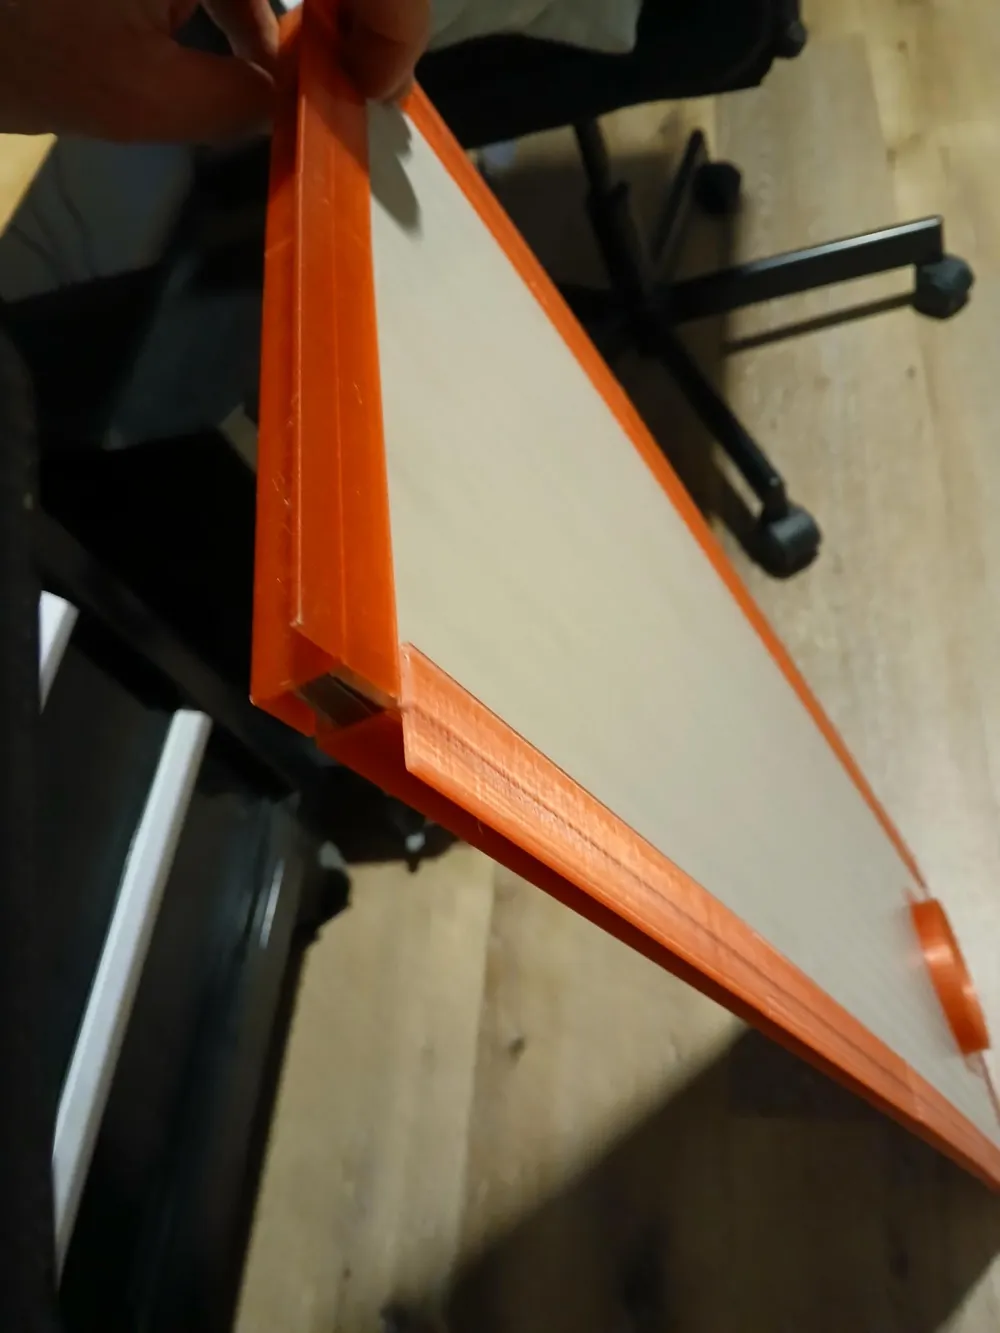
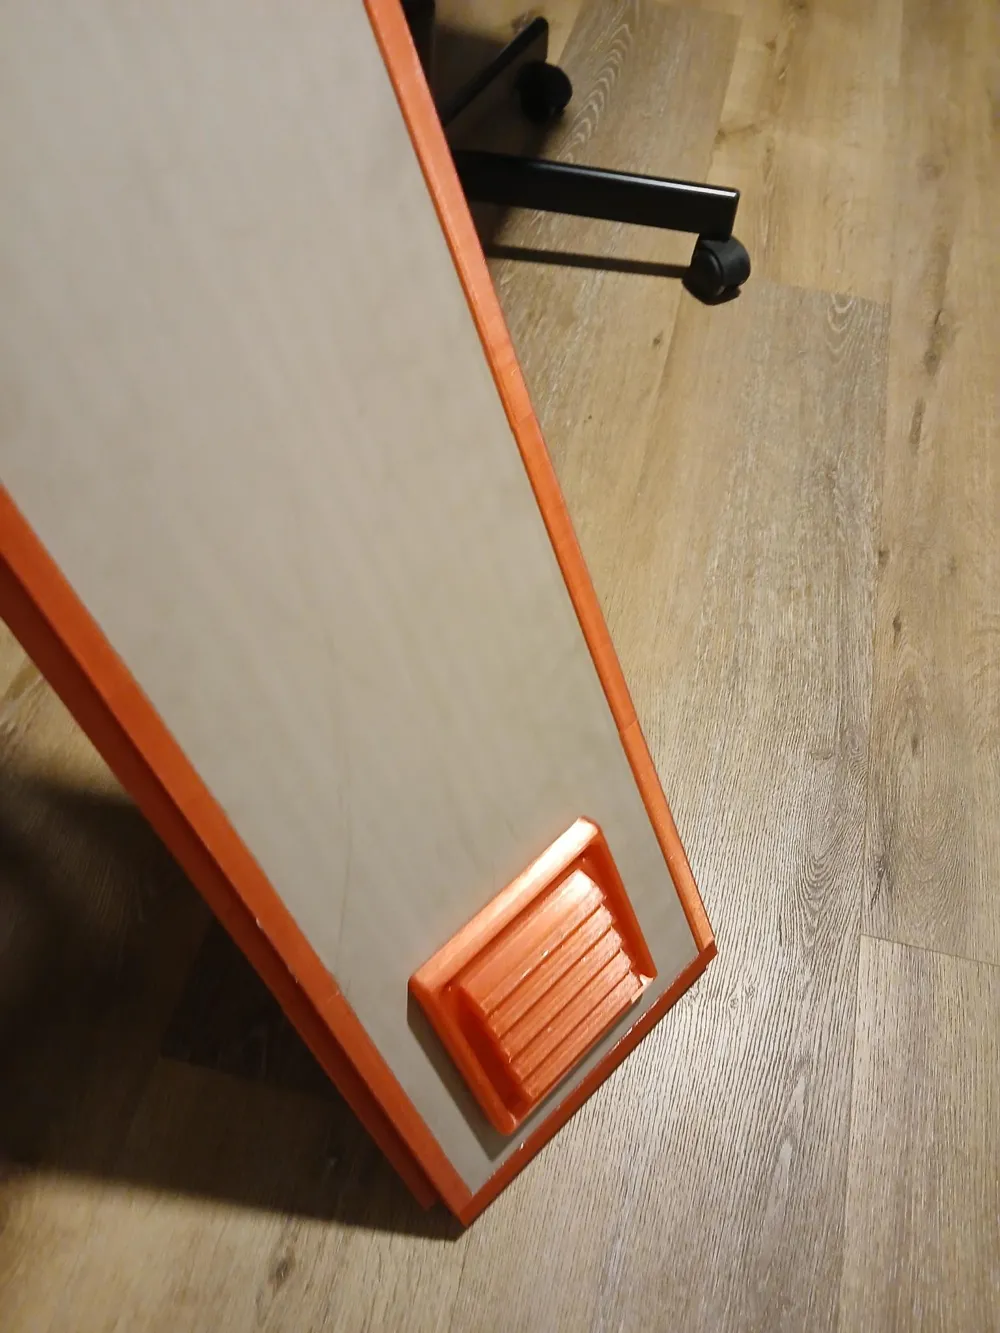
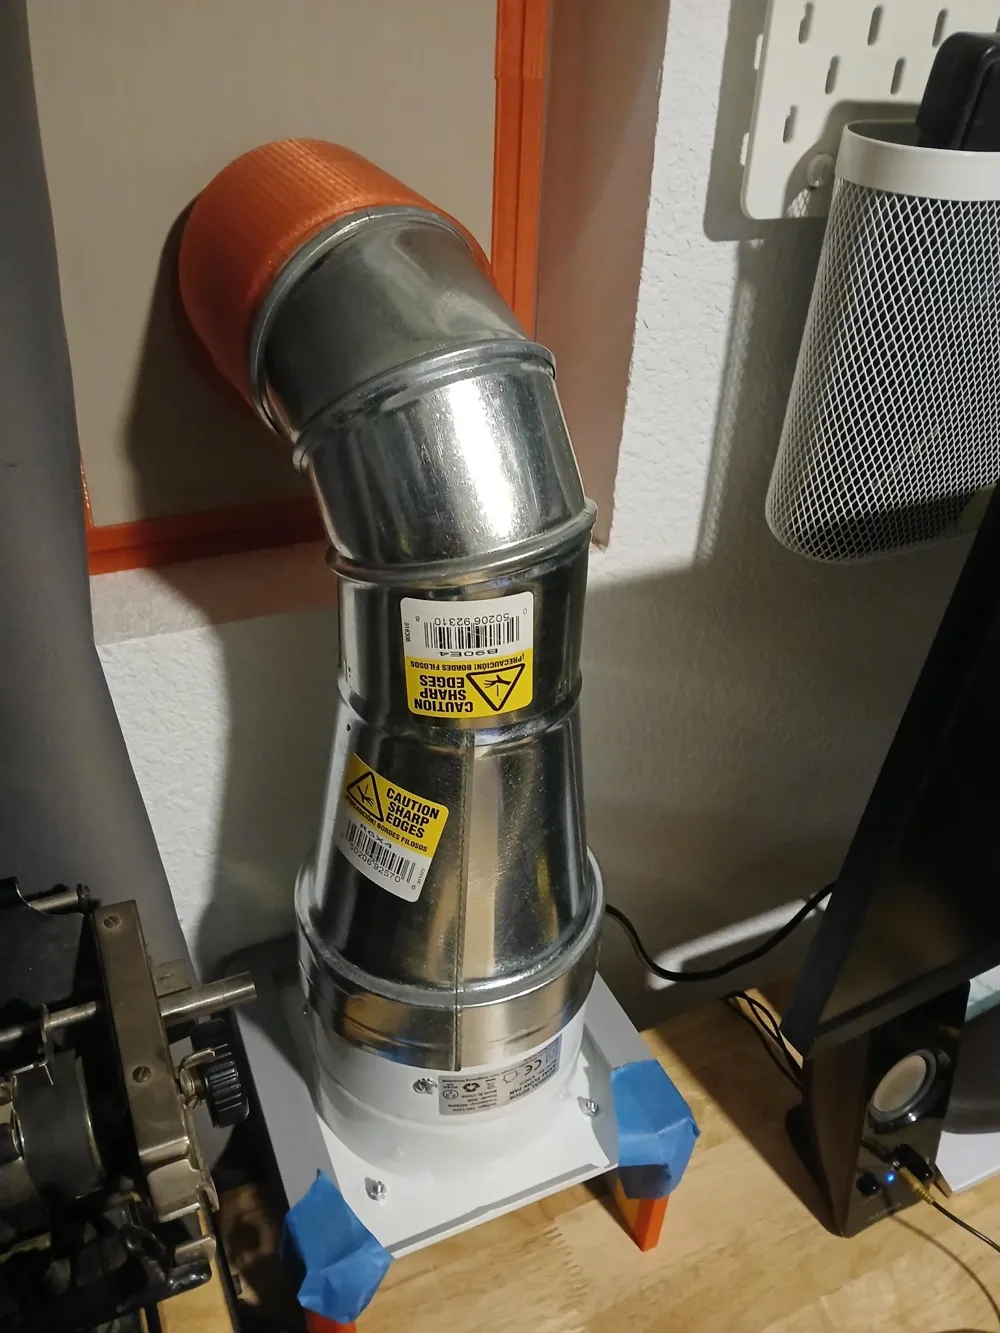
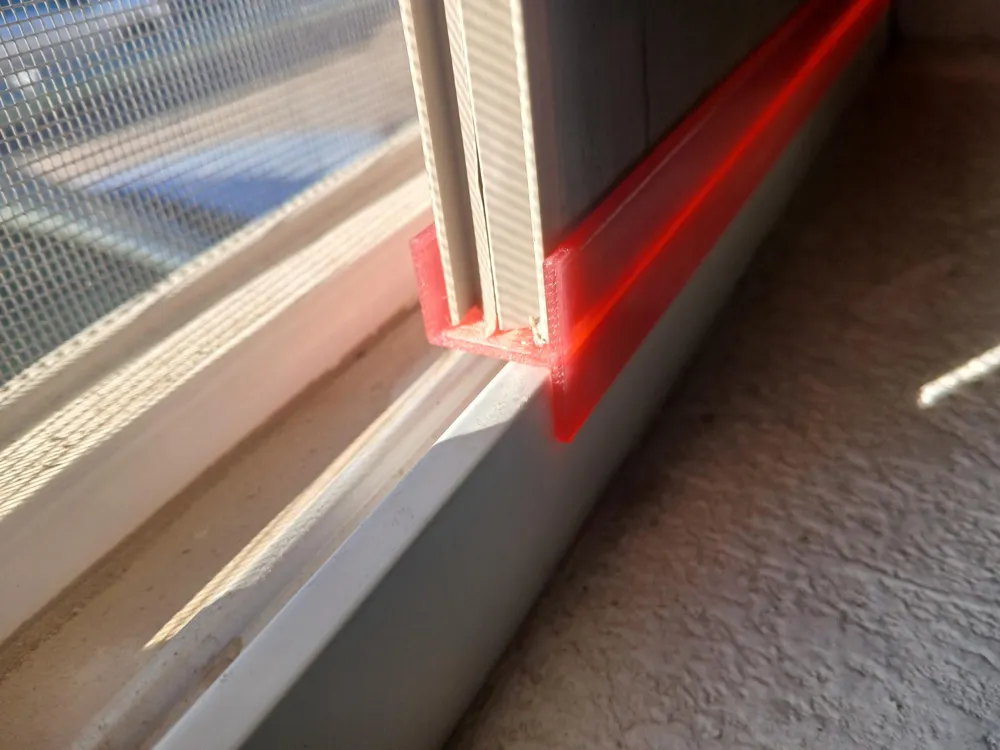
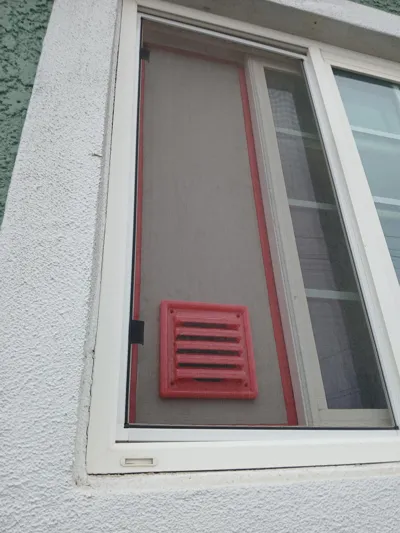
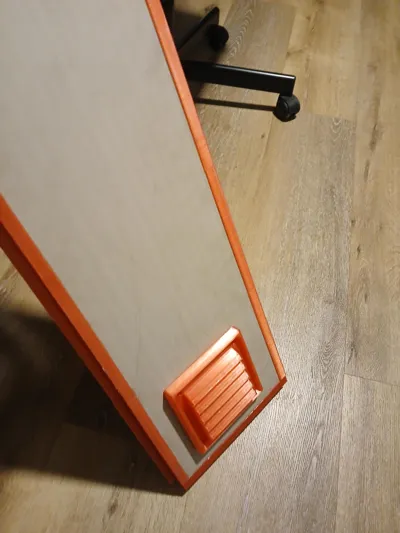
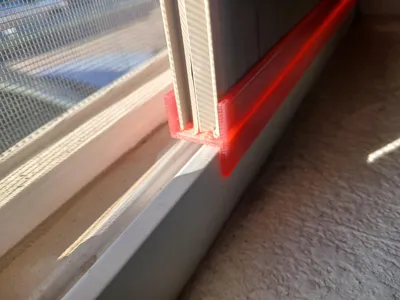
I had limited space to work with so I decided to design the fan to be a desktop fan. I could not attach it to the wall or window. So I decided to design a removable window panel which can be removed when not in use.
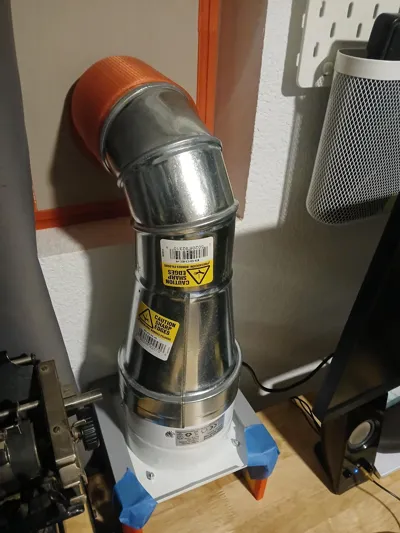
I was also lucky enough to have my desk right in front of a window. As a result, I simply had to print out a 4in wide tube connecting the 2 parts. Otherwise, I would have had to use duct work. However, since this is a desktop fan, it can be put anywhere.
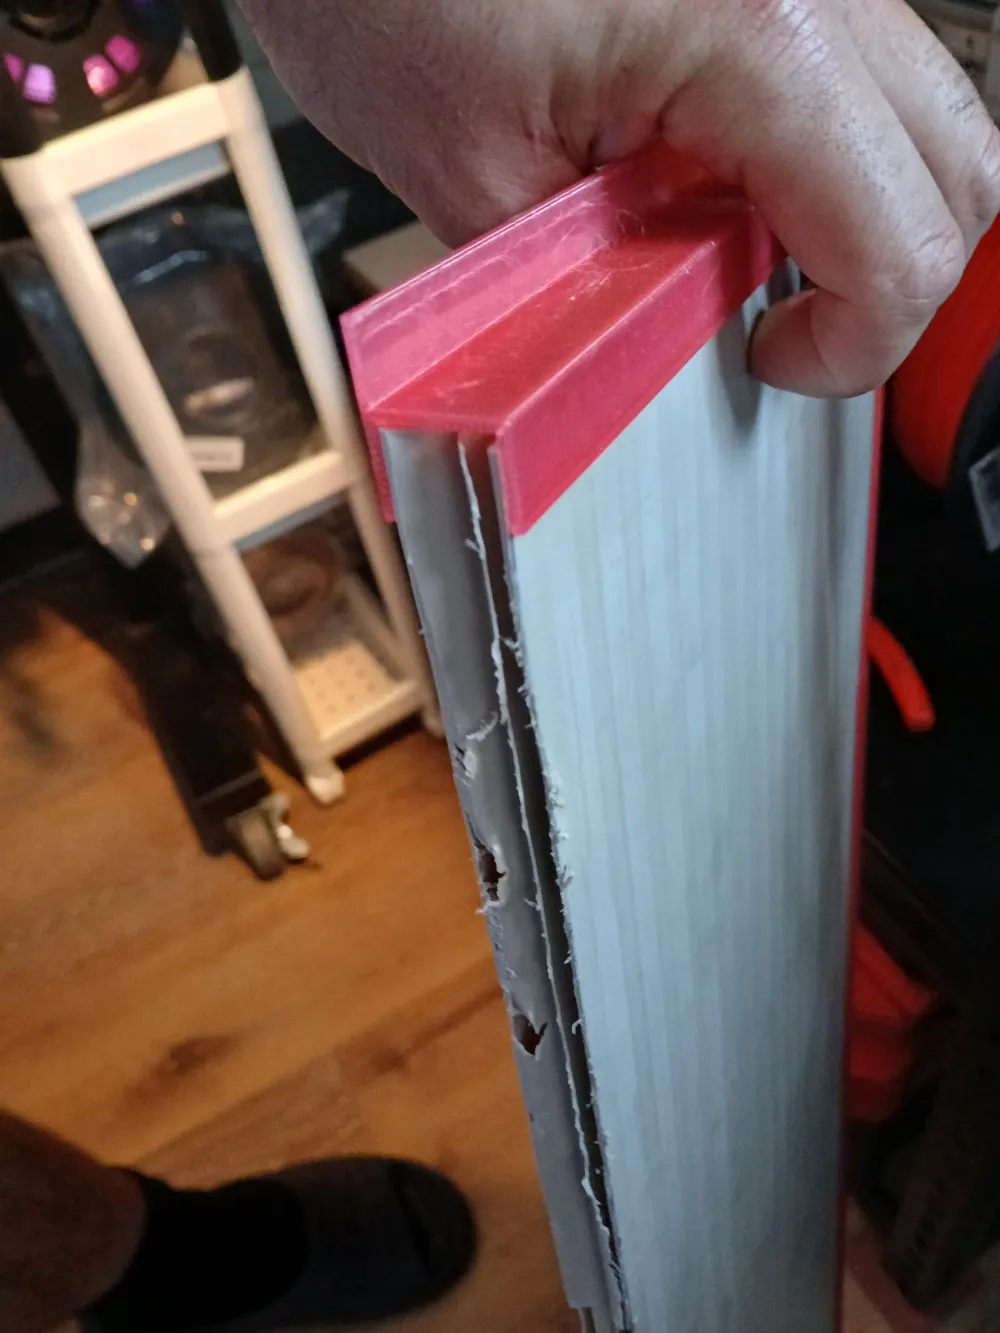
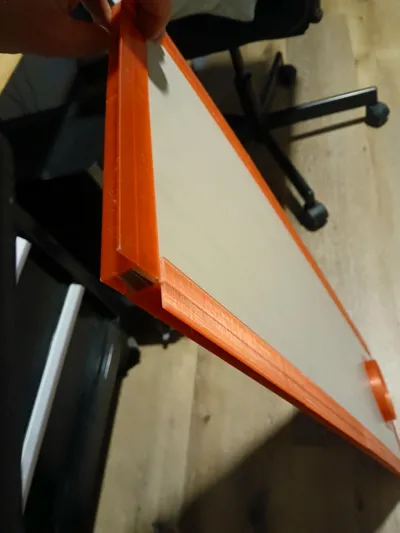
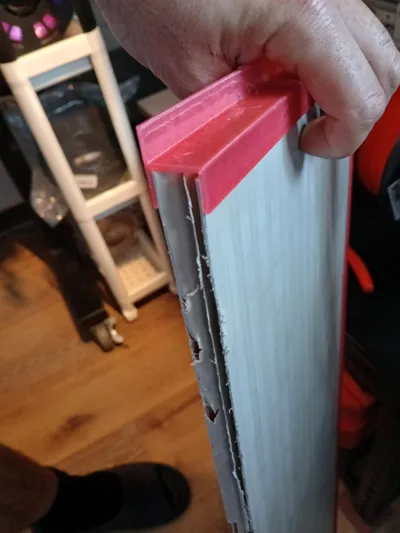
For the panel, I used a thick plastic panel I found somewhere. To make the panel look and fit better into the window frame, I created trim pieces for it.
- I also made a clip to stop the fan from sliding off
I was lucky enough to find to designs here on makerworld which i used to complete my panel.
Link 1 (Wall Ventilation Kit) - https://makerworld.com/en/models/1327688-wall-ventilation-kit#profileId-1365351
Link 2 (Vent Cover) - https://makerworld.com/en/models/1163253-vent-cover-for-100mm-pipe#profileId-1170067
Below is the link to the fan and other parts that I bought.
Fan - https://www.amazon.com/HG-Power-Extractor-Ventilation-Greenhouse/dp/B0CN92JSSD
6in to 4in duct reducer - https://www.homedepot.com/p/Master-Flow-6-in-to-4-in-Round-Reducer-R6X4/100111736
4in duct elbow - https://www.homedepot.com/p/Master-Flow-4-in-90-Deg-Round-Adjustable-Elbow-B90E4/100033952
You could technically print the duct parts but for the size of the parts, I think buying them in metal is better due to its strength and how it looks. I basically only use PLA so, printing these parts will take god knows how long and would break easier than metal.
The two duct parts were around $20 while printing them would take 12-24 or more hrs to print. I think the metal looks better than plastic for this specific case.
License

You shall not share, sub-license, sell, rent, host, transfer, or distribute in any way the digital or 3D printed versions of this object, nor any other derivative work of this object in its digital or physical format (including - but not limited to - remixes of this object, and hosting on other digital platforms). The objects may not be used without permission in any way whatsoever in which you charge money, or collect fees.


Comment & Rating (0)