


Print Profile(2)


Description
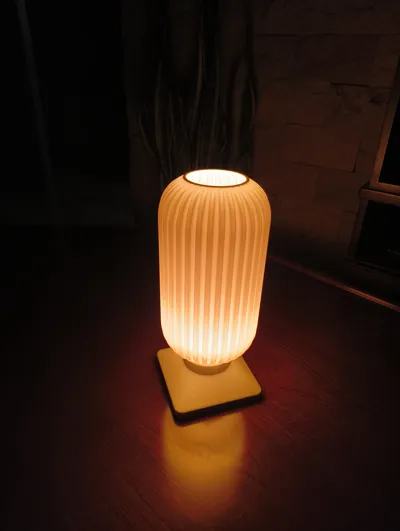
Hello, I’m sharing a lamp model that I designed a few months ago. It needed a few modifications before being published, but here it is. Honestly, I hadn’t planned to upload it as a model, but I liked the idea that other people could enjoy something I created.
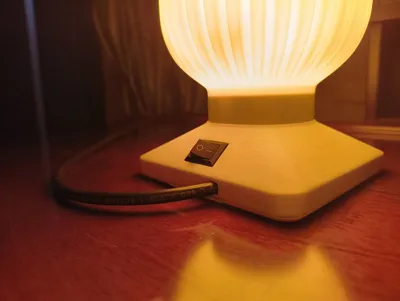
The lamp consists of a base and a diffuser. The wiring, socket, and switch are assembled into the base, and the diffuser is removable thanks to a sliding system. The base was printed in PLA and the diffuser in PETG.
Hardware:
- 1x Ceramic E27 socket (hole diameter for the socket: 36 mm)

- 1x Switch 2 pin KCD1

- 1× E27 bulb (note: it must be an elongated bulb or one that does not exceed 48 mm in diameter)
- Cable for the wiring
Assembly
Once all the parts are printed, we can start carrying out some assemblies and modifications.


- This step is optional, but it will give the base better stability and also a better tactile feel. The main base is hollow and separated from the connection area so it can be filled with a material that adds weight. In this case, I filled it with a bit of cement, but it can also be plaster, or even nuts or small pieces of metal combined with some adhesive.

2. With this ready and fully cured, we can permanently close that space. For this, use the cover piece: apply a bit of glue and then press it firmly so everything seals properly.

3. Now we can continue with the wiring, which has no real complexity. Simply place the socket and secure it with glue or with the screw in the hole of the model. Insert the switch until it clicks into place, pass the power cable through the square hole in the base, connect everything, and that’s it. The only thing left is to close everything with the small cover and a small screw.

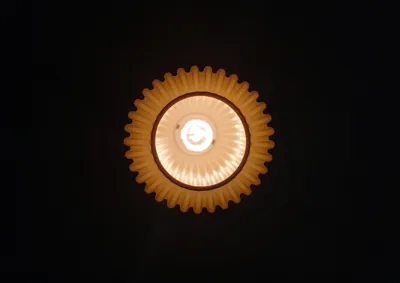
4. Now let’s move on to the diffuser, which has only one step. Since this part is printed in spiral vase mode, the section that acts as the rail cannot be included, so it is printed separately and attached afterward. Just make sure the small block points downward, then press-fit the parts together. A few small drops of glue are also very helpful.


And with this, we have all the parts finished and ready to be assembled.

If you have any questions or suggestions, I’ll be happy to respond :)
License
You may create derivative works based on this object, provided that all such derivative works are published exclusively on the MakerWorld platform and include proper attribution to the original creator. You may not share, upload, host, distribute, or publish this object—or any derivative work of this object—on any other digital platform, marketplace, or distribution channel. Commercial use of this object and any derivative works is strictly prohibited. This includes, but is not limited to, selling, renting, sublicensing, or using the object in any context in which you receive monetary compensation or other financial benefits.
Comment & Rating (0)