The IKEA SKÅDIS Hack: Mounting without Drilling!


Print Profile(1)

Bill of Materials

Description
Boost Me (for free)
Do you like my work? I would appreciate a Boost.
You love your IKEA SKÅDIS Pegboard System, but don't want to pepper your rental apartment walls with holes? I have designed the perfect solution for you! 🚀
This custom-made bracket combines the stability of the original accessories with the flexibility of modern adhesive systems. The result? A clean, minimalist look directly on your wall – without a drill or dust!
Why this bracket is a game-changer:
- No holes in the wall: Ideal for anyone who wants to stay flexible or lives in rental properties. 🏠
- Customized design: The bracket was designed to distribute the load optimally.
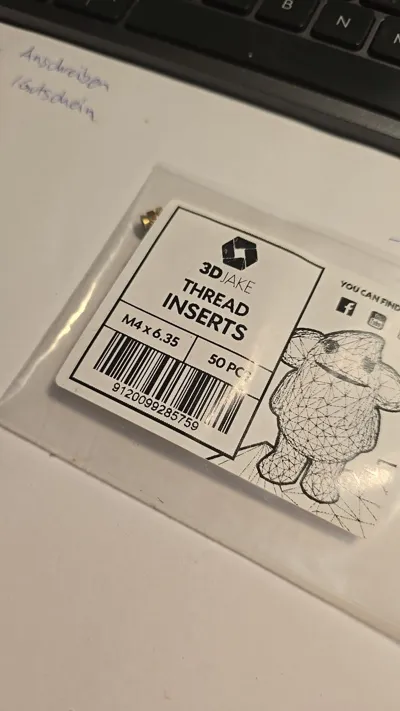
- Professional finish: By using M4 threaded inserts (Heat-set inserts), the screws grip perfectly and do not wear out like with conventional 3D prints. ⚙️
- Removable without a trace: Thanks to the proven adhesive strips, everything can be removed without leaving any residue.
📦 What you need for mounting:
- My 3D-printed bracket: With integrated M4 threaded inserts (e.g., from 3DJake) for maximum stability.
- IKEA Original Spare Part: You need the special knurled screws.
- Item number: 153311
- Order link: You can reorder these for free at ikea.ch/ersatzteile! 🆓
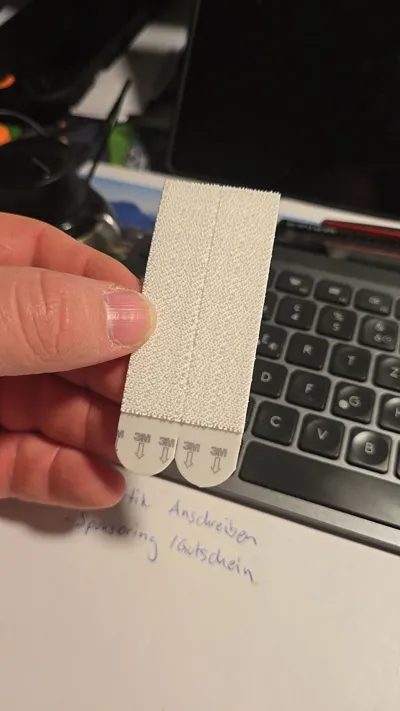
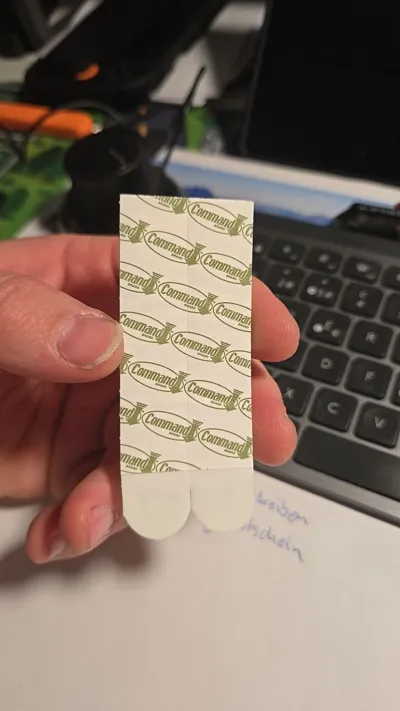
- Adhesive pads: The 3M Command Picture Hanging Strips (Large) are best. These hold securely and are easy to remove. You can find them easily on Amazon. 🛒
🔧 Here's how easy mounting is:
- Prepare: Briefly clean the back of the bracket and the wall (make it grease-free).
- Stick: Apply the adhesive strips to the bracket and press firmly against the wall. (Wait briefly for the adhesive to develop its full strength!)
- Screw in: Turn the IKEA screws (No. 153311) through the pegboard directly into the threaded inserts of the bracket.
- Organize: Done! Now you can furnish your SKÅDIS wall to your heart's content. 🎨
Enjoy your new, tidy wall without any bad conscience towards your landlord! ✌️😊
License
You may create derivative works based on this object, provided that all such derivative works are published exclusively on the MakerWorld platform and include proper attribution to the original creator. You may not share, upload, host, distribute, or publish this object—or any derivative work of this object—on any other digital platform, marketplace, or distribution channel. Commercial use of this object and any derivative works is strictly prohibited. This includes, but is not limited to, selling, renting, sublicensing, or using the object in any context in which you receive monetary compensation or other financial benefits.
Comment & Rating (20)