
The Whistling Moth
Print Profile(0)
Description
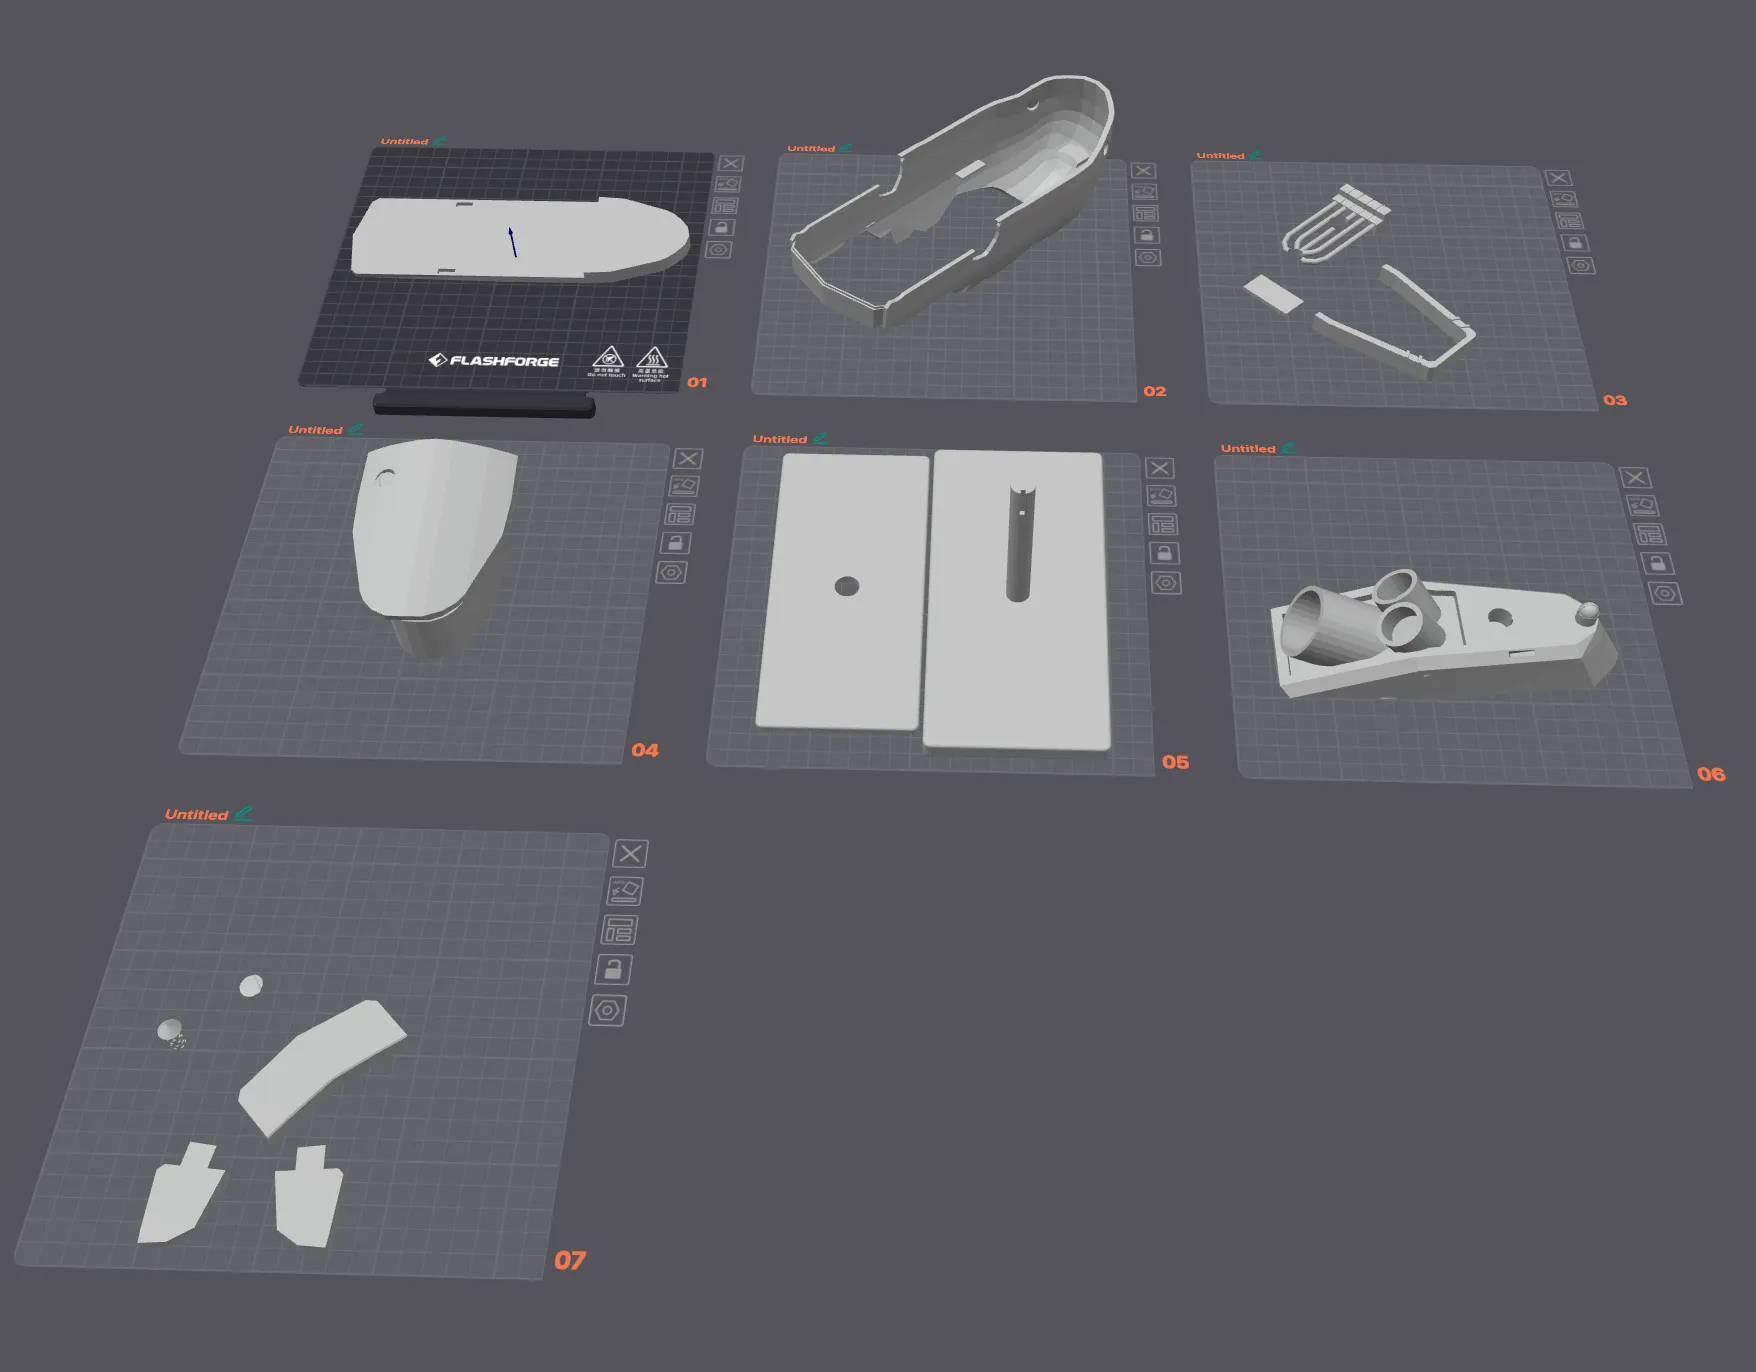
To paint the ship, painting all of the components individually is recommended.
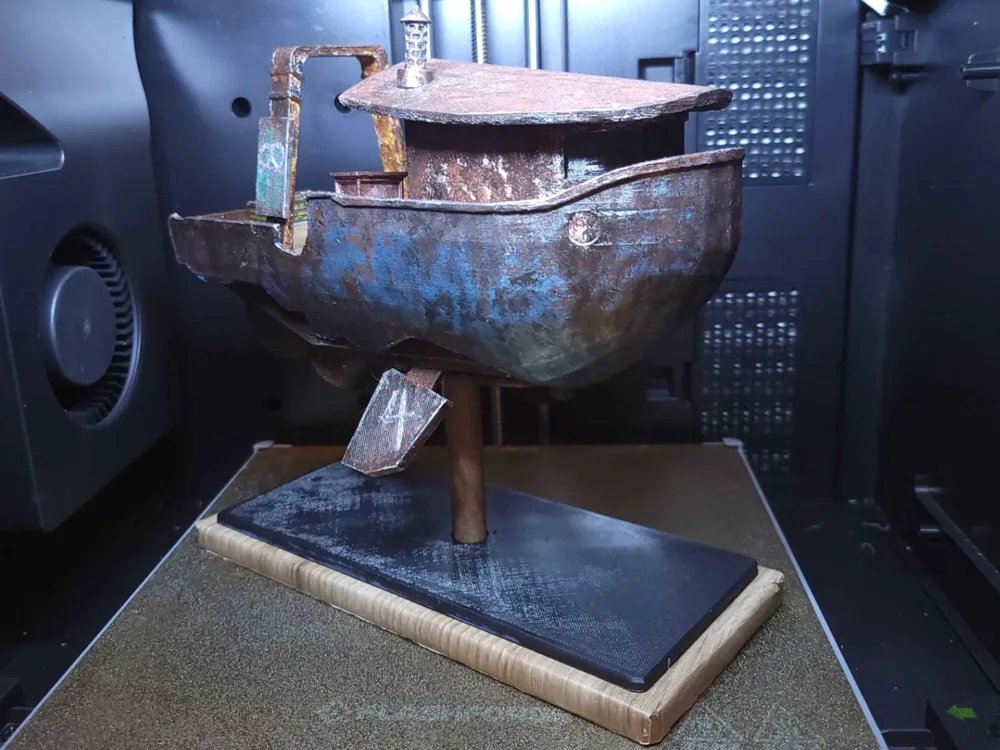
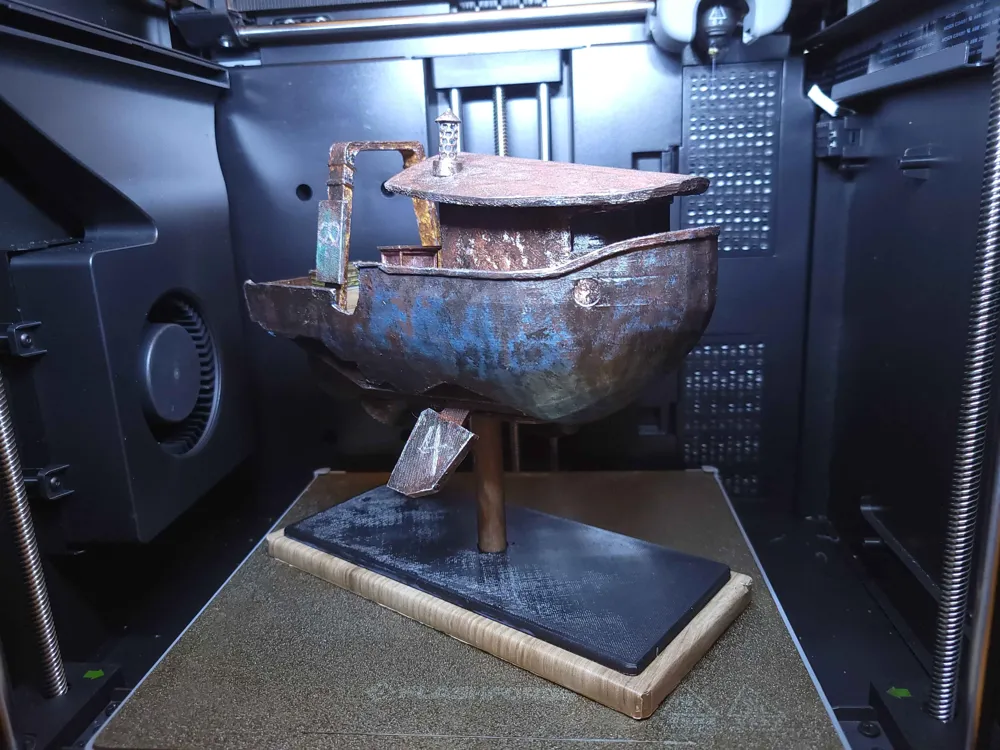
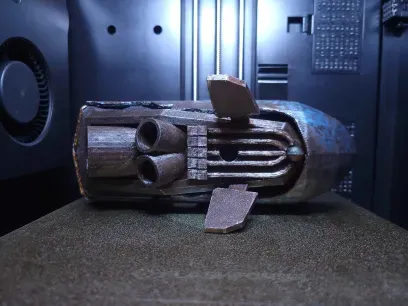
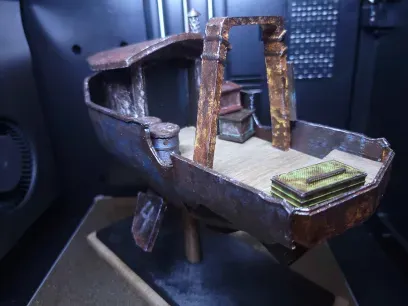
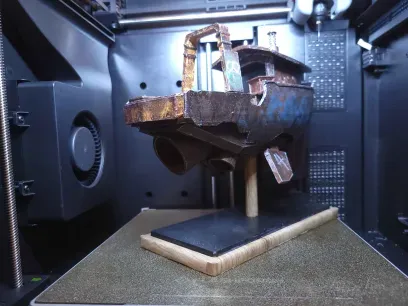
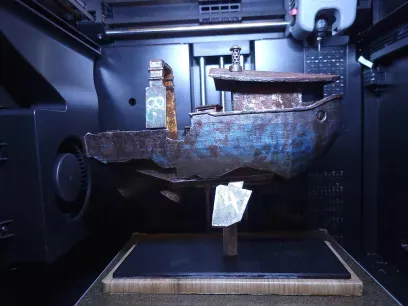
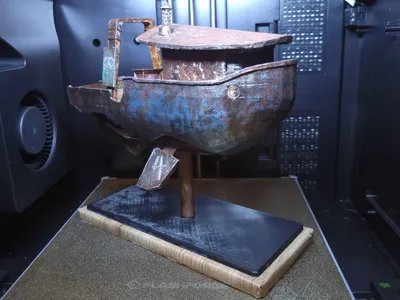
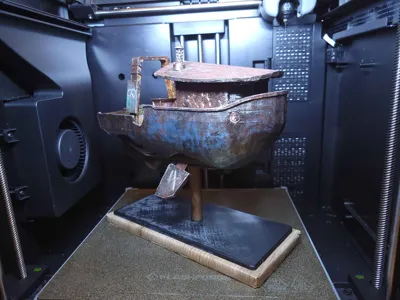
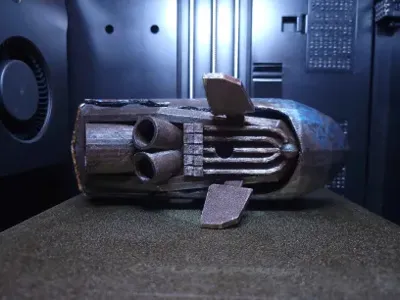
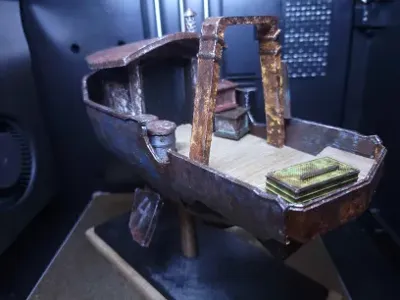
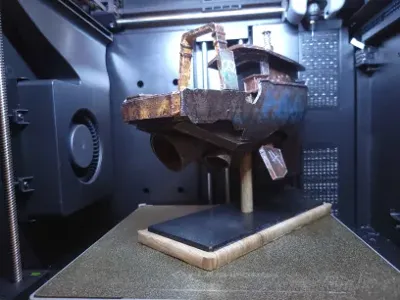
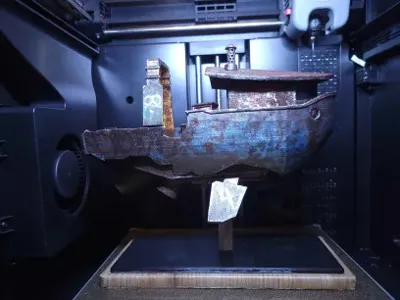
Once painting is finished, assemble the ship by the following steps. (Sorry if the explanation is a little difficult, you can refer to the images as well.)
- Glue the flat bottom of plate 1's print onto the flat bottom of plate 6's print, ensure they are glued centred. You can see if it is centered by seeing how it looks with plate 2's print attatched.
- Fit plate 1's print onto plate 2's print and glue them together securely.
- Glue pate 4's print onto plate 1's, the bottom of plate 4's print should align with the top of plate 1.
- Glue the tiny cylindrical pieces on plate 7 onto plate 4's print as shown in the model pictures.
- Glue the long piece on plate 7 onto the top of plate 1's print as shown in the model pictures.
- Fit plate 3's roughly V shaped piece onto the holes located on the top of plate 1's print and glue the rectangular prism of plate 3 onto the V shaped piece as shown in the model pictures.
- Glue the remaining print on plate 3 to plate 6's print as shown in the model pictures.
- Fit the fins onto plate 6's print as shown in the model pictures.
I hope these instructions were enough, feel free to ask if there are any questions with the assembly.
License

You shall not share, sub-license, sell, rent, host, transfer, or distribute in any way the digital or 3D printed versions of this object, nor any other derivative work of this object in its digital or physical format (including - but not limited to - remixes of this object, and hosting on other digital platforms). The objects may not be used without permission in any way whatsoever in which you charge money, or collect fees.


Comment & Rating (0)