3D Reindeer - High Detail


Print Profile(4)


Description
Boost Me (for free)
If you wish, you can help me by supporting my work with a Boost. Don't have a Boost? You can like the project and follow me. Thanks in advance for your help!
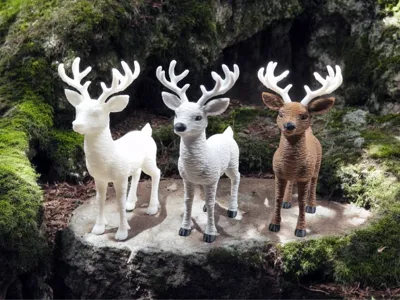
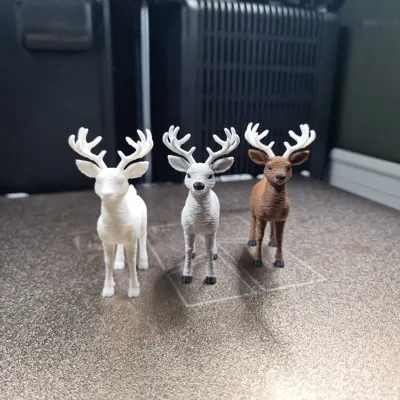
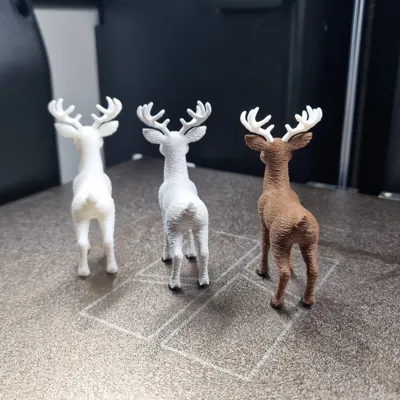
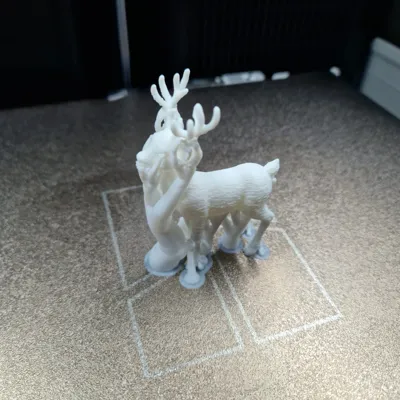
Cute Reindeer toy, a highly detailed miniature reproduction, robust and easy to print, with preset and customizable colorings on multiple plates, also in Fuzzy Skin version!
📐 DESIGN FEATURES:
- Dimensions in Photos: 58 x 36 x 80 mm (Scalable according to your needs).
- Designs optimized for 3D printing with 0.4 and 0.2 mm nozzles.
- Monocolor, Bicolor, and Full Color designs, also Fuzzy Skin to simulate fur.
- Suitable for children and adults.
- Robust structure.
🖨️ CUSTOMIZATION:
- Possibility to print it in the color you prefer according to your tastes or preferences.
- I do not recommend reducing its predefined size, while it can be easily enlarged.
- Do not exceed the nozzle limits when resizing to avoid printing problems.
🎨 FILAMENT USED and ADDITIONAL TIPS:
- Filament used, Bambu Lab PLA Basic.
- Recommendation to maintain the characteristics seen in the photos, PLA filaments from the Basic or Matte Line.
- Do not change the print orientation, it would compromise the result.
- At the end of printing, lightly trim the edges where and if necessary.
- Pay particular attention when removing supports to avoid breakage, start from the top part with the thinnest supports, use a utility knife if necessary.
✨ Did you like this project?
- Check out my profile for more original models by clicking HERE!
- Follow the PUPAZZI Collection to stay updated on all the news by clicking HERE!
*Photos, designs, and manufacturer brands cited on this page are the exclusive property of their respective owners
(If you are interested in commercial use of my models, early access, exclusive designs, or if you simply like my work and want to support me, contact me privately)
License
You shall not share, sub-license, sell, rent, host, transfer, or distribute in any way the digital or 3D printed versions of this object, nor any other derivative work of this object in its digital or physical format (including - but not limited to - remixes of this object, and hosting on other digital platforms). The objects may not be used without permission in any way whatsoever in which you charge money, or collect fees.
Comment & Rating (0)