Kitchen Drainer for Sink Sponges 2026


Print Profile(1)

Description
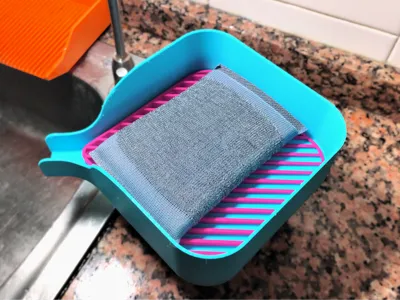
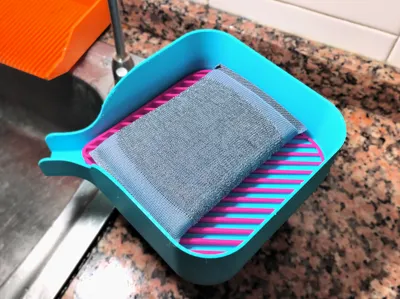
Kitchen Drainer - Sink Sponges 2026
A practical and convenient drainer for all types of kitchens, with its height, dimensions, and practicality, it is ideal for placement on the side of your sink all explained below:
Features:
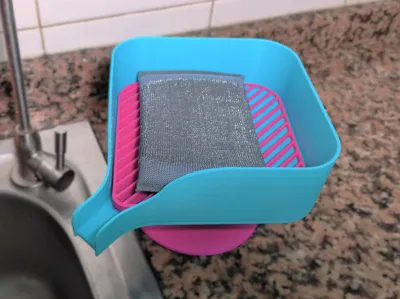
- Base.- It provides great stability and allows for greater control of the space near the sink
- Height.- Allows the drip edge to drain all water into the sink
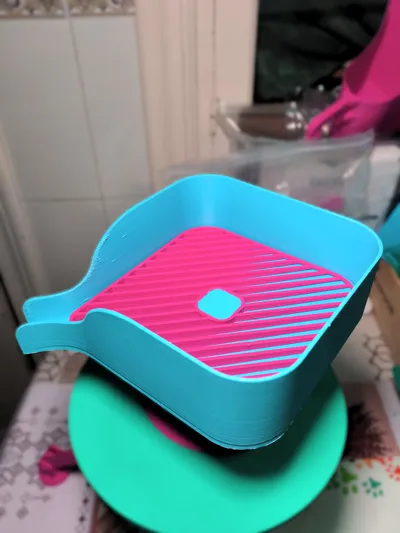
- Drop Angle.- The entire body of the model has a drop angle that allows all water to drain from its container
- Drip Edge.- Its outermost edge has a groove that cuts off water
- Dimensions.- Its dimensions, though seemingly small, are designed to make full use of the space of an A1 mini
- Resistance.- Its shape and design are intended to withstand falls, weight, and the test of time
- Format.- Its dimensions are designed to be printed on all printers available on the market
- Design.- Its design went through several redesigns to meet all the goals, tasks, and needs that a model like this might present Similarly, the aim was to maintain the elegant and modern touch that this design represents
- Efficient Printing.- In all my designs and models, I try to find the best printing method to avoid printing problems or excessive filament usage
Boost Me (for free)
I hope you like the model and I look forward to seeing your positive feedback Thank you for supporting me with this life project
Print Features:
- Recommended Filament: PLA or PETG
- Bed adhesion: No
- 3 walls, 15% infill
- Supports: Yes (Normal, Snug)
- Model size: 180mmx170mmx50mm
- Part adhesion: cyanoacrylate or hot glue
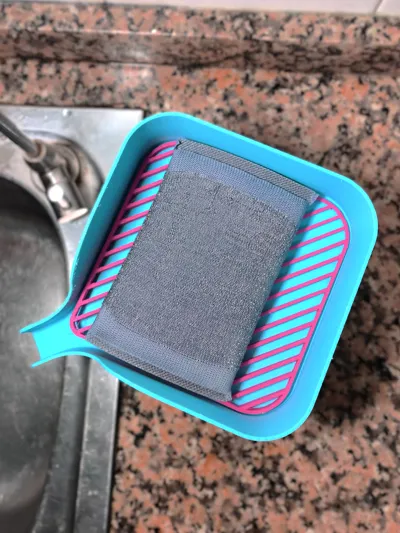
ASSEMBLY
For assembly, it is necessary to use an adhesive to glue the base to the body

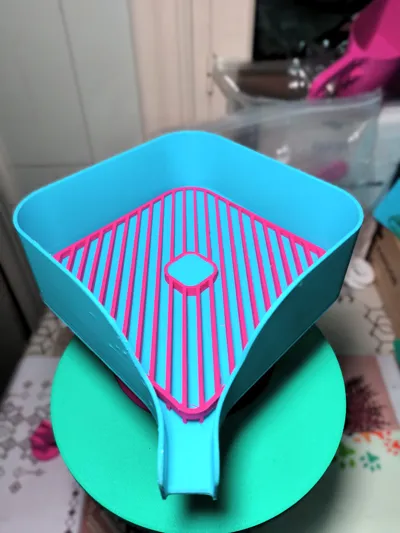
note: the base and the body have an indentation that marks the perfect orientation and placement of the model


note: Remove the support and clean the edges of the support entry hole

The orientation of the grate is with the flat side facing up

License
You shall not share, sub-license, sell, rent, host, transfer, or distribute in any way the digital or 3D printed versions of this object, nor any other derivative work of this object in its digital or physical format (including - but not limited to - remixes of this object, and hosting on other digital platforms). The objects may not be used without permission in any way whatsoever in which you charge money, or collect fees.
Comment & Rating (11)