


Print Profile(1)

Description
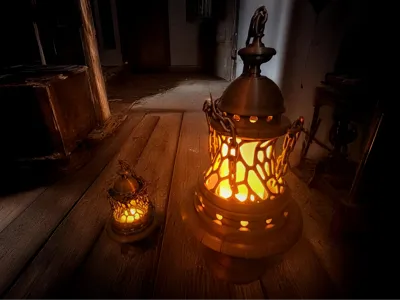
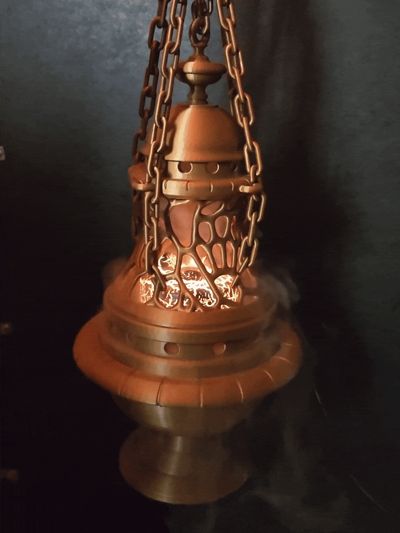
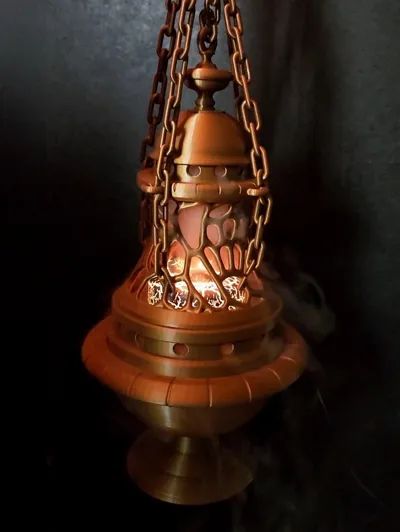
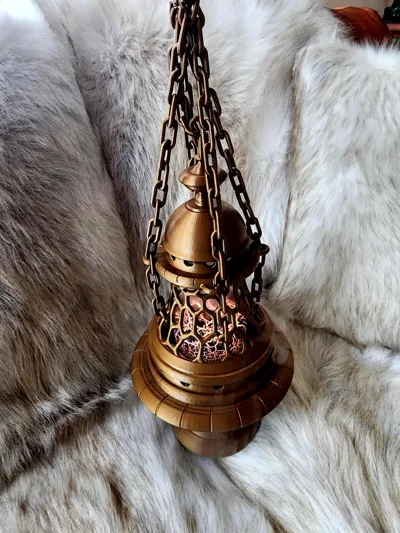
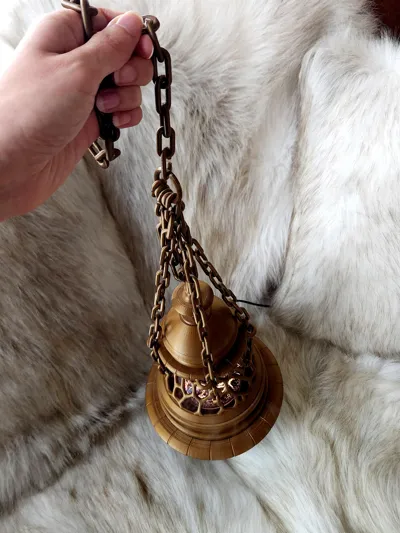
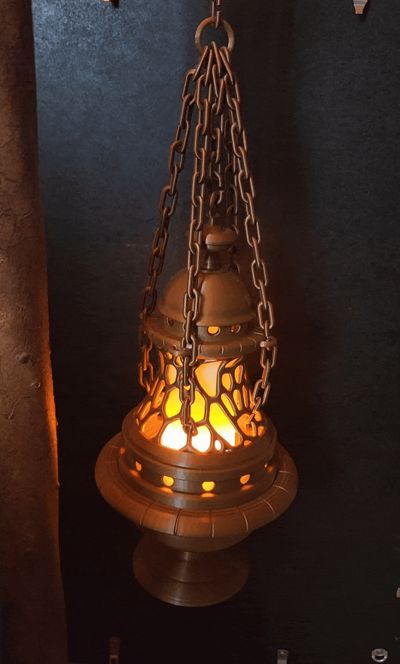
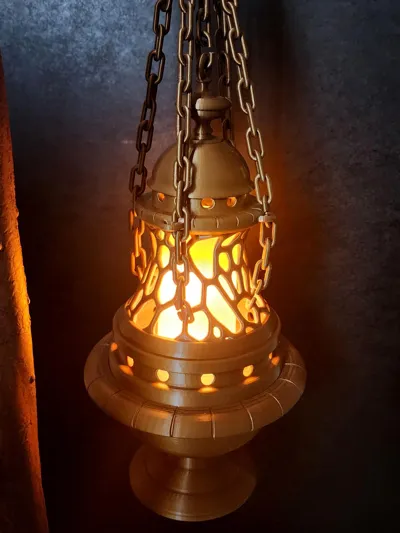
Hanging or handheld lantern/torch/humidifier inspired by the tier 3 incense in the game Phasmophobia made with Fusion 360.
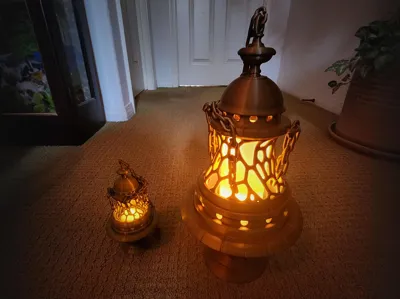
There are 3 options available:
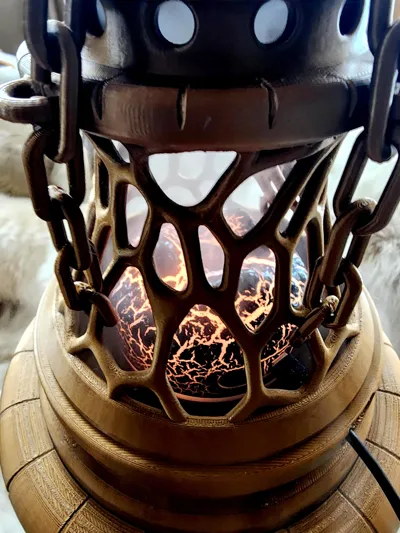
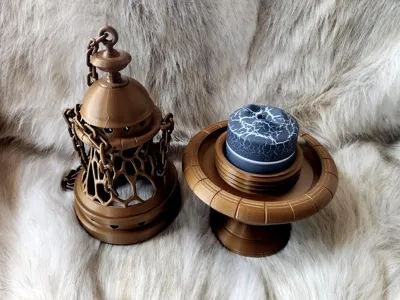
- Humidifier holder
- This is the option in the pictures with the humidifier “smoke” and light
- Requires small humidifier - The one I used is a 3.1"D x 3.1"W x 4.8"H gray volcanic humidifier from Amazon ("Portable Mini Humidifier, Colorful Volcanic Texture, 300mL Cool Mist Humidifier, USB Powered, Auto Shut-Off. Perfect for Bedroom, Office & Car"), but a similar sized humidifier should work as well. It can be taller if the diameter is smaller, but I recommend measuring if you are unsure. The print profile has a hole specifically for the USB charging cable. It can be portable if you plug it into a portable powerbank.
- Candle light holder
- Requires flame effect candle light - The one I use is 2.63" diameter at the base and is 5.11" high, is rechargeable, has a remote control, and is from Amazon: “LED Flame Effect Fireplace Light with Remote & Timer, USB Rechargeable Battery Operated Flameless Candle Light for Room Party Bar Decor - 2 PCS”
- Requires large print profile with optional candle light riser
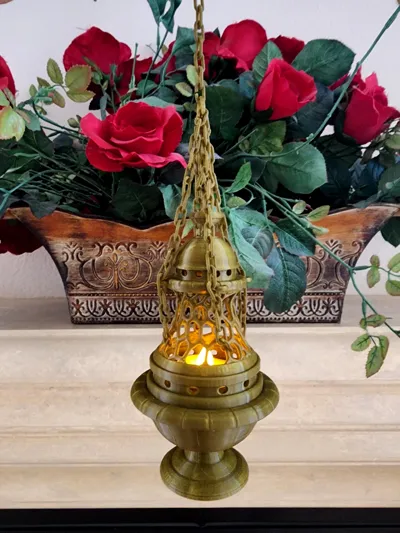
- Tealight candle holder
- Requires flameless tealight - The one I use is from Amazon “Remote Candles, 12PCS Flameless Tea Lights Candle Battery Operated with Timer, 400+Hours Remote Control LED Tea Lights Votive Candle for Holiday Table Centerpieces Decor”
- Requires small tealight print profile
To assemble:
- Print components
- Remove supports (recommend using pliers for the hard-to-reach areas)
- If chain is desired, see instructions below on how to print chain
- If using the humidifier option, thread USB cable through slotted hole in the side of the top component first and plug it into the humidifier
- Screw the threaded top component into the base
- Enjoy!
I used PETG filament for strength and durability (recommended if using for long-term use - you can try with PLA as well, but I haven't tired it with this model):
- I used Bronze PETG Filament from California Filament for the small tealight holder version (it has a more antique brass look than bronze)
- I used TINMORRY Metallic Bronze PETG Filament for the large version
Note: The chain is not included in this print profile. You could print the chain and ring link from the following sources:
- Chain: Smooth Round Chain - Free 3D Print Model - MakerWorld
- I printed two copies of the 25mm chain for large format printers and several additional connector links (Note: print extra connector links in case they snap during assembly)
- If using the small tealight version, scale the print profiles by 49.21% in Bambu studio before printing. Otherwise, use the full-scale version.
- Example:

- Ring link: Simple Ring - Free 3D Print Model - MakerWorld
- If using the small tealight version, scale the print profiles by 49.21% in Bambu studio before printing. Otherwise, use the full-scale version.
To assemble chain:
- First, cut the printed chain into individual pieces as shown:

Connect one connector piece to each end of the 4x 3-link-long chains and attach one end to the rings on the four sides of the top component. Connect the other end to the base of the top component. (Note: If you have a problem with them snapping when trying to attach, especially with the smaller tealight version, you can try heating the connectors with a heat gun or hairdryer prior to attaching them which seems to make them more flexible temporarily)

Connect the one end of the 4 11-link chains to the top connector of each of the 3-link chains you just attached and the other end to the ring. Repeat for the shorter chain that connects to loop at the top as well:

Finally, add a connector to the longest chain and connect it to the ring as well:

License
You shall not share, sub-license, sell, rent, host, transfer, or distribute in any way the digital or 3D printed versions of this object, nor any other derivative work of this object in its digital or physical format (including - but not limited to - remixes of this object, and hosting on other digital platforms). The objects may not be used without permission in any way whatsoever in which you charge money, or collect fees.
Comment & Rating (5)