Mini Yozma IN 10 (Electric Dirt Bike)


Print Profile(8)


Description
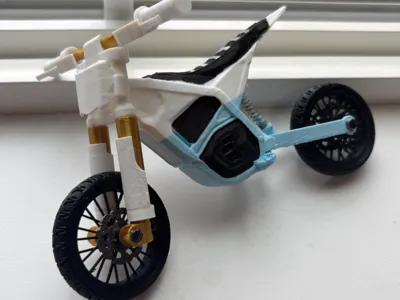
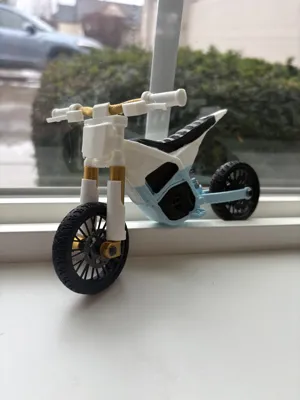
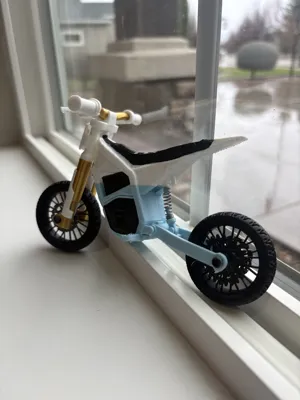
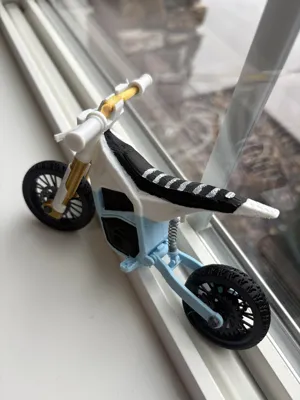
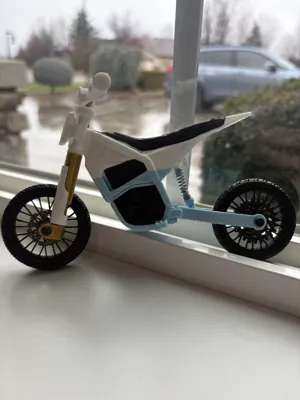
This is a 1:9 scale Yozma IN 10 electric bike model featuring working front and rear suspension along with free-spinning wheels. The design focuses on easy printing and assembly while maintaining realistic proportions and detail. All parts are fully 3D printed except for two optional suspension springs. (Without the springs installed, the bike will sit fully compressed.)
This is one of my most detailed builds to date. The suspension linkage is modeled after the real Yozma IN 10 and is fully articulated and functional, not just cosmetic.
The forks, wheels, rear suspension, handlebars, and related components are created by How2Random — I designed the frame and brakes only.
Profile: https://makerworld.com/en/@howtworandom
(I paid How2Random to use his models!)
Assembly is the EXACT SAME as the tuttio, so I will just put those instructions here (Only difference is the body shape)
ASSEMBLY-
(may seem long but don't worry - it's not really!)
Wheels ASSY -
-
- Grab the two halves of the wheel labeled (rear wheel)
- Place the wheel alignment guides (2 small blue pieces) into the grooves on one half of your wheel.
- apply glue all around wheel if needed.
- Find the 2nd half of the wheel using the text to match - then place the 2nd half of the wheel onto the first. Ensure proper alignment of the tire tread.
Keep pressure on the wheel until glue sets - then set aside

2. align the keyhole and slide the rear sprocket onto any side of the rear wheel hub (apply glue if its too loose)

3. On the opposite side of the same wheel - align keyhole and slide on one of the brake rotors (apply glue if its too loose)

4. Repeat step 1 for the FRONT wheel (try not to mix up both wheels)
5. Slide on brake rotor on the front wheel on the side of the wheel hub with the keyhole bump! (repeat step 3 but on the front wheel)
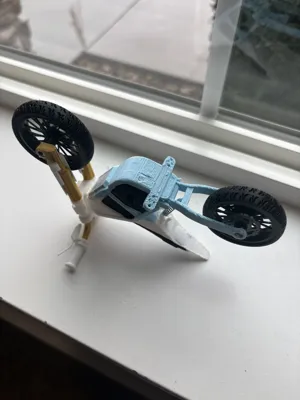
FORK ASSY -
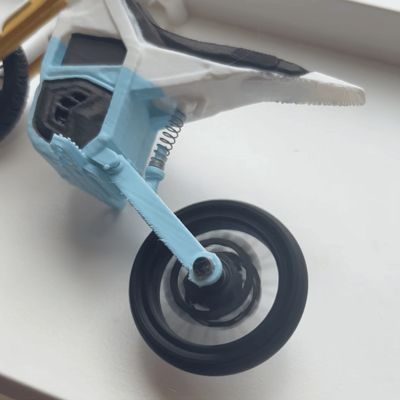
- free the stanchion (Black in image) by gently twisting and/or pulling down. repeat for both

2. Slide a spring into one, or both of your fork bodies

3. slide steerer tube into place - apply glue to keep it secure

4. press fork guard into place (different for left/right side), it will go on, just try to angle it

How it should look -


5. Slide your FRONT wheel (bigger of the two) in-between the fork bodies - secure wheel by sliding in front axle into place. (any one of the axles). then set aside (ensure the front wheel is oriented such that the brake disc is on the left side of the bike)

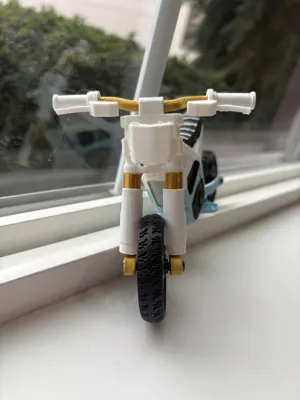
COCKPIT ASSY -
1. Press handlebar into stem. (secure with glue once centered)

2. Slide on brakes - then grips. repeat on other side too - on left side make sure to slide the brake - then grip (refer 2nd picture below) (secure with glue if needed)

How it should look -

MAIN ASSY -
PIVIOT ALL the linkage and joints on the frame very gently by hand to loosen them up a little bit. (it might be tough to get moving at fist, but it will move, be gentle!)
1. Slide your second spring onto the body - MAKE SURE TO GLUE EACH END OF THE SPRING SO THE SUSPENTION WORKS PROPERLY

How it should look -

1. slide entire front suspension assembly through the bikes head tube (hold in place)

2. Press on the whole cockpit assembly onto the fork assembly to hold it in place. You can apply a small drop of glue here to keep this secure.

3. Slide the whole rear wheel into place and secure with the rear axle. (ensure that the rear sprocket is on the left and brake rotor on the right!)

Enjoy :)
IF YOU WANT TO SELL THIS MODEL DM ME
License
You shall not share, sub-license, sell, rent, host, transfer, or distribute in any way the digital or 3D printed versions of this object, nor any other derivative work of this object in its digital or physical format (including - but not limited to - remixes of this object, and hosting on other digital platforms). The objects may not be used without permission in any way whatsoever in which you charge money, or collect fees.
Comment & Rating (141)