Search models, users, collections, and posts

Gridfinity Battery - All Types - Customizable
Remixed by
IP Report
Print Profile(1)
All Batteries - Charge Slider - 2x2 Bin - Stackable
Designer
39.2 h
16 plates
Open in Bambu Studio
Boost
10
62
8
0
111
58
Released
Description
Overview
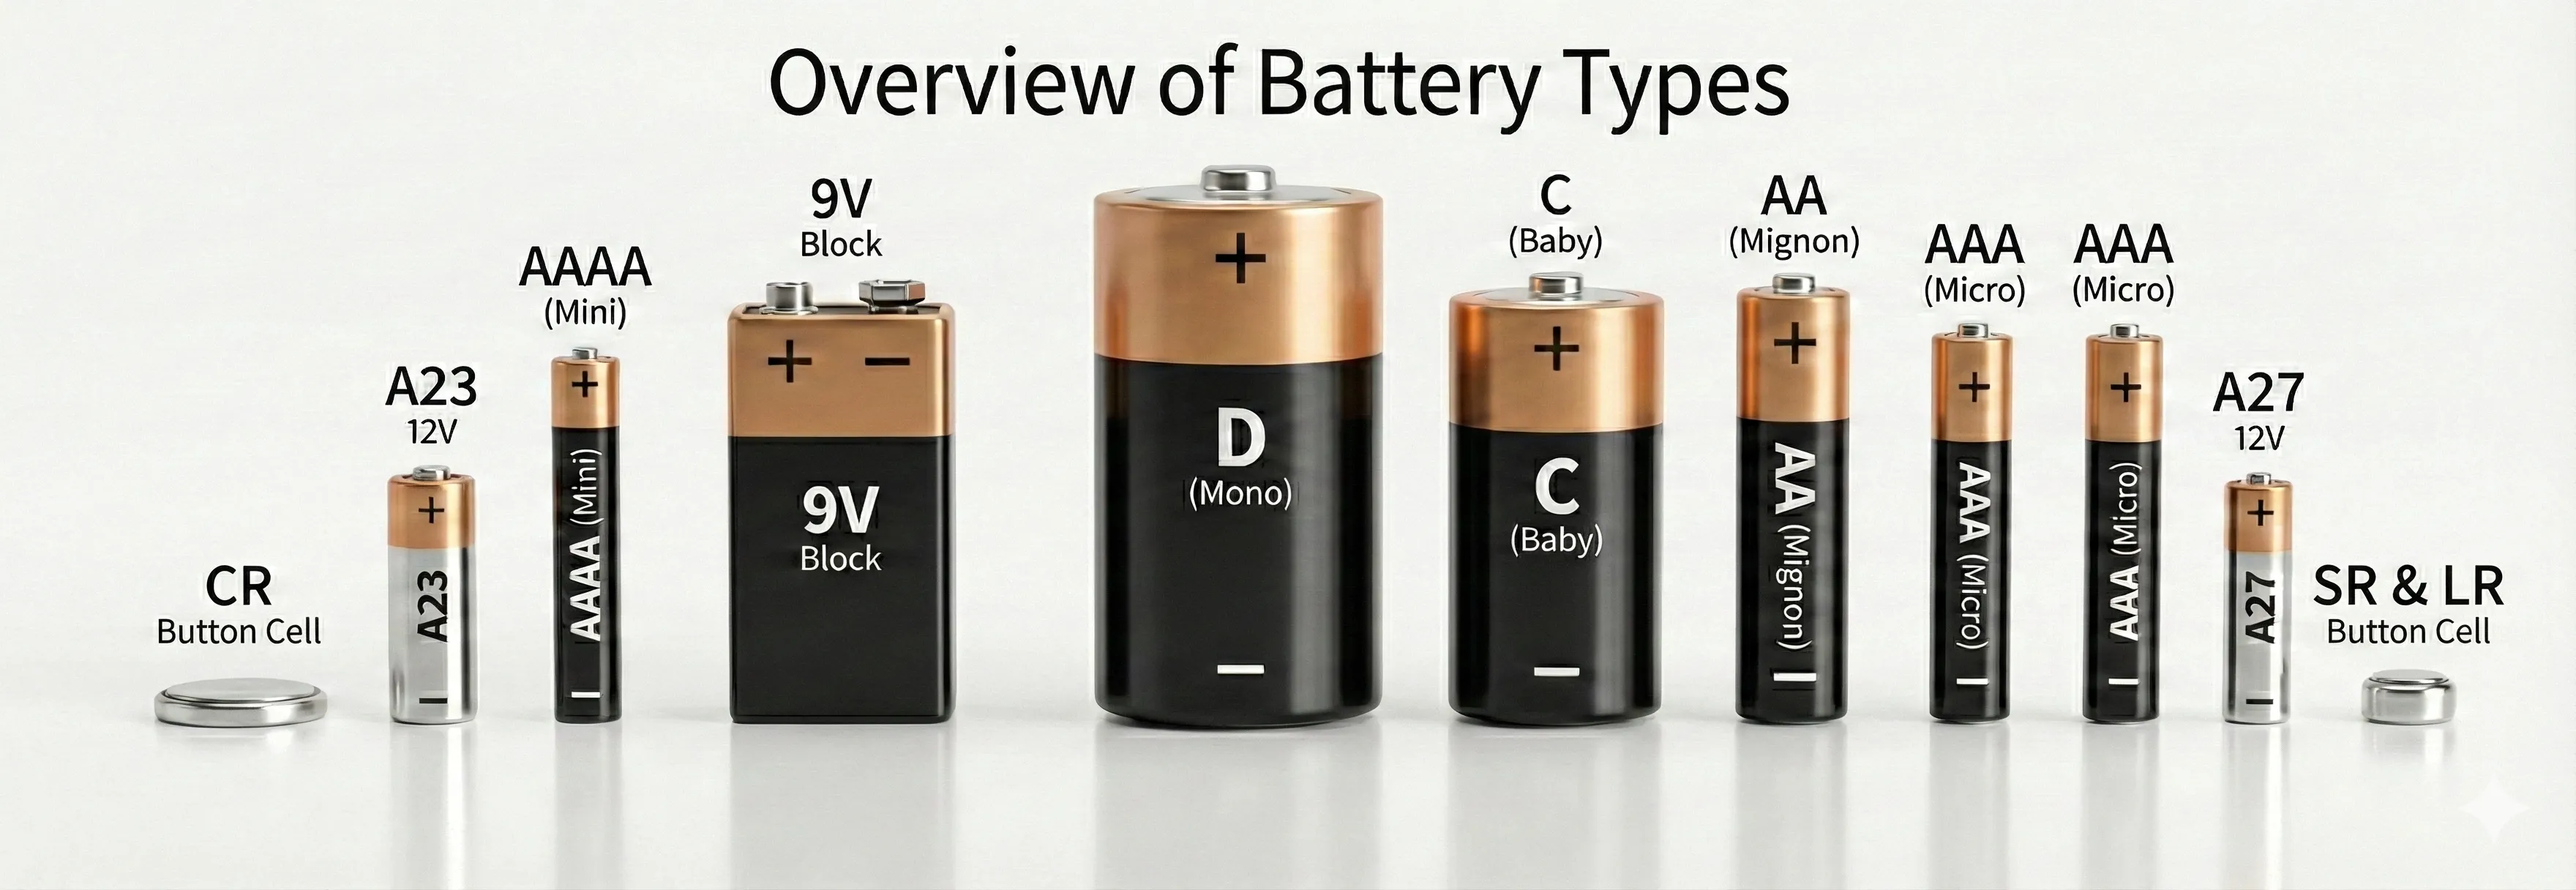
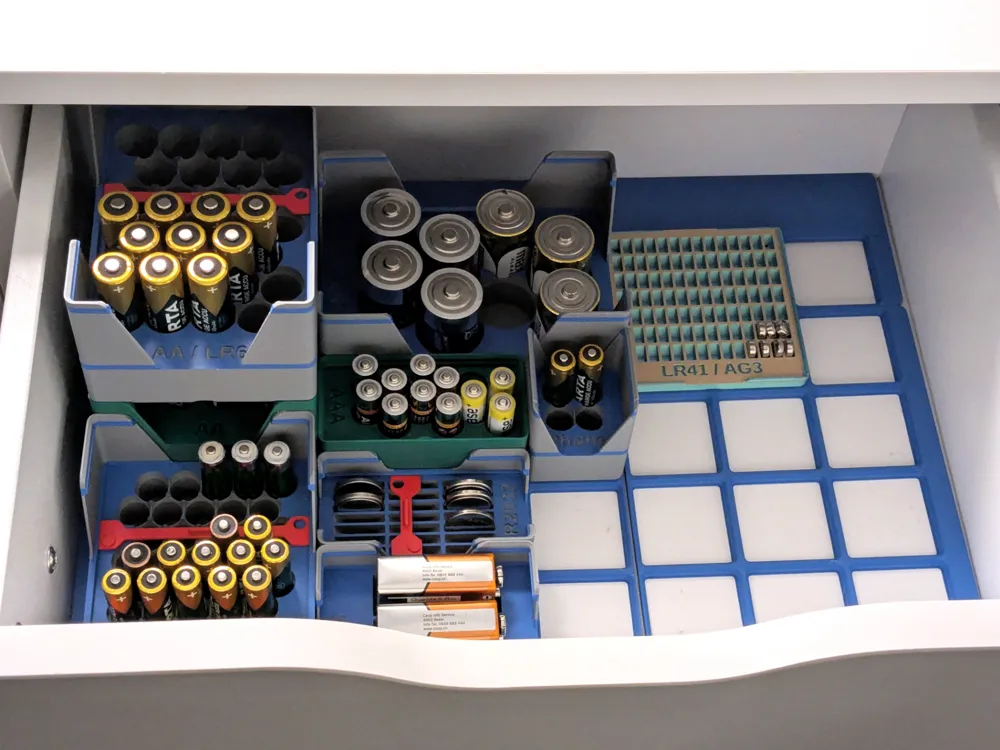


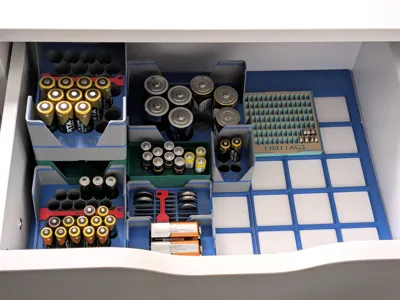
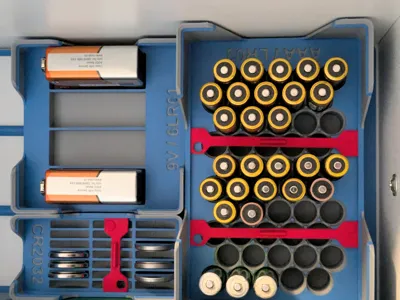
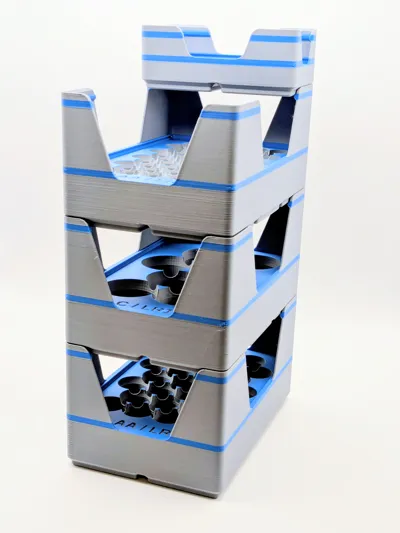
This is a battery management system. Featuring Charge Status Slider, engineered Anti-Rattle Ribs and stackable bins, this parametric model keeps your cells secure and your workflow organized.
Key Features
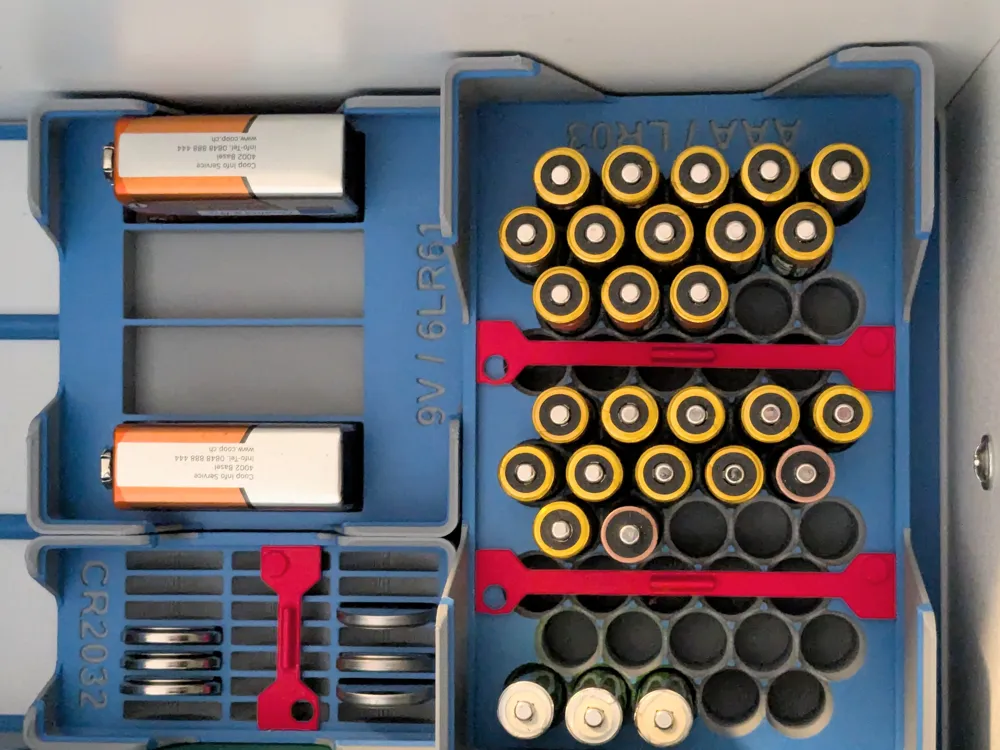
- Charge Status Slider: A built-in sliding mechanical indicator to track Charged vs. Dead batteries.
- Anti-Rattle Ribs: Engineered flex-ribs inside the cylinders grip the batteries gently, preventing noise and tipping when drawers are opened.
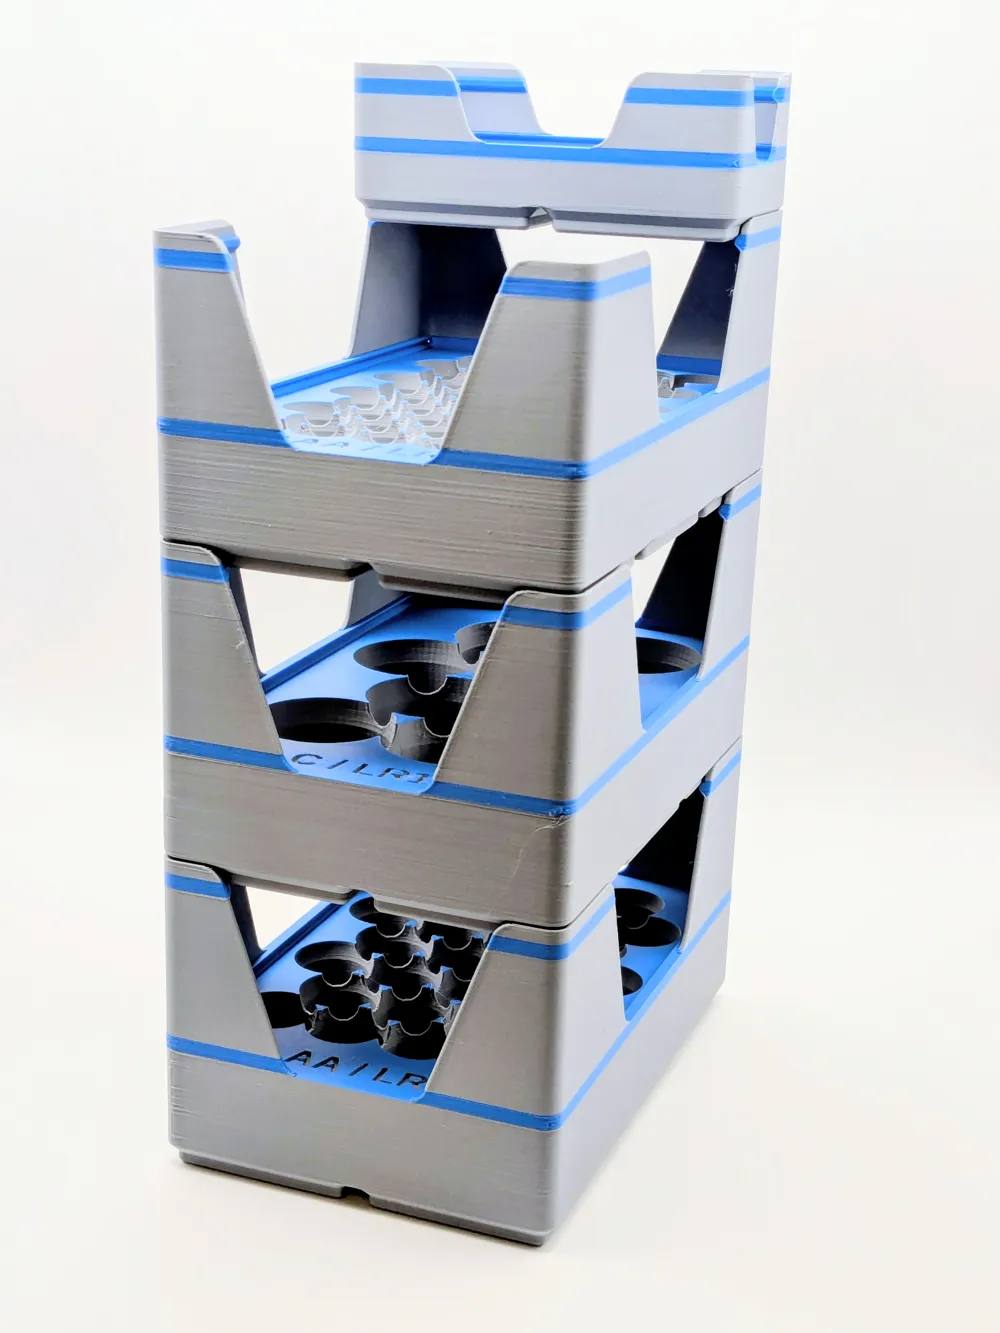
- Stacking Lip: Features the "Gridfinity Extended" lip for secure vertical stacking.
- Fully Parametric: Customize for any cylindrical object using the MakerWorld Customizer.
- A1 Mini Compatible: All standard profiles fit the 180x180mm plate.
Included Profiles (Pre-Sliced)
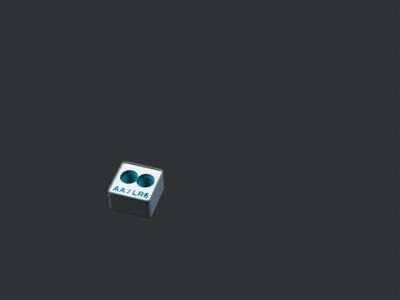
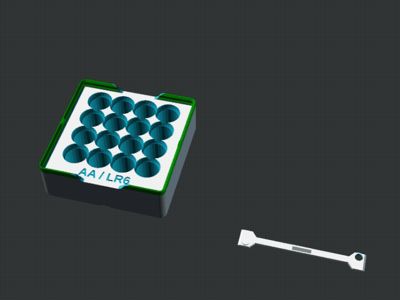
- AA & AAA: Standard organizers with slider mechanism.
- 18650 & 21700: Deep storage for Lithium-Ion cells.
- 9V & C/D Cells: Heavy-duty variants.
- Coin Cells: Specialized trays for CR2032/CR2025.
Printing Instructions
- Nozzle: 0.4mm Standard.
- Infill: 15% Gyroid (Essential for the strength of the stacking lip).
- Walls: 3 Walls (Required for the spring-tension of the Anti-Rattle ribs).
- Material: PLA Basic, Matte, or PETG.
- Tolerance: The slider is designed with a 0.2mm clearance. Ensure your flow rate is calibrated. If the slider sticks, use a hobby knife to free it gently or increase the tolerance in the Customizer.
Bill of Materials (BOM)
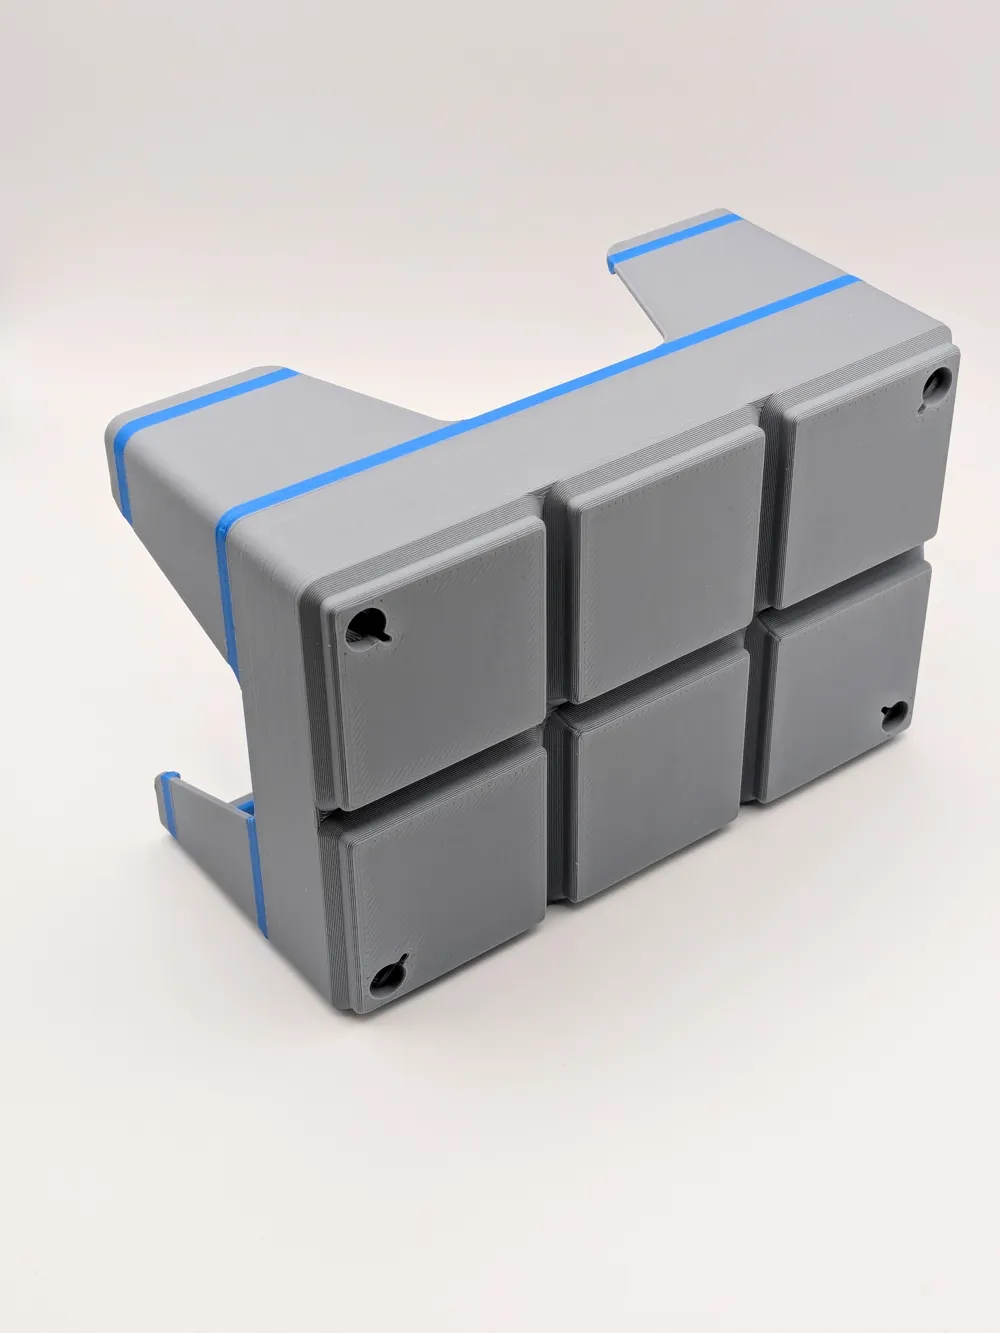
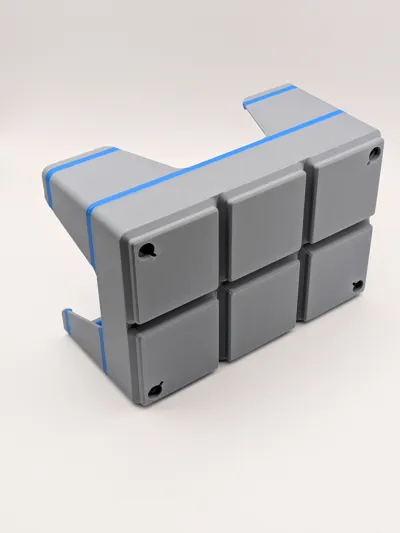
- Magnets: Standard 6x2mm magnets (x4 per bin).
Press-fit design (6.5mm holes), but a drop of CA glue is recommended for heavy loads.
Assembly Guide
- Magnets: Press fit magnets into the base (check polarity!).
- Slider: If you printed the separate slider version, snap the slider into the rail track before filling with batteries.
- Loading: Insert batteries. You will feel a slight resistance as the Anti-Rattle Ribs engage—this is intentional to keep them secure.
Attribution & Remix
Based on the Gridfinity Extended system. Fully parametric source code included for community remixing.
Boost Me (for free)
If you enjoy this model, please consider leaving a Like and sharing your creations. Thank you for your support!
This remix is based on


License

This user content is licensed under a
Creative Commons Attribution-Share Alike


Comment & Rating (8)