
The Mage's Sceptor
Print Profile(1)

Bill of Materials



Description
Description:
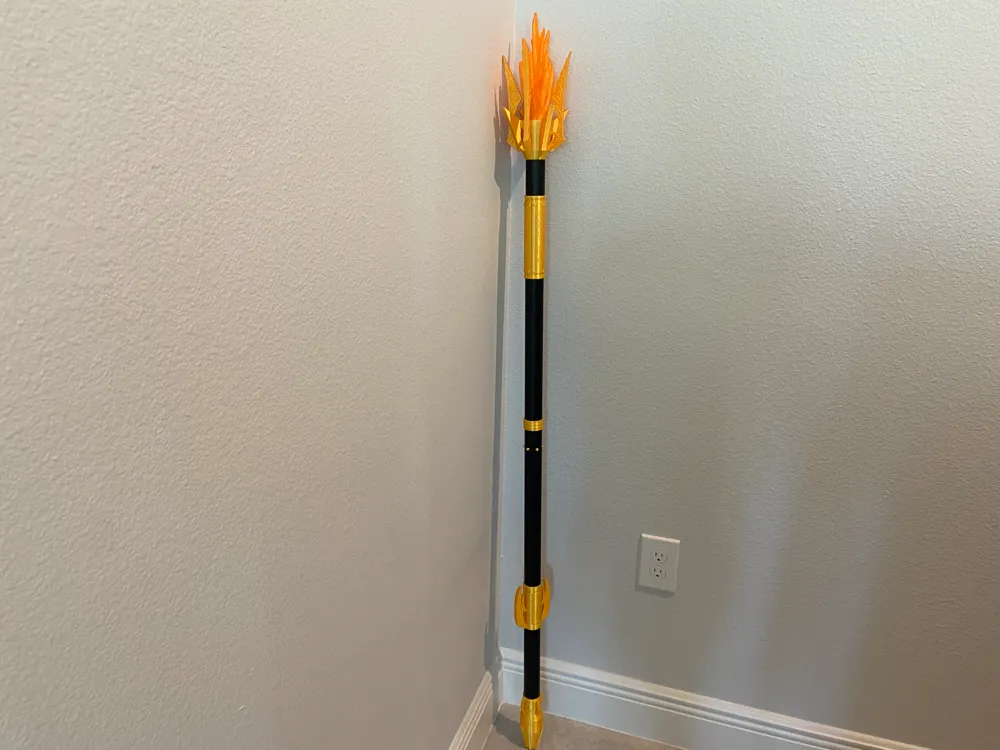
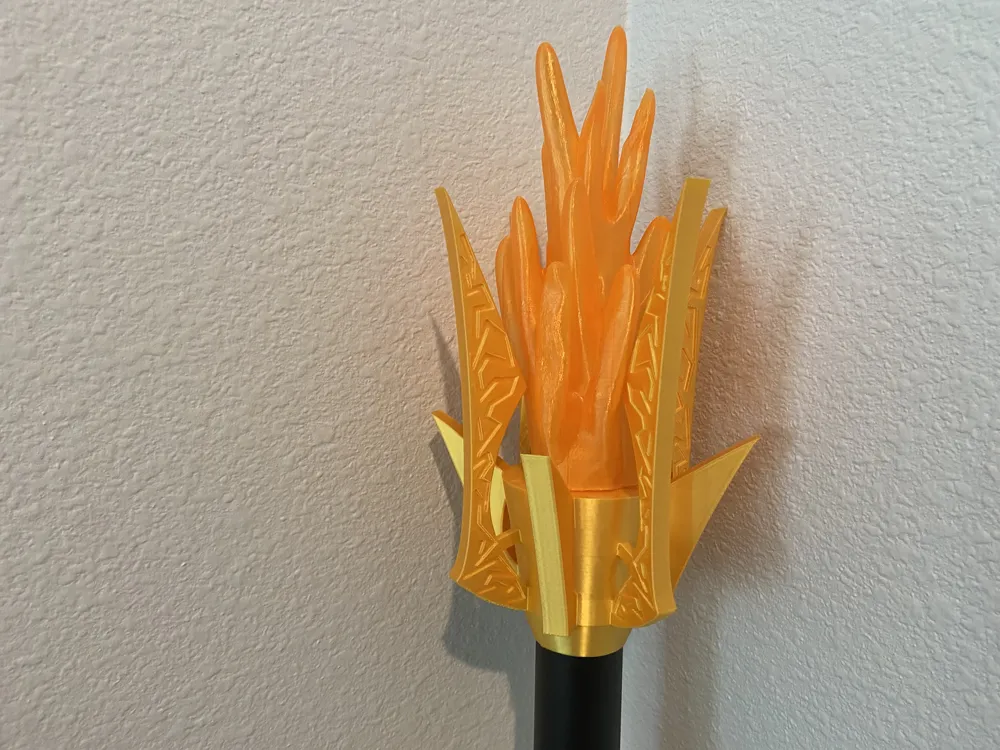
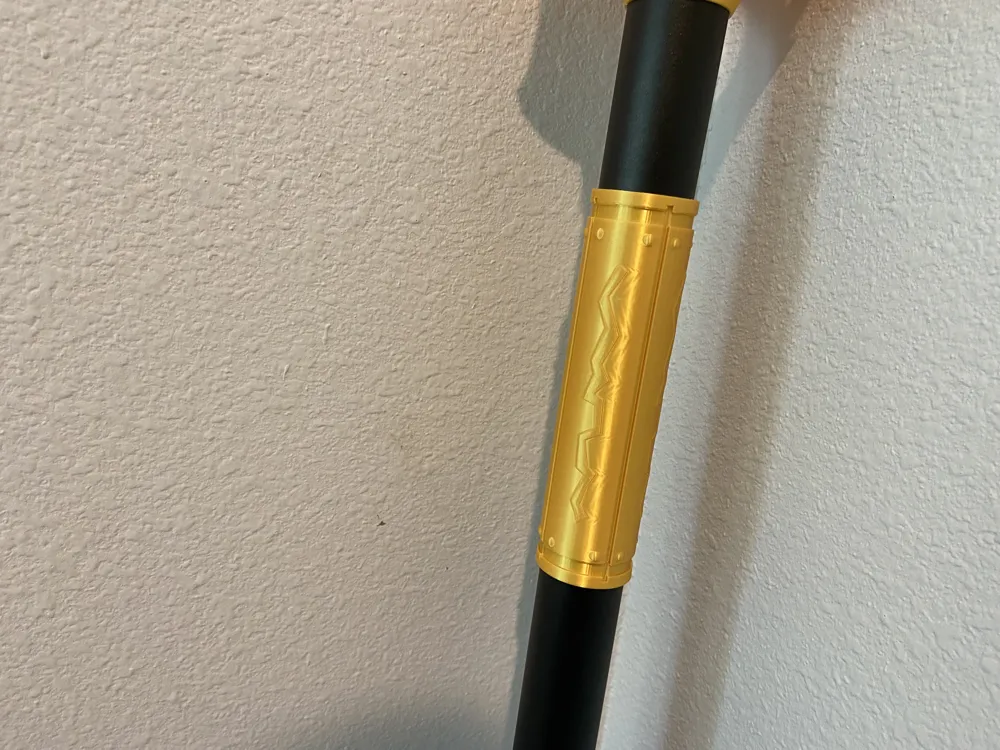
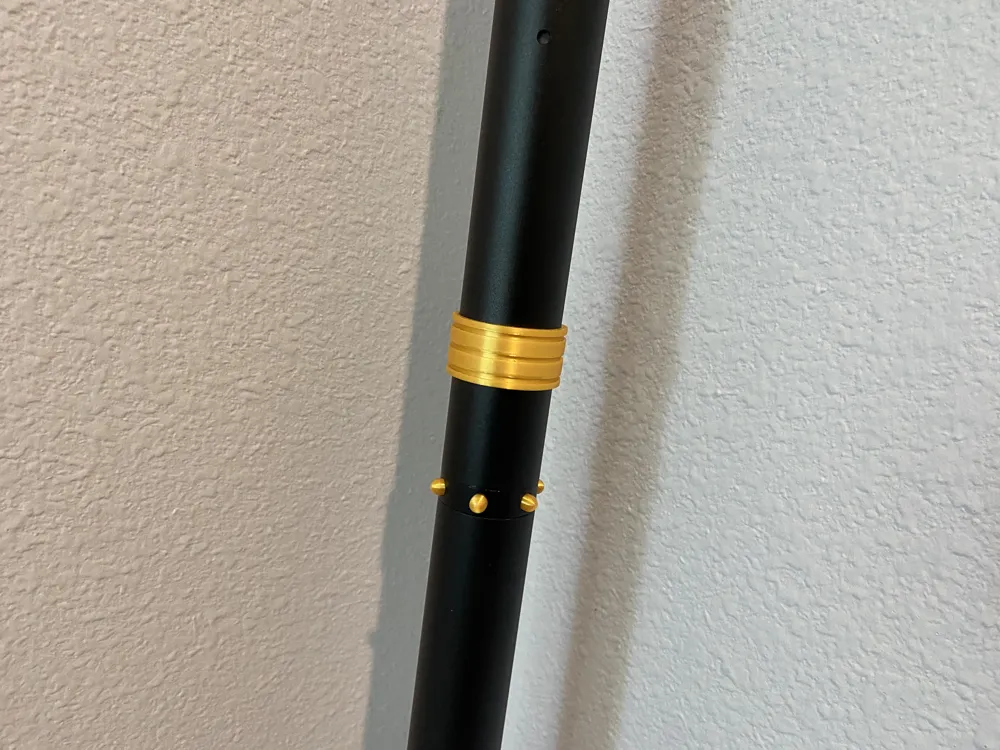
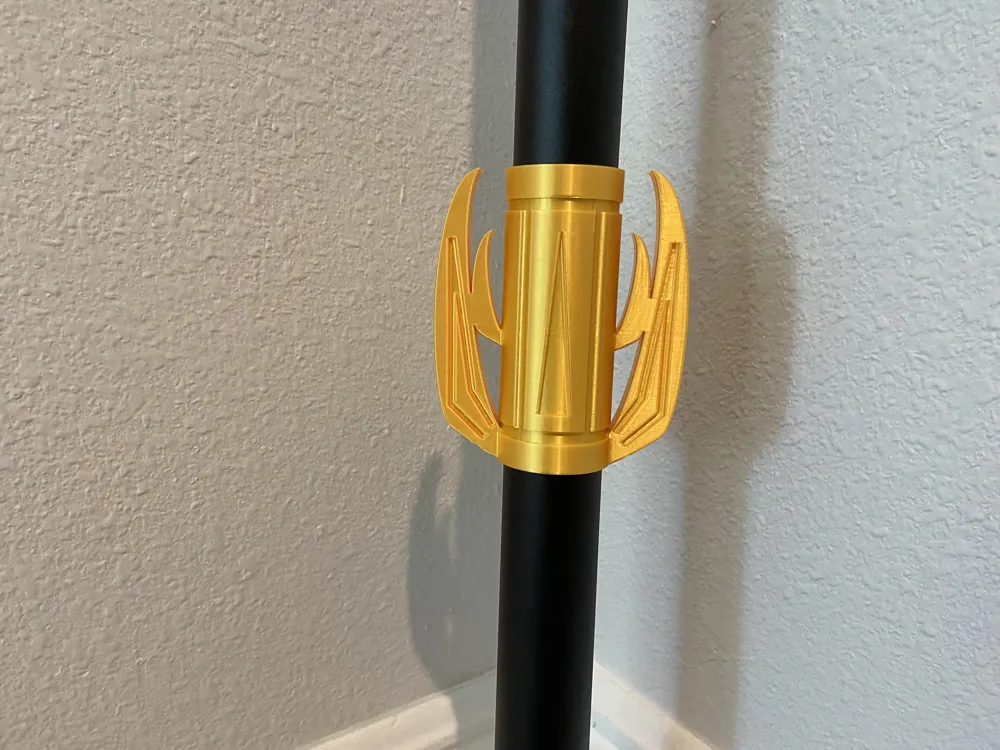
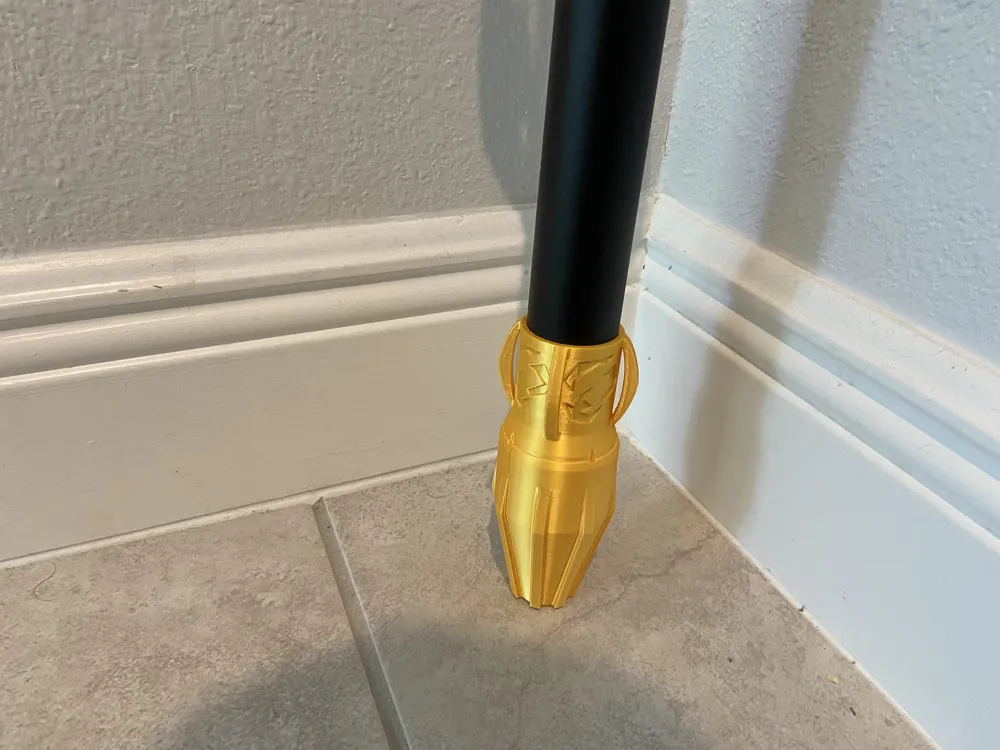
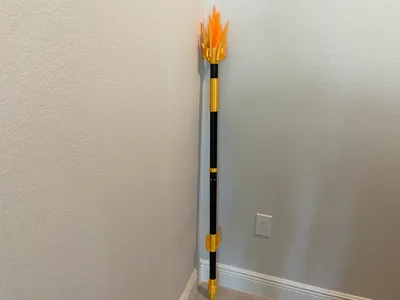
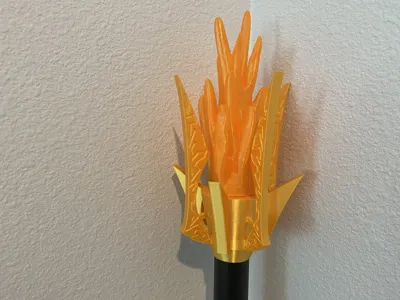
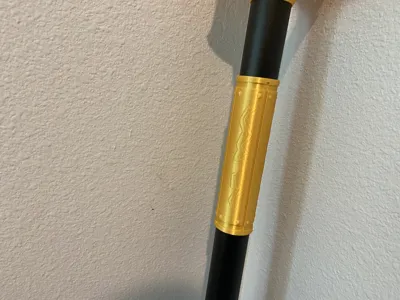
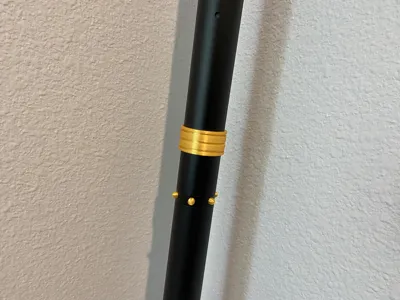
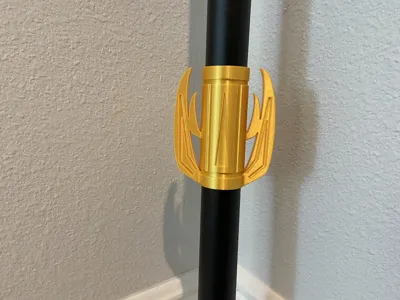
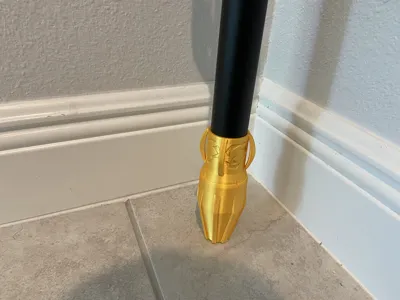
The Mage's Scepter is a modular staff/scepter. Each piece is printed on a separate plate, so that you can add any of the parts twice. Everything fits on snuggly, while still being able to move pieces around easily. There is one exception to that though, which is that I found the lower poll is less than a millimeter thicker, to where visibly, it is the same, but the pieces were much tighter and harder to maneuver. I'm not sure if that was just a problem I am having but beware that. Every piece can be put anywhere on the staff except for the flame, and the bottom piece. The flame piece is the same width as the pole itself, so it can fit into any of the pieces that go on the pole, except for the bottom piece.
Lore:
This is the Mage's Scepter. Instead of wood, carved from a tree, this staff was forged with fire and metal. Carried by the master mage, it is clear that the power of the staff is more powerful than any other. It goes by many names, the Mage's Scepter, the Scepter of Staffs, The Grand Scepter, The All-Mighty Stick, and so on. It can only be wielded to its full potential by those who have strength in their hearts. Although, if a dark-hearted person wields it, then the staff will be corrupted, slowly becoming stronger in darkness than in light. The scepter adapts to whoever it is wielded by, changing both appearance and power.
Hardware:
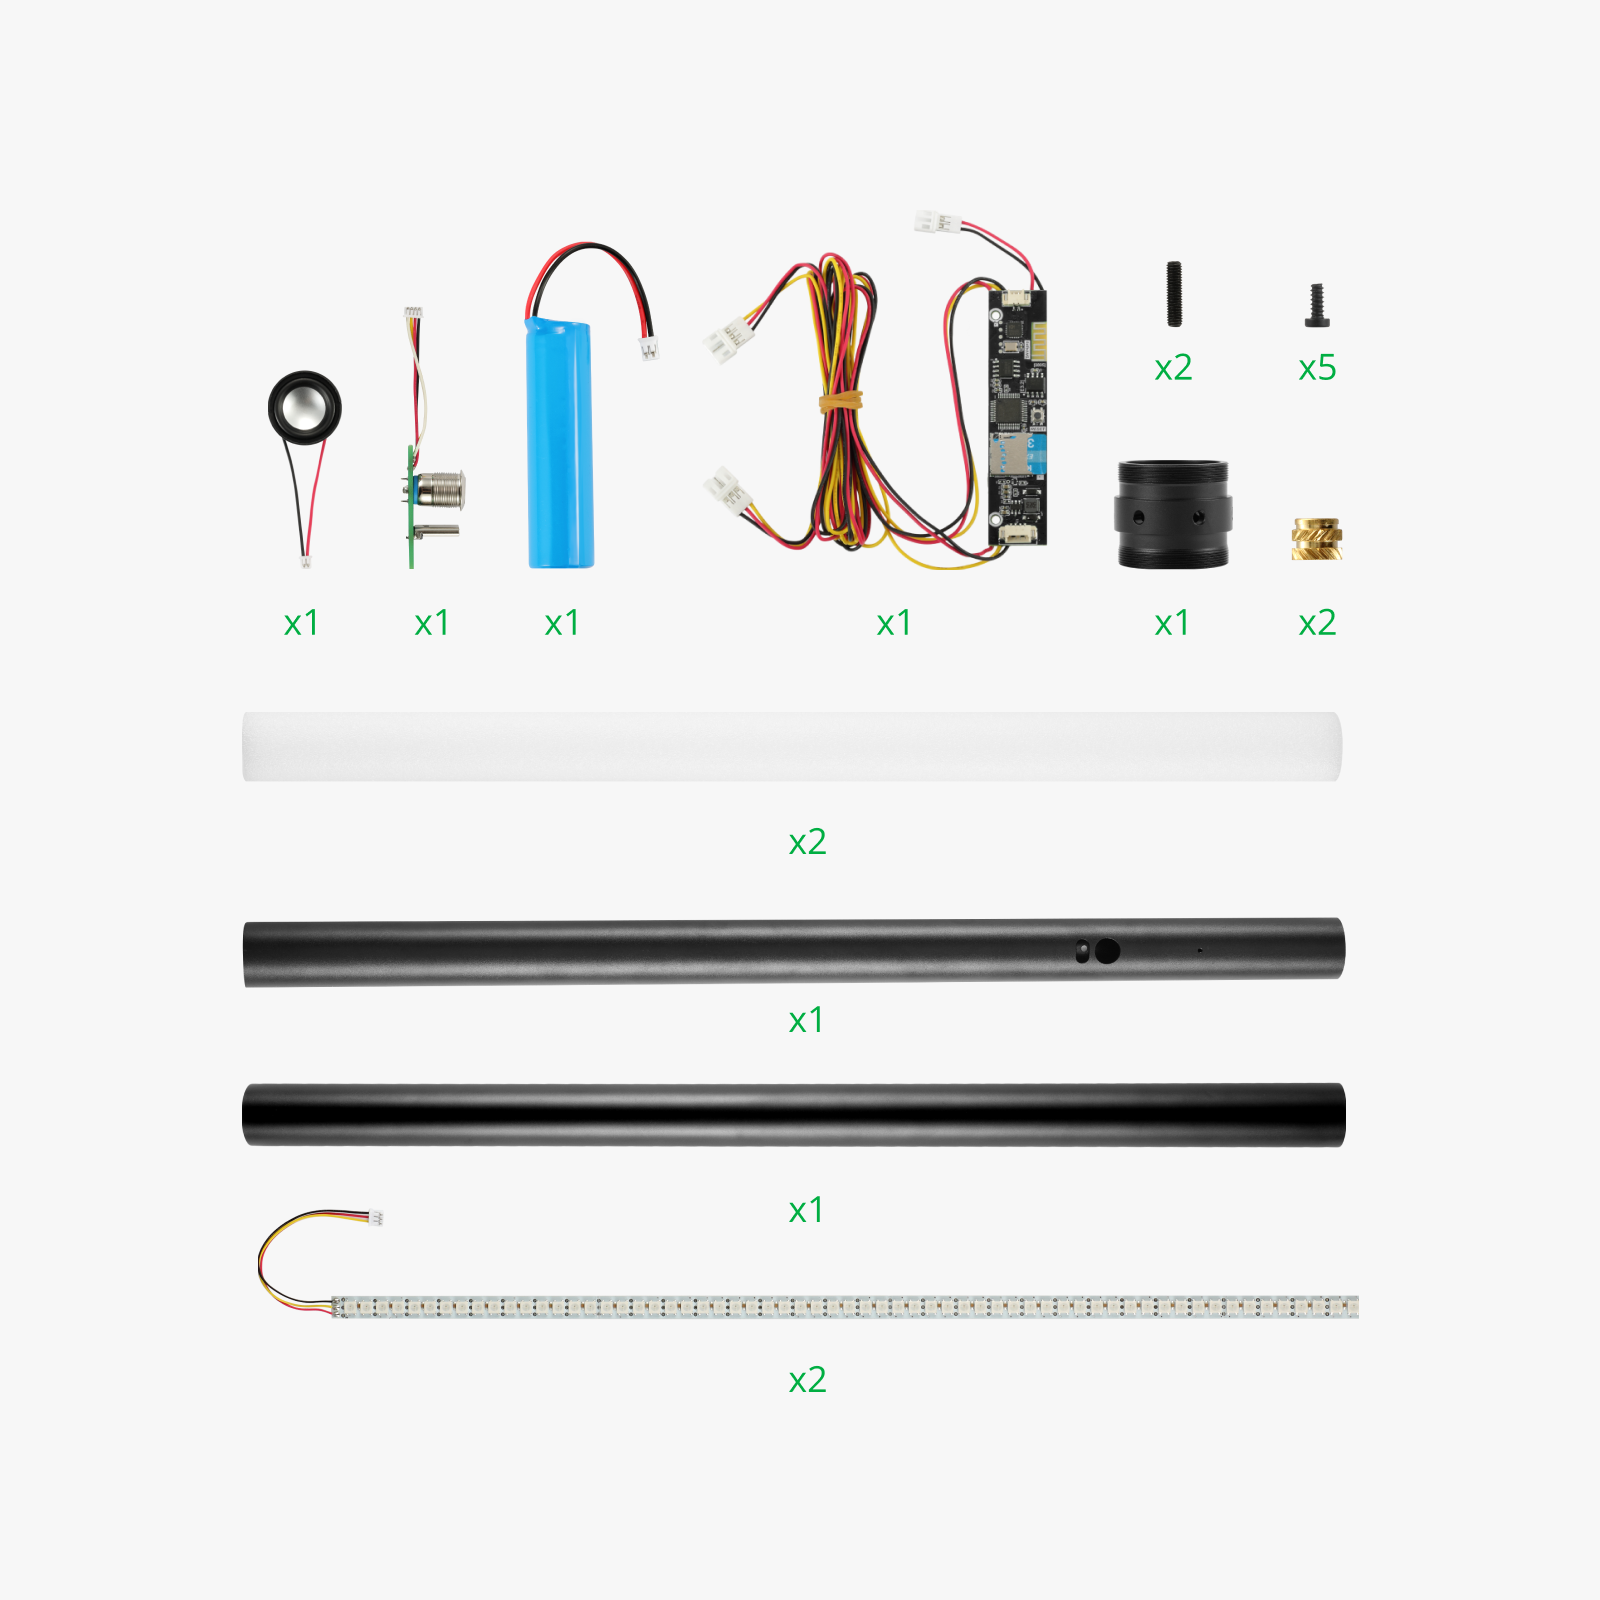
This model uses the motion-activated sound and light props kit 01sold by bambu lab under maker's supply, this model cannot be used without it unless you just so happen to have a 35mm diameter. You can find the kit under the materials section of this model or use this link: Motion-Activated Sound and Light Props Kit | Bambu Lab US Store. When you go to use the electronics, you will need to use the specified app shown in the product description in the link.
Assembly:
I only assembled the parts with the electronics in the video because the pieces are meant to go wherever you choose. When you put in the pegs, make sure they are lined up with the holes. When you do this, the button may not be perfectly center with its cutout. If there are wires in the way of a hole, use a nail or something slim to move them out of the way. The purpose of the pegs is to keep everything in place. I personally super-glued the flame to the head piece because it wobbles a good bit while loose, but that is up to you. The video can be found here The Mage's Scepter Assembly Video
Design Process:
I wanted to show the design process of this model, so I have some screenshots of the design phase.
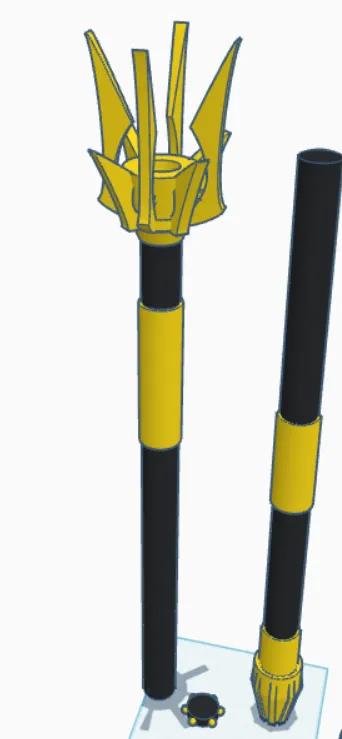 Starting with the actual parts on the pole, I started by just getting a basic idea of the piece's shapes and spacing.
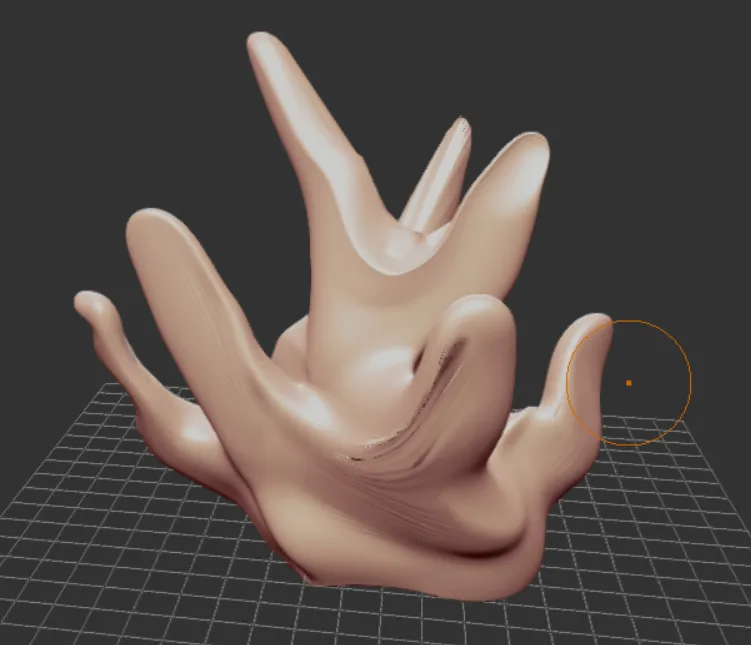 For the flame, I used a sculptor for the first time, and I just dragged parts out from a base cylinder, until I got this abomination.
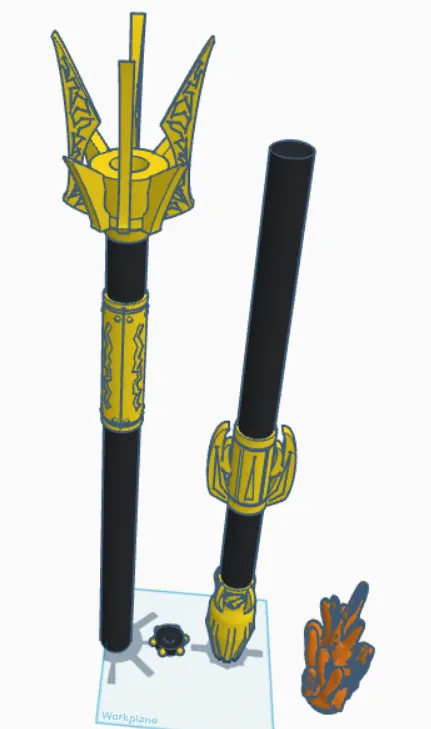 In the end, I added all the details to the pieces of the pole, and I re-orientated the flame and duplicated it, then re-orientating the duplication to overlap the first to fill the space between each flare of the flame. In the end, it all turned out pretty well.
If the model you are looking at is for dummy 13 or is dummy 13 related, know that it is for the beta file version. It may or may not work with the V1.
License

You shall not share, sub-license, sell, rent, host, transfer, or distribute in any way the digital or 3D printed versions of this object, nor any other derivative work of this object in its digital or physical format (including - but not limited to - remixes of this object, and hosting on other digital platforms). The objects may not be used without permission in any way whatsoever in which you charge money, or collect fees.


Comment & Rating (24)