


Print Profile(0)


Description
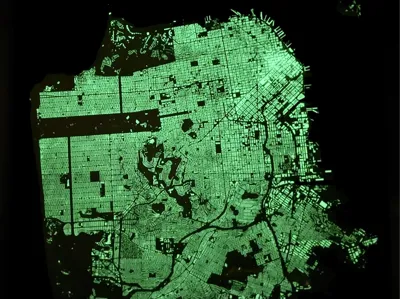
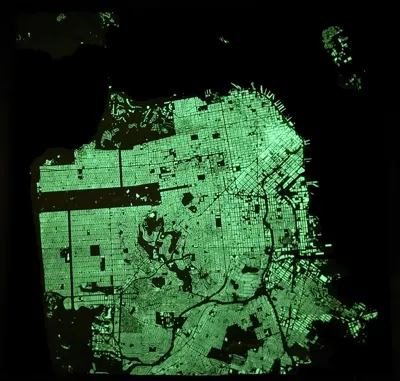
High-quality model of San Francisco generated from USGS elevation data and the OpenStreetMap buildings database. Print in nine separate tiles with dovetail joints for a beautiful addition to any space! The base/water, land, and buildings can be printed in separate colors—for an added bonus, print the buildings in glow-in-the-dark for an unreal look in the dark!
Want to print your own city/neighborhood/the entire world!? Check out my GitHub project to generate your own models: https://github.com/rdudhagra/topo-tessellate
Instructions
Printing the tessellation
Slicing
After downloading all the files, you'll see STL files for the base, land, and buildings for each tile.
- In your slicer, open all three files at once. If prompted to "load these files as a single object with multiple parts", click Yes.

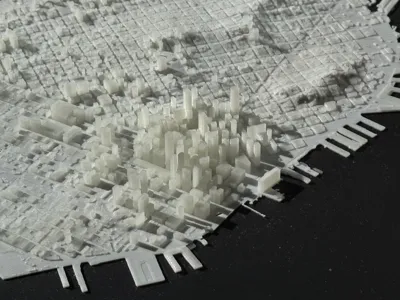
- Then, select individual colors for the three models if your printer supports multiple materials. The result should look like the screenshot above.
- Change the following slicer settings for better results:
- Choose the smallest layer height your 3D printer supports for the best results. Otherwise, you'll see banding on flatter areas of the model. Or, if your slicer supports it, set the layer height of the base to be higher than the land/buildings using the adaptive layer height tool or a height range modifier.
- If you need more space, set the prime tower's width to be much longer than the default and disable "Rib Wall"
- Set the Wall Generator from "Classic" to "Arachne". The latter performs much better at printing features thinner than the nozzle, such as small buildings/terrain features. For best results, set the "Minimum Wall Width" to 50%.
- If you have space, enable brim ears in the corners to prevent warping.
- For larger tessellations, increase the wall count to improve strength.
- When ready, click the "Slice" button! Note that slicing may take a long time, since these models can get quite large/intricate.


Printing
Here are few tips for the cleanest results when printing:
- These models are very large and thus prone to warping. If the part warps, the nozzle will drag across the top surface of the print, ruining the finish. To avoid warping:
- Use new, DRY filament. If you do not have a filament dryer, I'd consider it a good investment. Additionally, add desiccant packets to your filament storage. I found that results tend to worsen as soon as relative humidity rose above 10%.
- Use a strong glue to bond the print to the build plate, such as the VisionMiner Nano Polymer Adhesive. After a wipe with isopropyl alcohol, re-apply the adhesive every 2-3 prints for the best results.
- Ensure that your build plate is as level as possible.
- Close any nearby windows/avoid drafts.
- I achieved the most aesthetic results with matte PLA.
- Glow-in-the-dark PLA for the buildings is a nice touch; however, note that the glow effect is extremely weak.
- For the smoothest top-layer on the base, I recommend fine-tuning your ironing settings first.
Additional Parts
You will need to 3D print some additional parts to aide in joining tiles together and optionally wall-mounting the result.
I recommend printing all these parts with a stronger material such as ASA.
Cleat
Small wedge with countersunk screw holes. This slides into the cutout on the back of the base.

Dovetail Joint
The dovetail joint piece comprises of three unique parts. The left/right joints slide into the dovetail cutouts in the base, and the screws push them outwards, creating a tight joint.
NOTE: The LEFT and RIGHT joints are slightly different (the threads are offset by 1/2 thread). DO NOT just mirror the joints in your slicer!
For each joint, you will need to print:
(12) Left Joint

(12) Right Joint

(36) Joint Screw

(optional) 8mm hex driver

Now that everything is printed, it's time to assemble the tessellation!
Preparation
- Sand the mating edges to remove any lips/gaps. Use a medium-grit sandpaper (~400 grit is fine) on a sanding block and sand gently in a back and forth motion. Be extra careful to sand evenly so that the edges are still flat and perpendicular.
- Clean the edges with water to remove any excess sanding dust.
Assembly
- Start with one of the tiles. It's helpful to do this near the edge of a table so that you have access to the underside of the model.

Place the second tile next to the first tile. Inspect the edge for any visible gaps. If there are any gaps, sand the edges again until they are flush.

Slide the left joint into the dovetail cutout.

Slide the right joint into the dovetail cutout.

Screw in one of the joint screws into the center position to lock the two tiles together.

Screw in the other joint screws into the outer positions to lock the two tiles together.

- Repeat for all tiles in the tessellation.


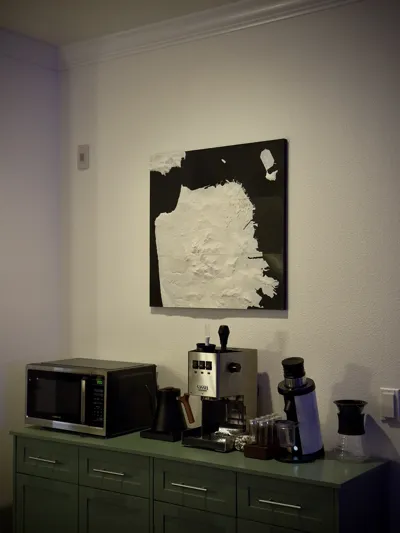
And that's it! Use the cleats to hang the finished model on the wall!
Comment & Rating (0)