Mini Dummy 13-Updated


Print Profile(4)


Description
************************************************************************************************
TO BUILD THIS MODEL YOU HAVE TO DOWNLOAD THE ARMOR AND THE FRAME. THERE ARE TWO SEPERATE PRINT PROFILES THAT YOU WILL HAVE TO PRINT. ALL ARMOR AND ALL FRAME.
************************************************************************************************
PLEASE READ DESCRIPTION.
The armor and the frame are 2 separate files. There are no missing parts. If you are using the print profiles, you must download the ALL ARMOR and ALL FRAME. Many people have downloaded this and printed it including myself. If you are having issues, it is most likely your printer or your own issues that need to be addressed. Be sure your Z offset is set correctly, your bed has been cleaned, and you're using the correct temperature for your filament.
1-25-26 UPDATE
- Edited majority of armor. Armor fits much snugger now.
- Edited interior of chest to allow the arms unobstructed articulation
- Edited the crotch armor to eliminate back and forth wiggle.
- Added kneecaps
- Added 13 imprinted chest
- Added new hands
- Updated all printing profiles.
ATTN: I recommend avoiding standard PLA for the frame. PLA does not handle flexing or bending well, and you may end up with parts snapping. The joints will also lose their tension quickly using PLA.
__________________________________________________________________________________________________________________________________________________________________
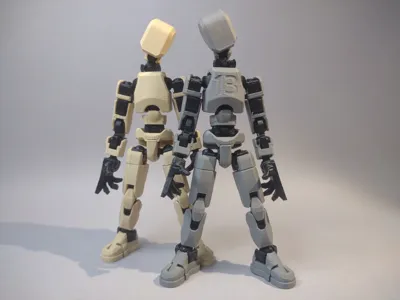
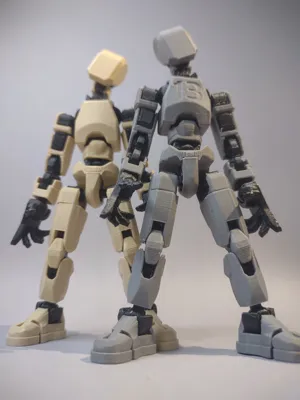
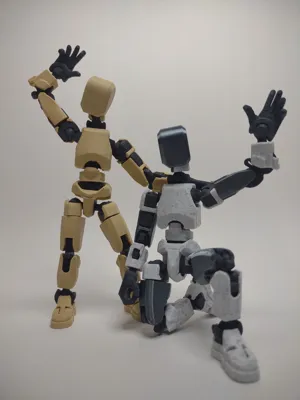
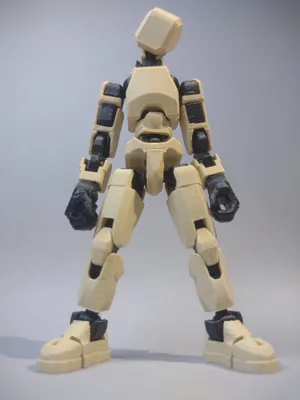
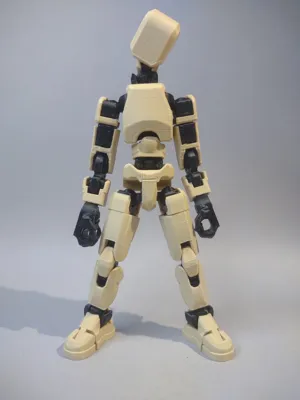
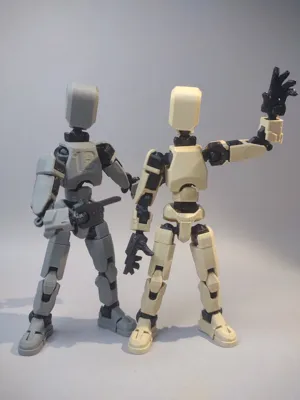
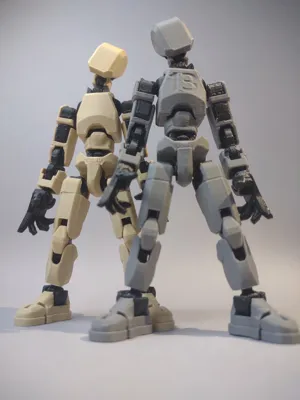
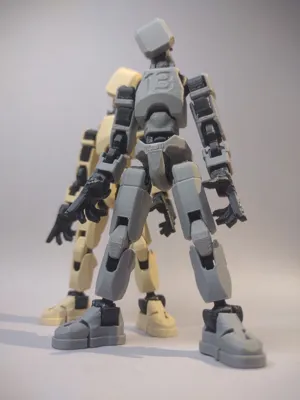
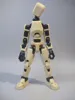
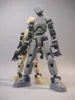
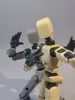
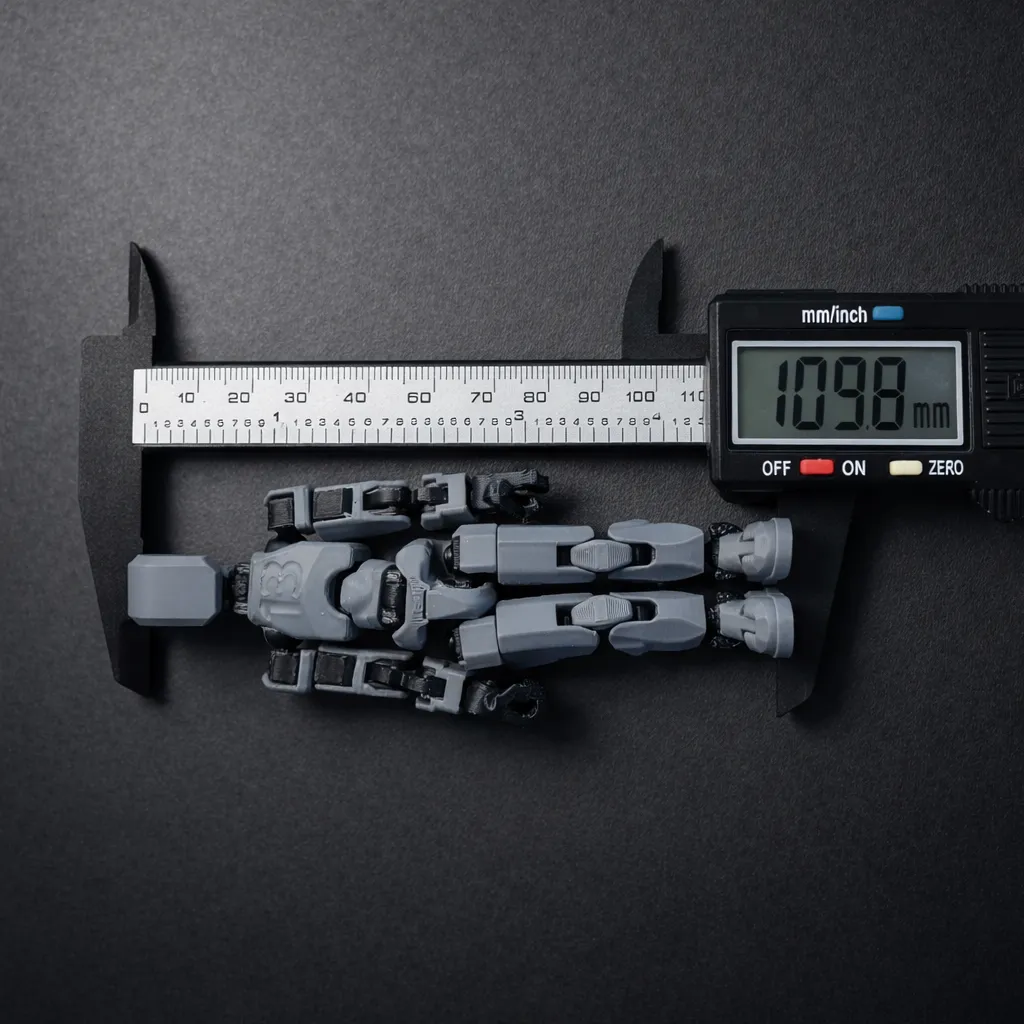
This is the Mini Dummy13. This isn't just a scaled down model I reworked most of the armor to be more fitting and look natural. Below is a picture for size comparison.

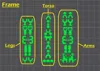
This is a screenshot of the All Frame file. This is for your clarification, so you know which frame parts belong to which limb. When you load the file that has all the frame parts it will look like this as well.

The only part that MAY require glue is the abdomen armor.
Even unglued it will not obstruct articulation or cause any issues, it's just for aesthetic purposes.
If you do decide to glue the abdomen armor, apply the glue then slide it overtop the abdomen frame piece before assembly.

Everything is already orientated and print with No Supports. The chest may need a brim. Be sure to clean your bed with rubbing alcohol before printing to ensure good bed adhesion.
Assembly Videos
________________________________________________________________________________________________________________________________________
If anyone has any questions, concerns, comments, or suggestions feel free to reach out. Comment or dm me.


Comment & Rating (770)