


Print Profile(1)

Description
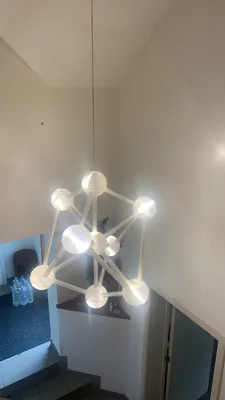
Light Up Your Home with an architectural Icon: The Atomium Chandelier
I have created a unique chandelier based on the architectural marvel of the 1958 World Expo and still standing : the Atomium in Brussels.
Have you ever marveled at the sheer scale and futuristic beauty of the Atomium in Brussels? That unforgettable symbol of scientific progress and architectural daring can now be more than just a memory—it can be the illuminated centerpiece of your own home.
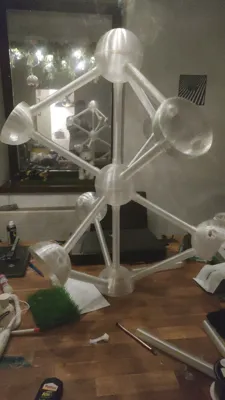
It is a functional, 3D-printed chandelier that has been meticulously designed to be an exact, 1/120 scaled replica of the fantastic original monument.
A Symbol of the Future, Forged in the Past
The Atomium is more than just a building; it's a snapshot of history. Designed by André Waterkeyn for the 1958 Brussels World's Fair (Expo 58), it was the main pavilion and flagship icon of the event.
- What does it represent? The nine gleaming spheres represent an iron crystal unit cell, magnified 165 billion times.
- What did it symbolize? It was a powerful and optimistic tribute to the "Atomic Age" and the faith in scientific progress to create a better world. It embodied a utopian vision for the future, one driven by science and peace.
Amazingly, this 102-meter-tall marvel was only intended to stand for six months. But it captured the world's imagination and became so beloved that it was saved from demolition. Today, it stands as the permanent and most popular icon of Brussels—a timeless piece of futuristic design.
The model is about 80cm high.
Assembly :
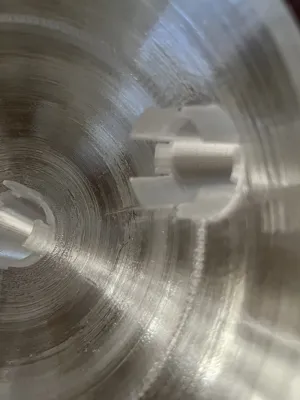
- All tubes ‘snap’ into the spheres with a specially designed fitting for this purpose.
- There are 8 shorter tubes that connect the outher spheres to the middle sphere.
- The 12 longer tubes connect the outher spheres with each other. I have split the longer tubes in 2 parts to reduce the risk of the tubes falling over when printed upright. The the small tube joints are then used to glue the 2 parts together.
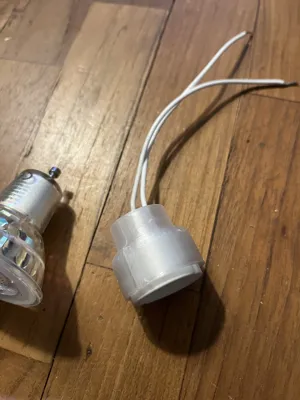
- The GU10 led spot fitting fits on the end of each tube inside the sphere.
- support for the spheres is optional, I found they printed slightly neater with support, especially the parts without holes
- the tubes don't need support except for the tubes on plate 4 where I just painted support under the bridges at the bottom.
VERY IMPORTANT !
It is the bottom sphere that has to support the whole structure above it, therefore the electric wire that comes down from the ceiling has to go all the way down, through the top and middle sphere until the bottom sphere, where you will make a knot in the electric wire to block it within that sphere. Doing so it is technically the bottom sphere that hangs on the ceiling and that carries the rest of the structure.
DO NOT hang it with the top sphere or the whole thing will fall apart due to gravity pull.
License
You shall not share, sub-license, sell, rent, host, transfer, or distribute in any way the digital or 3D printed versions of this object, nor any other derivative work of this object in its digital or physical format (including - but not limited to - remixes of this object, and hosting on other digital platforms). The objects may not be used without permission in any way whatsoever in which you charge money, or collect fees.
Comment & Rating (2)