
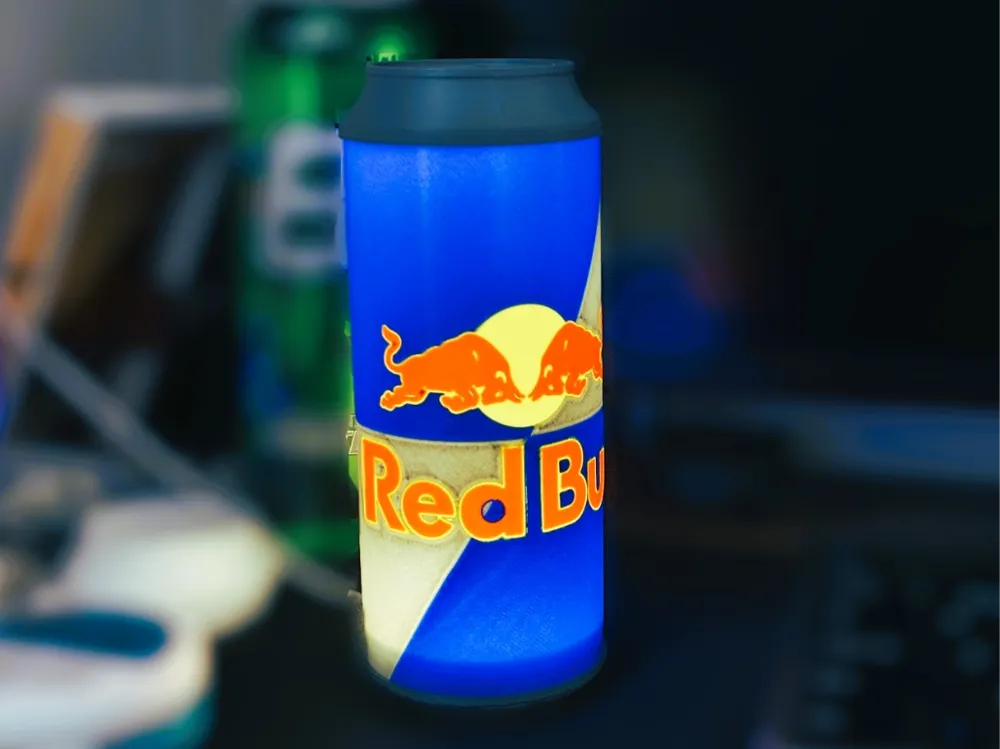
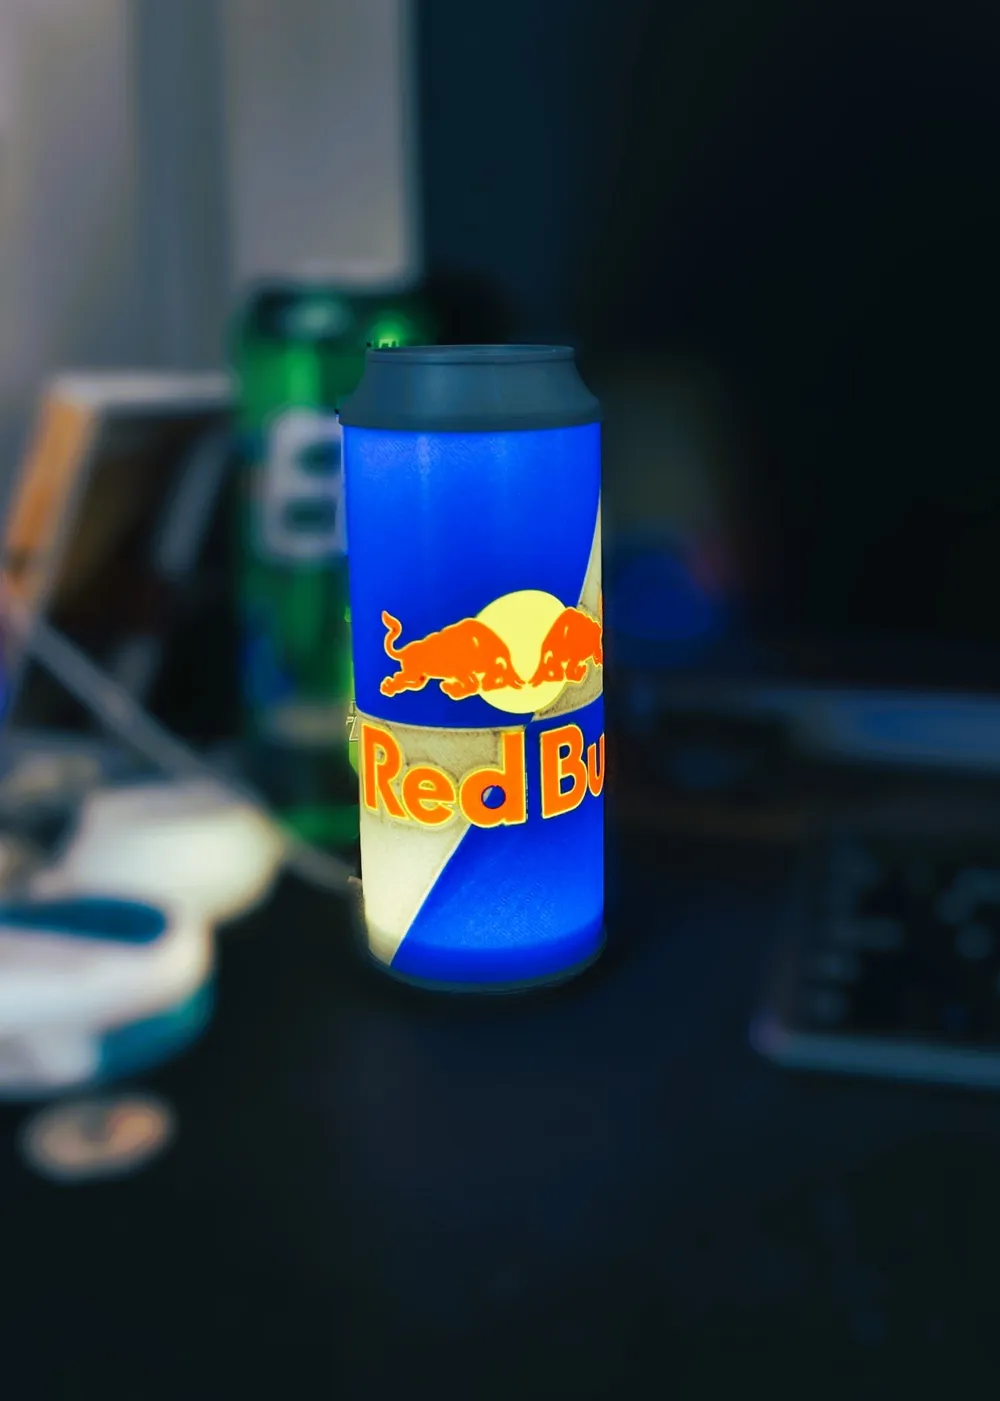
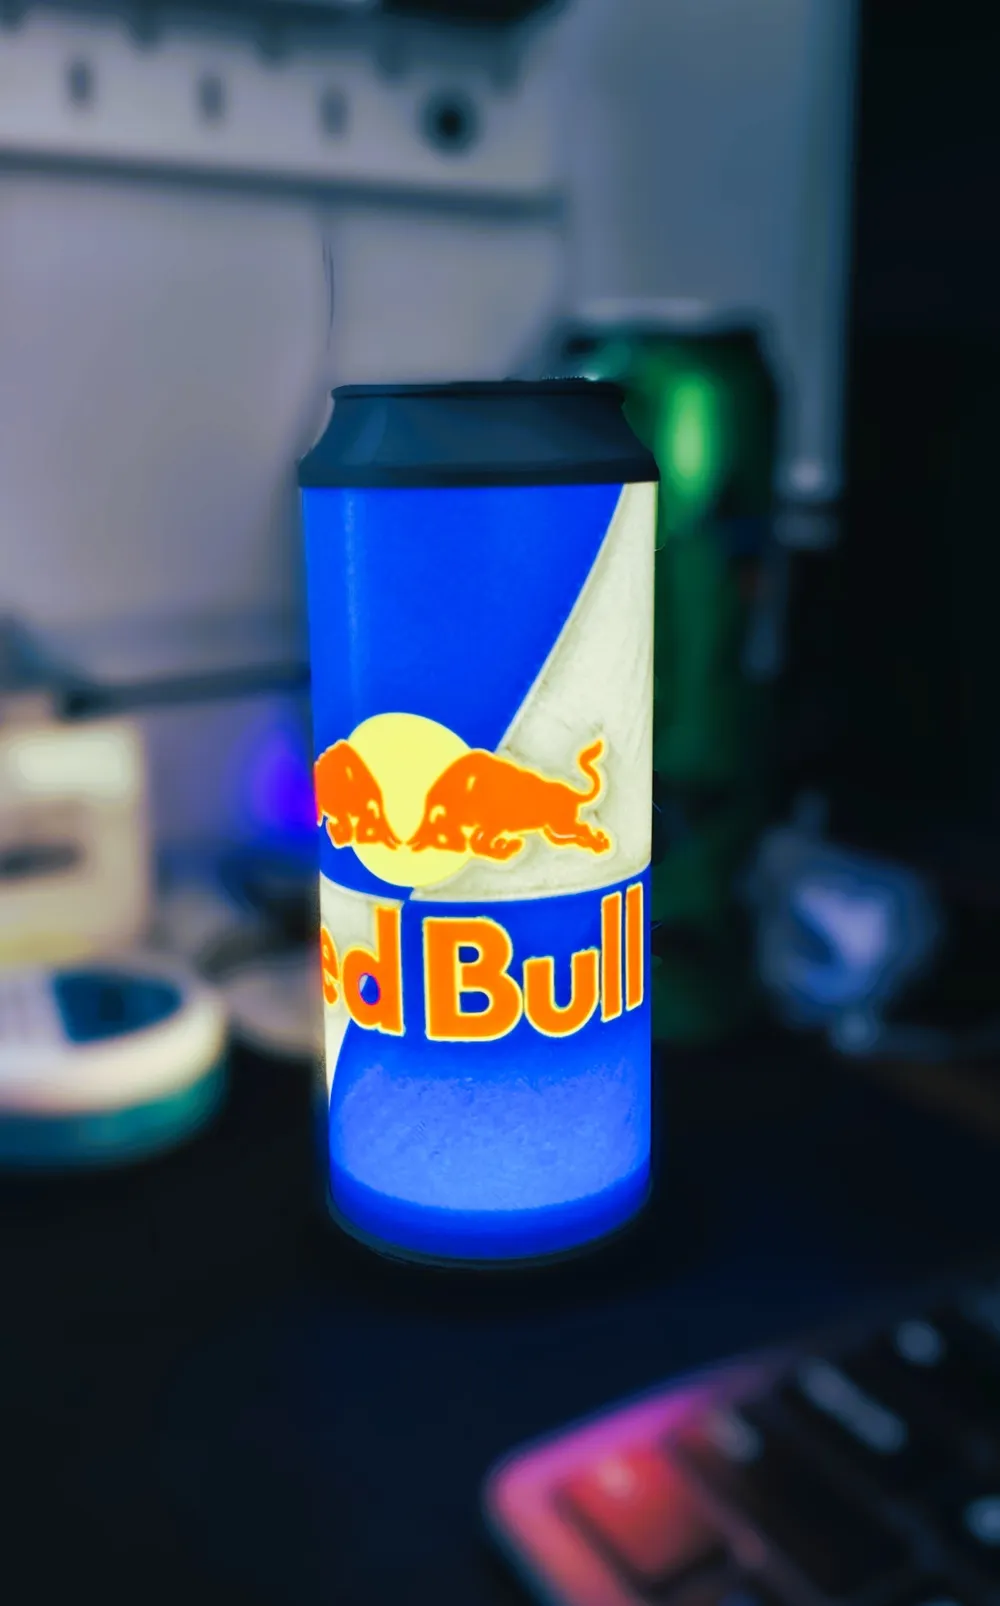
RedBull Glow Can
Print Profile(1)

Bill of Materials





Description
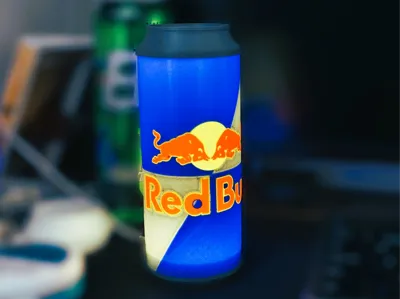
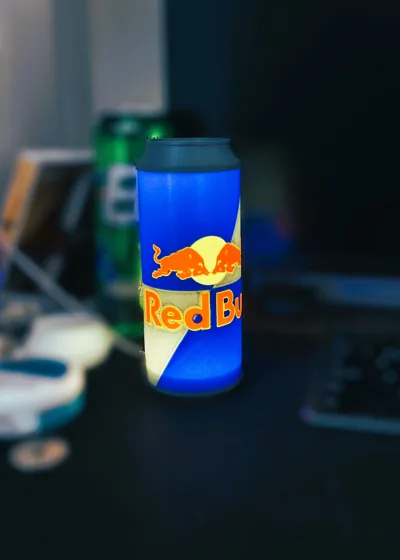
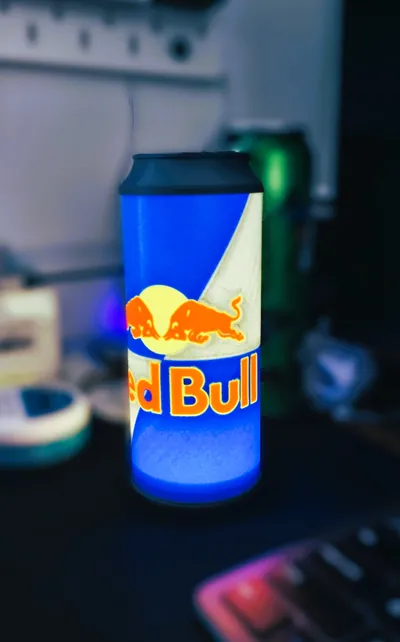
RedBull Glow Can – Give Your Shelf Wings ⚡🥤💡
Turn up the energy with this eye-catching Red Bull-style glowing can!
Perfect as a decorative light, desk accessory or a fun print for fans of high-octane design, this can is made to impress – whether it’s glowing in your gaming setup or chilling on a shelf.
🔥 i recommend printing the graphic design (plate1) on a smooth print plate for a better finish
💡 Designed for a simple LED insert – battery-powered or USB
🎨 The detailed outer shell captures the iconic Red Bull look
🧩 Includes a central mounting strip to align the can wrap perfectly
🖨️ Easy to print parts with a clean finish – works great in transparent or colored filament
✨ Looks awesome lit up – especially in low light
Whether you’re a maker, a Monster chugger in disguise, or just love cool glowing prints – this one delivers energy in style.
this print is for AMS if you dont have dual AMS system add a pause in the graphic design (plate1) befor the white layer and add the white too your AMS or run it as an external spool.
Boost Me (for free)
"Boost it – because nothing says 'maker energy' like a can that lights up." ⚡😄
🛠️ Assembly Instructions: RedBull Glow Can – Applying the Graphic
- Prepare the graphic
Make sure your printed graphic is trimmed to fit. It should be sized to wrap neatly around. glue the assembly strip to one side make sure it is centered with even distance at the top and bottom. - Warm up the graphic
Place the graphic flat on your printer’s heated bed and heat it to around 55 °C. This softens the plastic, making it flexible and easy to shape without cracking or creasing. - Position and align
Carefully lift the warmed graphic. Gently bend and shape the softened graphic, keeping it smooth and tight as you go. Slide the printed graphic in the assembly strip. As shown in the GIF, ensuring a snug fit. - Secure the other edge
Once fully wrapped, glue the opposite edge down, making sure the seam is centered and aligned. You can use tape to hold it in place while the glue sets. - Finishing touches
After the graphic is fully attached, you can mount the LED light inside the bottom of the can. Then glue on the top and bottom parts to complete the assembly.
please post a picture of your print i would love to see it.
License

You shall not share, sub-license, sell, rent, host, transfer, or distribute in any way the digital or 3D printed versions of this object, nor any other derivative work of this object in its digital or physical format (including - but not limited to - remixes of this object, and hosting on other digital platforms). The objects may not be used without permission in any way whatsoever in which you charge money, or collect fees.


Comment & Rating (4)