
RK-12 — Realistic Kart (1:12 Scale)

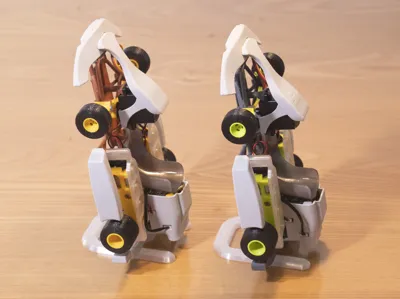
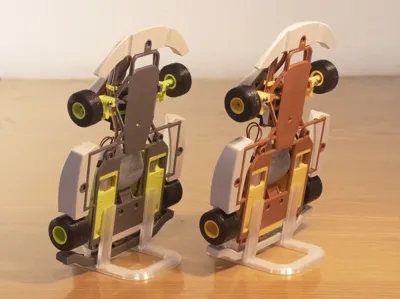
Print Profile(4)


Bill of Materials



Description
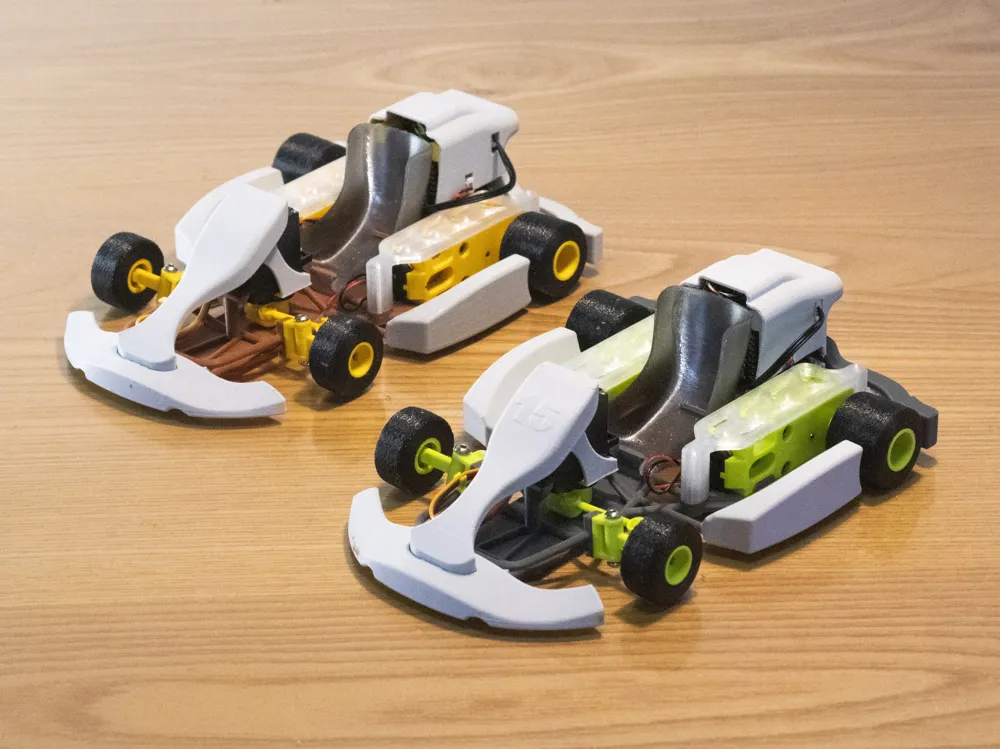
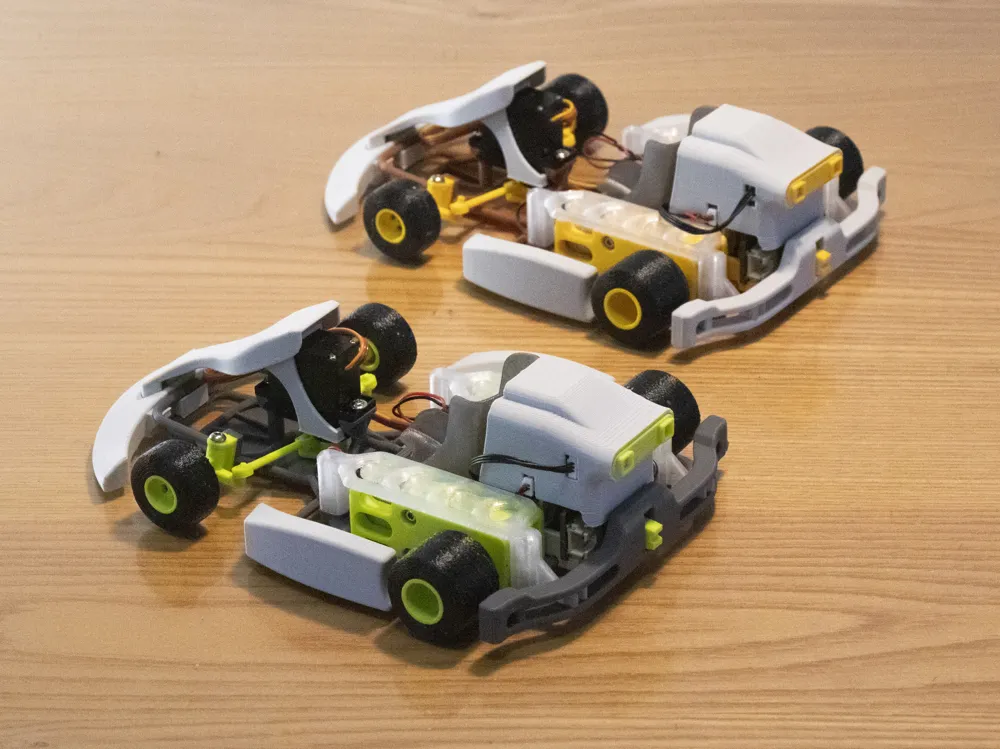
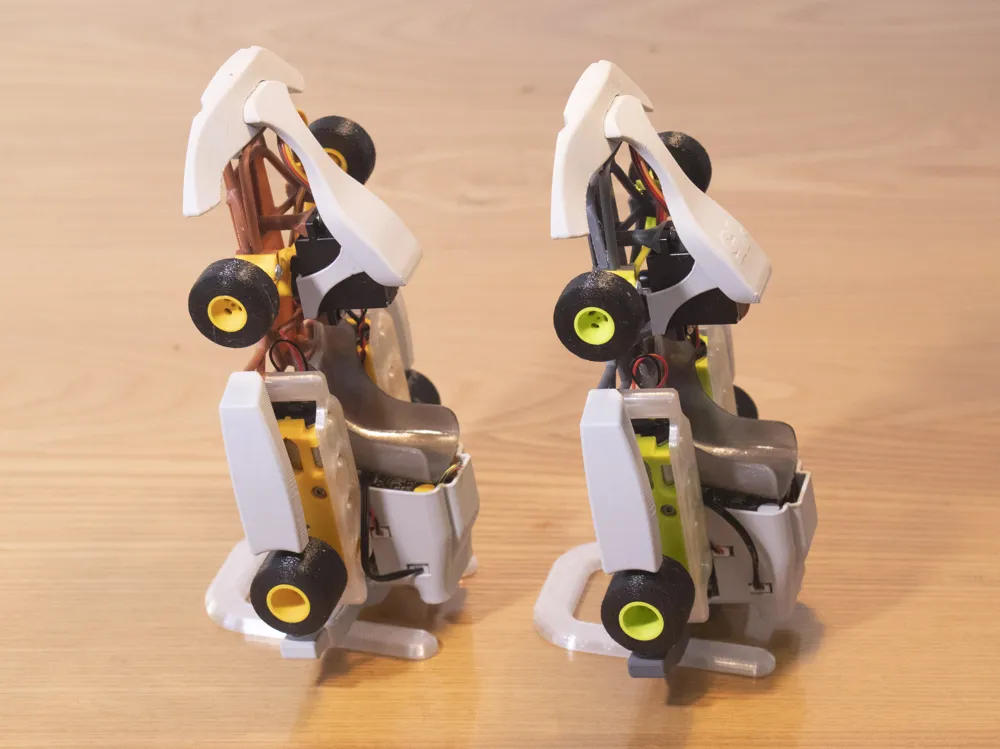
🏁 RK-12 🏁
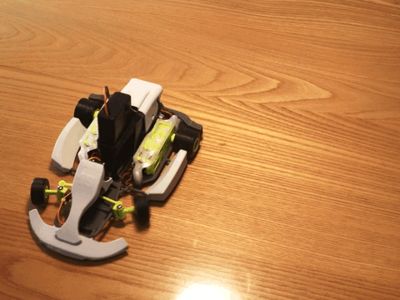
RK-12 — Realistic Kart (1:12 Scale)



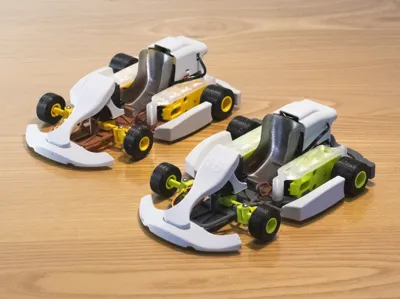
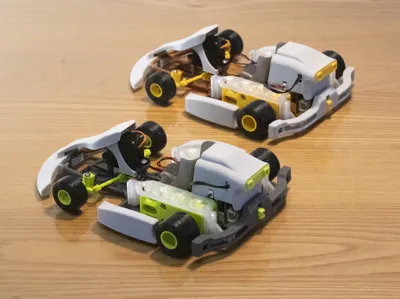
A 1:12 realistic go-kart that brings the track into your living room.
- Designed based on real competitive go-kart chassis and geometry
- Responsive, direct steering with controllable light drifting
- Pure kart driving fun, even in small spaces
Design Overview
- Realistic Go-Kart Driving Logic
RK-12 is not a typical RC car.
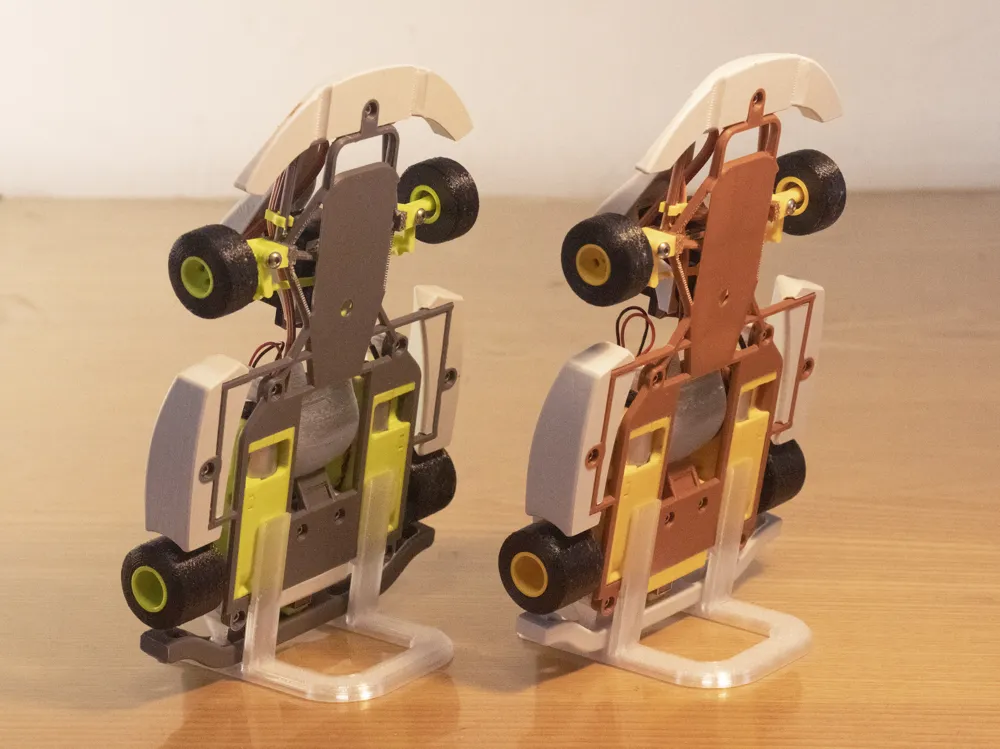
It is a 1:12 scale realistic model designed after real competitive go-karts.
From chassis proportions and steering structure to overall dynamic response, the goal is to recreate the direct, agile, and highly engaging driving feel that defines real go-kart racing.
- Precise and Direct Steering Feedback
The model fully replicates a real go-kart steering linkage system, delivering highly responsive steering with almost no perceptible delay.
Every steering input is clearly translated into vehicle movement, making control intuitive and “connected” to the car.
- Lightweight Structure, Rapid Acceleration
An optimized micro gearbox combines compact size and lightweight design with a 1:10.8 reduction ratio, enabling higher wheel speed and stronger acceleration.
Even with the battery and control electronics installed, the total vehicle weight is only 185 g, resulting in crisp, agile vehicle dynamics.
- Go-Kart Steering — Not a Differential
Real go-karts do not rely on differentials.
Instead, they use kingpin inclination to naturally lift the inner rear wheel during high-speed cornering, allowing the kart to turn on three wheels.
RK-12 preserves this core behavior and further optimizes it for the short travel of RC controller joysticks, maintaining stability and control while still allowing smooth, controllable light drift.
- No Track Required — Pure Driving Fun


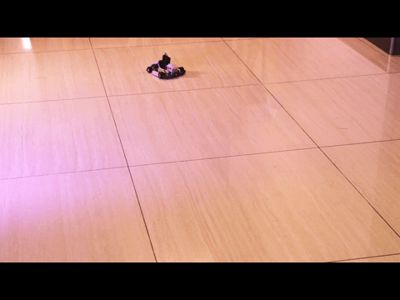
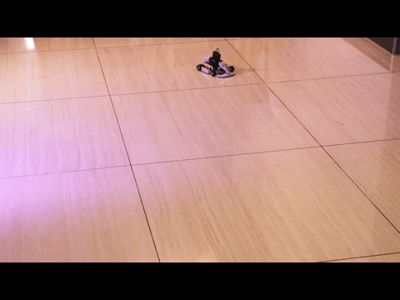
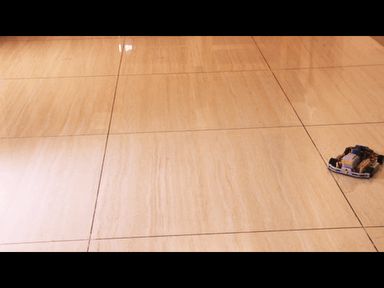
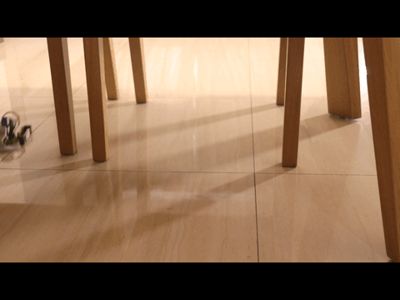
Whether hugging table edges or drifting smoothly around a sofa, RK-12 delivers agile steering and controllable light drift, bringing pure driving enjoyment even in limited indoor spaces.
Printing Materials
- Main parts: PLA Basic
- Tires: TPU 90A
- Seat: PETG Translucent (Some real go-karts use semi-transparent seats, which provide an excellent visual effect)
- Not recommended: PLA_SILK and PLA_METAL, as they may cause strength issues
Printing Notes
The printing content is divided into two separate 3MF files:
- Main Parts – use a 0.4 mm nozzle.
- Precision Parts – use a 0.2 mm nozzle.
small parts(in the precision parts 3MF file)
- precision parts containing small parts should be printed with a 0.2 mm nozzle
- For enclosed printers, ensure adequate cooling to prevent heat buildup around small parts
- Applying glue to the build plate is recommended to improve adhesion of small parts
Tire Printing (in the main parts 3MF file)
- Tires should be printed with TPU 90A
- You may pull sufficient filament length off the spool without cutting it,This prevents periodic extrusion instability caused by spool drag
- Ensure the loose filament does not tangle during printing
- Applying glue to the build plate is recommended
(In testing, TPU 90A adhered more strongly without glue, making removal harder)
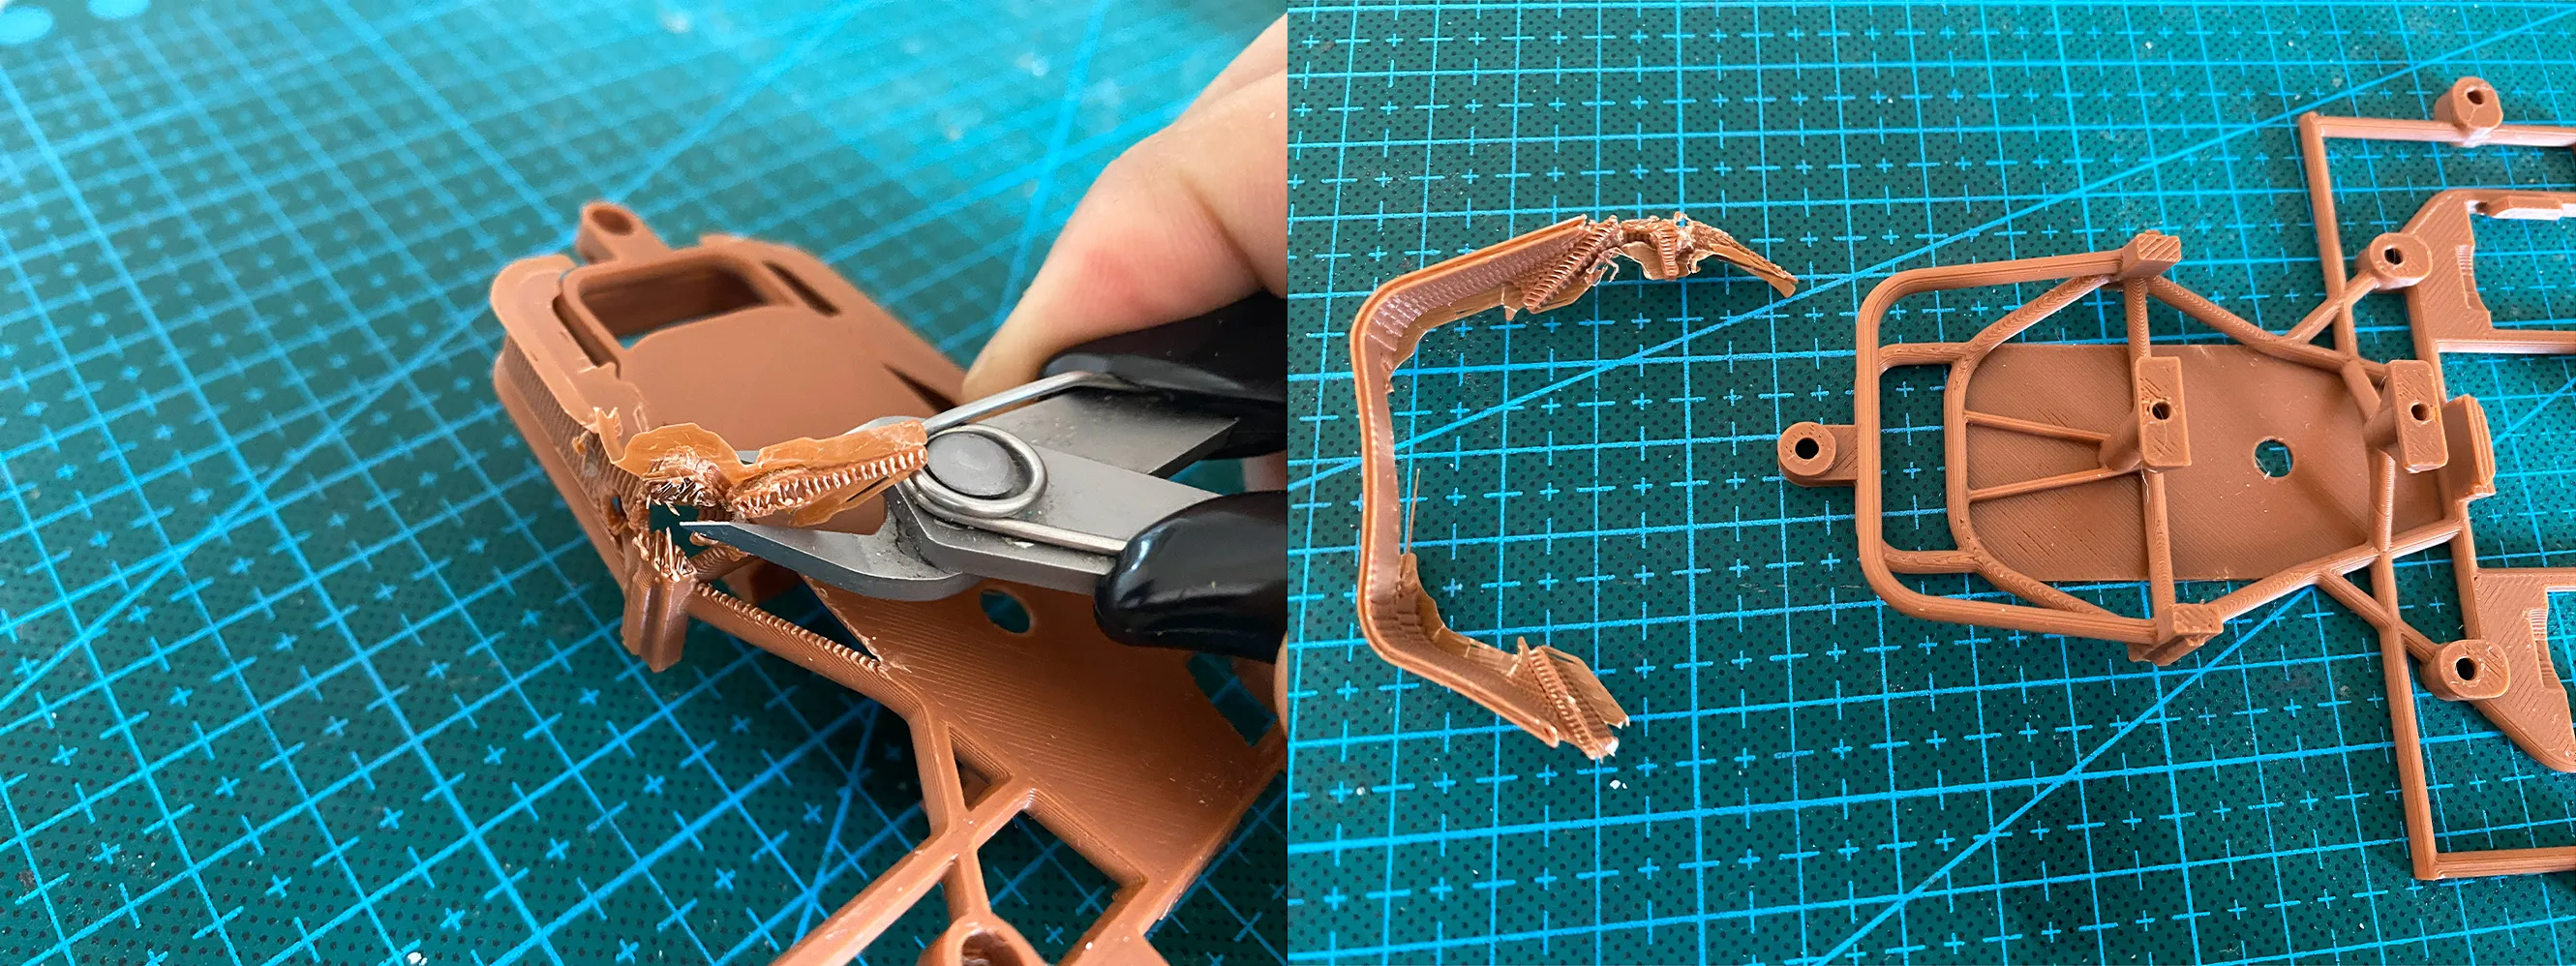
Support Removal
- Begin removing supports from the corner areas of the chassis
- Refer to the slicer preview and avoid damaging structural rods
Assembly
Please refer to the included PDF assembly instructions
Adjusting JSON Parameters in Cyberbrick
The RK-12.json file provides a set of default vehicle parameters.
If you encounter the following issues, adjustments can be made as described below.
1. Vehicle Does Not Track Straight — Adjust Midpoint Offset
Check mechanical alignment first:
- Ensure the servo horn is aligned with the servo 0° position
- Make sure the four screws securing the gearbox to the chassis are fully seated, but not overtightened
Software adjustment:
- Path:
RK-12 → Angular Servo → Midpoint Offset (-10.0° ~ 10.0°) - Adjustment logic:
- Decrease value → wheels turn right
- Increase value → wheels turn left
- Recommendation:
- Adjust the integer value first, then fine-tune the decimal
2. Adjust Steering Sensitivity — Servo Angle Range
Default steering range:
- Min. Angle ~ Max. Angle = 55° ~ 125°
Adjustment guidelines:
- Smaller range → more stable, easier control
- Larger range → more aggressive steering, suitable for drifting
- Maximum recommended range: 35° ~ 145°
(Exceeding this may affect servo operation)
Suggested combinations:
- (65 ~ 115)
- (60 ~ 120)
- (55 ~ 125)
- (50 ~ 130)
- (45 ~ 135)
- (40 ~ 140)
- (35 ~ 145)
Parameter paths:
- RK-12 → Angular Servo → Min. Angle (0°~180°)
- RK-12 → Angular Servo → Max. Angle (0°~180°)
3. Wheel Spin After Battery Upgrade — Reduce Acceleration
If:
- You upgrade to a 3S battery (11.1V)
- And experience wheel spin on smooth floor surfaces
You may reduce the acceleration value:
- Default: 10%
- Recommended: 8% or 6%
Parameter paths:
- RK-12 → Motor → Linearity Optimization Edit → Motor1 Acceleration (0%~10%)
- RK-12 → Motor → Linearity Optimization Edit → Motor2 Acceleration (0%~10%)
Battery Upgrade Guide🔋
The standard CyberBrick 7.4V (2S) battery already provides a good balance of speed and stable, controllable handling.
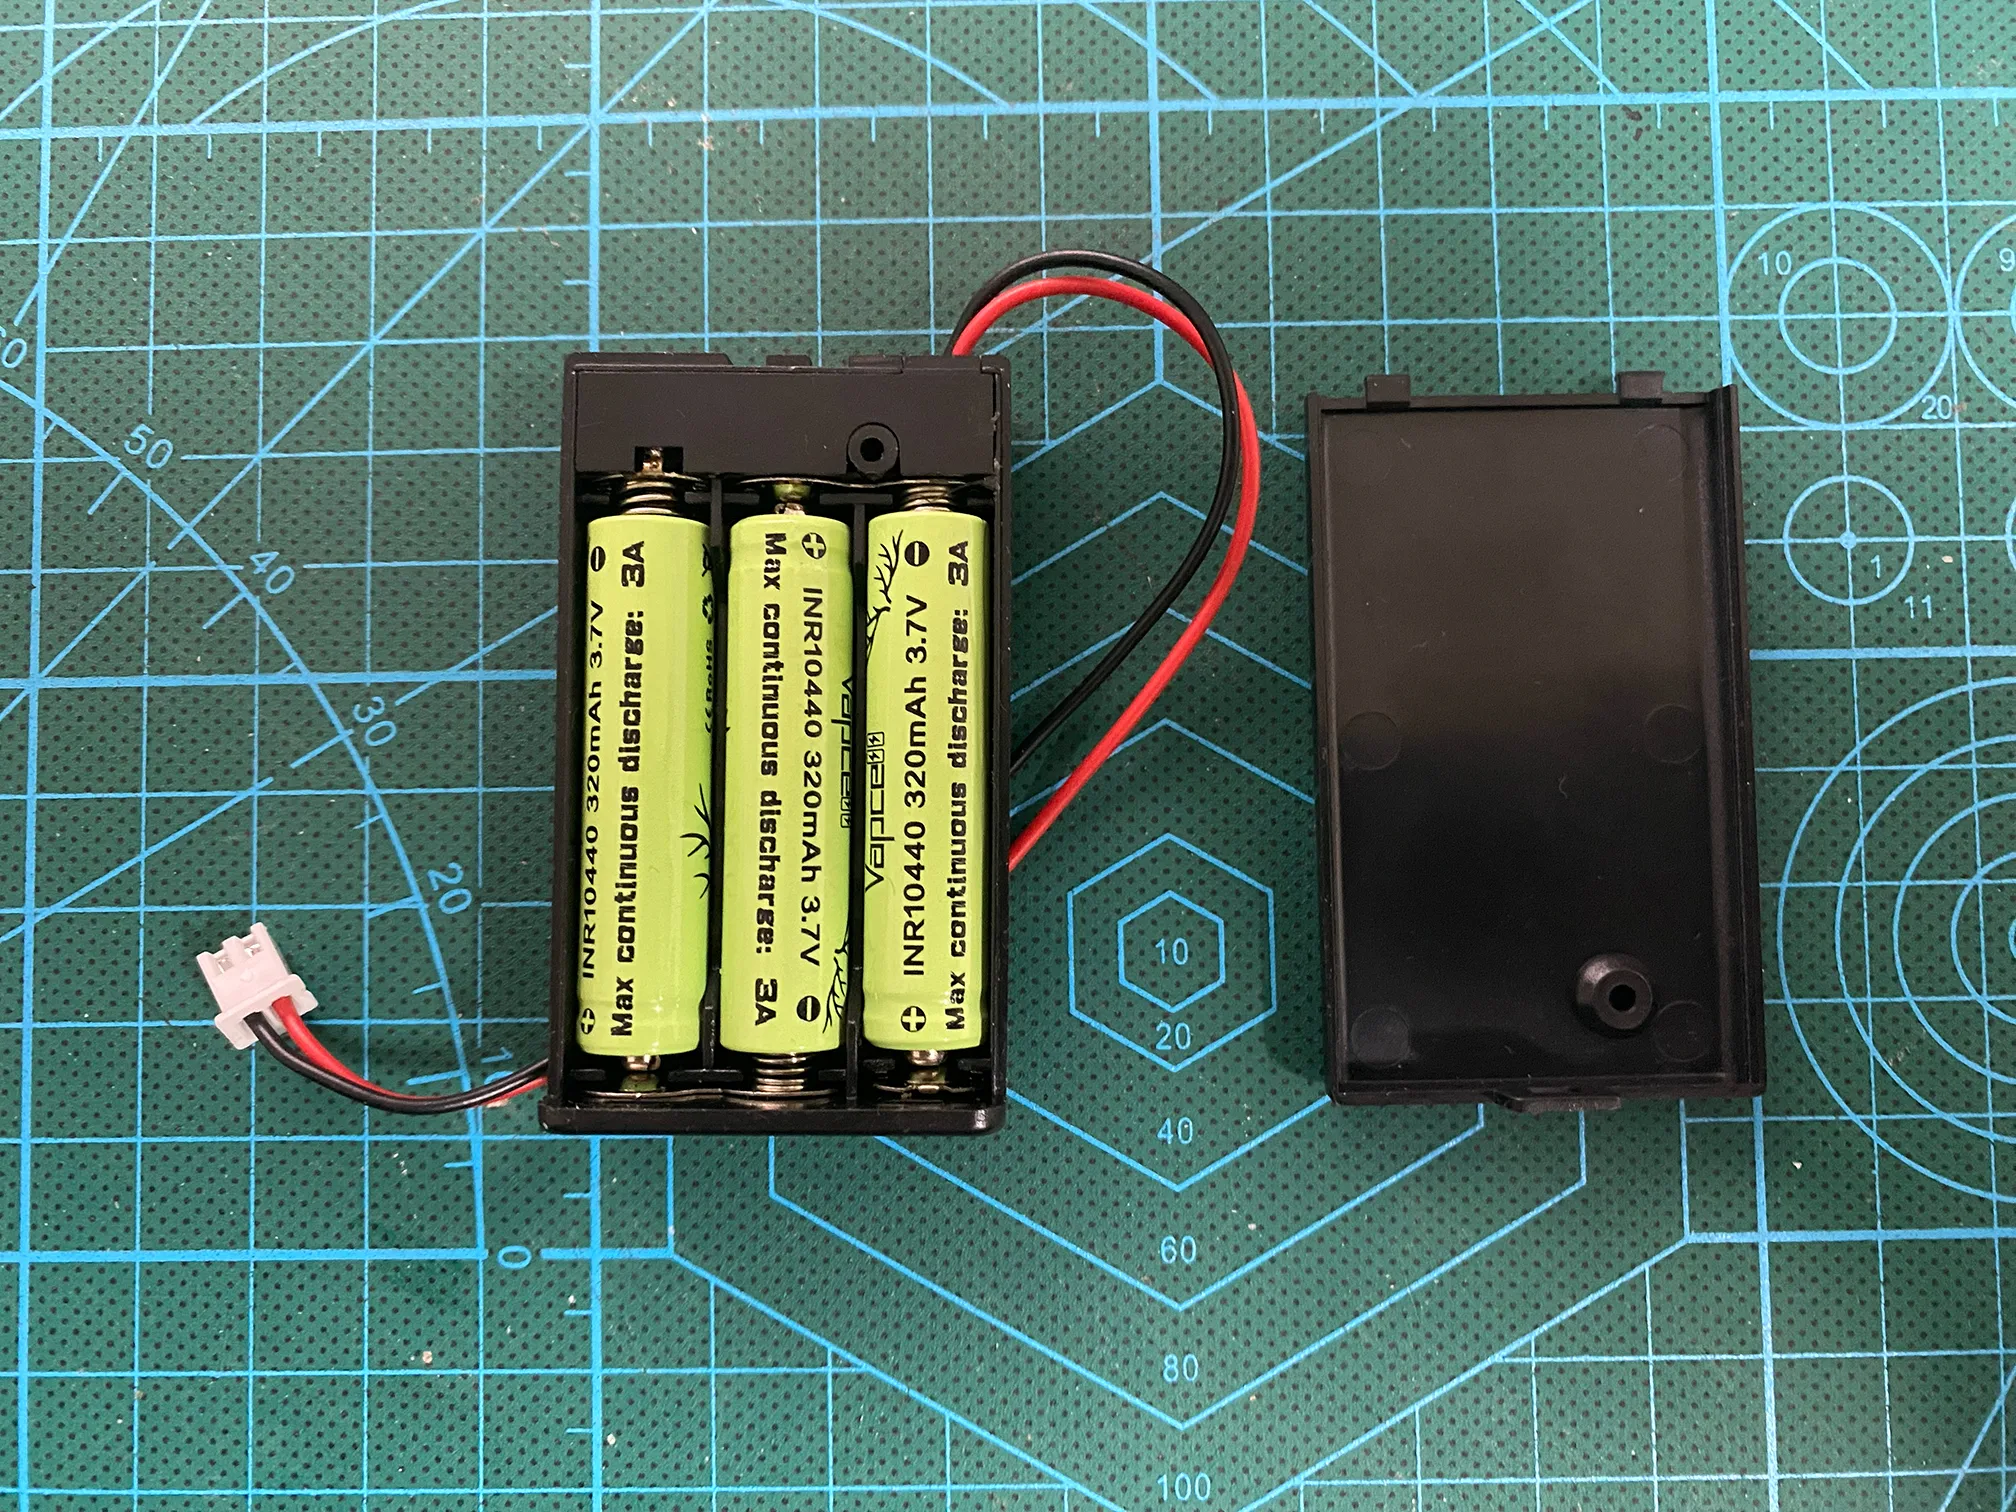
Under the current model structure and usage conditions, users seeking higher acceleration and more pronounced yet controllable light drifting may upgrade to an 11.1V (3S) battery. The AAA battery holder used in the GIF demonstration is internally configured with a 3S battery setup (three 10440 Li-ion cells).
Battery Configuration
- Use 10440 (3.7V) rechargeable lithium cells
- 3 cells per pack, installed in the battery case(CyberBrick-compatible 3×AAA (1.5V) battery case)
- It is recommended to prepare multiple sets
A dedicated lithium battery charger is recommended (compatible with multiple cell types)
Testing & Usage Notes
In this model, the motor operates through a 1:10.8 reduction gearbox, and usage mainly consists of short bursts of acceleration and intermittent driving.
In testing, under normal driving conditions, continuous operation for approximately 10 minutes showed no noticeable motor temperature rise.
⚠ Safety Notes
- Using a 3S battery is considered an advanced, performance-oriented setup
- Avoid prolonged stalling or continuous full-load operation to ensure motor longevity and system stability
Do NOT use 4S batteries: The CyberBrick receiver supports a maximum of 12.6V (3S)
Remote Control

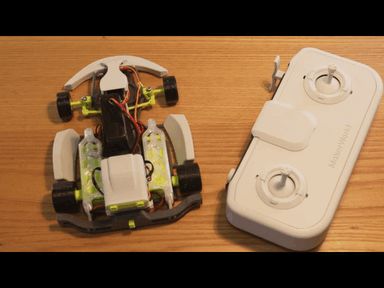
- The model uses the official CyberBrick standard remote controller.
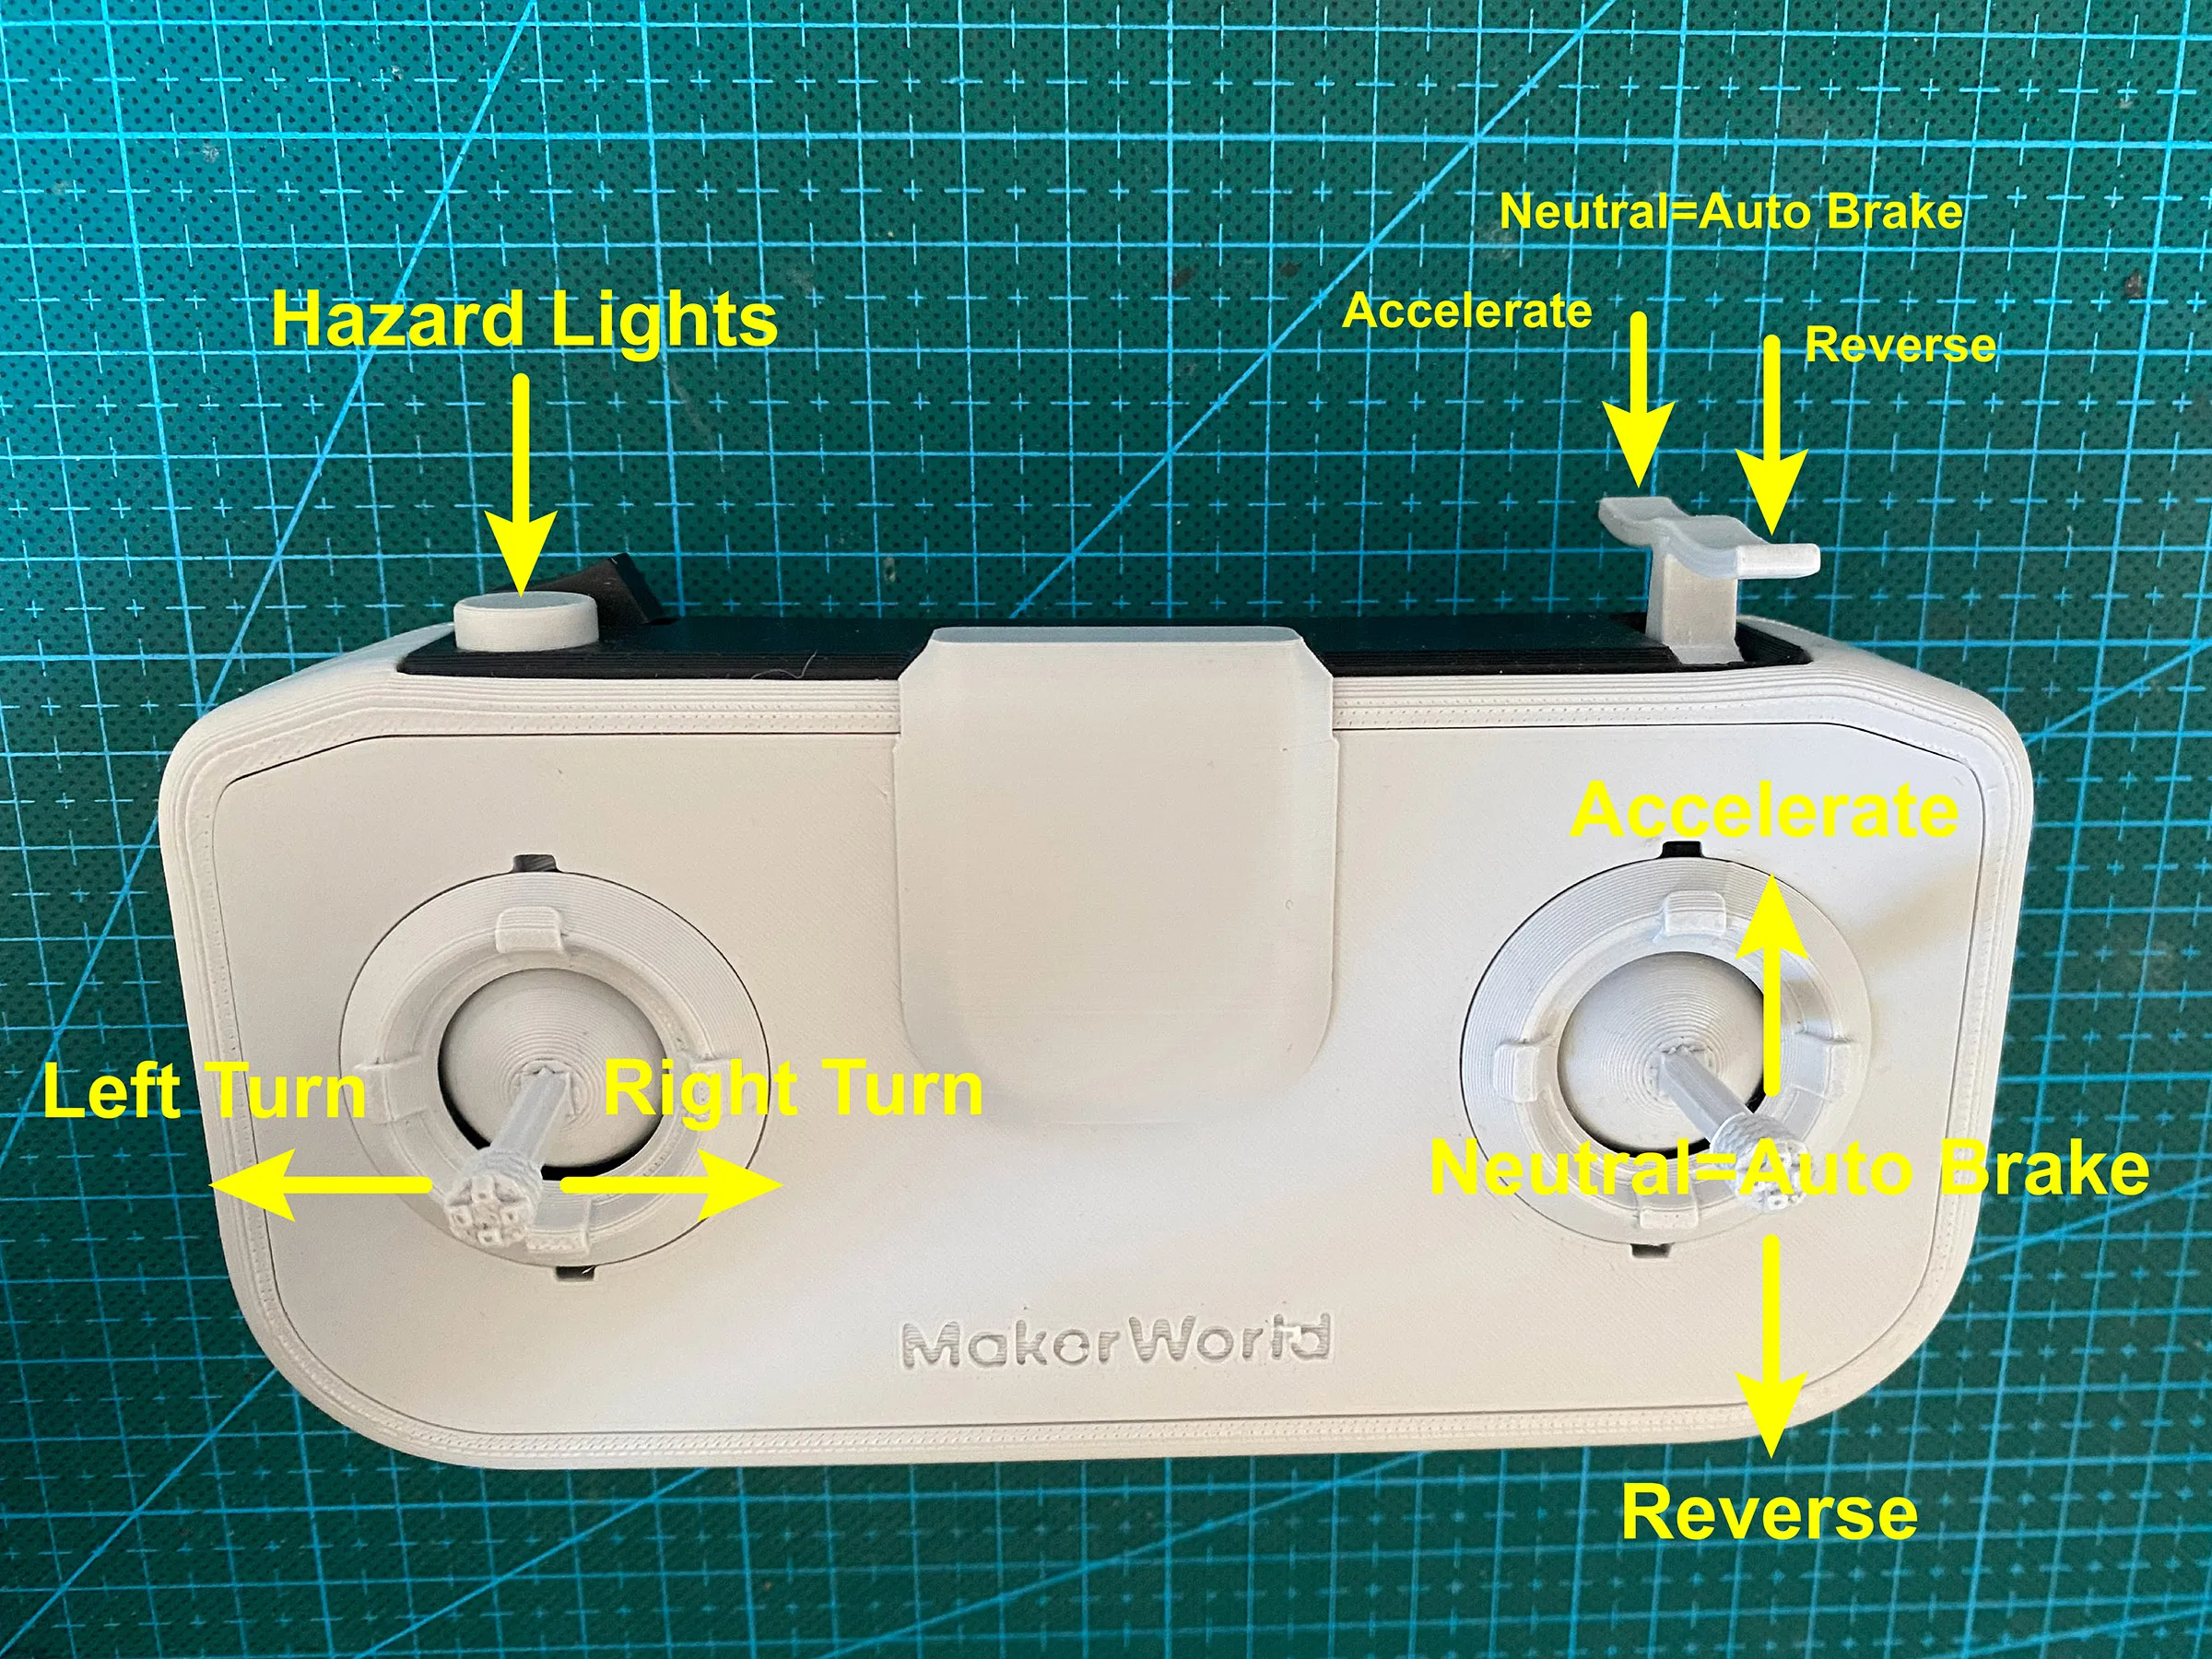
- The RK-12 3MF printing file include an optional extended joystick and dual-finger shoulder buttons, similar to a game controller.
This diagram illustrates the control layout of RK-12_LeftStick_Steer.json. The RK-12_RightStick_Steer.json configuration swaps the left and right joystick functions.
Track Description

- The track is available in Standard and Compact versions, suitable for different space constraints
- Track curbs are assembled from standardized modules that can be shared across different tracks
- Each track also includes a small number of track-specific curb modules, which are not interchangeable
- The curb surface features textured bumps to simulate the sound feedback of real go-karts running near track edges
- On hard surfaces such as wooden floors, this sound effect becomes more pronounced, enhancing immersion
- To balance printing efficiency and usability, the curb structure has been lightweight-optimized, reducing material usage while maintaining strength
- Recommended materials: Red and White PLA Basic, no AMS required
- For detailed assembly instructions and layout options, please refer to the included Track PDF
BOM Notes (Battery)
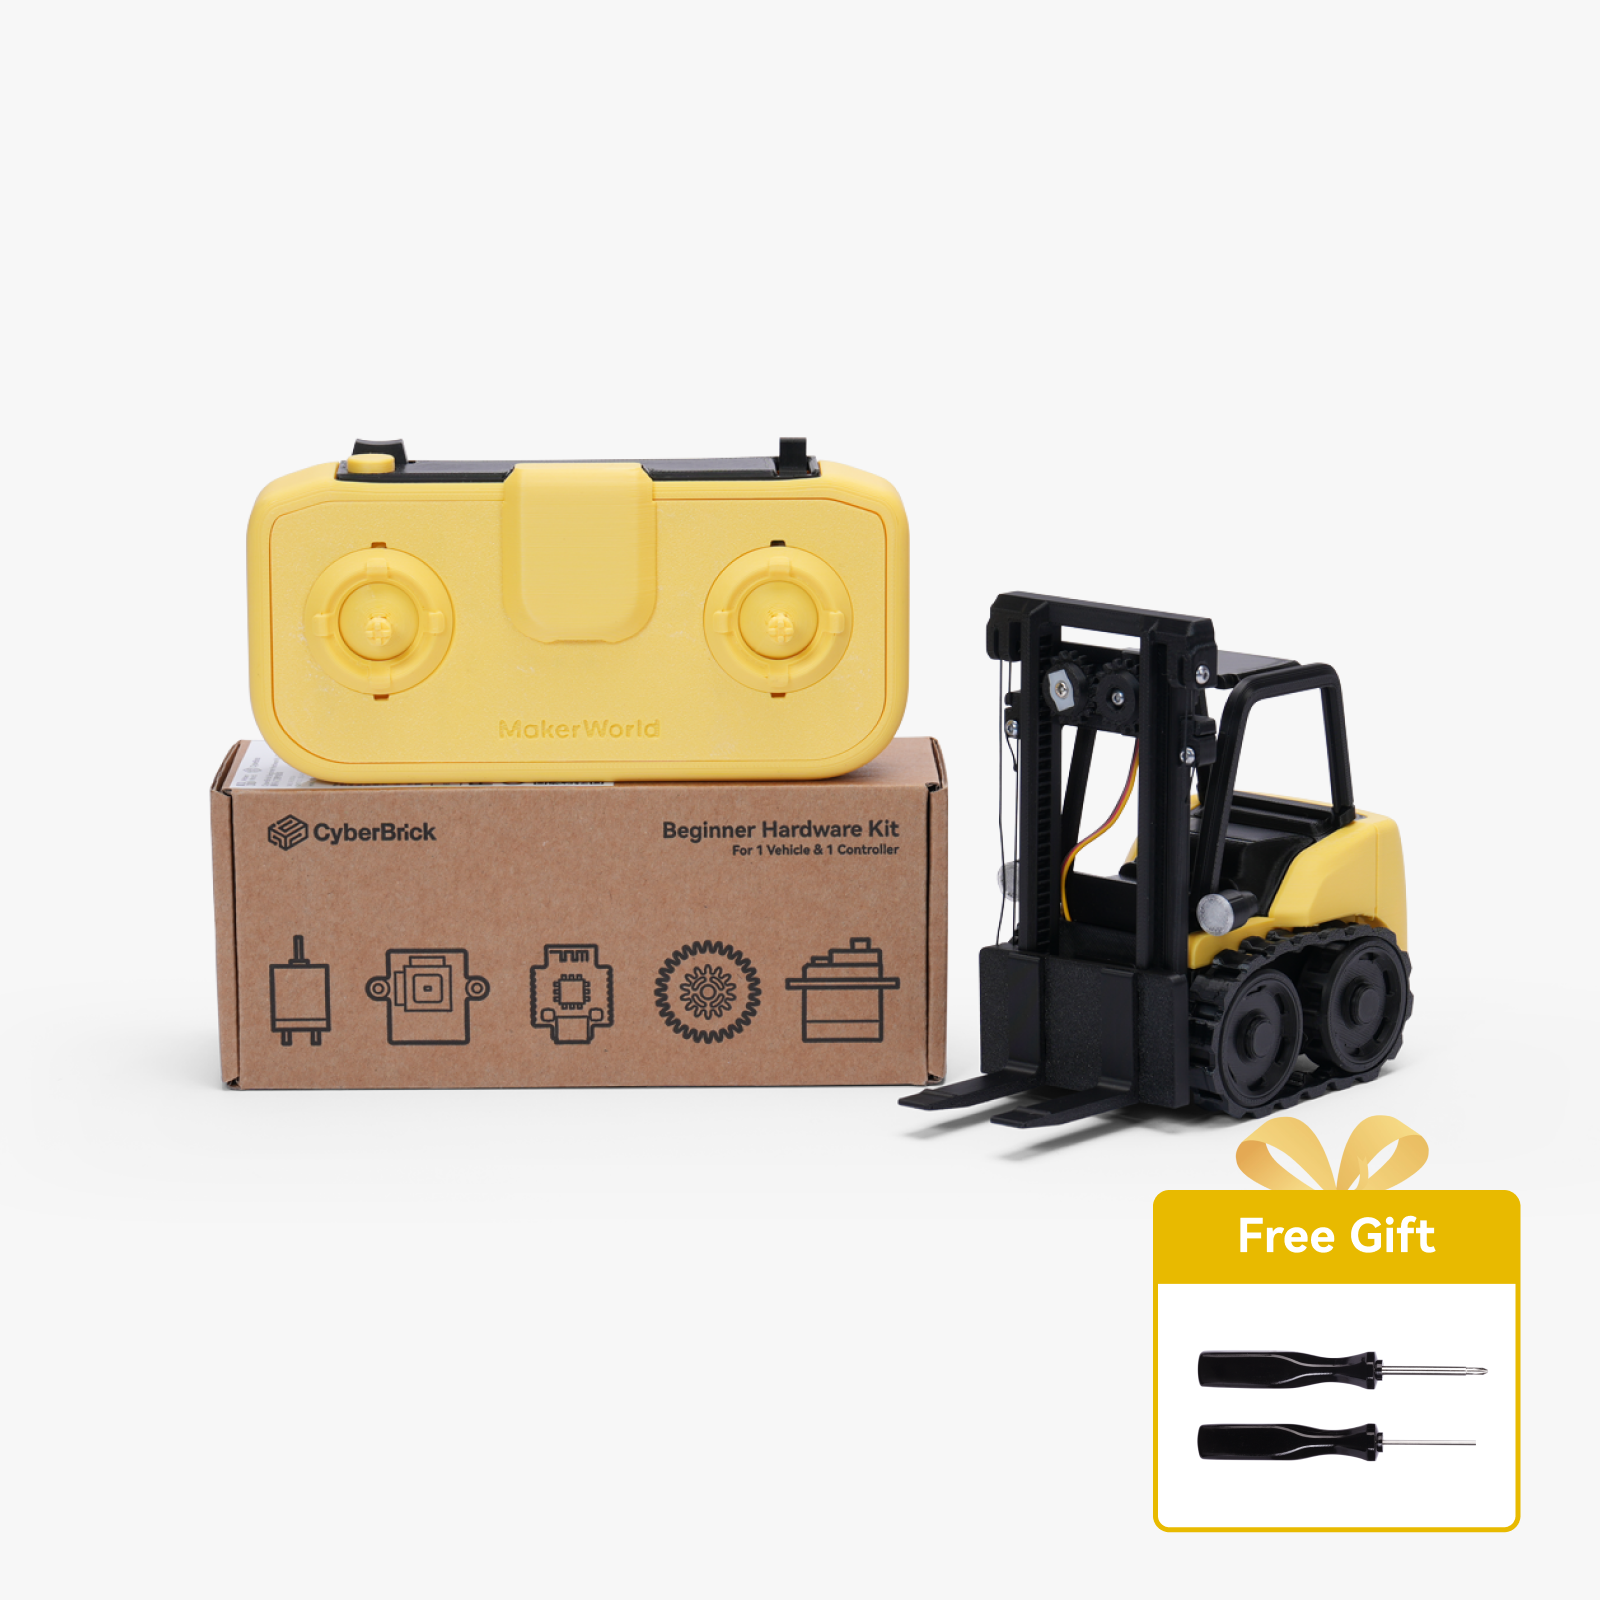
The CyberBrick kit already includes one 7.4V 800mAh battery.
This project adds one additional 7.4V 800mAh battery to improve overall usability.
Recommended setup:
- 🚗 Kart: 1 × 7.4V 800mAh battery
- 🎮 Controller: 1 × 7.4V 800mAh battery
This setup helps avoid the fast power drain when using AAA batteries with a battery holder for the controller.
⚙️ Optional (Advanced Users)
If you plan to upgrade the Kart’s power system from the beginning (e.g., higher capacity or alternative power solutions),
you can skip purchasing the additional 7.4V 800mAh battery.
👉 For detailed instructions, please refer to the Battery Upgrade Guide 🔋
Documentation (3)

License

You shall not share, sub-license, sell, rent, host, transfer, or distribute in any way the digital or 3D printed versions of this object, nor any other derivative work of this object in its digital or physical format (including - but not limited to - remixes of this object, and hosting on other digital platforms). The objects may not be used without permission in any way whatsoever in which you charge money, or collect fees.


Comment & Rating (73)