LED Work Light Ozito Power X-Change & Einhell 18V


Print Profile(1)

Description
Ozito & Einhell 18V LED Work Light | Ultimate Power X-Change Battery Mod (see all Photos for assembly) (Need Basic Soldering skill)
“Free model certificate for commercial use, Just give a credit to FortuneAU”
Transform your Ozito Power Exchange or Einhell Power X-Change batteries into a powerful, portable work light! This easy-to-print project is the perfect DIY upgrade for your workshop or emergency kit.
Note: Remove Sleeve from Connectors before inserting into 3d printed connecter plate. connecter them vertically in plate.
insert M3x6mm Nut in 3d printed connector part.
Boost Me (for free)
Boost Me (for free)
Dear Community,
I dedicate significant time and effort to designing and printing models, refining them until they achieve success. If you appreciate my work, I kindly ask you to value my time by boosting my models, providing feedback, and liking my designs. Your support can help me earn credits for Bambu Lab gift cards, which I will use for further development.
Thank you for your motivation and kind support!
Best regards
FortuneAU
🌟 Why Build This?
- Cost-Efficient: Use the 18V batteries you already own.
- Ultra-Portable: No cords—bring high-intensity light anywhere.
- Beginner Friendly: Great "Level 1" project for basic soldering practice.
- Print-Optimized: Designed for clean results with minimal supports.
📦 What You’ll Need
- 3D Printed Parts: Main housing & connector plate.
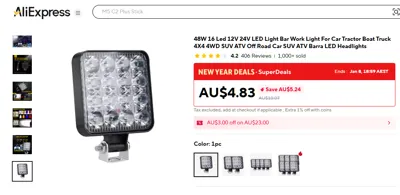
- Electronics: 12V-24V LED Panel/COB, toggle switch, and 18-22AWG wire.
- Hardware: Battery terminal clips (to interface with the PXC battery).
Part List: See Photos for more information about materials.
1. Led Light unit 1Nos. https://www.aliexpress.com/item/1005005391027055.html
2. Switch 1Nos. https://www.aliexpress.com/item/1005006623653360.html
3. Wire https://www.aliexpress.com/item/1005009364885656.html
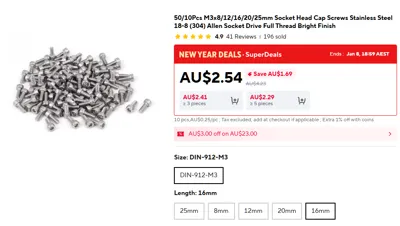
4. M3x16 mm Screws 4Nos. https://www.aliexpress.com/item/1005007137661687.html
5. Connectors 2Nos. https://www.aliexpress.com/item/1005007149421691.html
🛠️ Quick Assembly Tips
- Prep: Tin your wires and LED pads before joining for a strong bond.
- Mount First: Secure the terminal clips into the plastic before soldering to keep them aligned.
- Check Polarity: Double-check your + and - connections before sliding onto your battery!
Ready to light up your bench? Download the print profile now and start building!
License
You shall not share, sub-license, sell, rent, host, transfer, or distribute in any way the digital or 3D printed versions of this object, nor any other derivative work of this object in its digital or physical format (including - but not limited to - remixes of this object, and hosting on other digital platforms). The objects may not be used without permission in any way whatsoever in which you charge money, or collect fees.
Comment & Rating (5)