
NEW SINGLE ACTION PEN: Edit text, 4 Parts
Print Profile(7)


Description
Thank you for checking out this pen design. If you like it, please give it a “Thumbs up.”
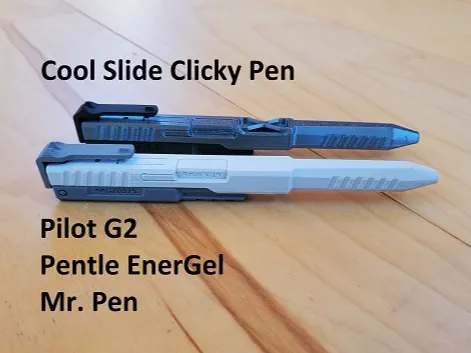
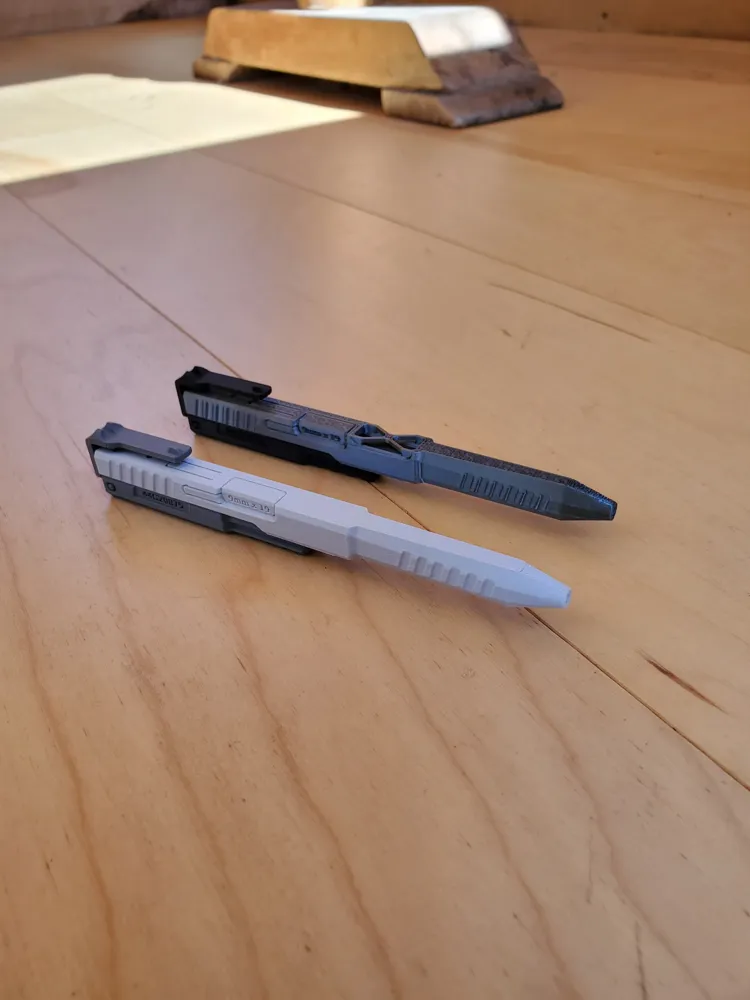
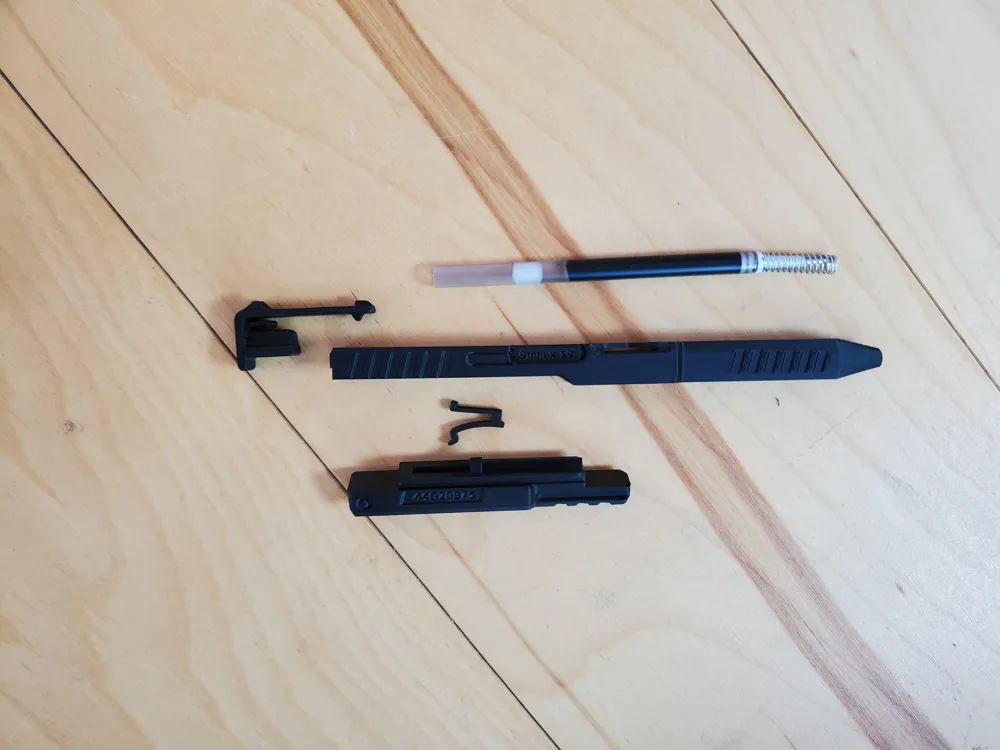
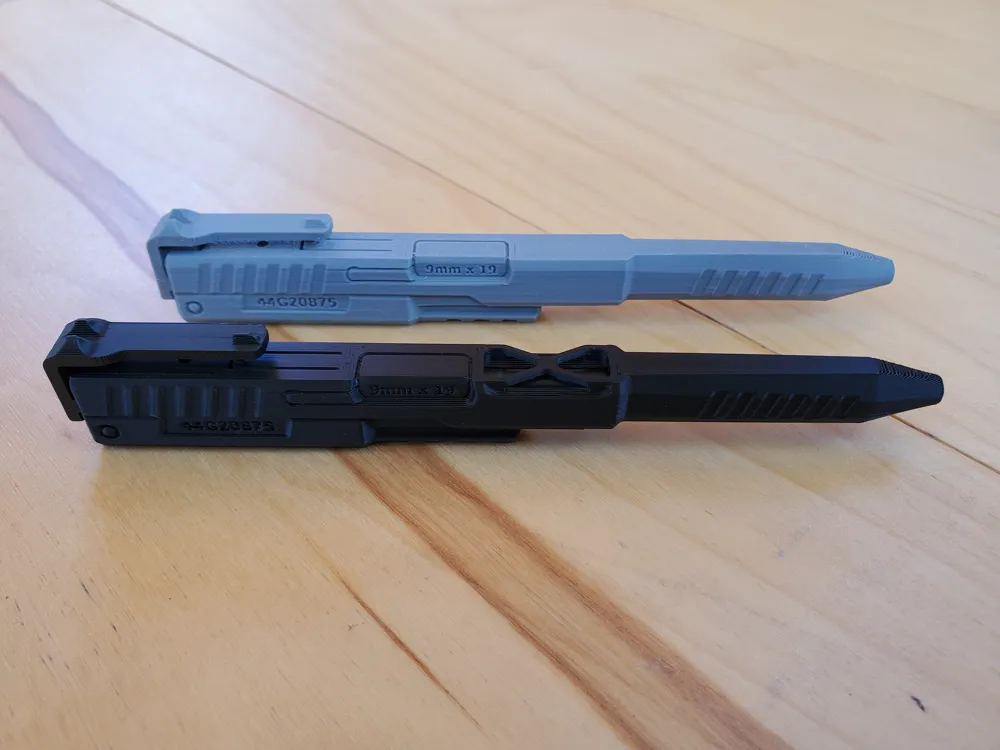
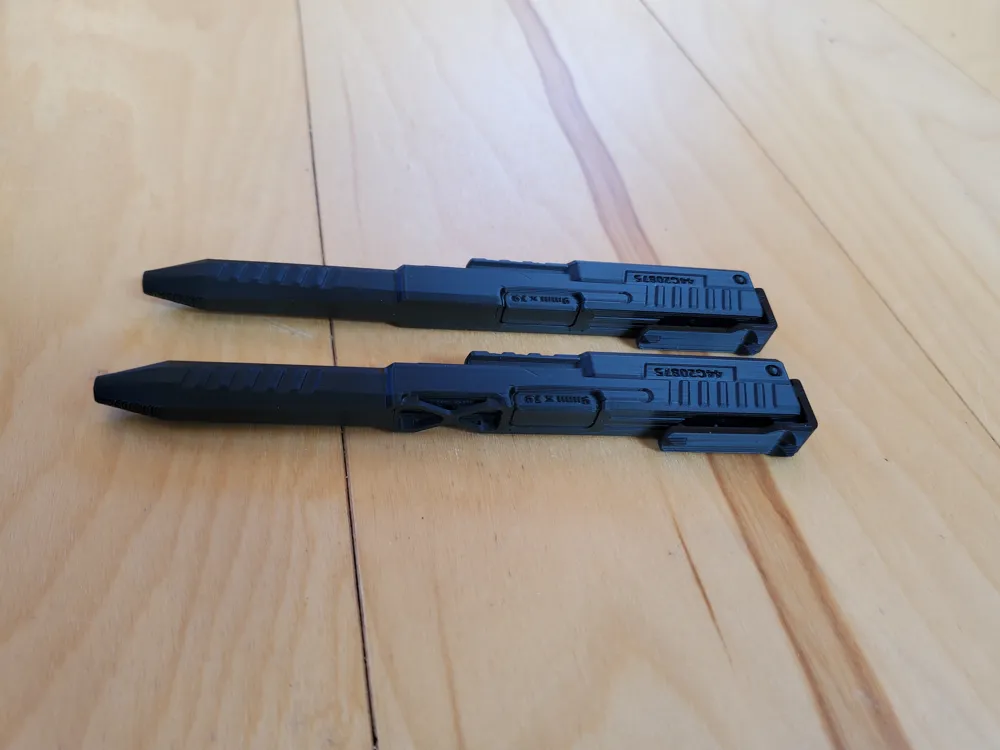
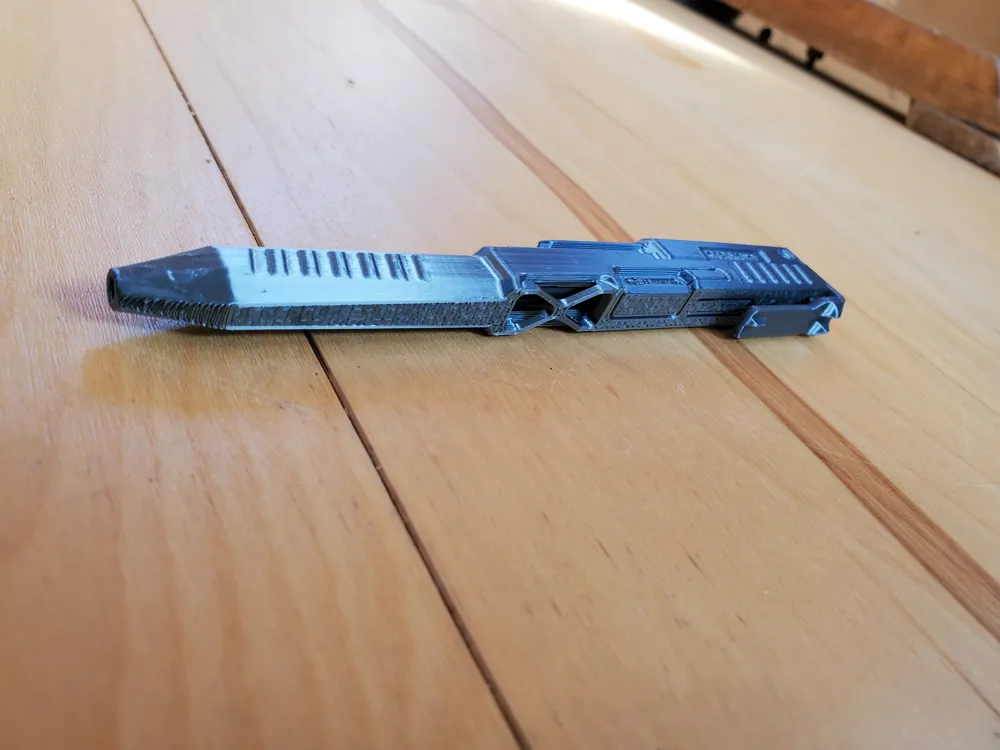
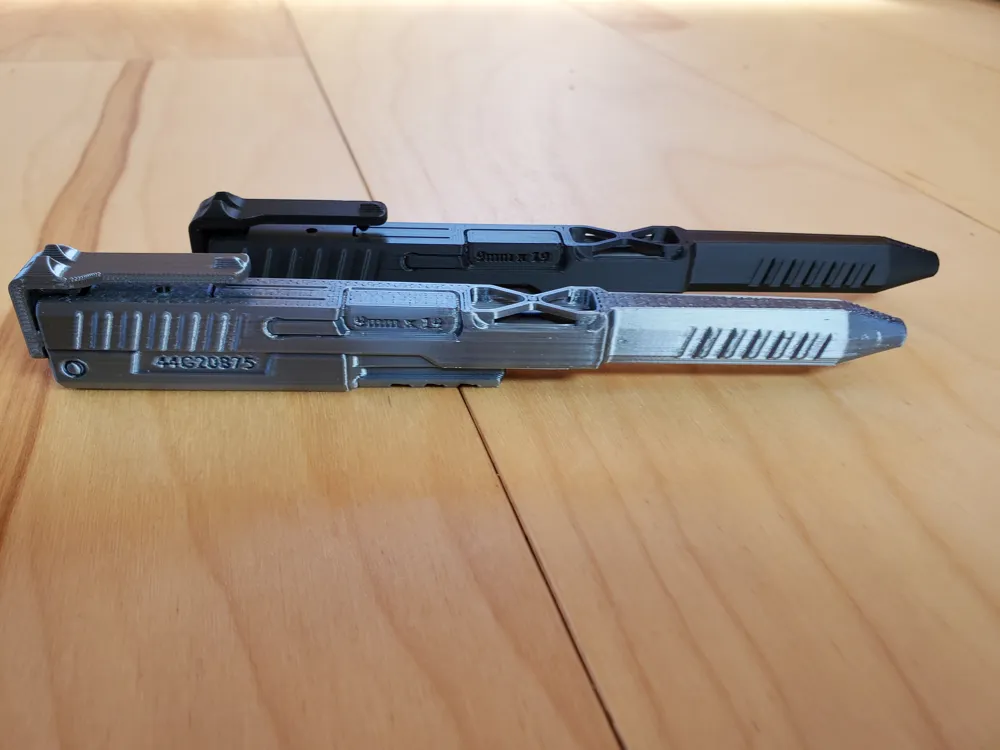
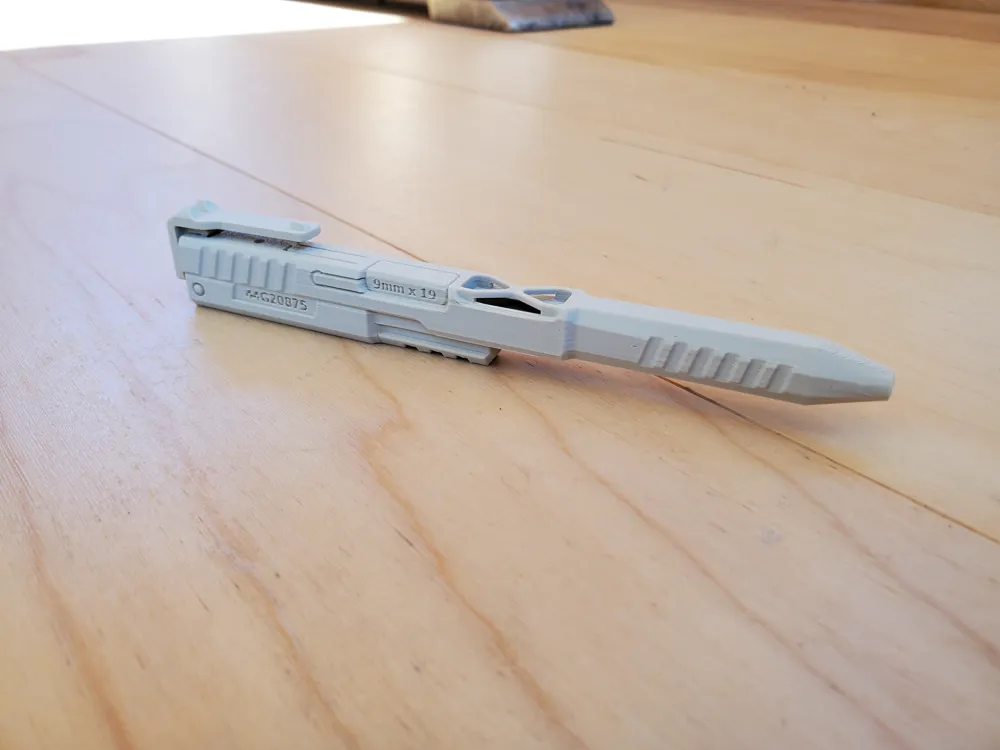
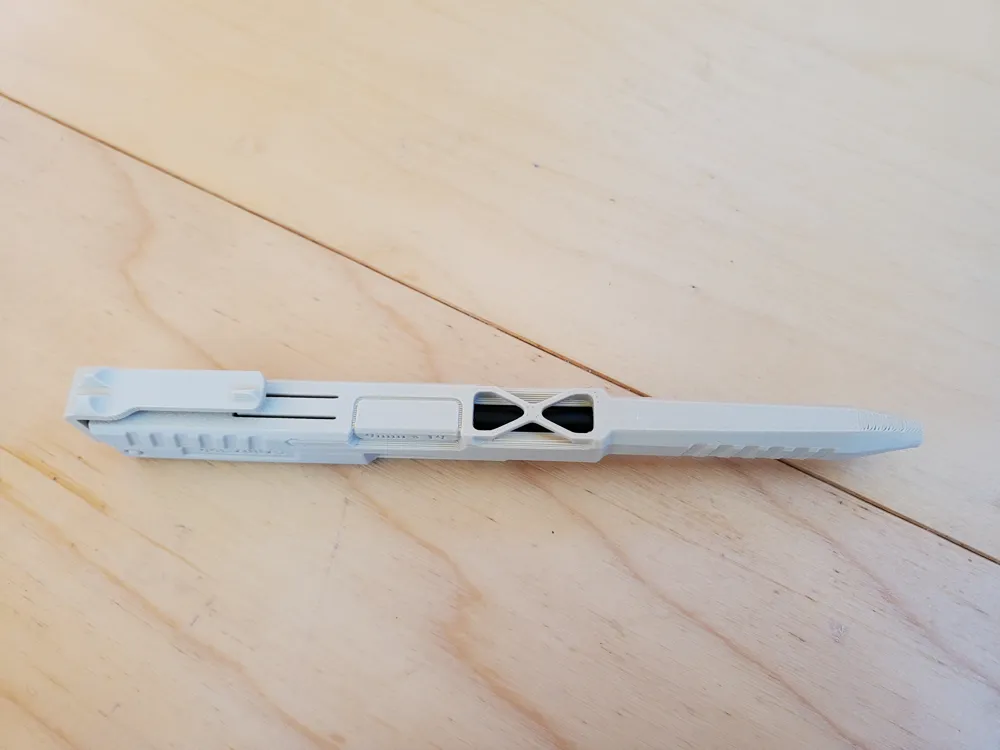
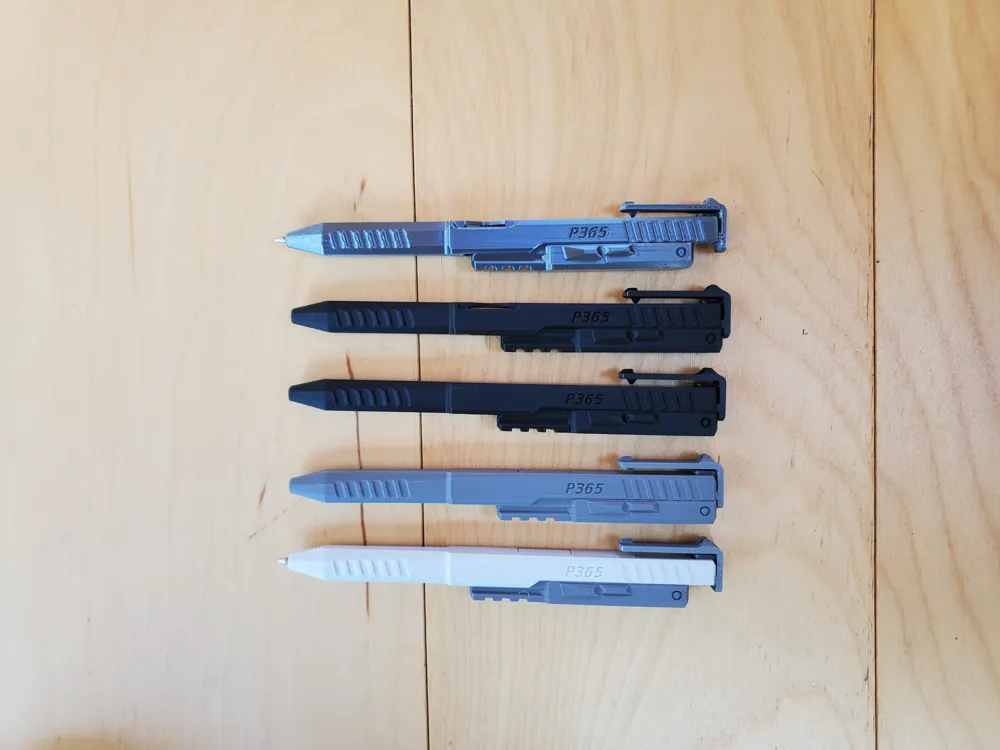
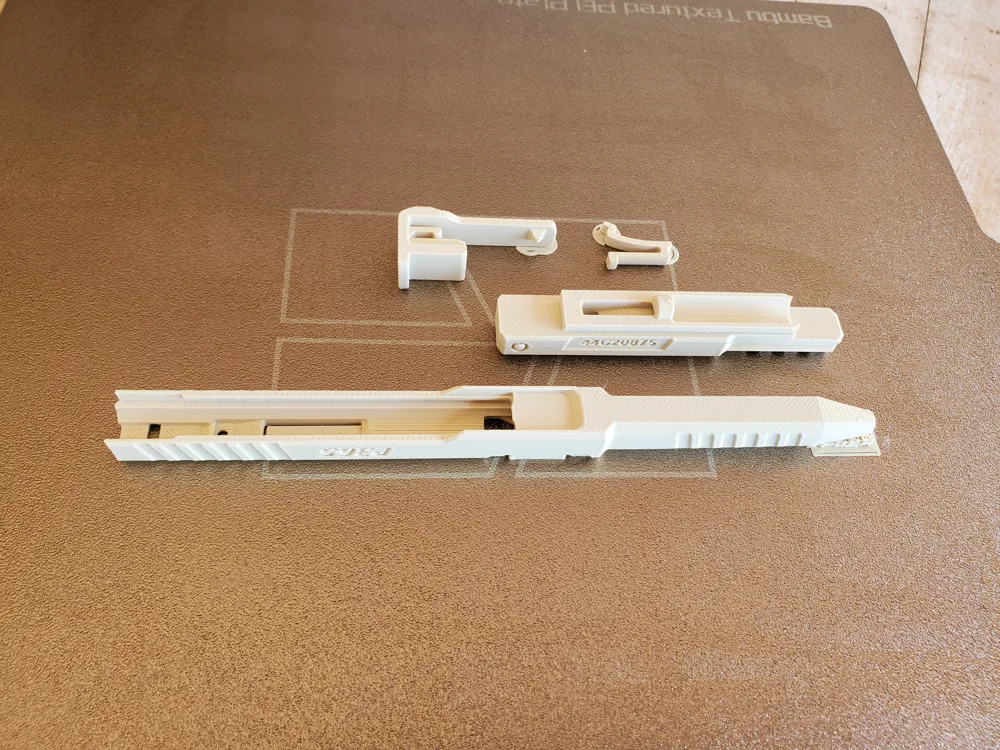

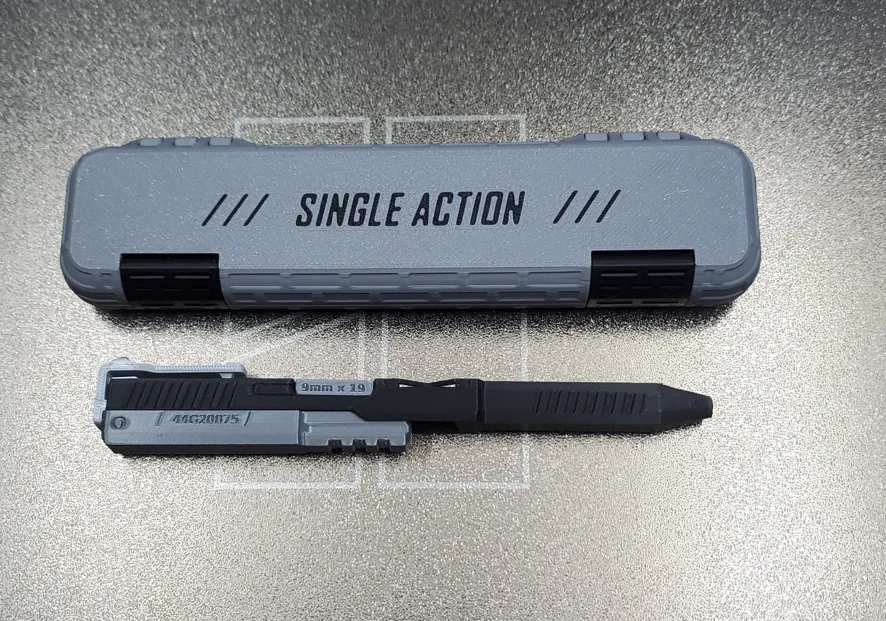
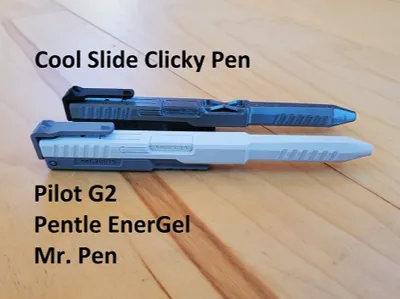
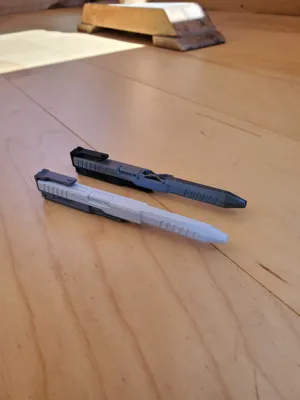
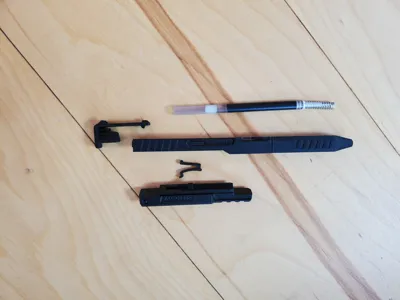
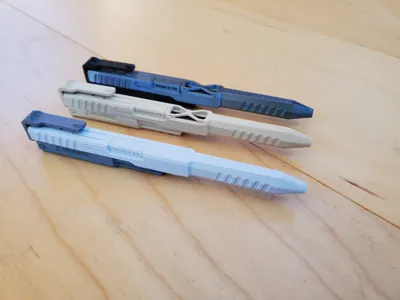
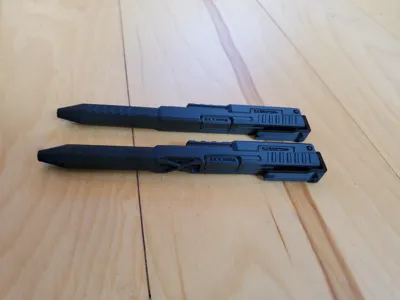
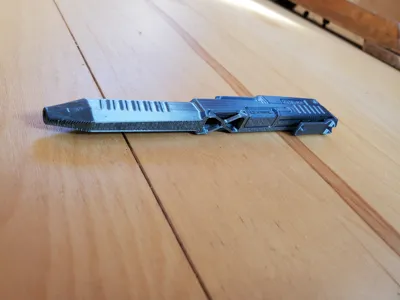
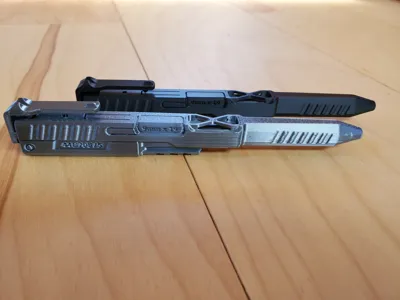
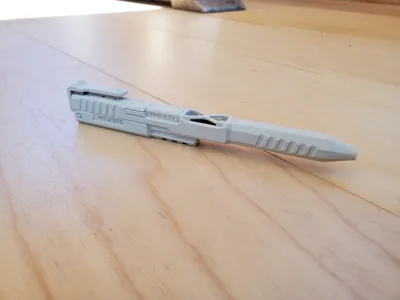
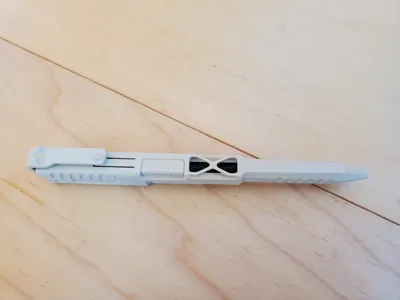
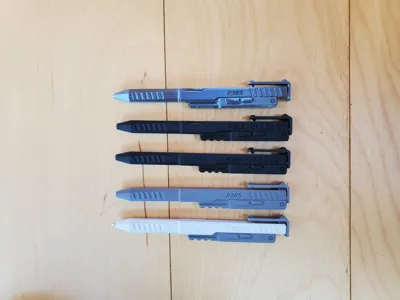
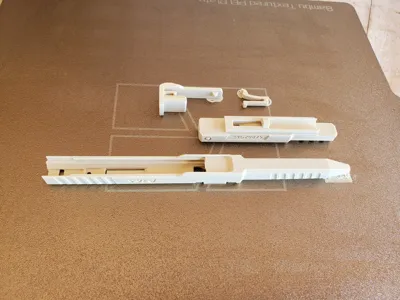
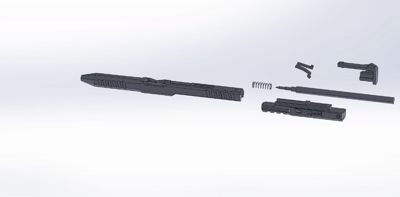
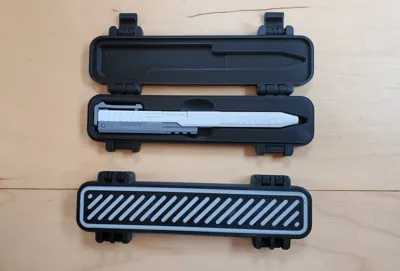
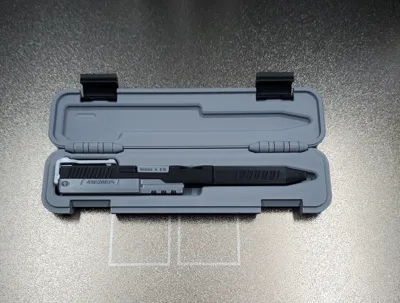
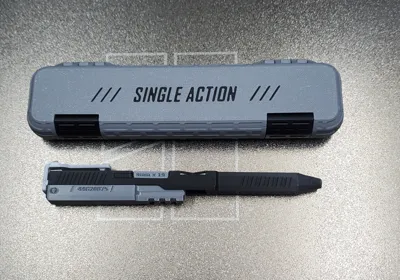
Here is a cool pen that slides to engage, and disengages with the clip. Works great, and can be used daily. It is easy to print and assemble, as it is made from only 4 printed parts and a pen. (There is now a 6-part version for more colors, see last profile.)
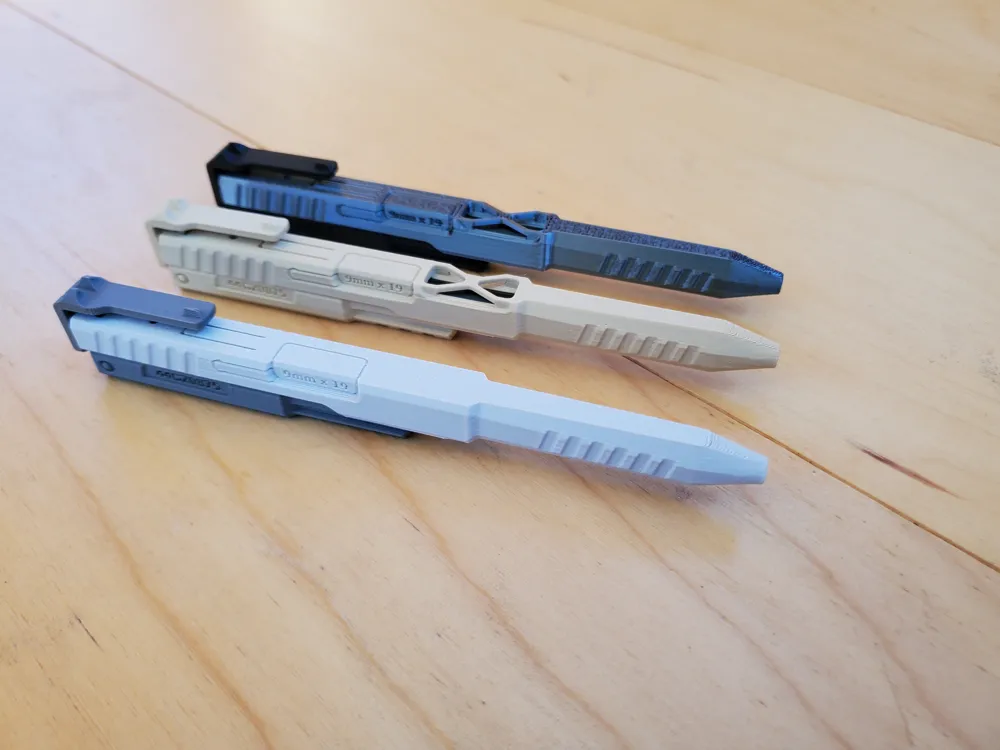
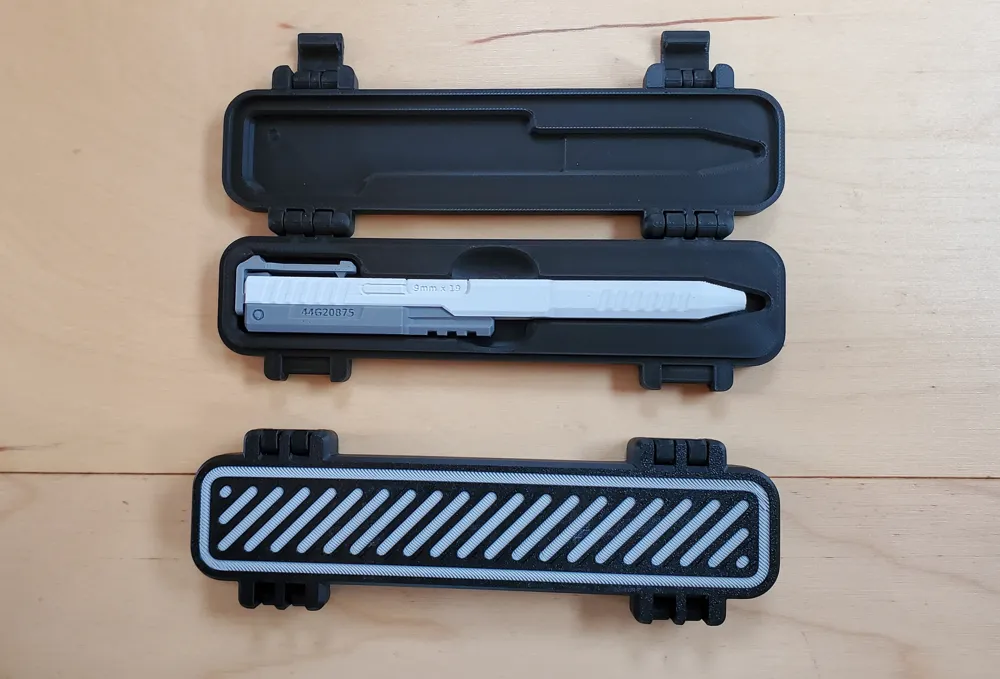
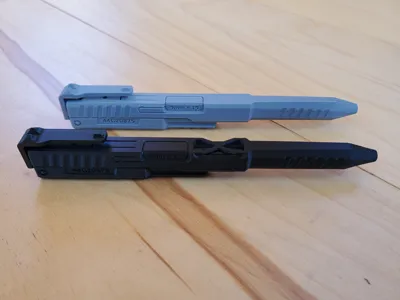
Three versions. Regular, X-Graphics:
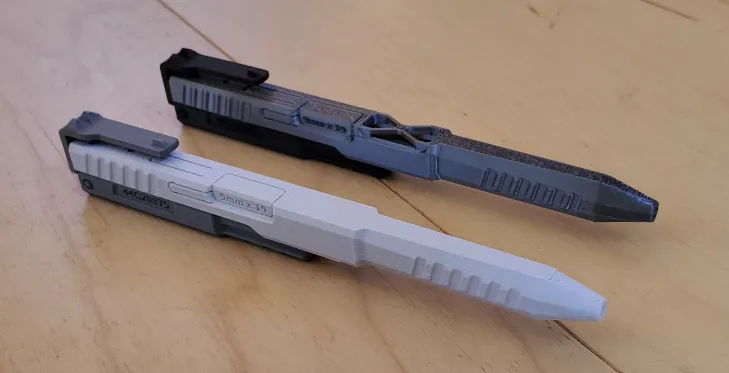
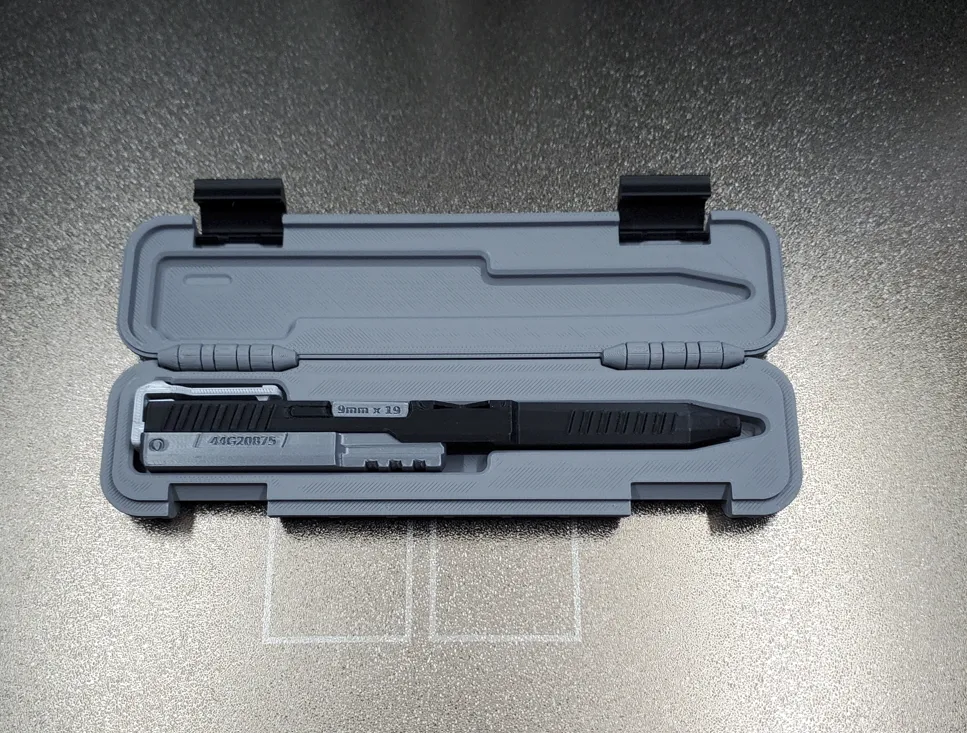
& New 6-piece X-Graphics:
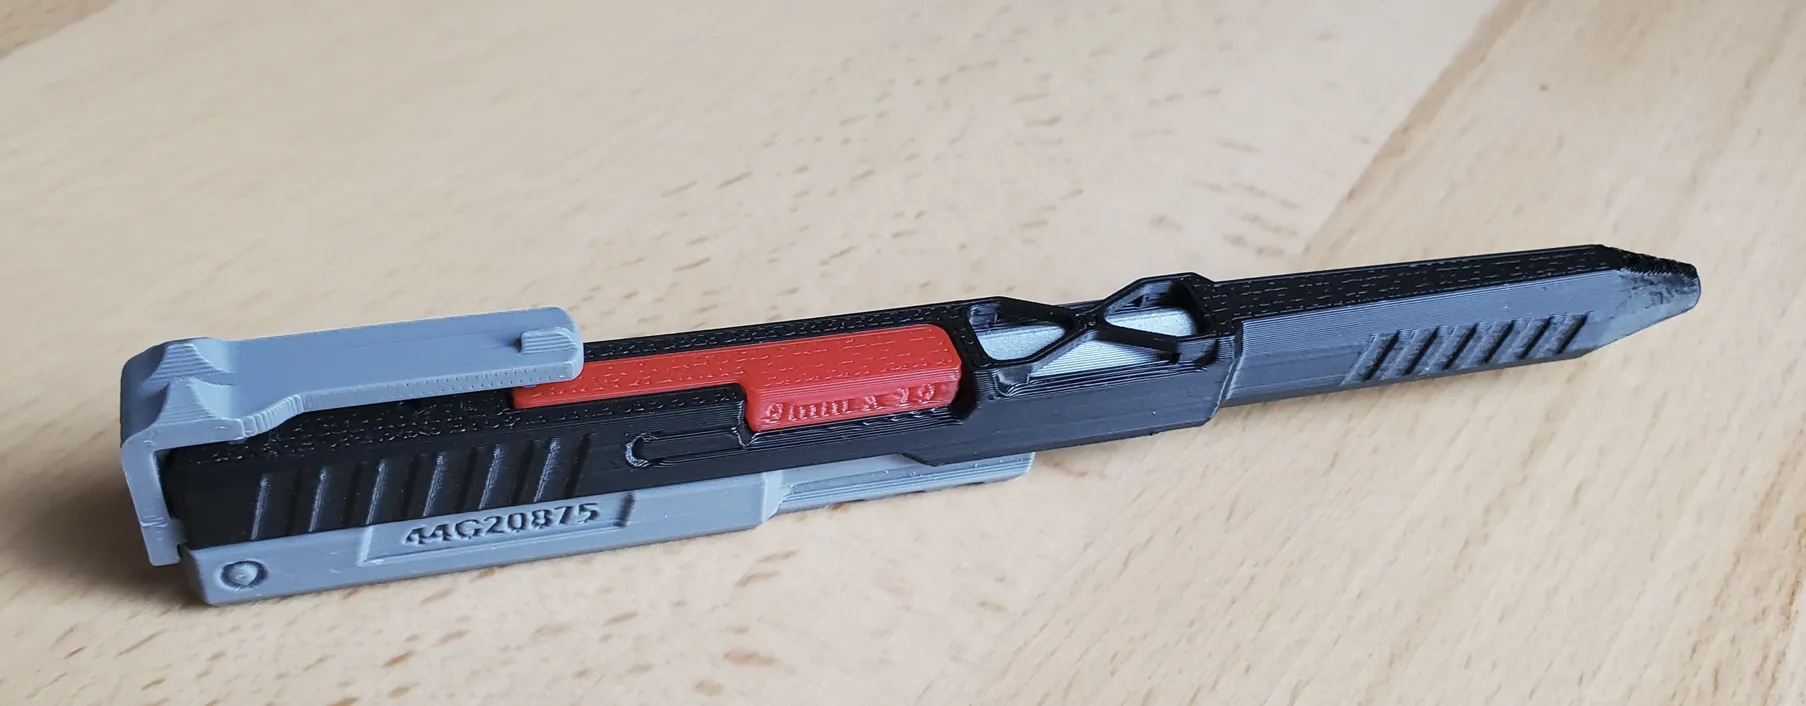
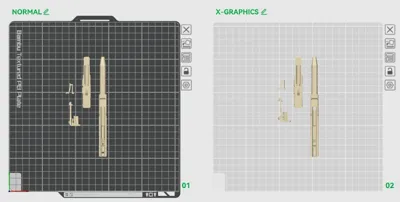
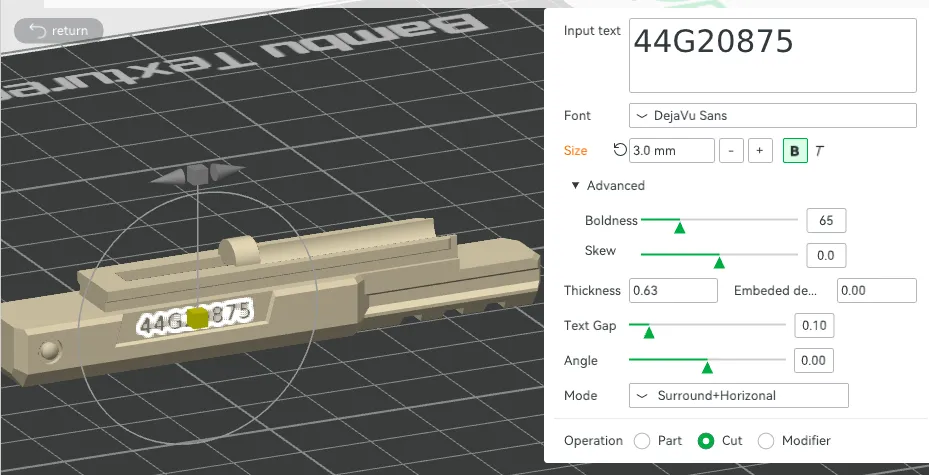
All the Text can be changed in the Bambu Slicer Software. Just double click on the text and a dialog box will open up to make changes. Or you can delete the text for a school-friendly Si-Fi looking version.
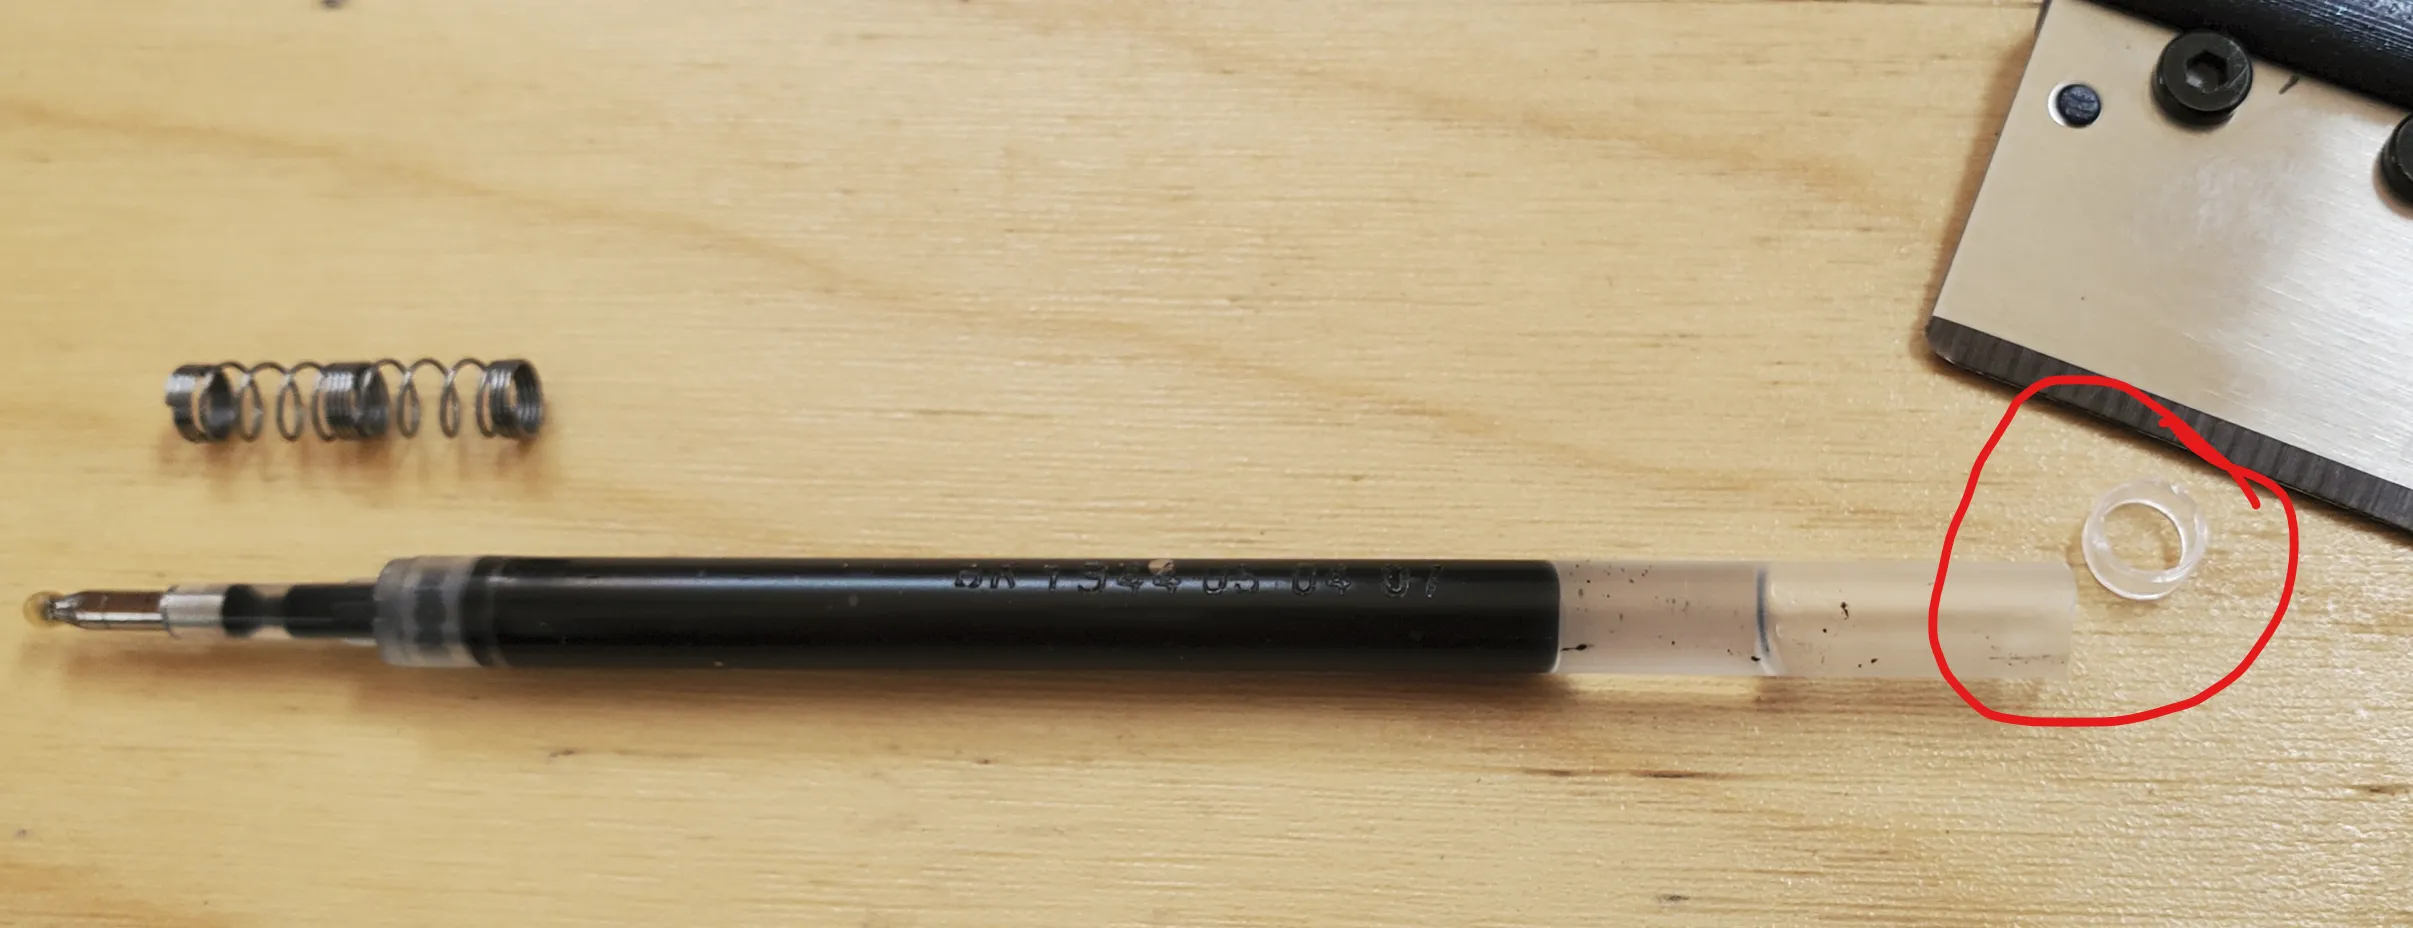
Parts needed: Printed parts, 1 ink-core, and 1 spring from these pens.
- Pilot G2 pen. (Best)
- Mr. Pen
- Amazon Basics Gel Pens, retractable
- Pentel EnerGel
For Sharpie S-Gel only. You will need to cut .08-inch [2mm] off the back of the ink-core.
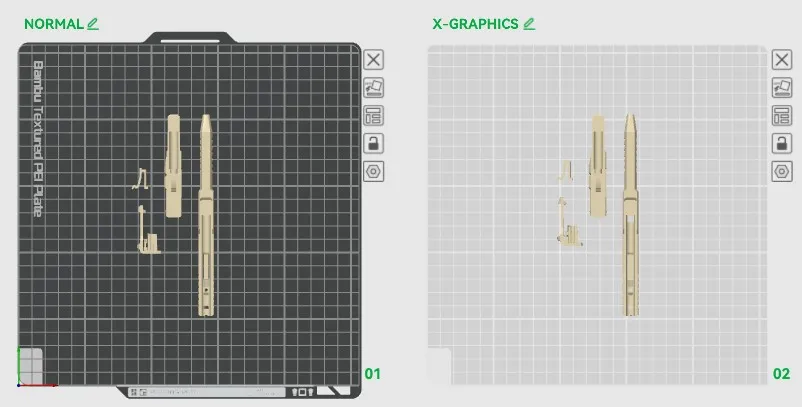
Print Settings: (super easy print)
- Super important that these long slender parts print flat, and that they don't come off the plate while printing. I used Bambu liquid glue on my older plates, otherwise the Lower-Slide would peel from the plate and not slide well.
- 0.16 Layer height, 2 walls, 10% gyroid infill.
- Normal (manual) support, Style Snug. (There is just a little bit for the pen tip.)
Filaments tested Successfully: PLA basic & Matte, ABS or ABS GF, Petg HF, ASA CF.
(I print most of mine out of ABS so I can leave them in the car.)
After Printing:
Remove the support and brim material: (use a tool or strong fingernail.)
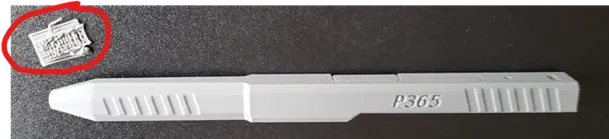
X-Graphics version:

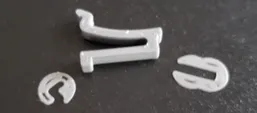
Before After:
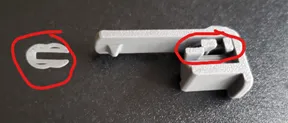
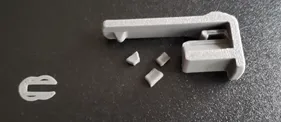
Remove brims from the Lever-Spring.
Assembly:
1. SUPER IMPORTANT STEP (especially with PLA MATTE and CF)! Insert the Lower-slide into the Upper-slide. Vigorously slide them back and forth until they slide smoothly. Then separated both parts, and blow on the inside rails to remove small particles. Leave them separated for now.

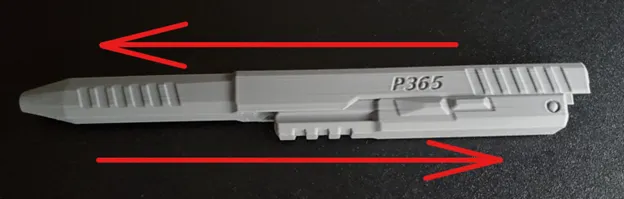
2. Insert the Lever-spring into the groove of the Lower-slide. Use a hard surface (table) to press the Lever-spring all the way down into the groove. (Do not try to use your thumb, or you may get pinched. It hurts trust me.)
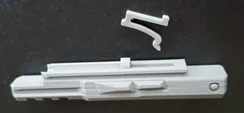
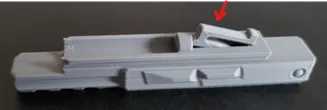
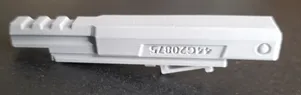
Should look like this below.
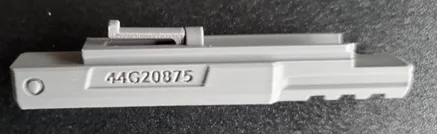
3. Insert the ink-core and spring into the Upper-slide.


4. Insert the Lower-slide into the Upper-slide.

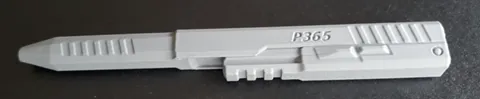
5. Test the pen mechanism a few times. Move the Lower-slide to the left till it clicks in place, then push on the dot shown below.
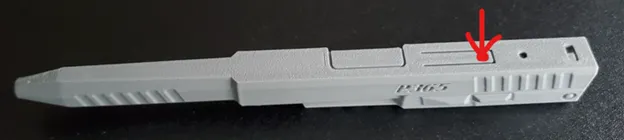
If it didn’t work and you need to trouble shoot. 1st, disengage the pen as shown above. Then, push something into the hole shown below, and Slide the Lower-Slide out at the same time.

6. Press on the clip. (Not easy to disassemble, so be sure it works before pressing on the clip.) You’re done.
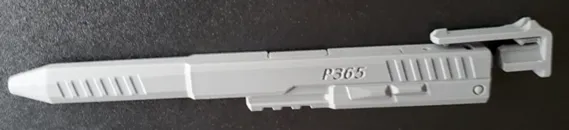
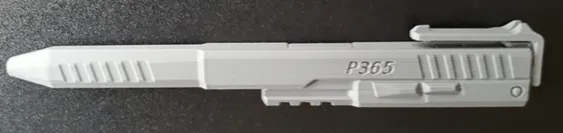
Disassembly:
1. Use your thumb or the edge of a table to push the clip out.
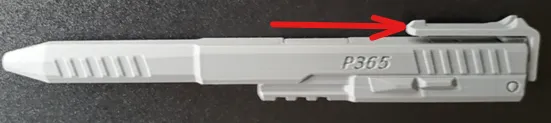
2. Disengage the pen by pressing on the red dot. Push something into the hole, and Slide the Lower-Slide out at the same time.
3. The ink-core and spring should then slide out when tilted.
----------------Links to other designs------------------------------------------------
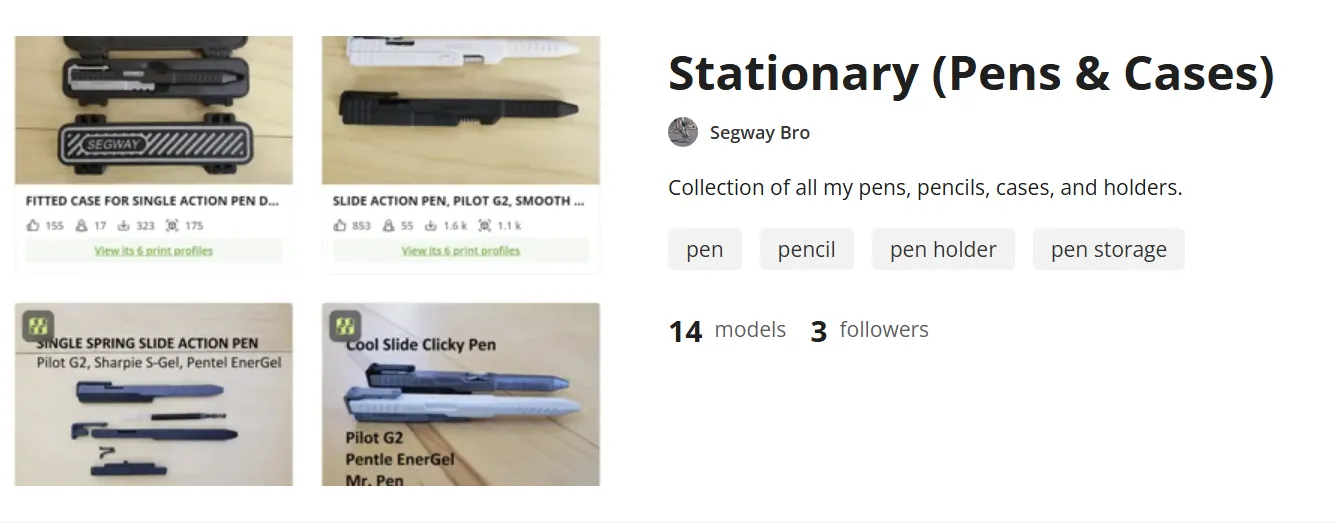
Link to a collection of stationary.
Boost Me (for free)
If you like the design, send a Boost or give a THUMBS UP! Thank you!
Membership
If you are interested in selling this item, here is a link to the commercial licensing. Thank you!
License

You shall not share, sub-license, sell, rent, host, transfer, or distribute in any way the digital or 3D printed versions of this object, nor any other derivative work of this object in its digital or physical format (including - but not limited to - remixes of this object, and hosting on other digital platforms). The objects may not be used without permission in any way whatsoever in which you charge money, or collect fees.


Comment & Rating (482)