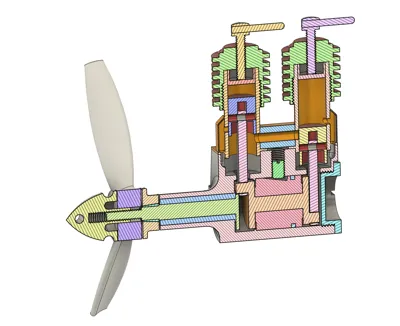
Sparey Twin


Print Profile(1)

Bill of Materials


Description
Sparey Twin 2cc
by Ron Chernich
We Motor Boys often got up to some crazy ideas, and in the year 2000
Ron Chernich and myself decided that we would each make an engine
to celebrate what everyone called “the Millennium”. The little engine
known as the Sparey 0.8 [actually 0.64cc] had long been one of my
favourite flying engines, and since I fancied the challenge of a twin, then
a twin based upon two little Spareys, making just 1.28cc, was my choice.
Ron had already built a few little Spareys in 2000 but he had up-sized
his to 1cc. Consequently he fell in line with my plans to build a twin, but
his was to be 2 x 1cc based on his success with the single.
Resources:
Boost Me (for free)
If you want to support me, leave a Like, Comment, and a Boost!
Thank you!
Hardware
⚠️ All of these are OPTIONAL. You can glue everything you need.
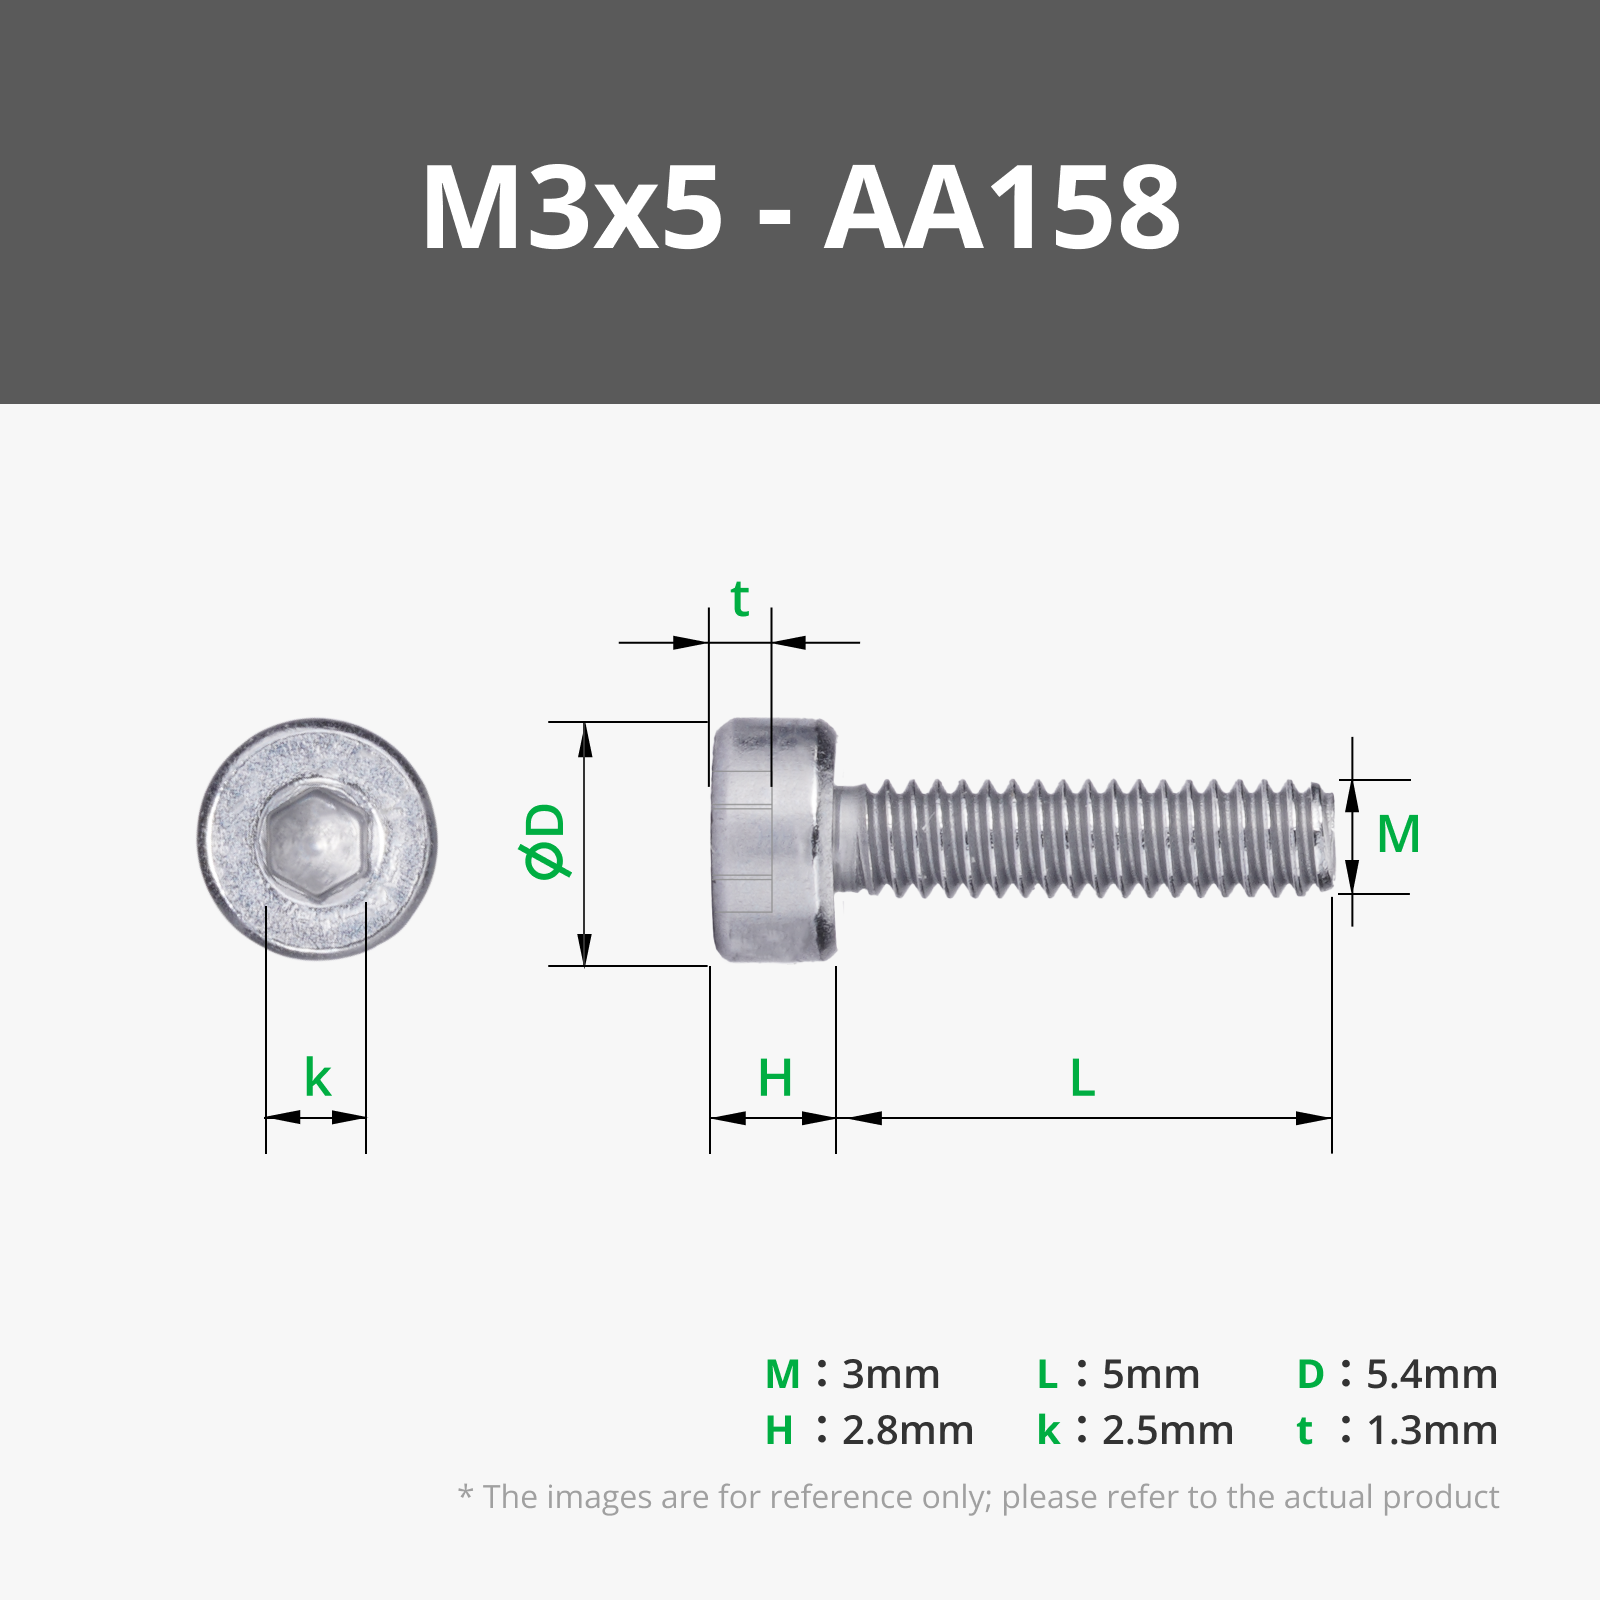
- 8x M3 8mm Socket machine screw (for the Cylinders)
- 2x M4 10mm Socket machine screw (for the Stand)
- 1x M4 Grub Screw (for the split bobbin)
Removing Supports
This will require your patience and care, so buckle up and grab some tea!
🚨 Some parts are very fragile. Handle with care. If anything breaks, just print another one. 🚨
Tools I used:
- Needle-nose pliers
- Craft Knife


Congratulations! You did it!
Thank you for taking the time to print and assemble this awesome engine.
Be sure to Like and Boost Me if you want to support me.
One last tip. Add a few drops of Sewing Machine Oil (or any other oil) to make everything lubricated


Boost Me (for free)
Remember to give me a boost and share this model with your friends!
License
You shall not share, sub-license, sell, rent, host, transfer, or distribute in any way the digital or 3D printed versions of this object, nor any other derivative work of this object in its digital or physical format (including - but not limited to - remixes of this object, and hosting on other digital platforms). The objects may not be used without permission in any way whatsoever in which you charge money, or collect fees.
Comment & Rating (2)