
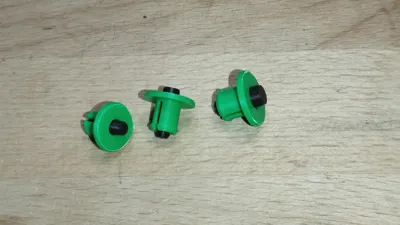
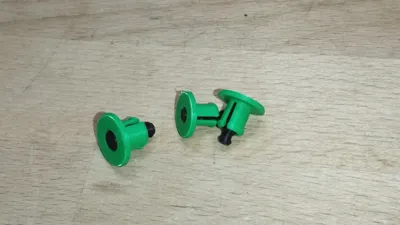
push in rivet, pin, clip automotive 6, 7, 8, 10 mm
Print Profile(1)


Description
Step-by-step:
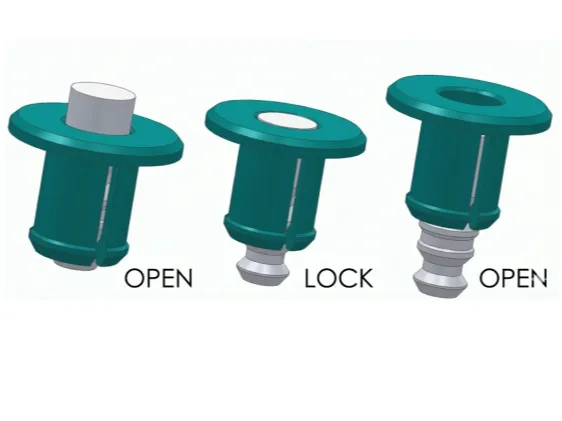
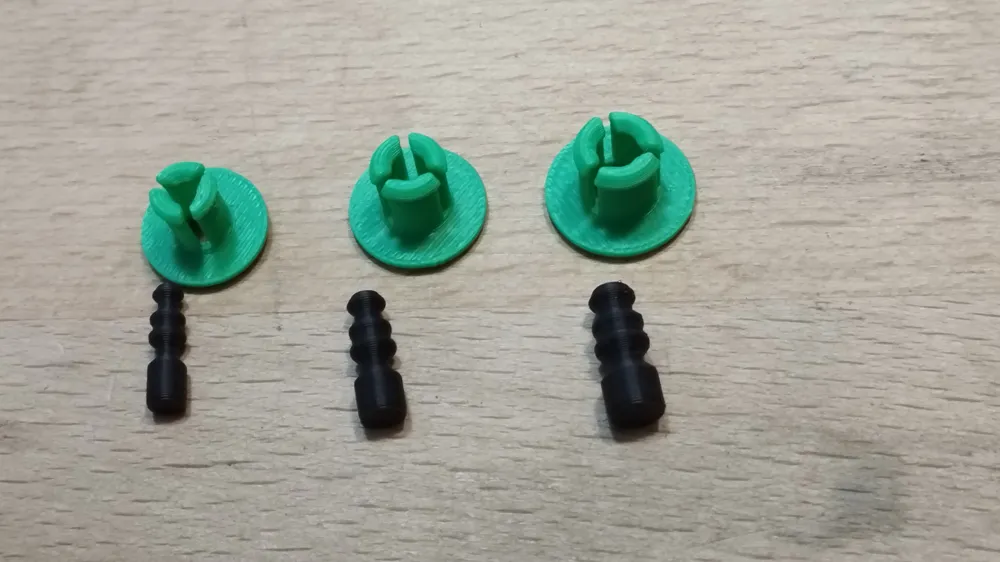
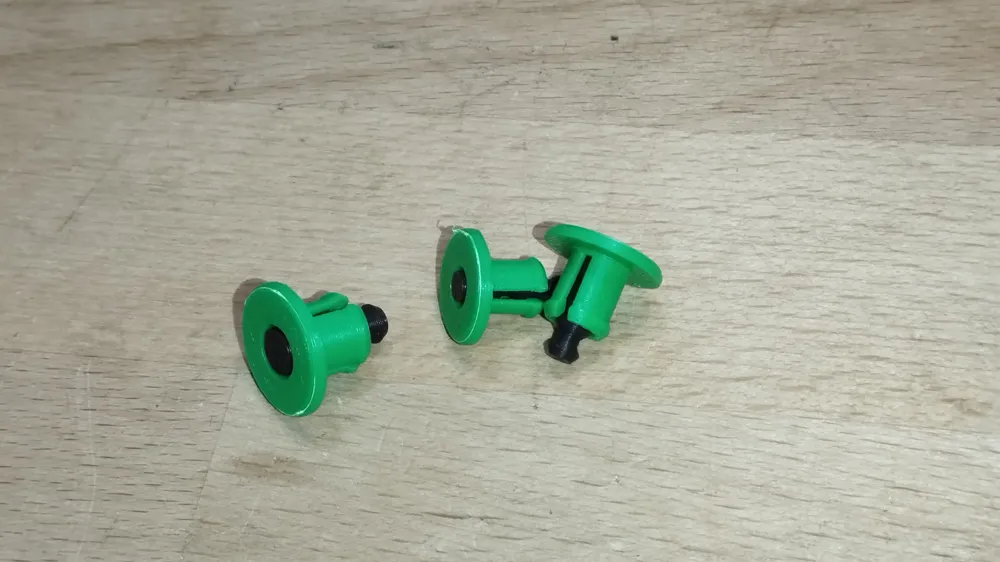
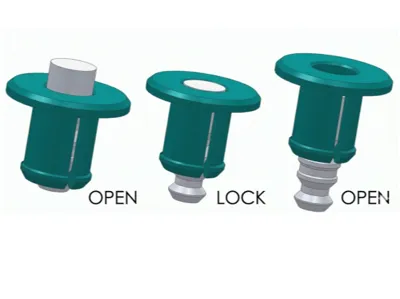
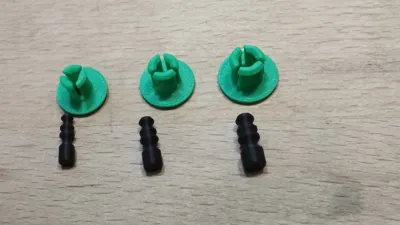
- Place the insert so that it protrudes from the head side of the pin.
- Put the pin into the hole.
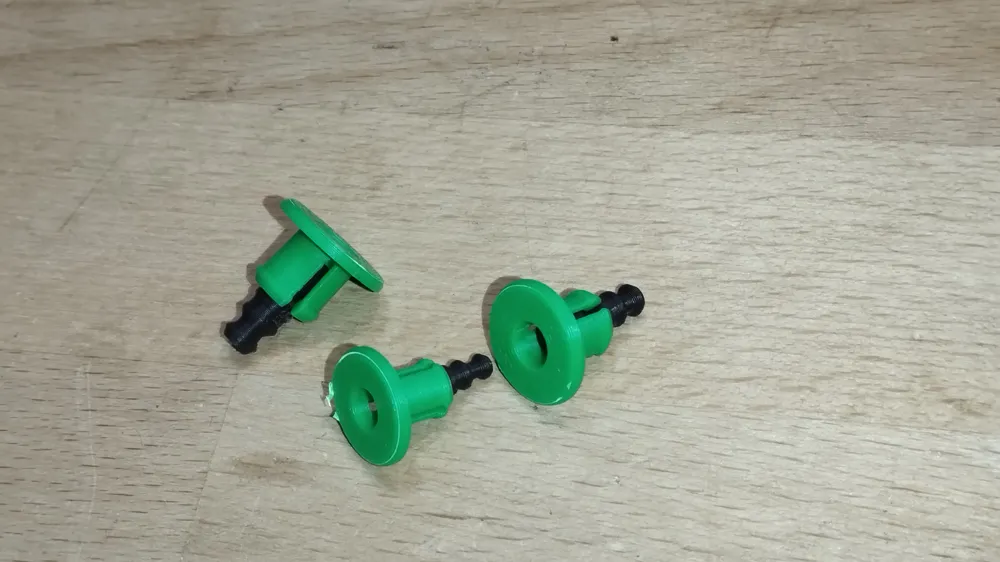
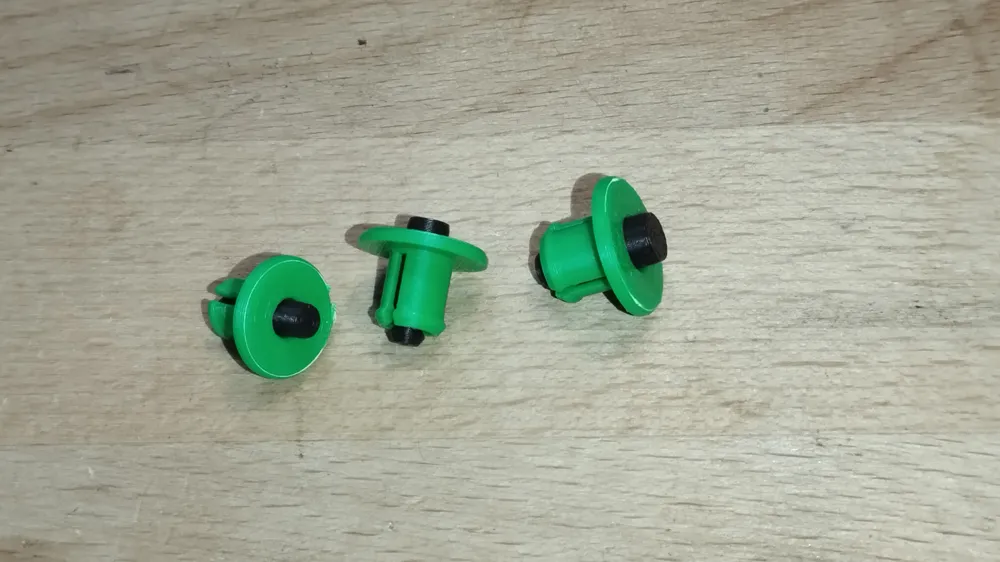
- Push the insert until it is flush with the pin’s head.
- To remove the pin, push the insert inward — the pin will unlock and can be withdrawn.
Printing notes:
- Print at least two parts at a time to improve cooling.
- For the inserts, I suggest using a brim.
- Use filament with good layer adhesion.
- For indor aon oudor stuff PLA is good enough.
- For higher temperature resistance, I recomend to print with PET, PC, PA or BAMBU TPU for AMS.
Important:
Avoid using old or moisture-exposed filament.
Aged filament is usually much more brittle and has noticeably worse layer adhesion than fresh material.
I strongly recommend against using old leftover filament for these parts.
License

You may create derivative works based on this object, provided that all such derivative works are published exclusively on the MakerWorld platform and include proper attribution to the original creator. You may not share, upload, host, distribute, or publish this object—or any derivative work of this object—on any other digital platform, marketplace, or distribution channel. Commercial use of this object and any derivative works is strictly prohibited. This includes, but is not limited to, selling, renting, sublicensing, or using the object in any context in which you receive monetary compensation or other financial benefits.


Comment & Rating (110)