
Fully customizable Box
Print Profile(1)

Description
Boost Me (for free)
if You like it, Boost it (for free) ;-)
Before printing:
- Select model
- Right click > Split > To objects
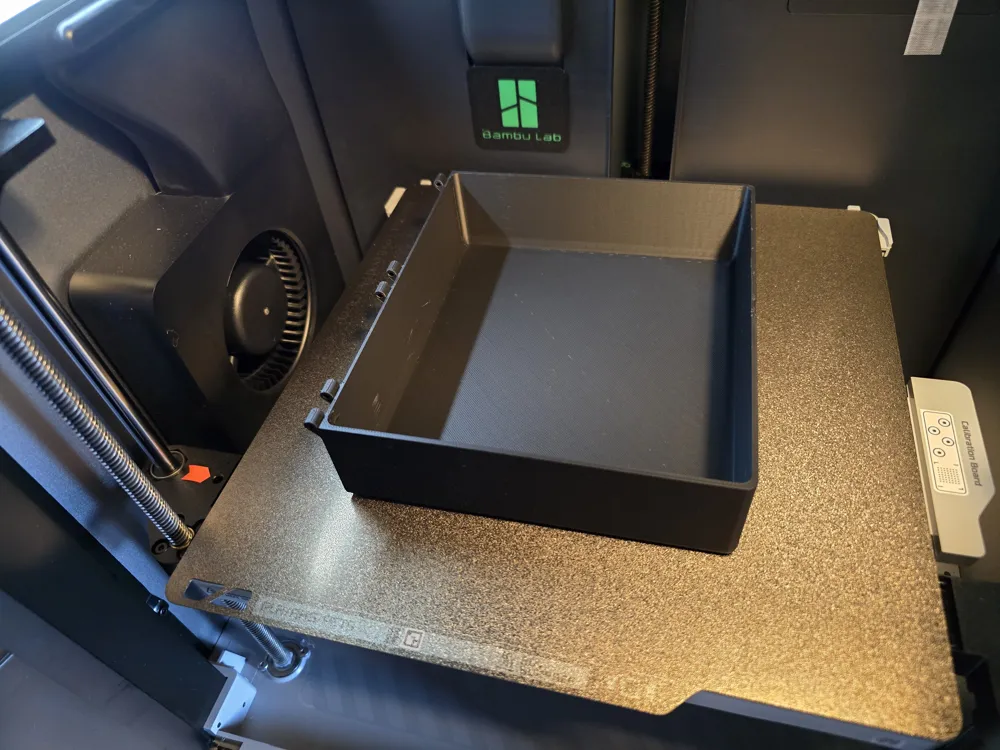
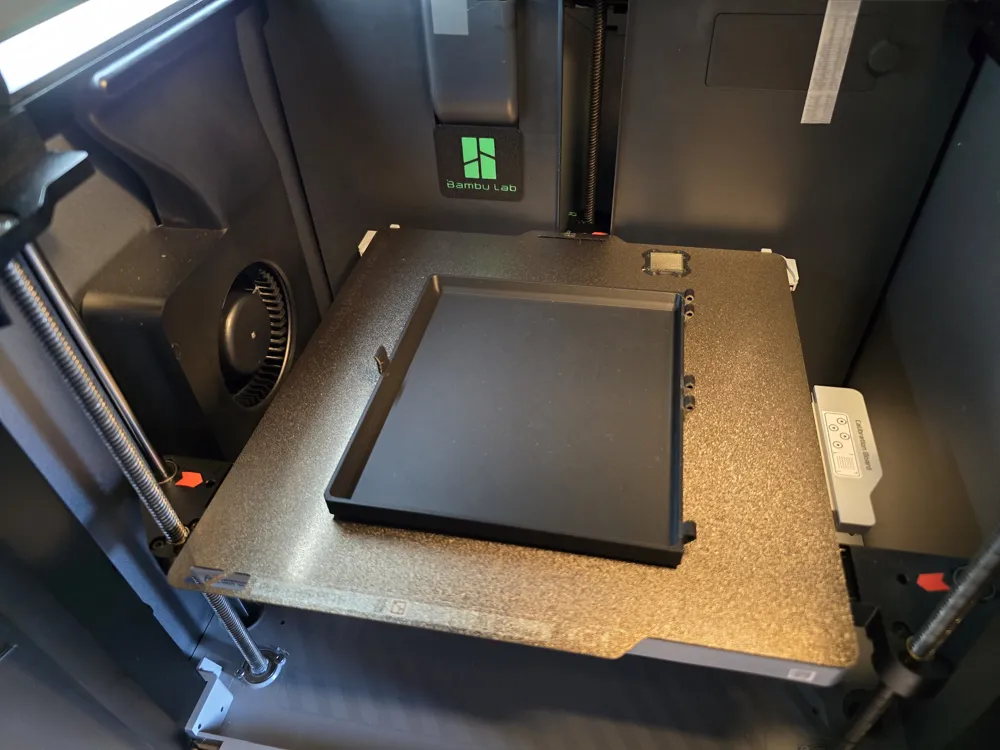
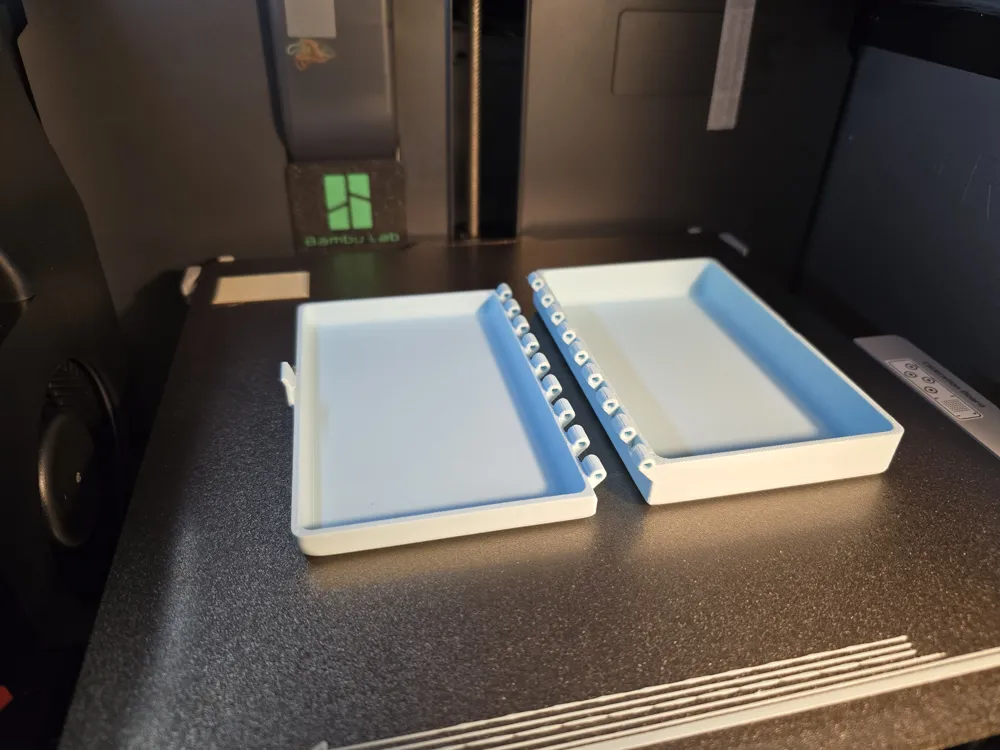
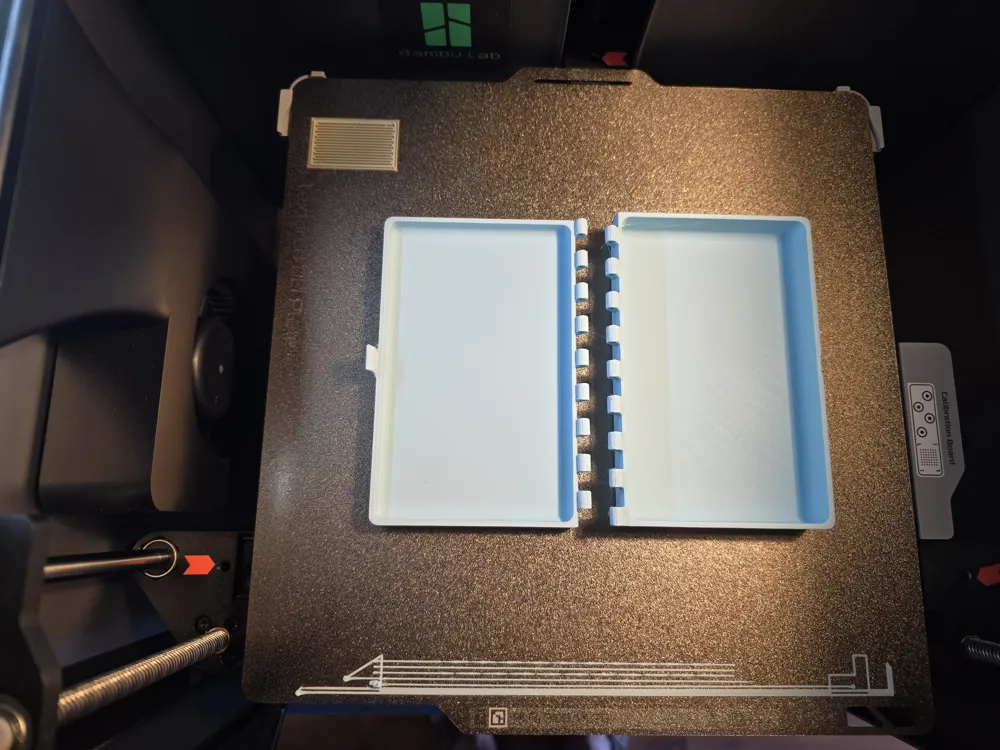
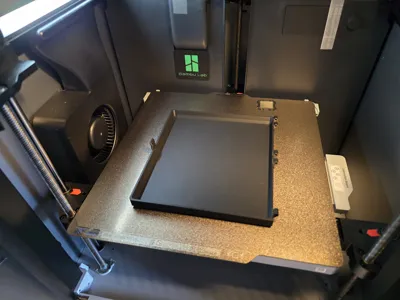
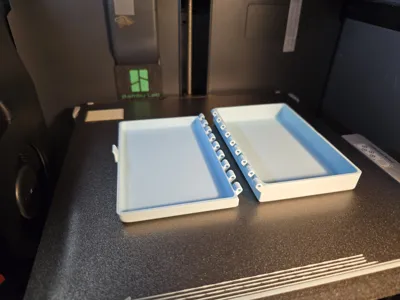
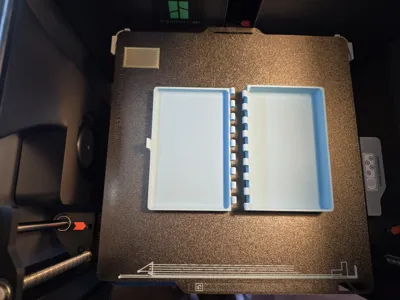
- slightly move the cover away from the base, possibly on a second plate if it is too large
- If the height of the base and the lid are identical, you can print the 2 parts at the same time, you just need to plan to gently separate them from each other.
PRINT SETTINGS
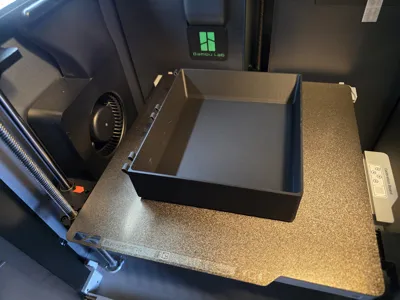
- This box does not require any support.
- For good adhesion, degrease the tray well with hot water and dishwashing liquid.
- Fairly thin layer height (0.2 max) so that the hinge holes are quite precise
- 3 or 4 bottom and top shell layers for a good finish.
- 3 walls for strength.
- For boxes containing food, provide a compatible filament.
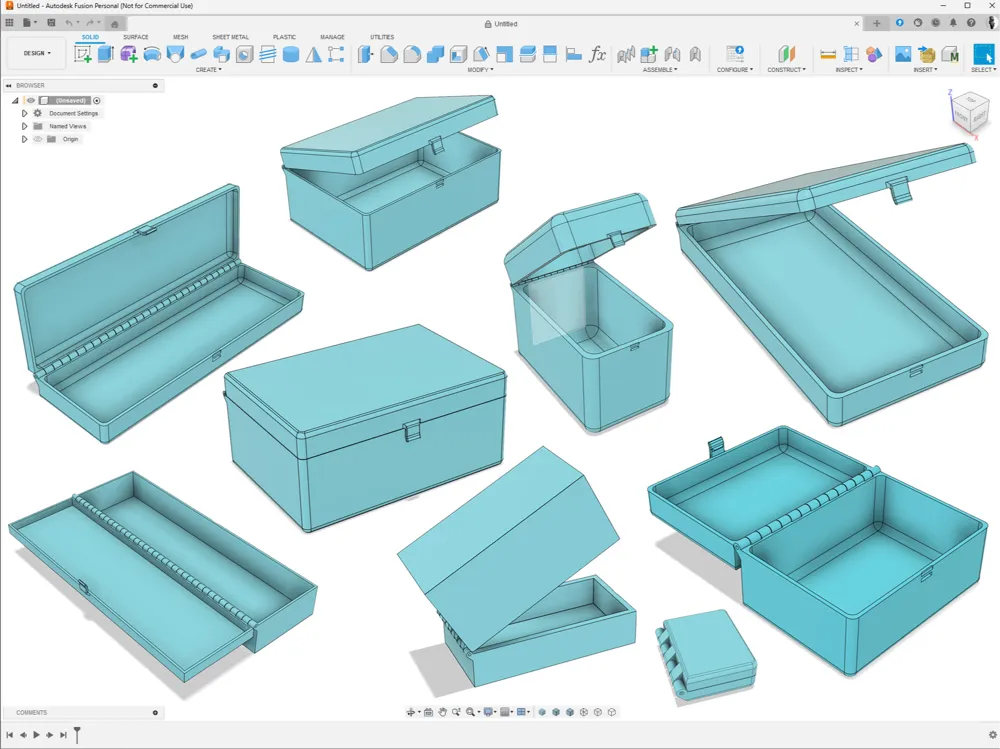
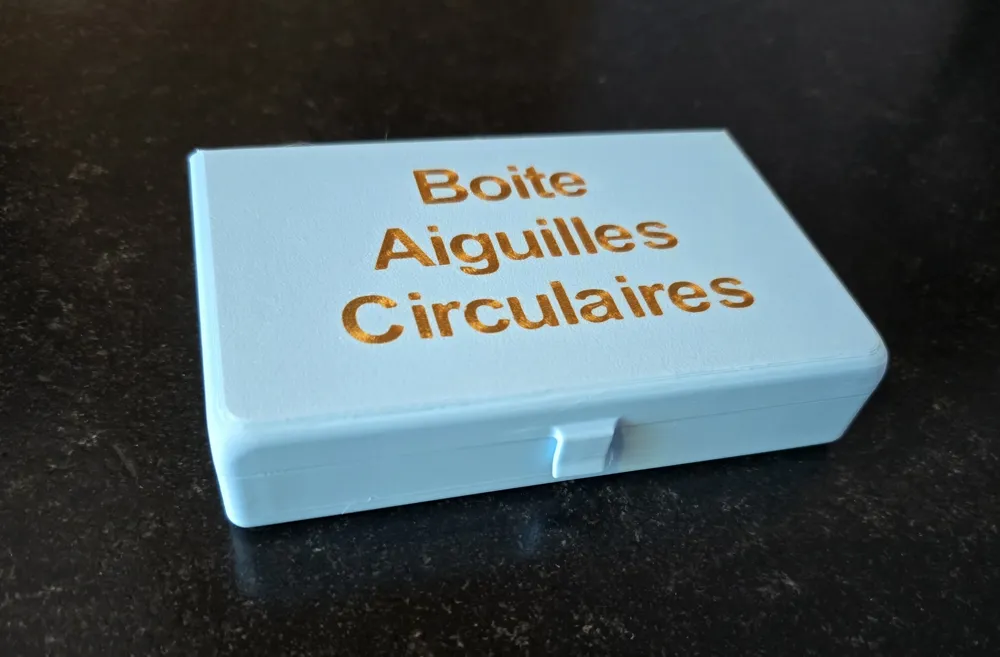
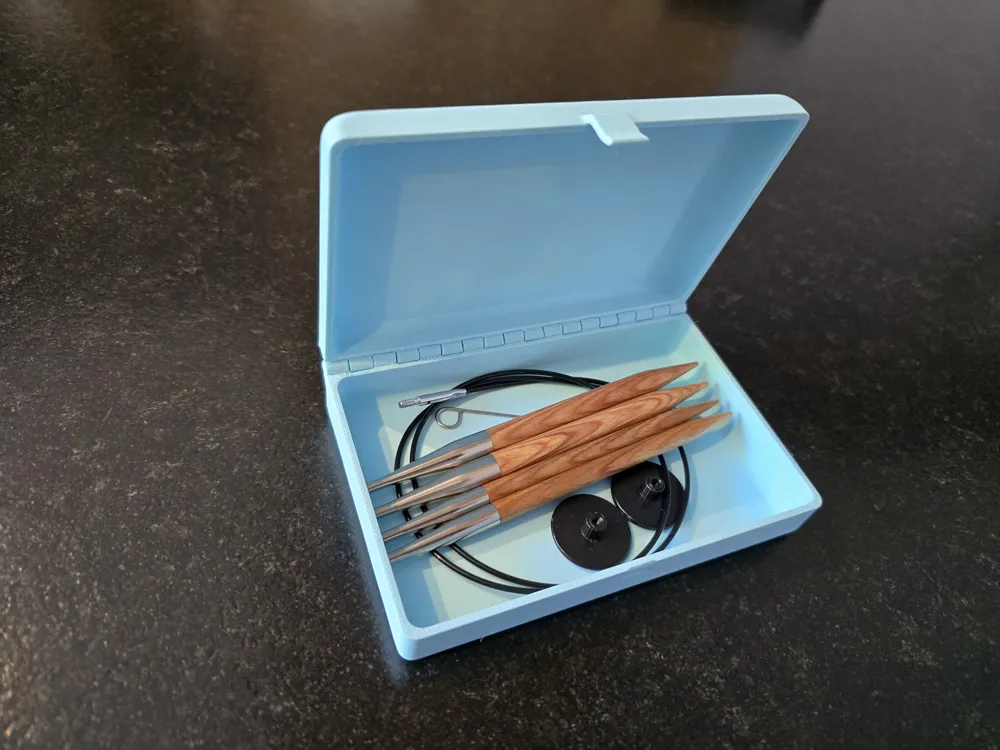
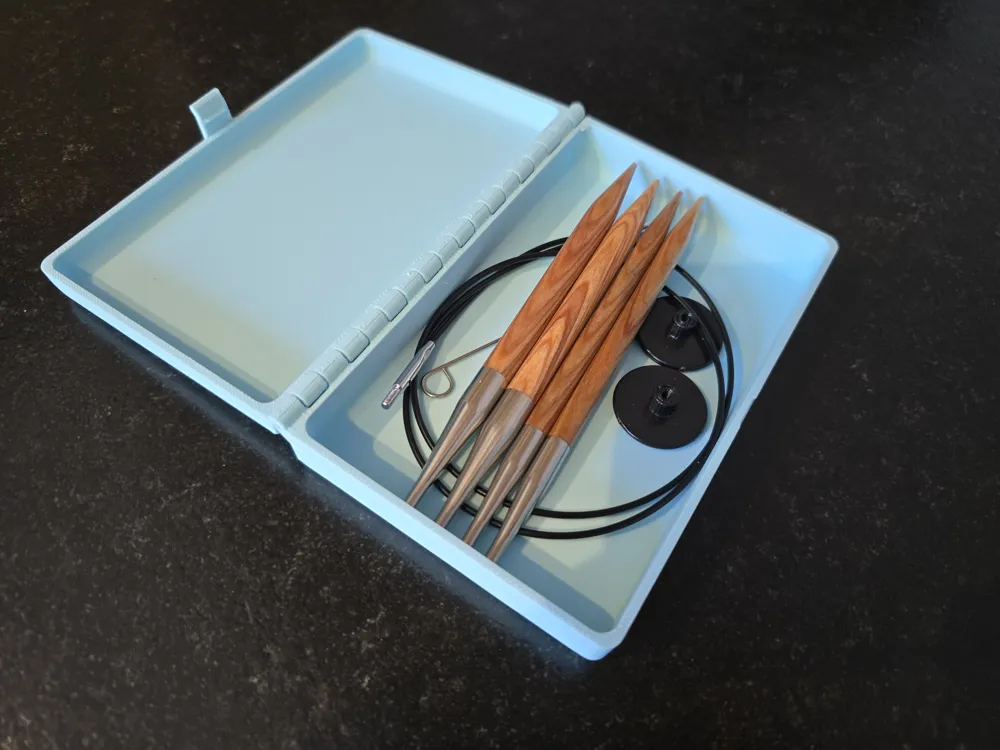
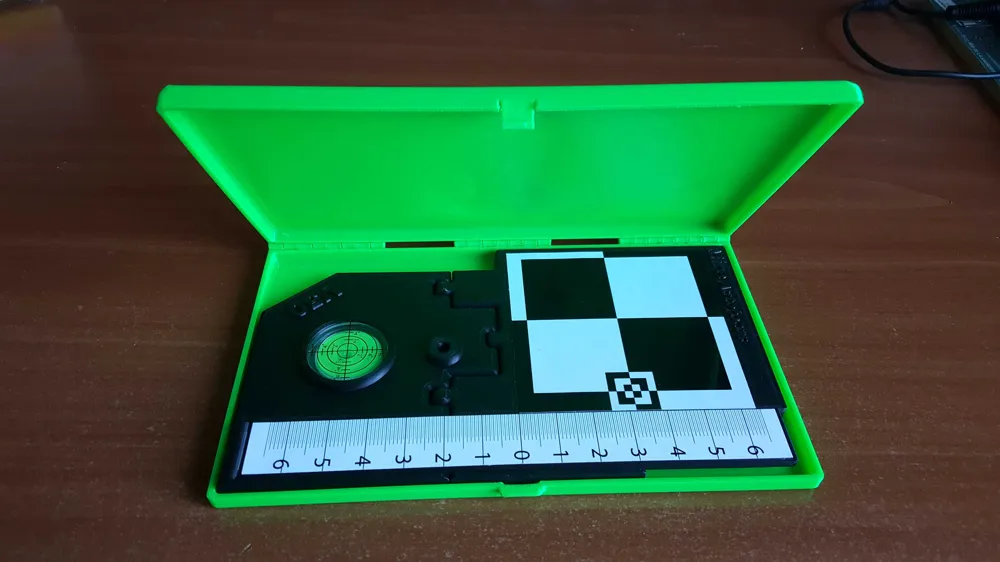
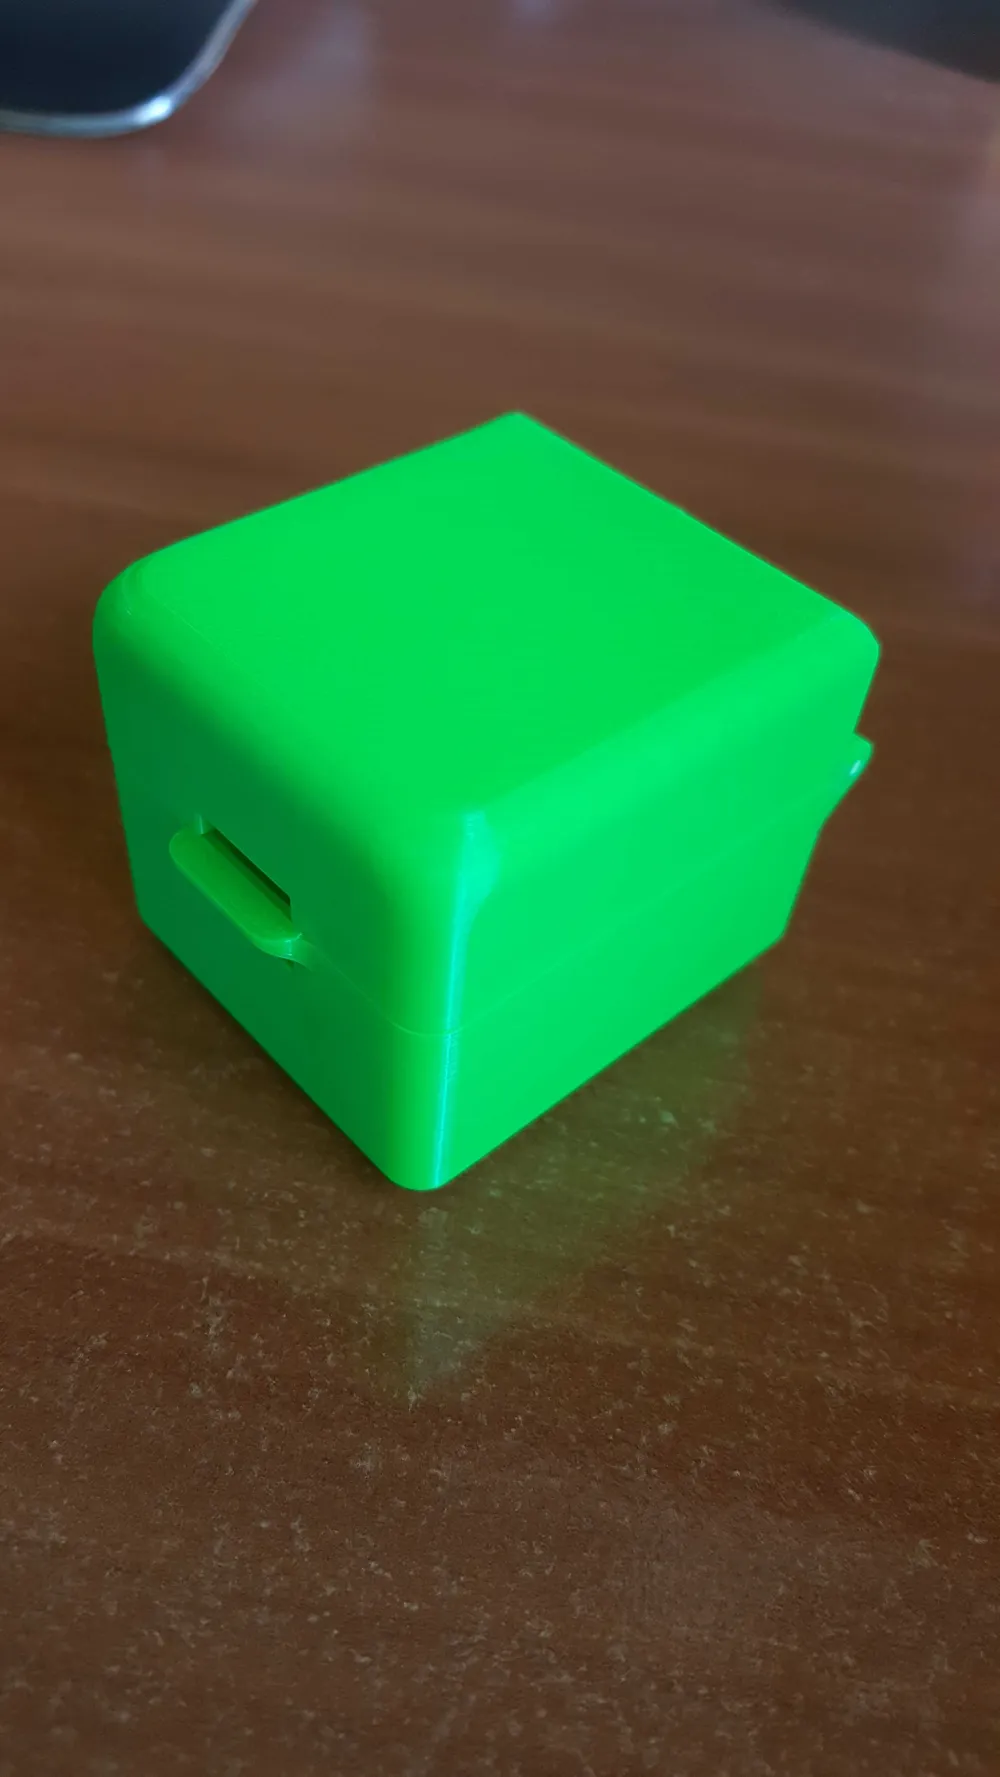
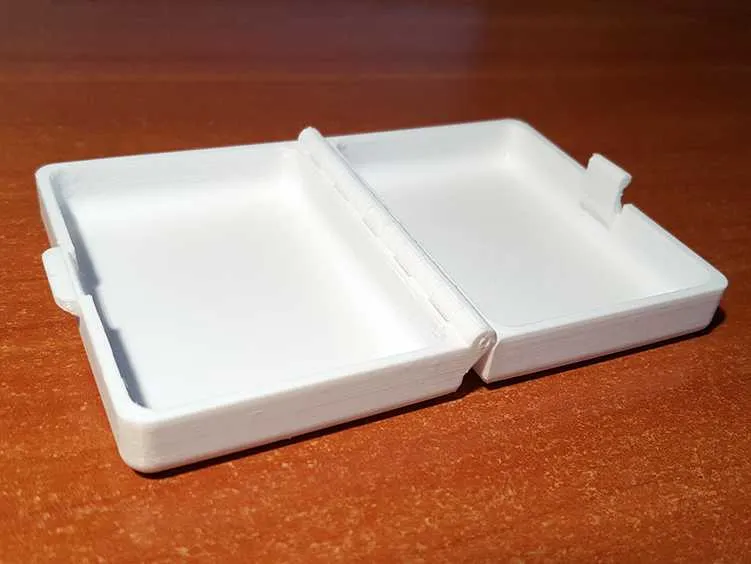
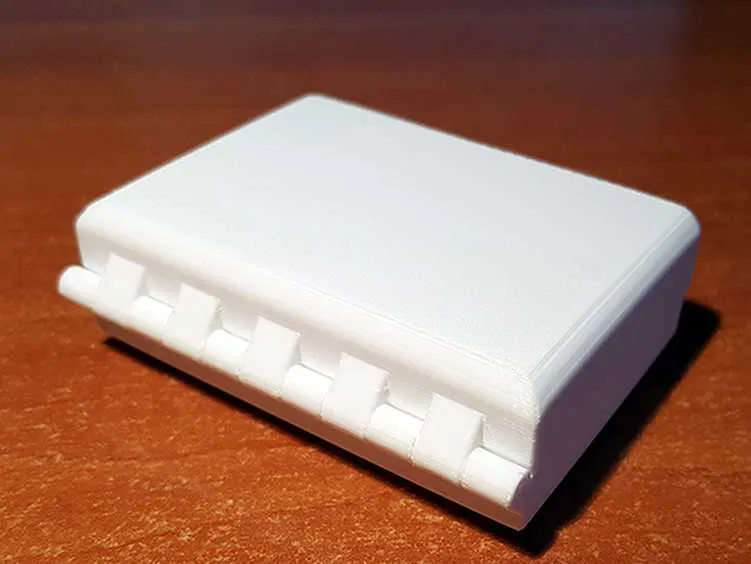
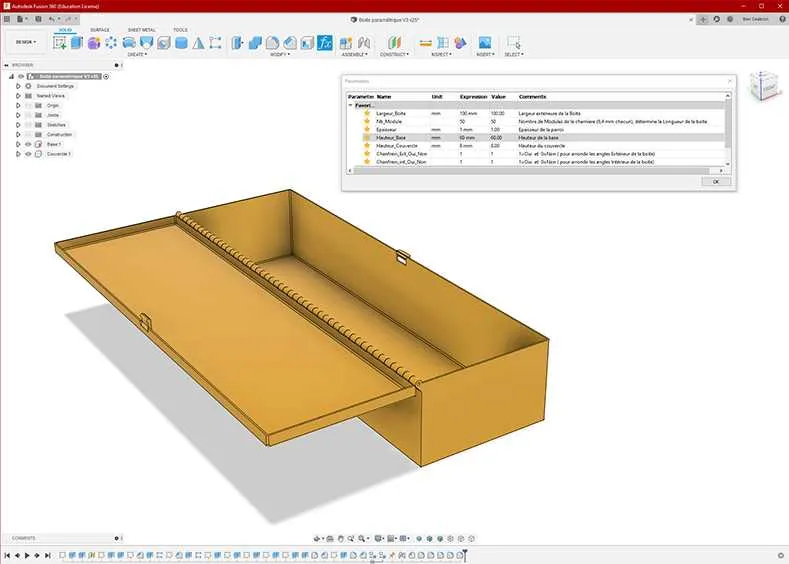
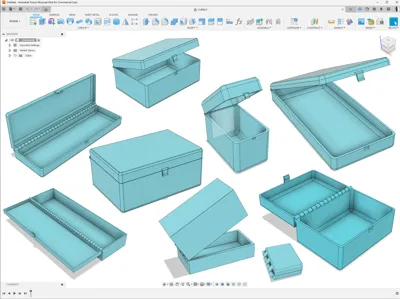
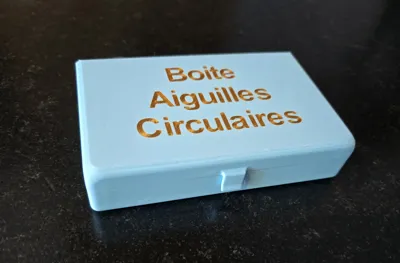
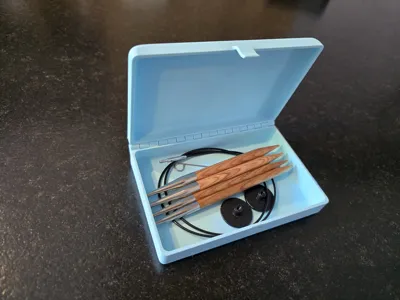
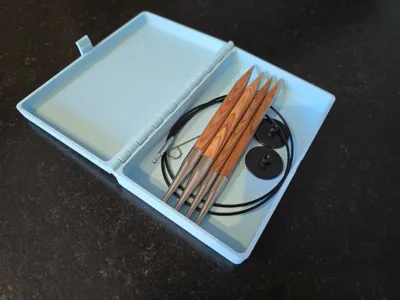
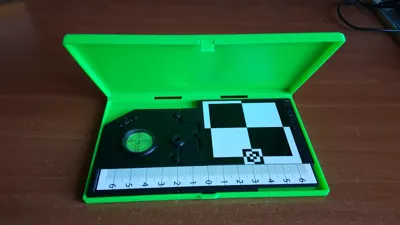
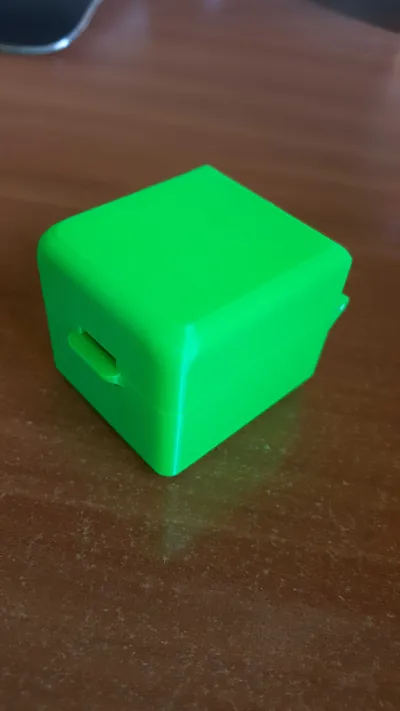
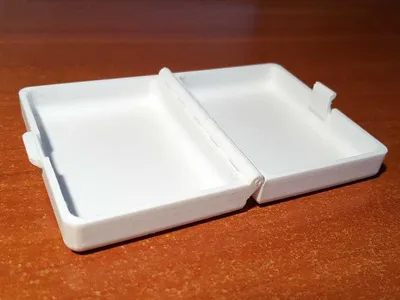
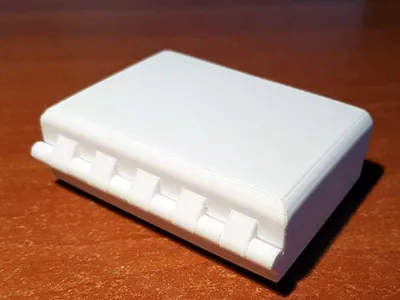
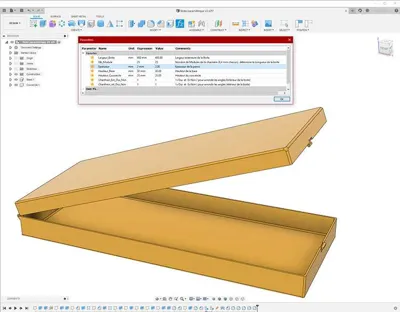
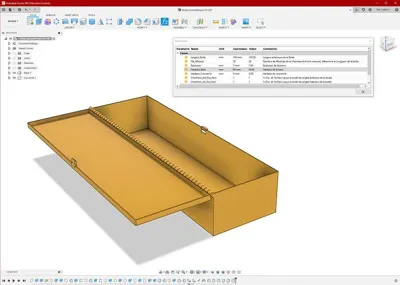
Box with hinge and clasp fully configurable under Fusion 360 and fully printable on MakerWorld or in Fusion 360.
After printing, insert 1.75 mm filament into the holes as an axis for the hinge.
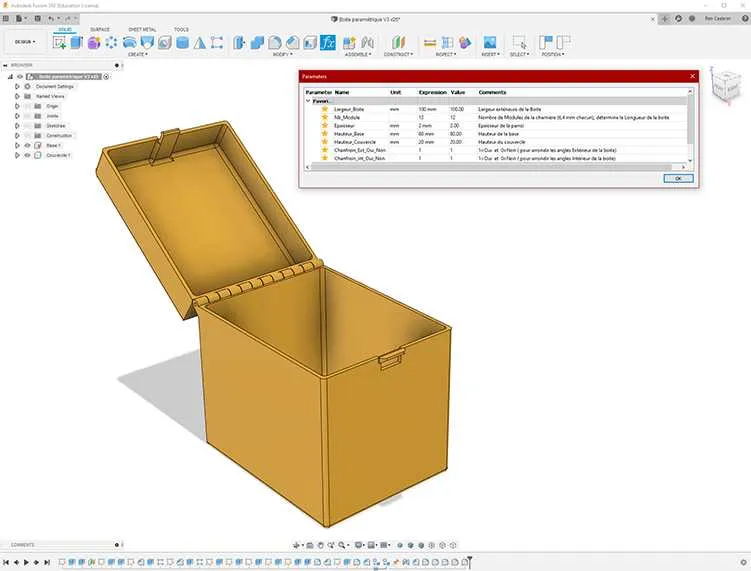
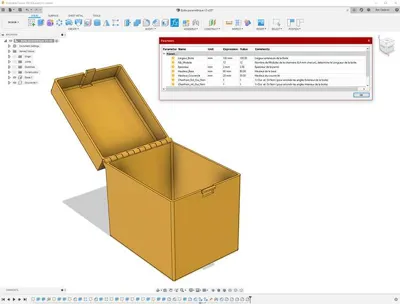
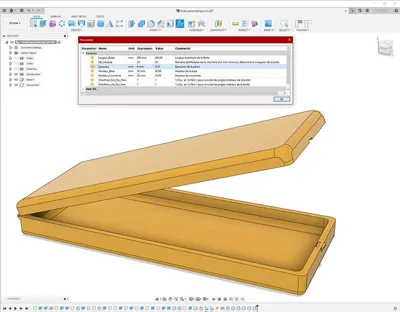
In Fusion 360 you can operate the cover with the mouse to open and close the box (the parameters dialog box must be closed).
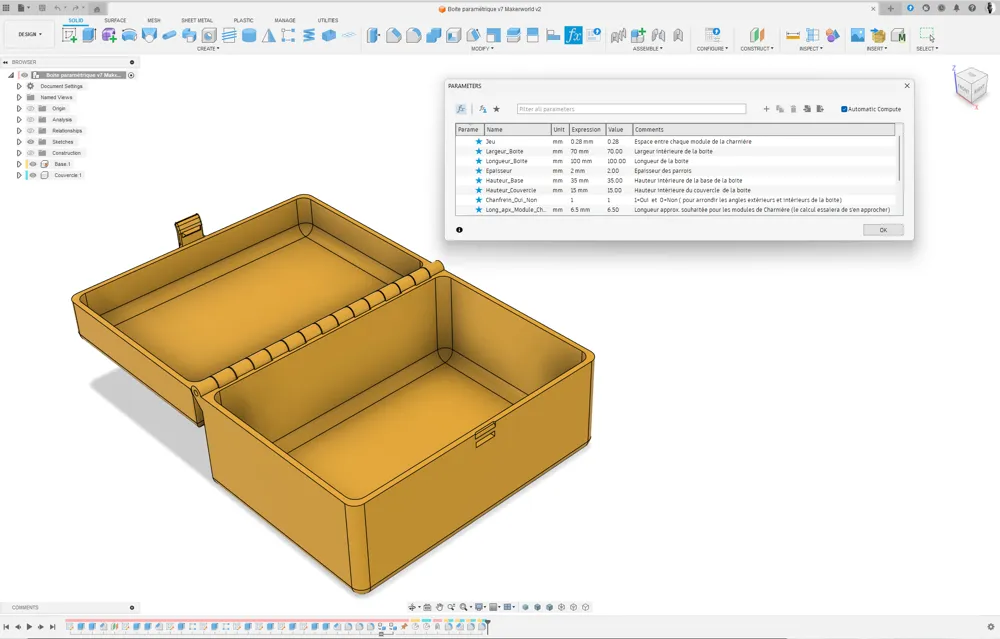
Under Fusion to access the settings :
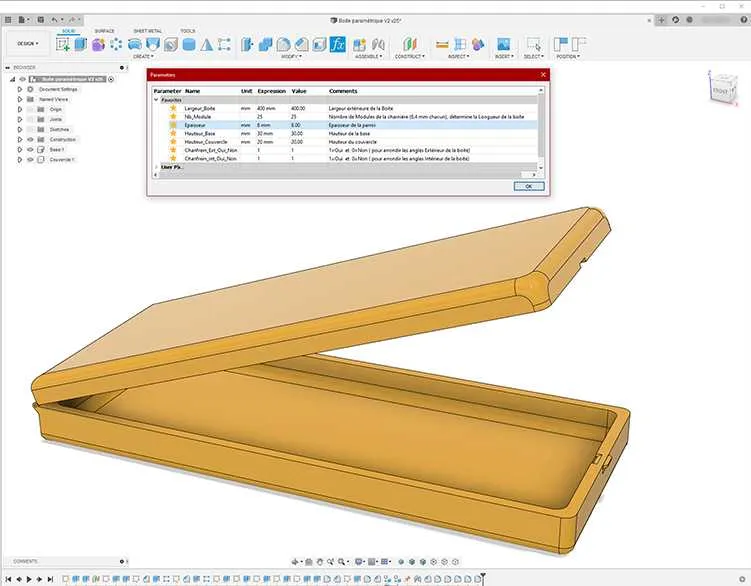
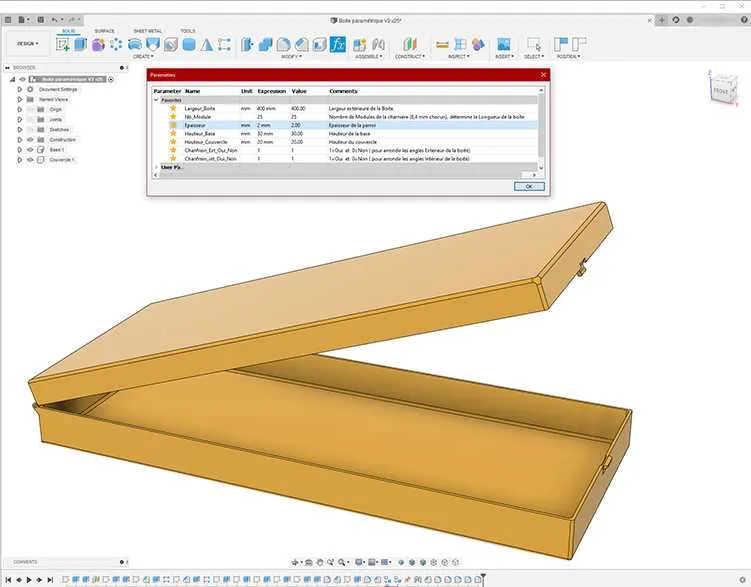
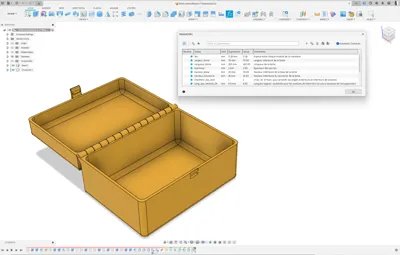
In the DESIGN space > MODIFY > fx change parameters
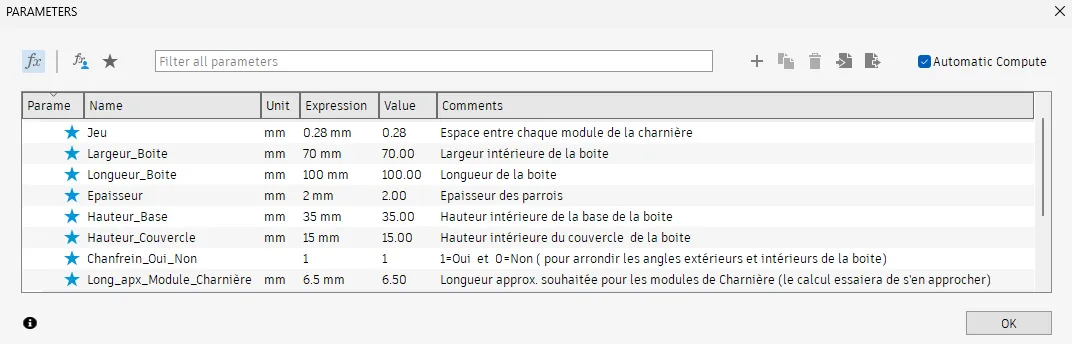
You then access a table, the "Name" column contains the name of the variable and "Comment" an explanation.
All you have to do is change the values in the "Expression" column
All values are in mm except "Chamfer_Yes_No" which can contain 1 for Yes or 0 for No, in order to round the corners and the inner and outer edges of the box.
The editable parameters are as follows:
- Inside width of the box
- Inside Length of the box
- Thickness of the walls
- Inside height of the base of the Box
- Inside height of the lid of the box
- Chamfering edges and angles to round them : 1=Yes or 0=No
- Approximate length desired for the modules of the hinge (the calculation will try to approach it)
- Jeu :horizontal spacing between each hinge module
Enter consistent values in the table, the program does not check for errors or aberrations.
In case of problem : exit the model without saving, and reload it to restart with the default values.
The most experienced among you will be able to remove a few hinges using the Delete option in the Rectangular Patterns
_______________________________________
Before printing:
- Select model
- Right click > Split > To objects
- slightly move the cover away from the base, possibly on a second build plate if it is too large
- If the height of the base and the lid are identical, you can print the 2 parts at the same time, you just need to plan to gently separate them from each other
PRINT SETTINGS
- This box does not require any support
- For good adhesion, degrease the build plate well with hot water and dishwashing liquid
- Fairly thin layer height (0.2 max) so that the hinge holes are quite precise
- 3 or 4 bottom and top shell layers for a good finish
- 3 walls for strength
- For boxes containing food, provide a compatible filament
Box with hinge and clasp fully configurable on MakerWorld or in Fusion 360
After printing, insert 1.75 mm filament into the holes as an axis for the hinge
In Fusion 360 you can operate the cover with the mouse to open and close the box (the parameters dialog box must be closed)
Under Fusion to access the settings :
In the DESIGN space > MODIFY > fx change parameters
You then access a table, the "Name" column contains the name of the variable and "Comment" an explanation
All you have to do is change the values in the "Expression" column according to your wishes
All values are in mm except "Chamfer_Yes_No" which can contain 1 for Yes or 0 for No, in order to round the corners and the inner and outer edges of the box
The editable parameters are as follows :
- Inside width of the box
- Inside Length of the box
- Thickness of the walls
- Inside height of the base of the Box
- Inside height of the lid of the Box
- Chamfering edges and angles to round them : Yes or No
- Approximate length desired for the modules of the hinge (the calculation will try to approach it)
- Clearance : horizontal spacing between each hinge module
Enter consistent values in the table, the program does not check for errors or aberrations
In case of problem : exit the model without saving, and reload it to restart with the default values
The most experienced among you will be able to remove a few hinges by using the Delete option in the Rectangular Patterns
License

You may create derivative works based on this object, provided that all such derivative works are published exclusively on the MakerWorld platform and include proper attribution to the original creator. You may not share, upload, host, distribute, or publish this object—or any derivative work of this object—on any other digital platform, marketplace, or distribution channel. Commercial use of this object and any derivative works is strictly prohibited. This includes, but is not limited to, selling, renting, sublicensing, or using the object in any context in which you receive monetary compensation or other financial benefits.


Comment & Rating (207)