Duplo Modular Train Station


Print Profile(6)


Description
Boost Me (for free)
Boosting really helps me out, and its free!
Thank you!
Hello fellow Bambu 3D printers!
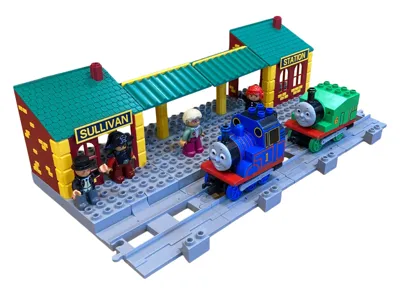
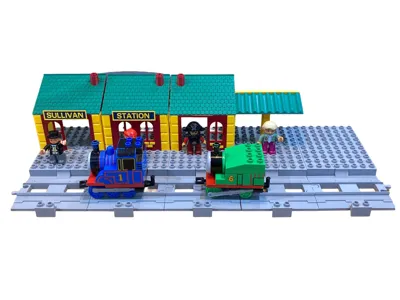
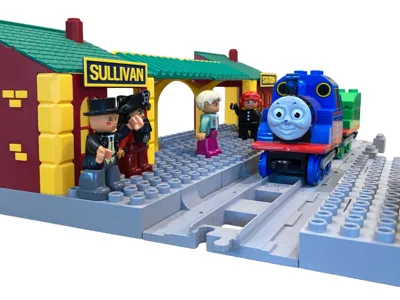
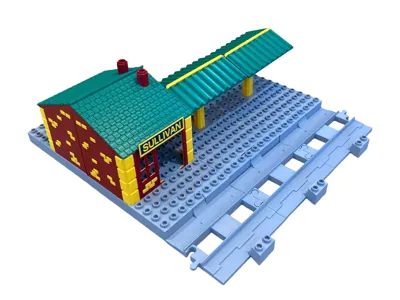
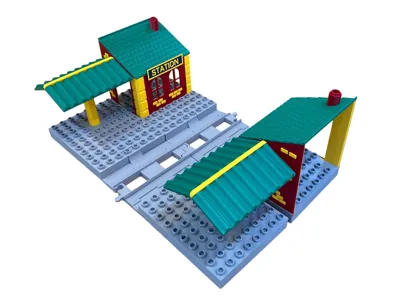
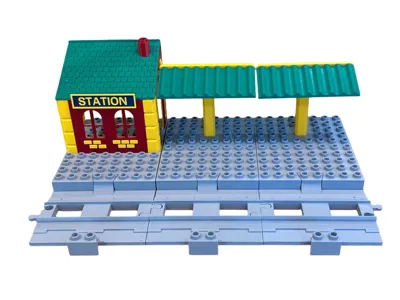
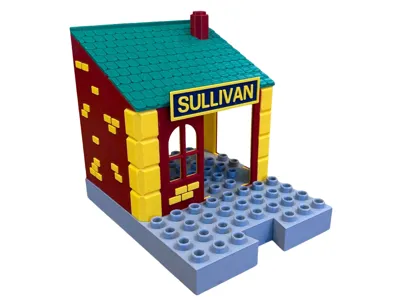
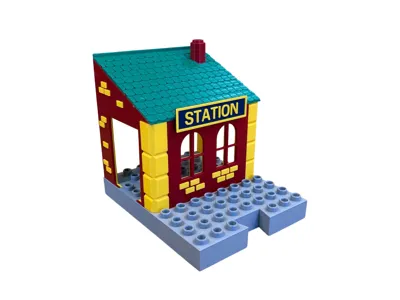
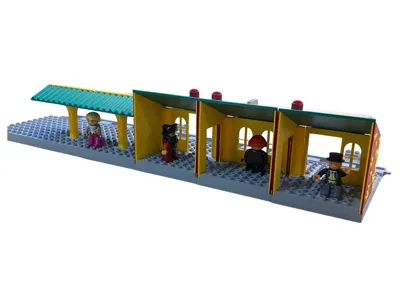
I designed and printed this Duplo compatible Modular train station for my 2 year old son for Christmas.I hope it brings you as much joy as it has for us!
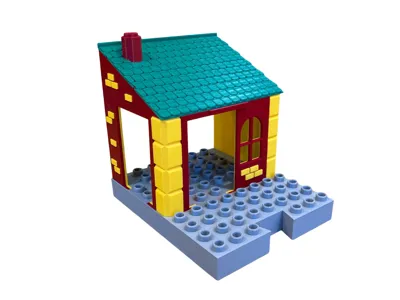
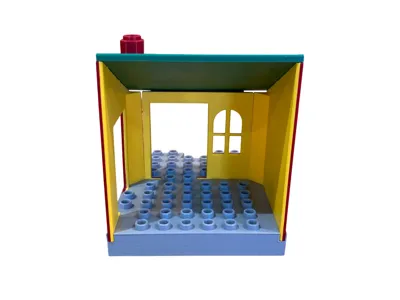
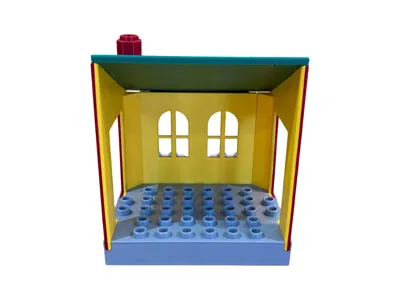
The station is made up of 6 modular parts that can be printed and slotted together in lots of fun combinations!
Print as many of the same modular parts as you like.
You can also customise the station signs!
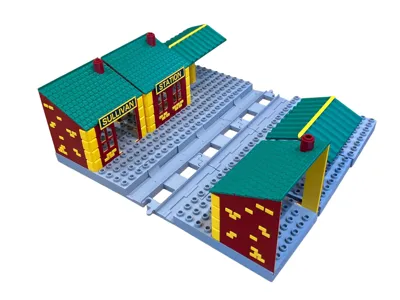
Modular parts:
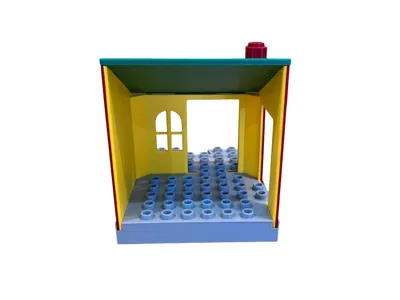
1. Station 1 (Door on the left)
2. Station 2 (Windows, no doors)
3. Station 3 (Door on the right)
4. Track piece (This connects everything together)
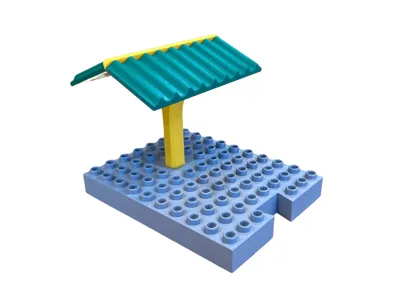
5. Platform + Canopy
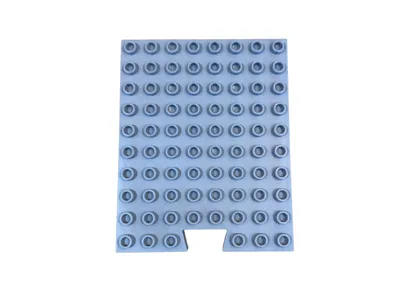
6. Empty Platform (Use existing duplo blocks to build!)
Printing + Assembly instructions:
Single colour printing:
The collection is suitable for Single colour printing, and fits on even the smallest print beds (A1 mini).
Layer Height + Infill:
I printed everything on: 0.20mm Standard @BBL A1, Infill at 15%
Material:
I used Bambu PLA Basic for everything.
Except the sign backing (because i wanted a specific colour) - but you can use basic!
Supports:
I designed the collection to have very minimal Supports (just 1 piece) and some brims here and there for adhesion. Overall its very efficient.
Glue:
Once printed parts need to be glued together (I use standard super glue)
Tolerances:
I have tested and printed all parts and they fit together nicely!
Some parts might need a tiny bit of persuasion but it holds together beautifully.
Alignment:
Wall Parts fit into deep grooves in the floor to keep the structure solid.

The Corner blocks fit nicely into the grooves of the floor.
Youll notice that one part of the block is slightly longer than the rest. This longer part is the bottom.
The correct orientation is seen below:

The Inner walls slot perfectly through the outer walls to give a 2 tone brick + wall colour. This also helps for perfect alignment of the pieces.
Tip: Before gluing walls together, double check you have the correct pieces. 1 inner wall should fit perfectly to 1 outer wall. Put glue on the inner wall (the one with the bricks) and then place the outer wall on top of it. It will slot together with a satisfying click!

The walls also include small studs at the very top to help align the roof.

Everything else is pretty obvious how it fit and glue together!
Customise your station sign:
1. In Bambu Studio select the plate with the sign
2. Go to objects under process tab. Find the Text shape then click it.
3. On the tool bar press 'text shape'
4. Edit your text to whatever you want!


Colours:
Parts can be coloured however you like!
For this project I used all Bambu filaments:
1. Gray (10103) - PLA Basic
2. Sunflower Yellow (10402) - PLA Basic
3. Maroon Red (10205) - PLA Basic
4. Mistletoe Green (10502) - PLA Basic
5. Dark Blue (11602) - PLA Matte
Happy Printing + Playing!
License
You shall not share, sub-license, sell, rent, host, transfer, or distribute in any way the digital or 3D printed versions of this object, nor any other derivative work of this object in its digital or physical format (including - but not limited to - remixes of this object, and hosting on other digital platforms). The objects may not be used without permission in any way whatsoever in which you charge money, or collect fees.
Comment & Rating (9)