
Heavy duty filament box tower trolley (even 100kg)
Print Profile(5)


Description
This model is a little more complicated than a regular print. The complication is that the bearings are very precise, but the prints are not. This is mainly caused by the fact that the filaments shrink to different sizes. But don't worry, I found the perfect solution so that you can print precisely from any filament and the bearings fit firmly, as the final load capacity will depend on this. It is important that before printing the parts, you print the calibration tool first from the material that the part will be made of. You can test the bearing fit in this and therefore be sure that you have printed the correct part. I will also give a very detailed description of the steps of printing and assembling. I apologize in advance if I overexplain, but I want you to succeed in this great box trolley perfectly.
How to print:
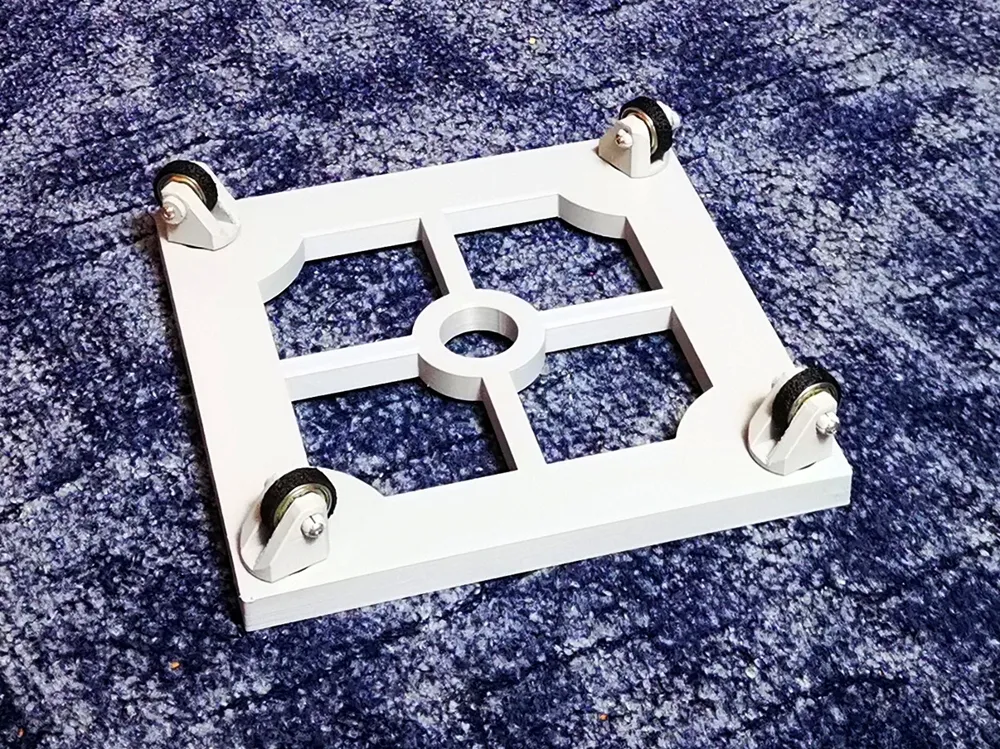
1. Print the trolley table:
I chose Bambu Lab PETG HS material. First, I printed the calibration tool and the spigot, and check whitch cavity gives the best and strong fits with my bearing, the material and my print settings. Before test please wait to cool down the calibration tool correctly. We can sand it gently because there may be burrs and blobs on the bearing's mating surface and these can easily lead to misalignment and you may choose the wrong cavity.
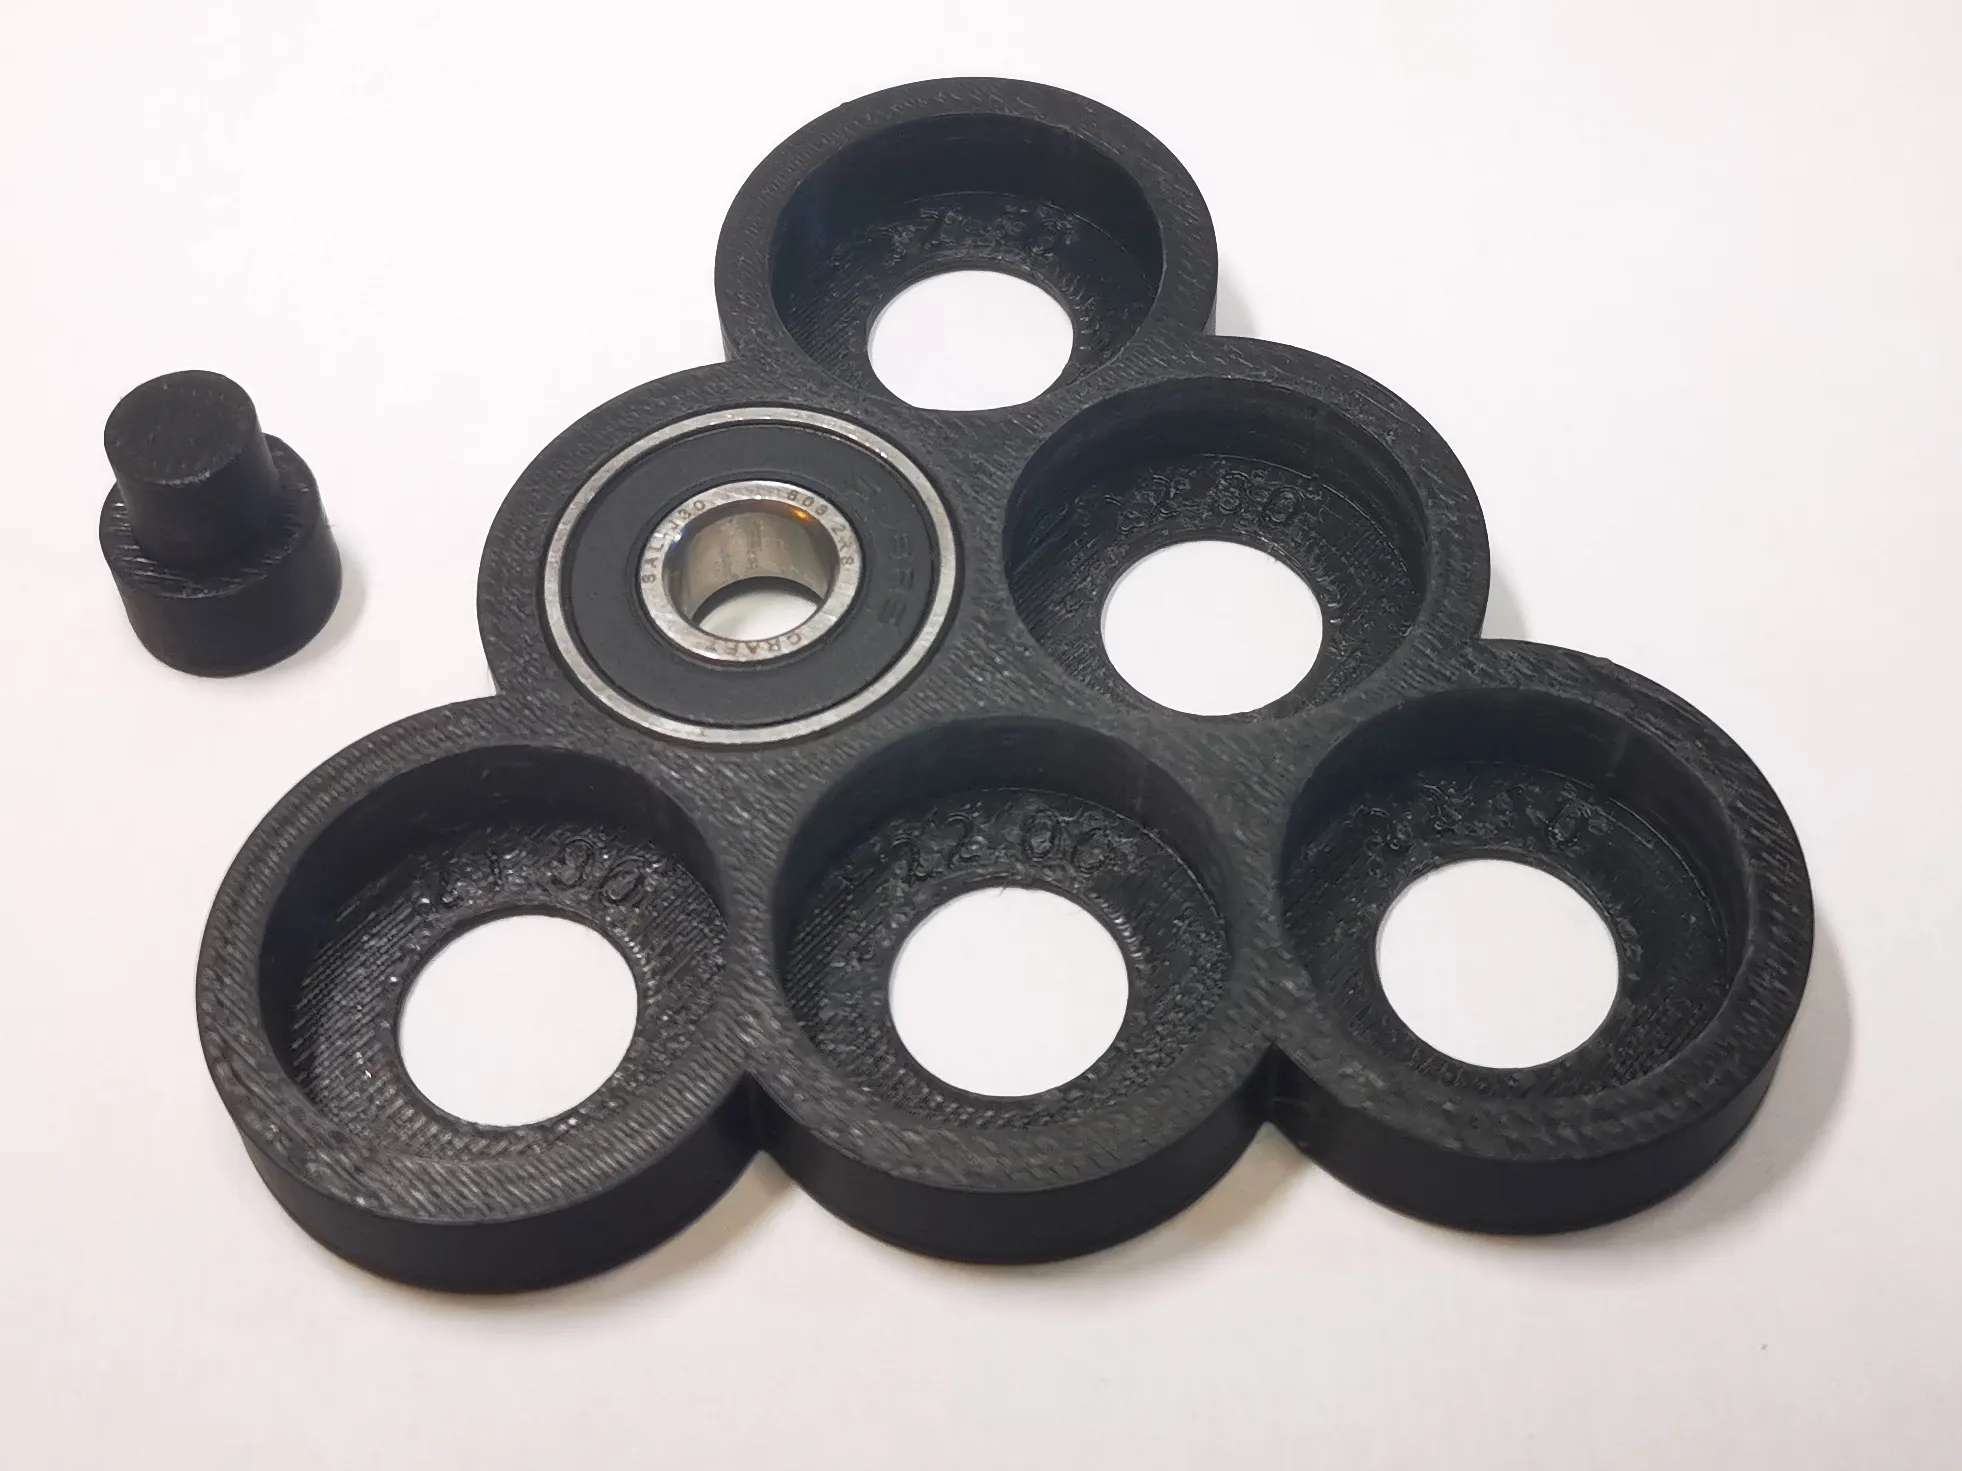

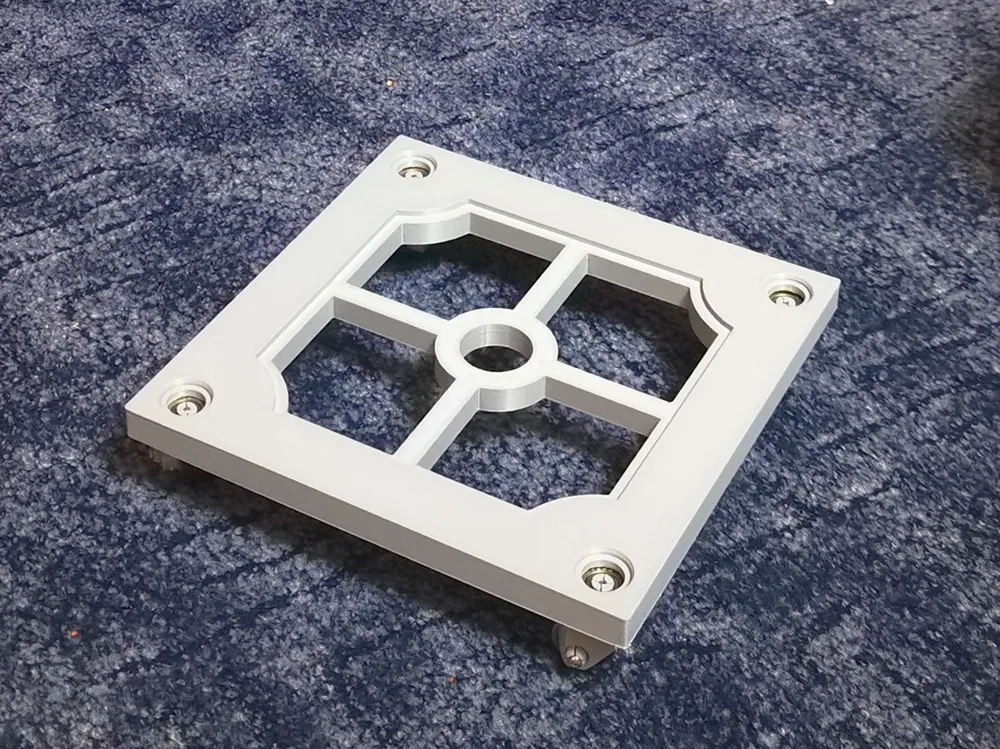
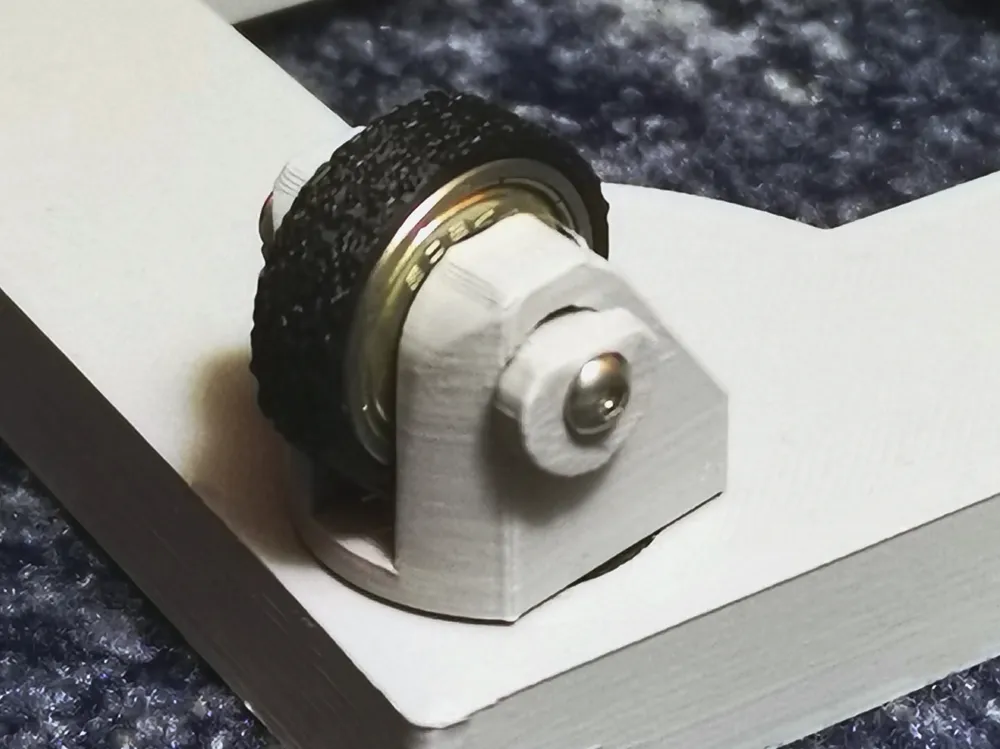
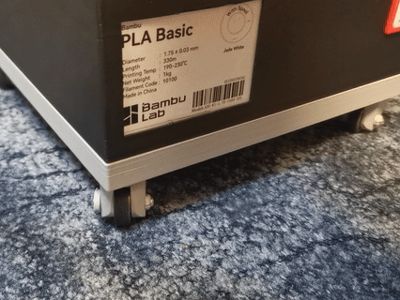
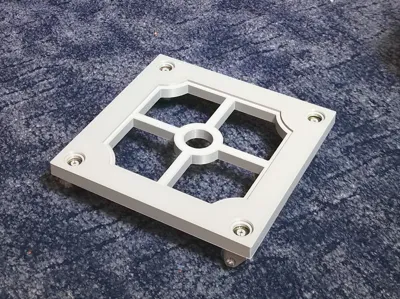
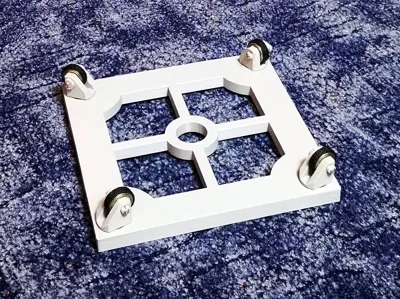
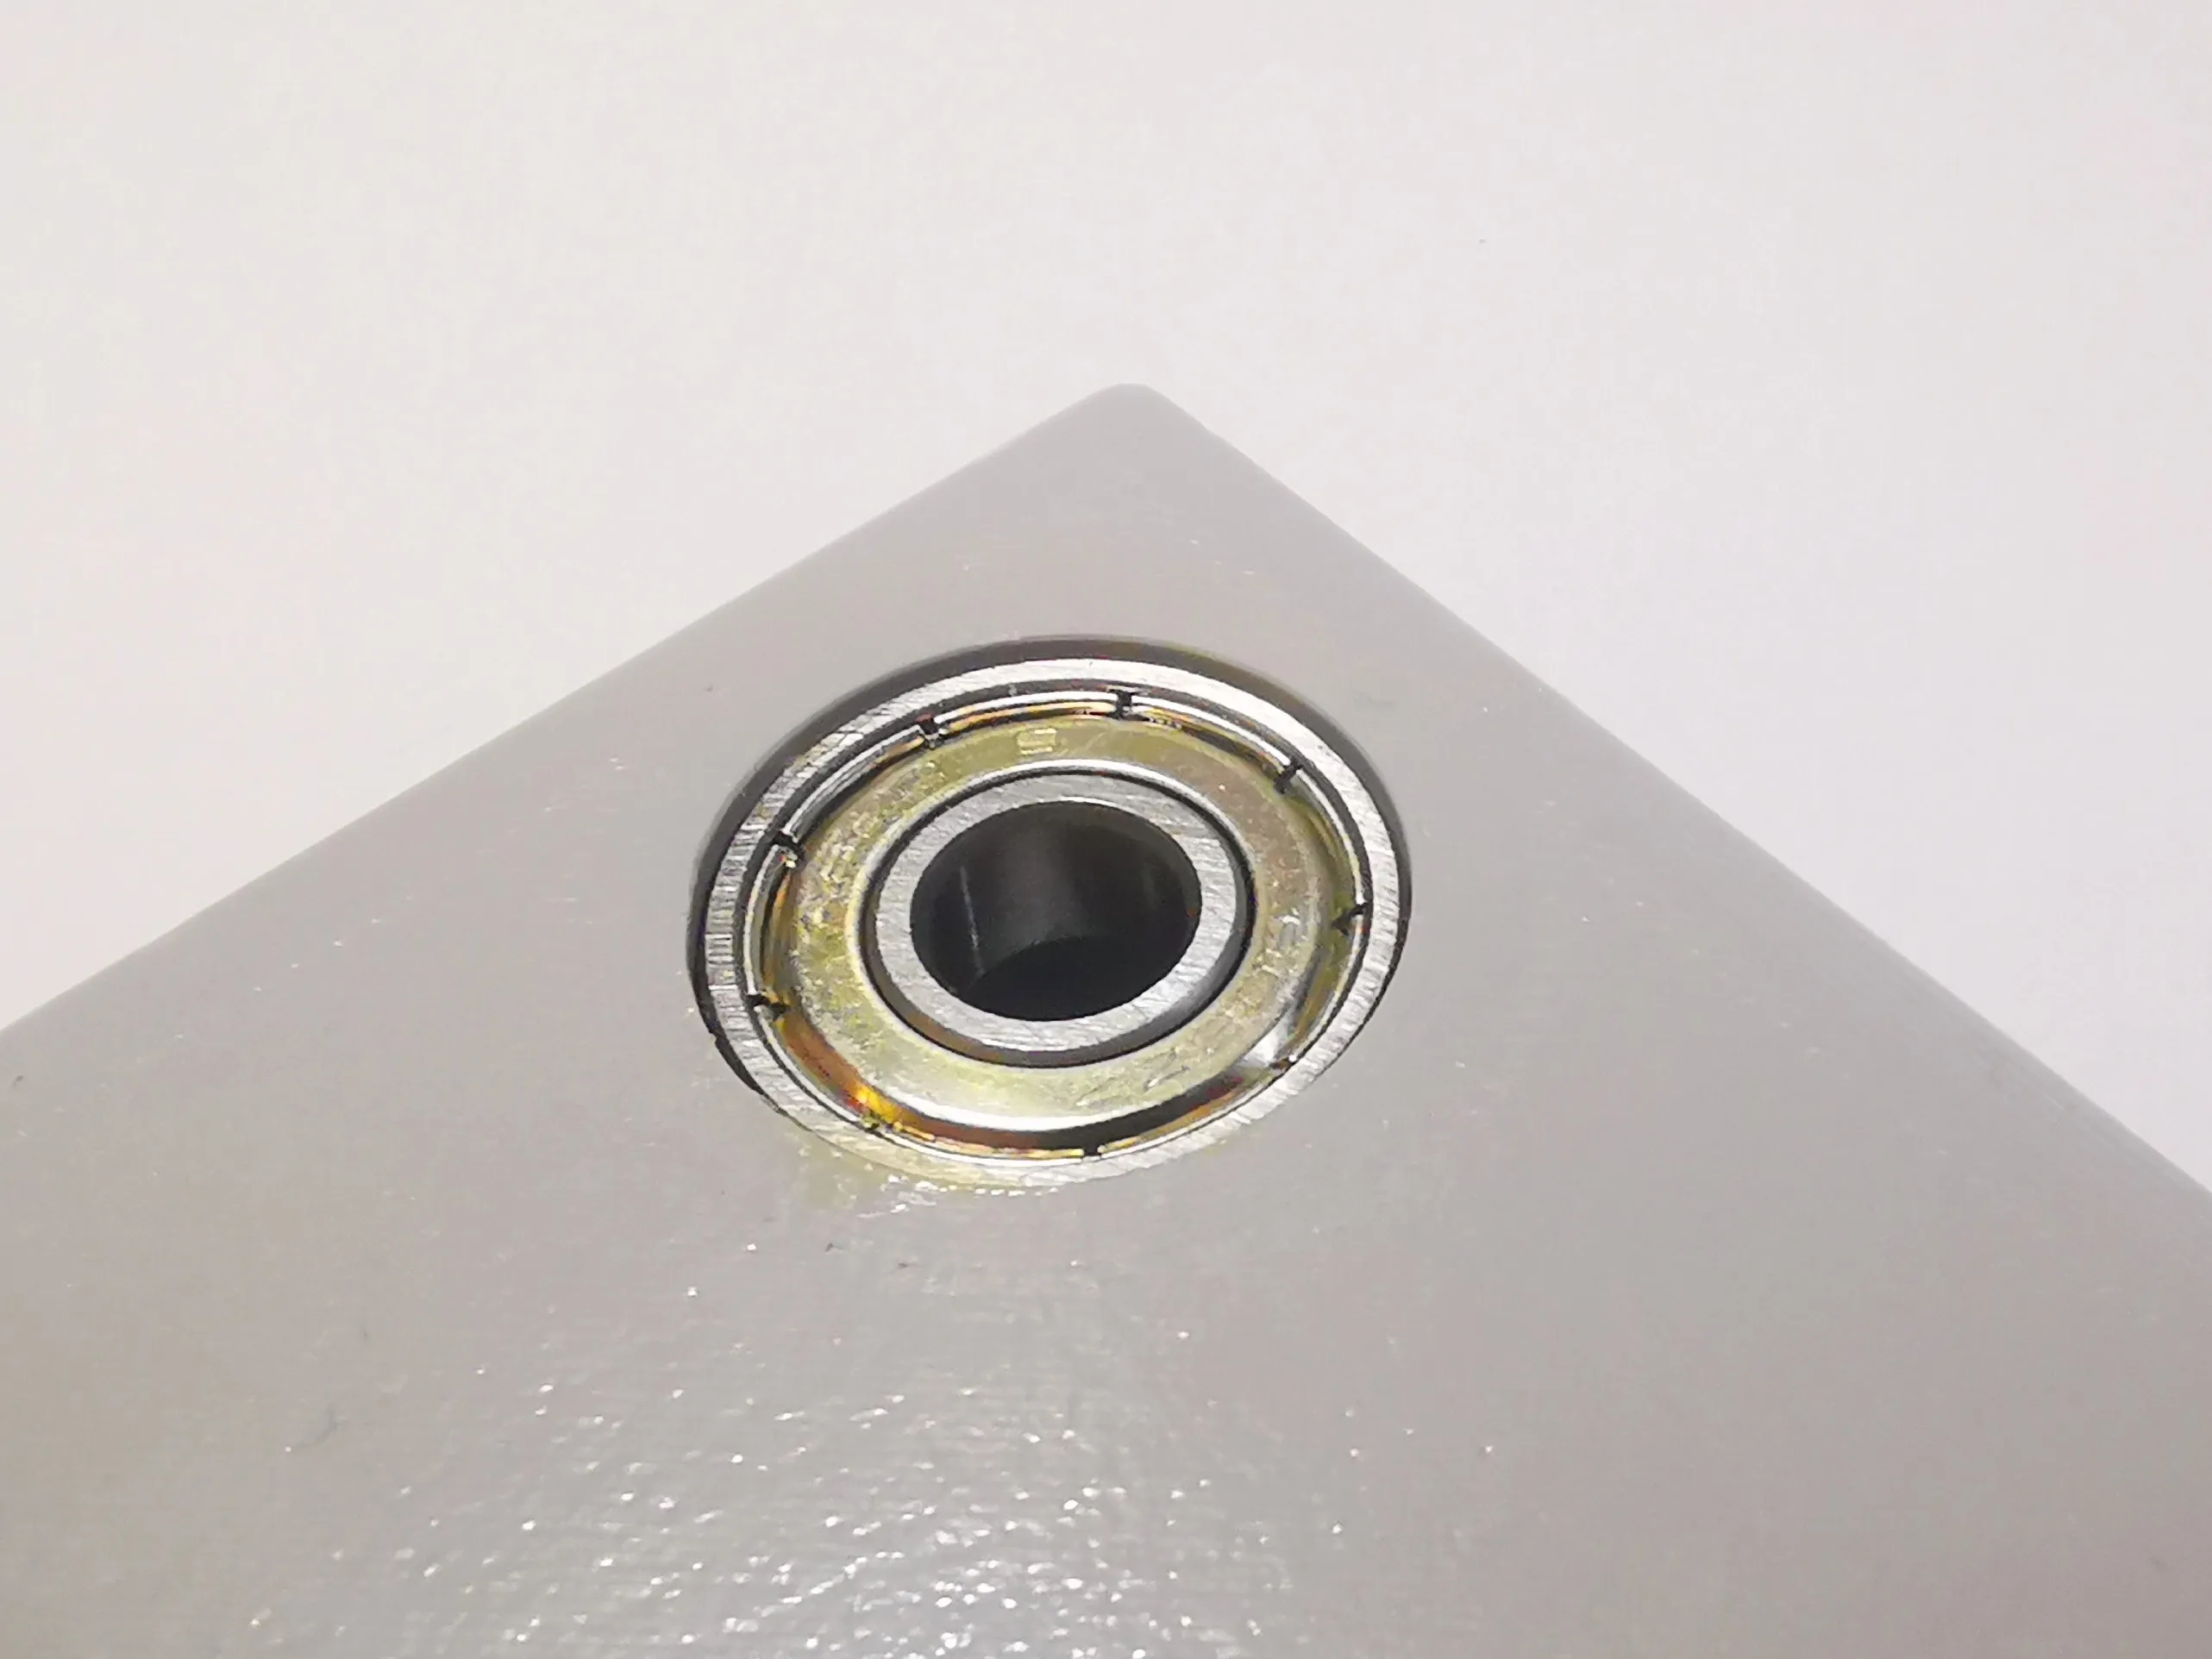
Then just print the trolley table of your choice and press in all 4pcs 608 bearings. They should fit precisely and firmly. Glue them in if necessary.
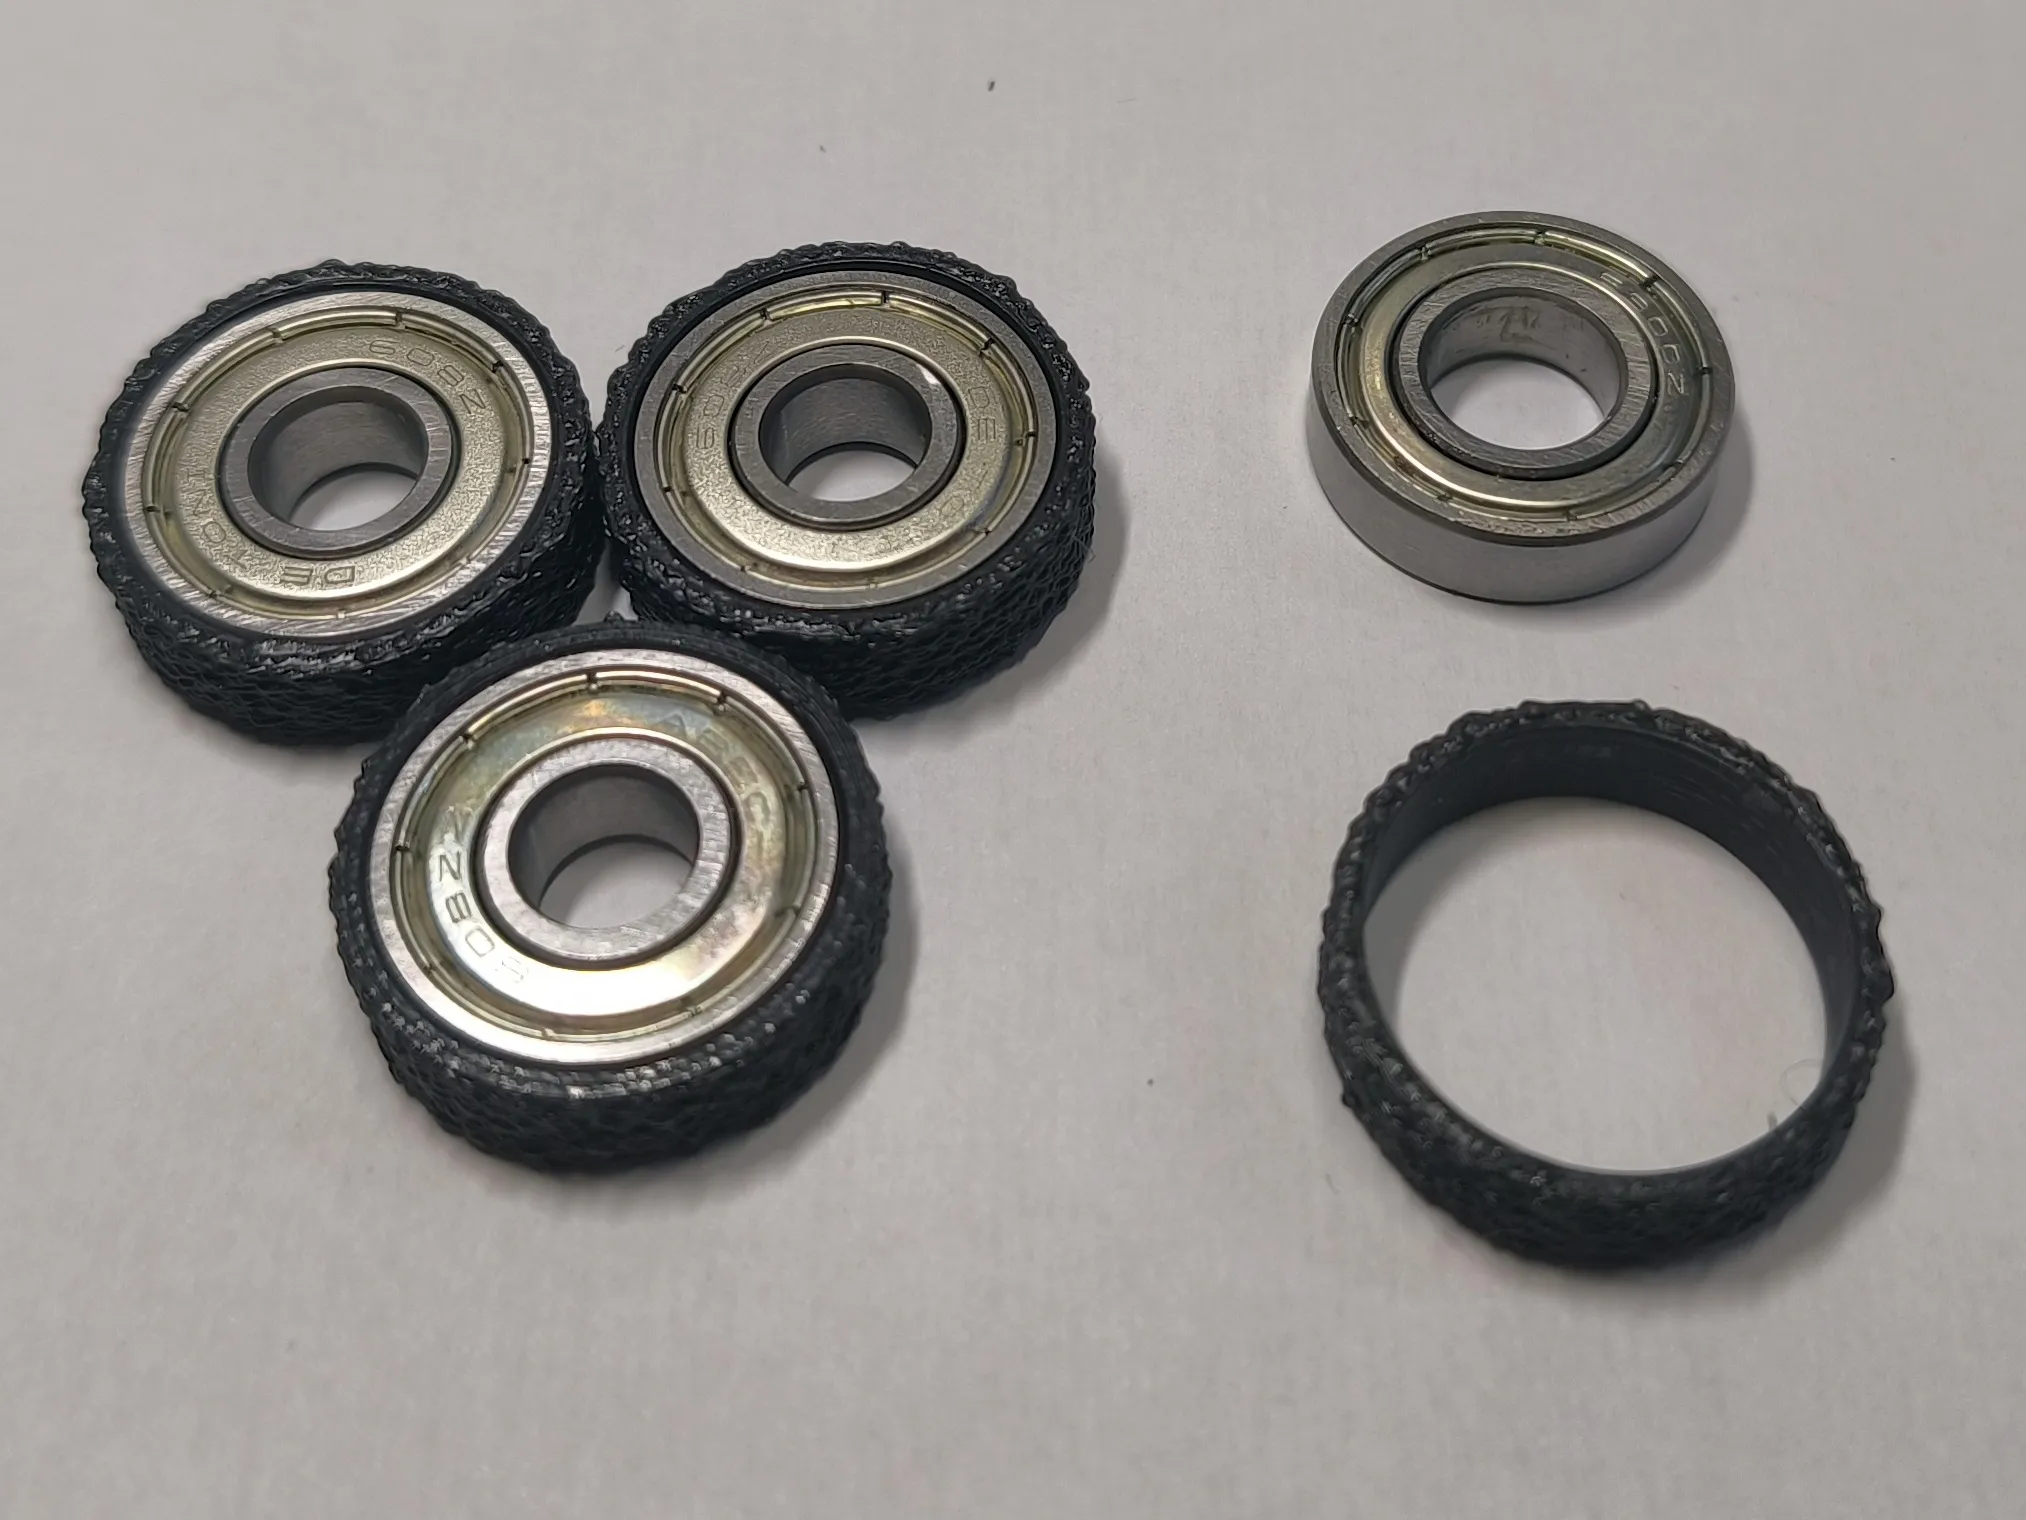
2. Print the tyres of bearings
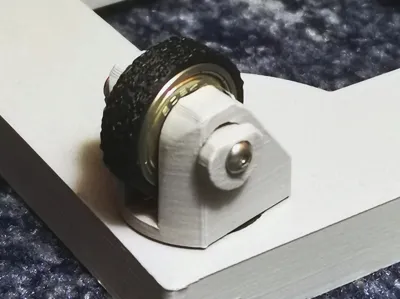
Since we have already determined which size fits the outer diameter of the bearing, we just need to print the tires of the appropriate size. They should fit snugly, but if necessary, use glue.
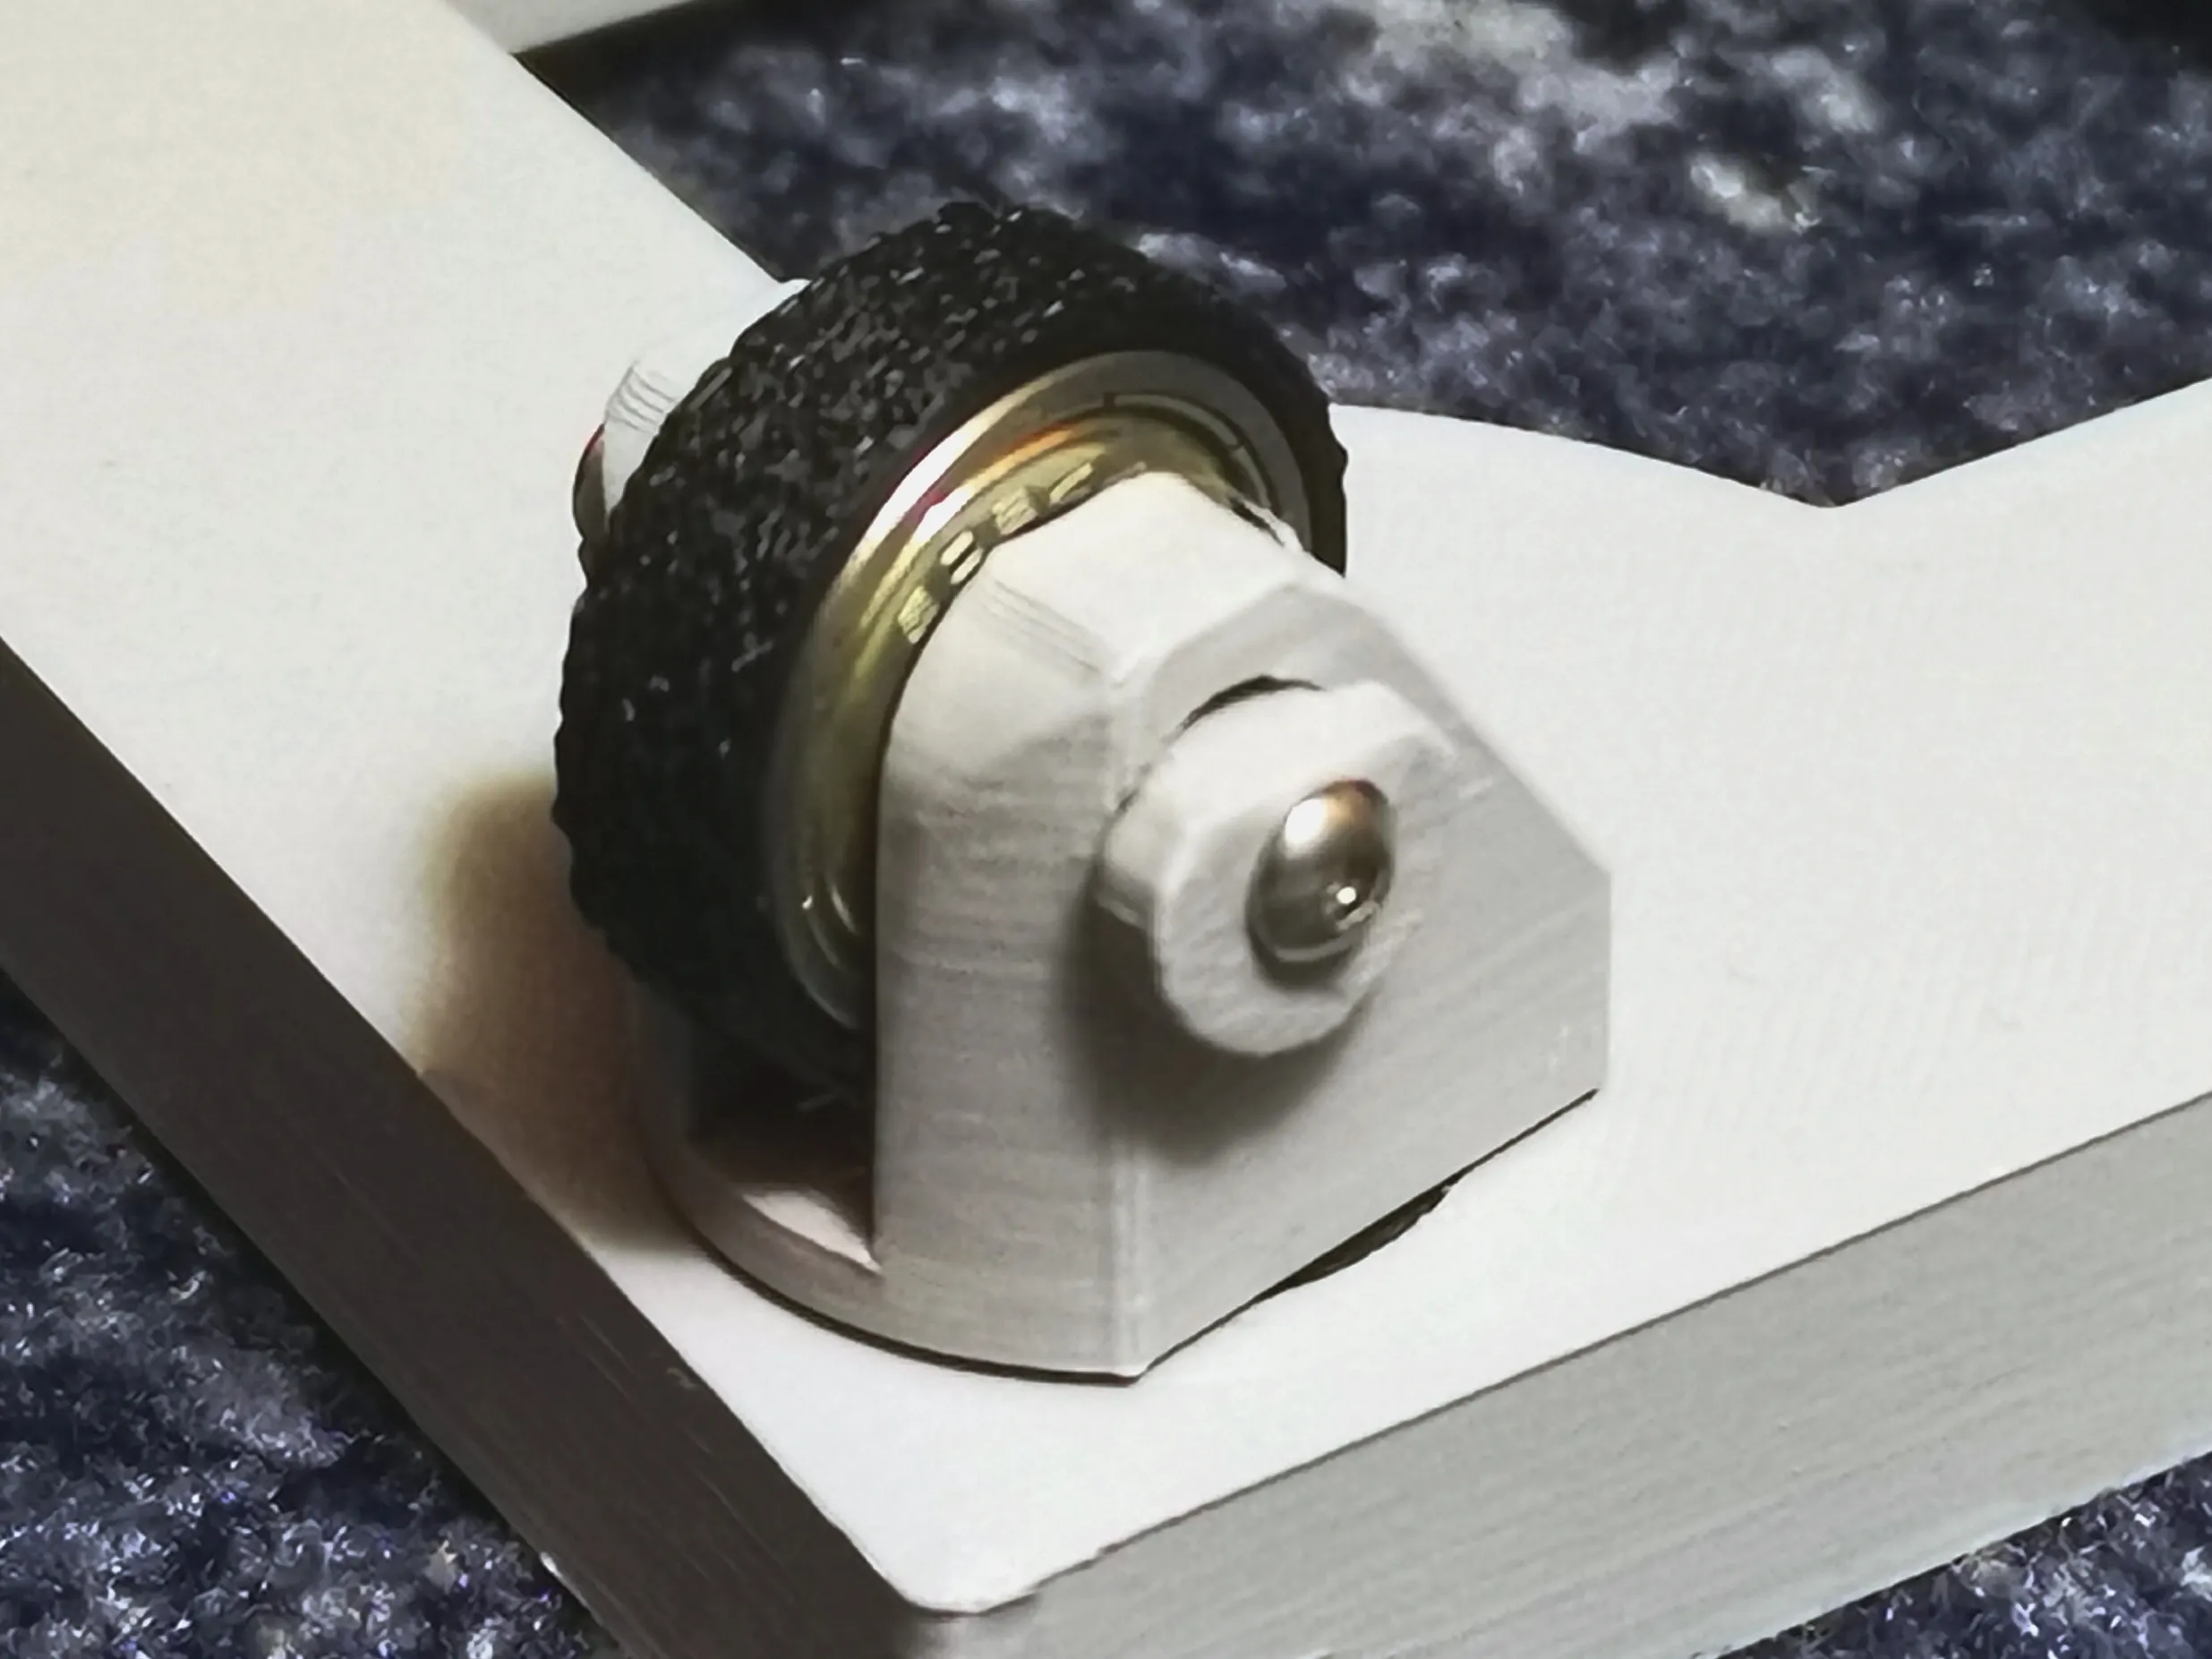
3. Print the Gear Forks.
The process is very similar but in this case the fit needs to be adjusted to the inner diameter of the bearings. First, print the calibration tool and when it is ready, wait with it for half an hour at room temperature. Find the closest possible diameter that can still be assembled by hand and print the 4 forks and axle. For assembly, 12 pcs. M3x12 screws will be required. These are not only responsible for fastening, but also significantly increase the strength and thus the load capacity.
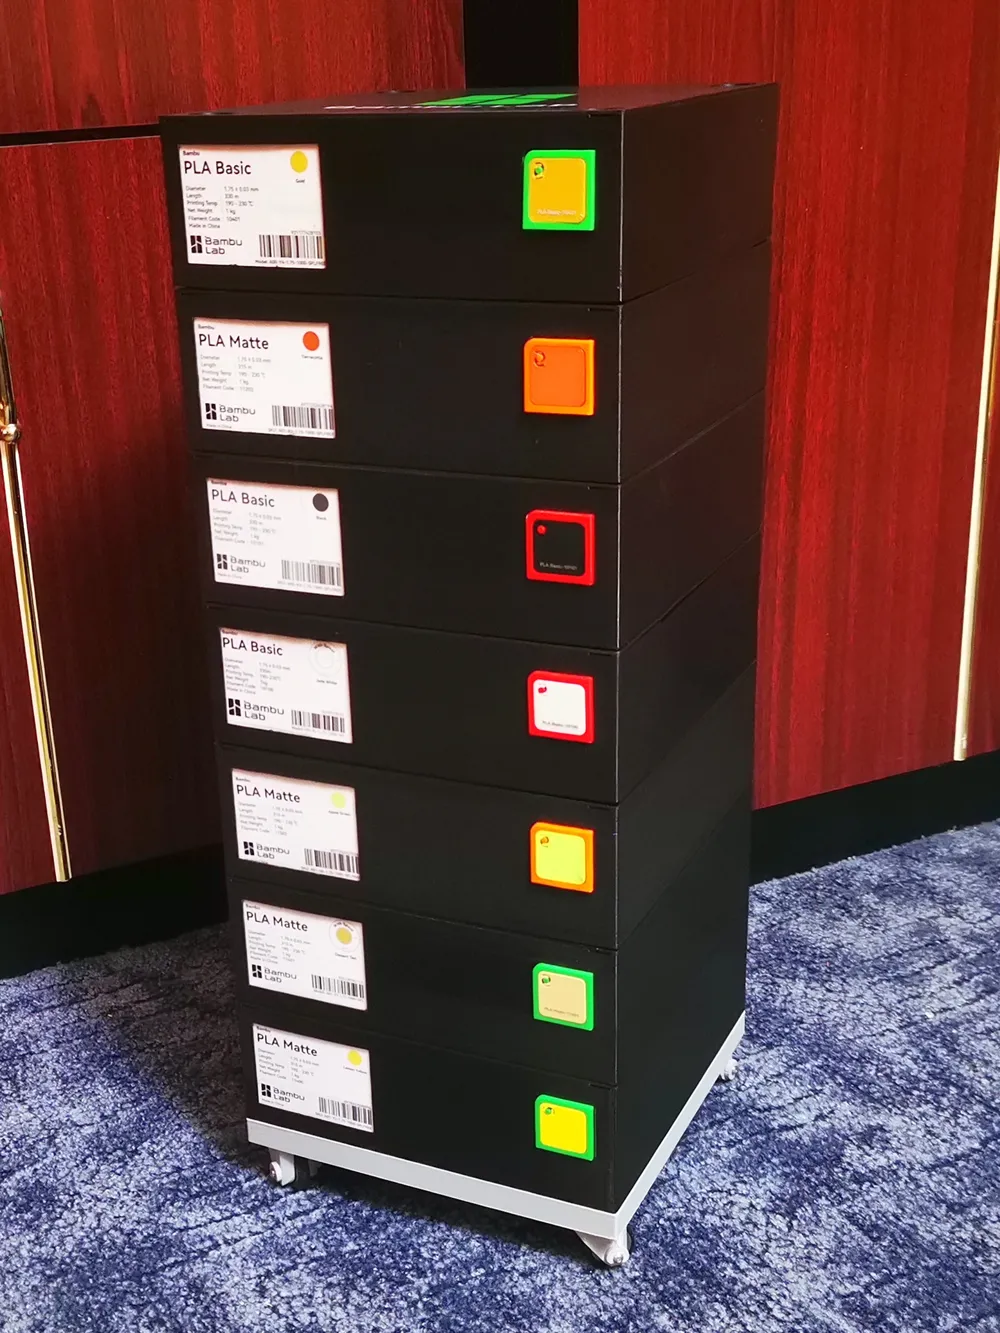
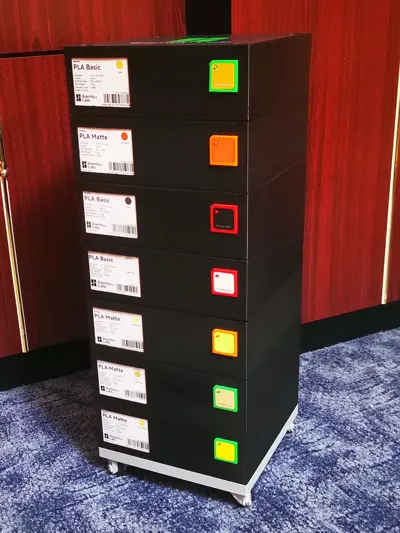
I designed the trolley for my own filament boxes. https://makerworld.com/en/models/936249-box-for-bambulab-refills#profileId-901158
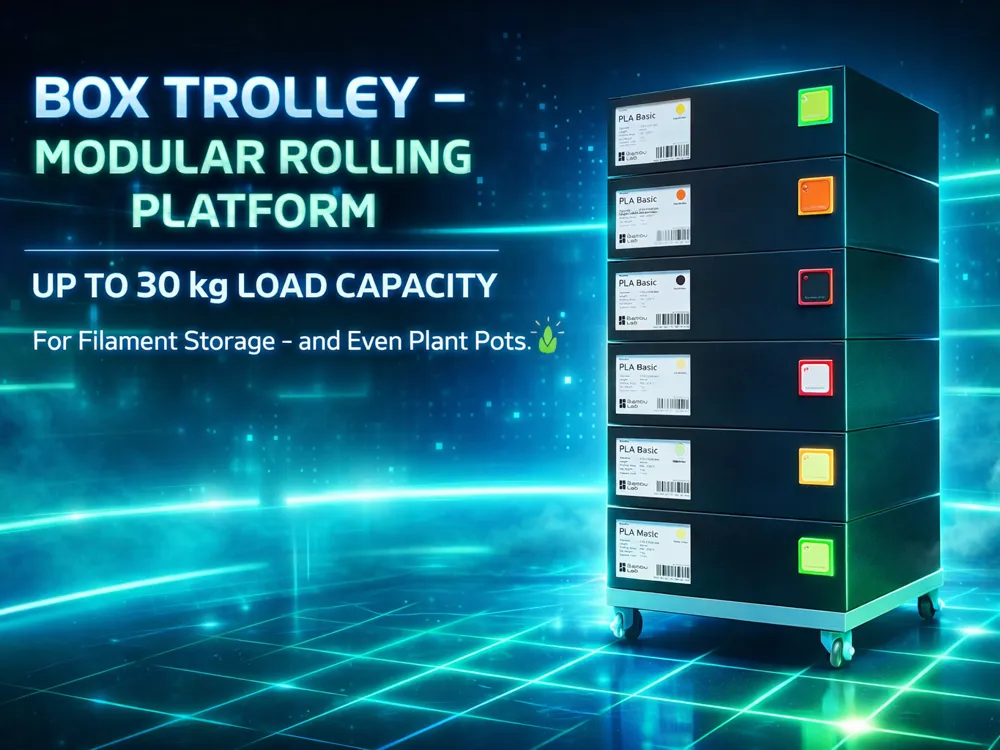
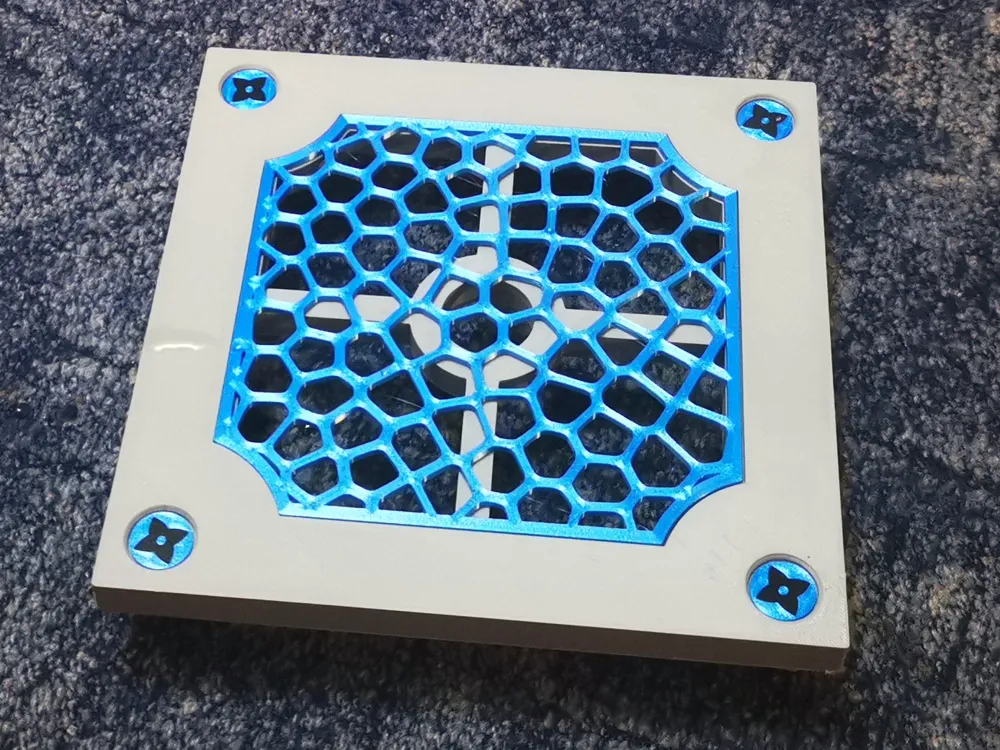
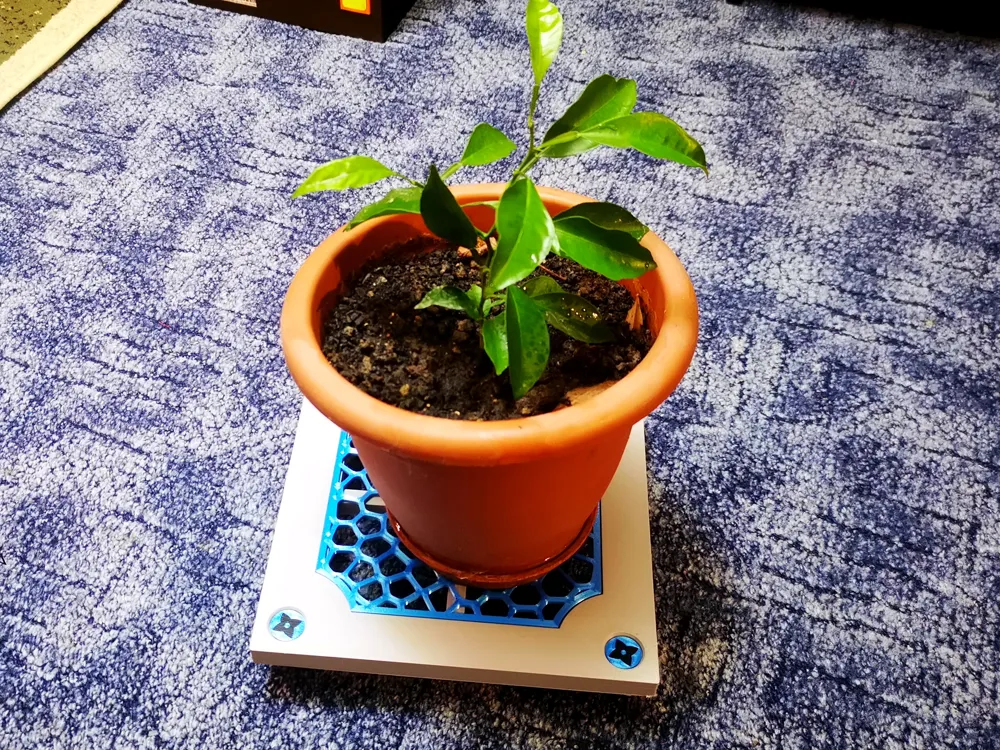
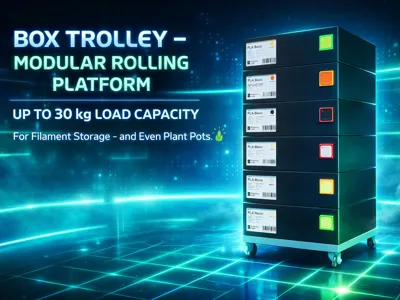
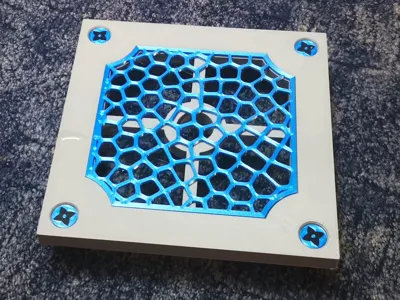
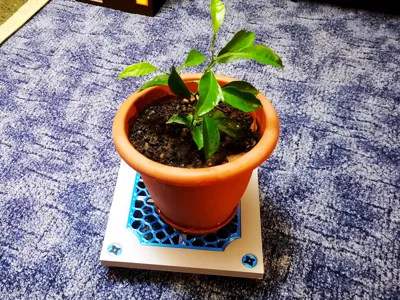
15 such boxes can be easily stored and moved on it. In case of more than that, the center of gravity becomes very high and can easily tip over. Therefore, I set the maximum load capacity at 30kg. However, the design is so robust that I even stood on it, which is almost 100kg!!! We interpret this only as a static load, it could have been damaged dynamically. Although it is up to you to try what it can be in reality. If you want, you can also store large flower pots on it. In this case, print an insert plate in the middle and bearing covers.
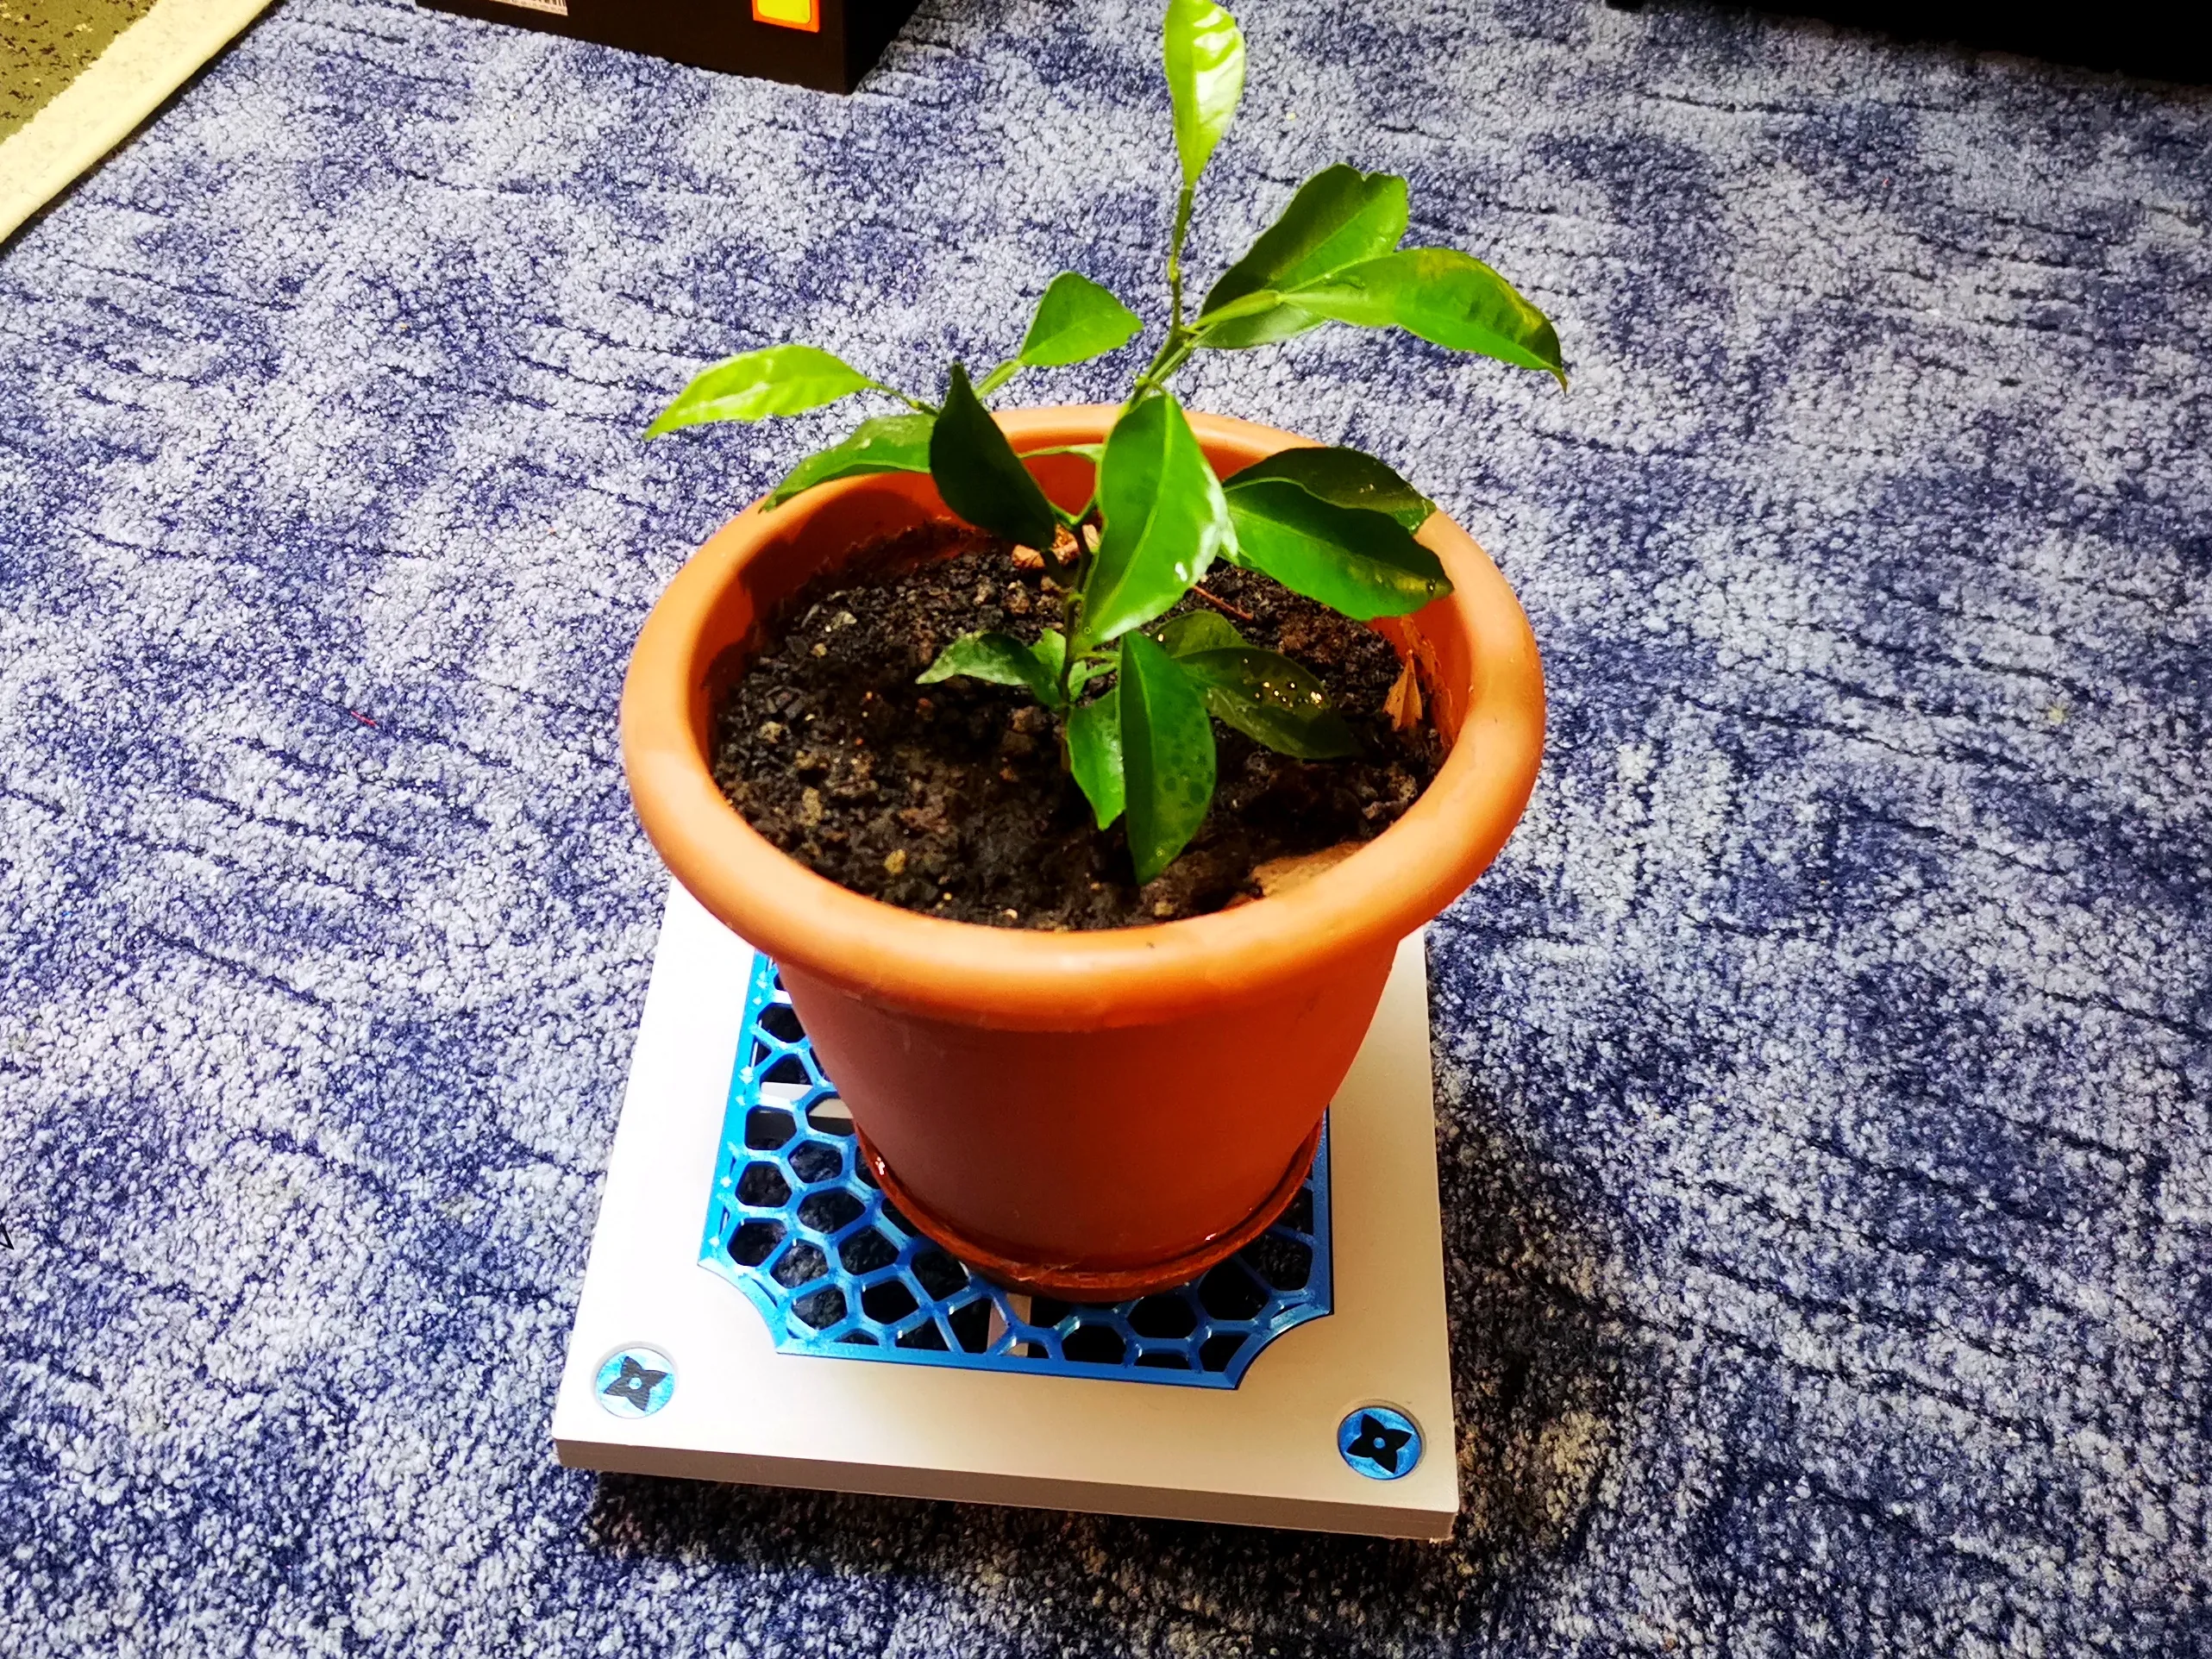
I have a home-grown orange growing in the pot, from a seed. I love it, it's a year old now. This is very rare in our climate!
License

You shall not share, sub-license, sell, rent, host, transfer, or distribute in any way the digital or 3D printed versions of this object, nor any other derivative work of this object in its digital or physical format (including - but not limited to - remixes of this object, and hosting on other digital platforms). The objects may not be used without permission in any way whatsoever in which you charge money, or collect fees.


Comment & Rating (0)