
Master mold for geometric candles
Print Profile(2)

Description
Hello Makers:
Master Mold for Geometric Candles
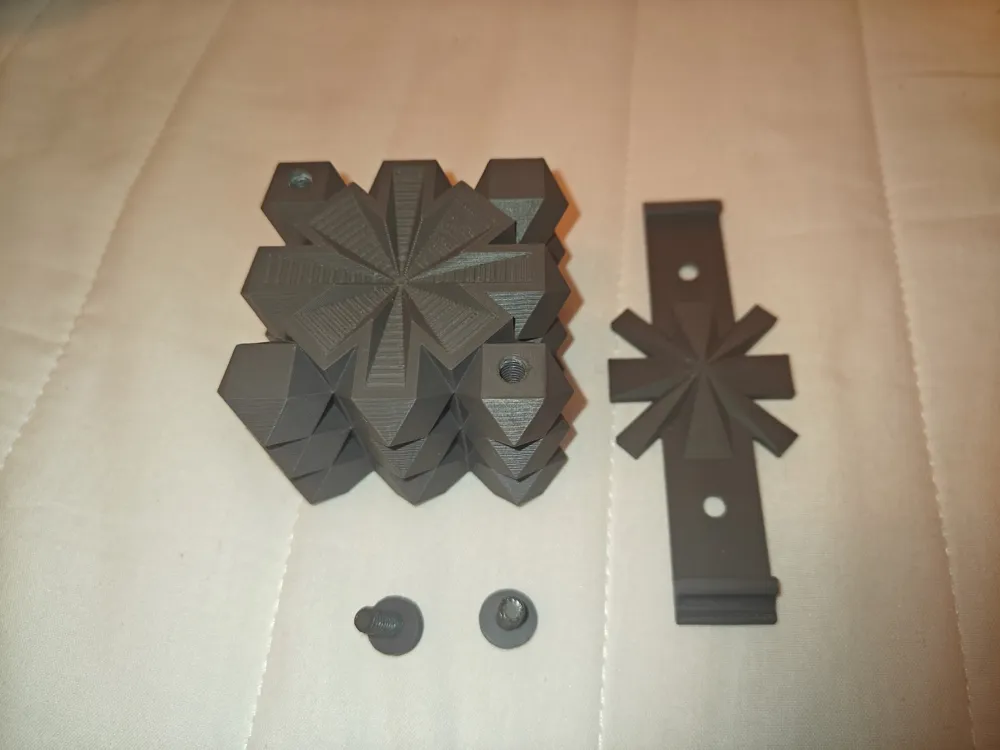
Update on 01/14/2025 : The clamping bars for the hash and star patterns have been improved for better rendering
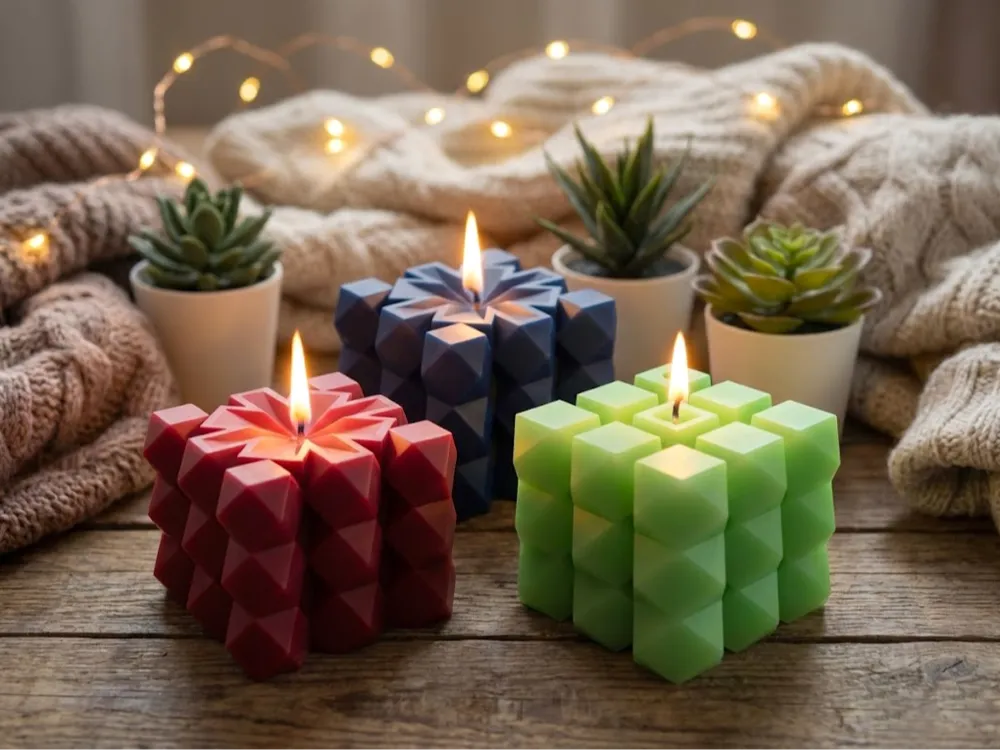
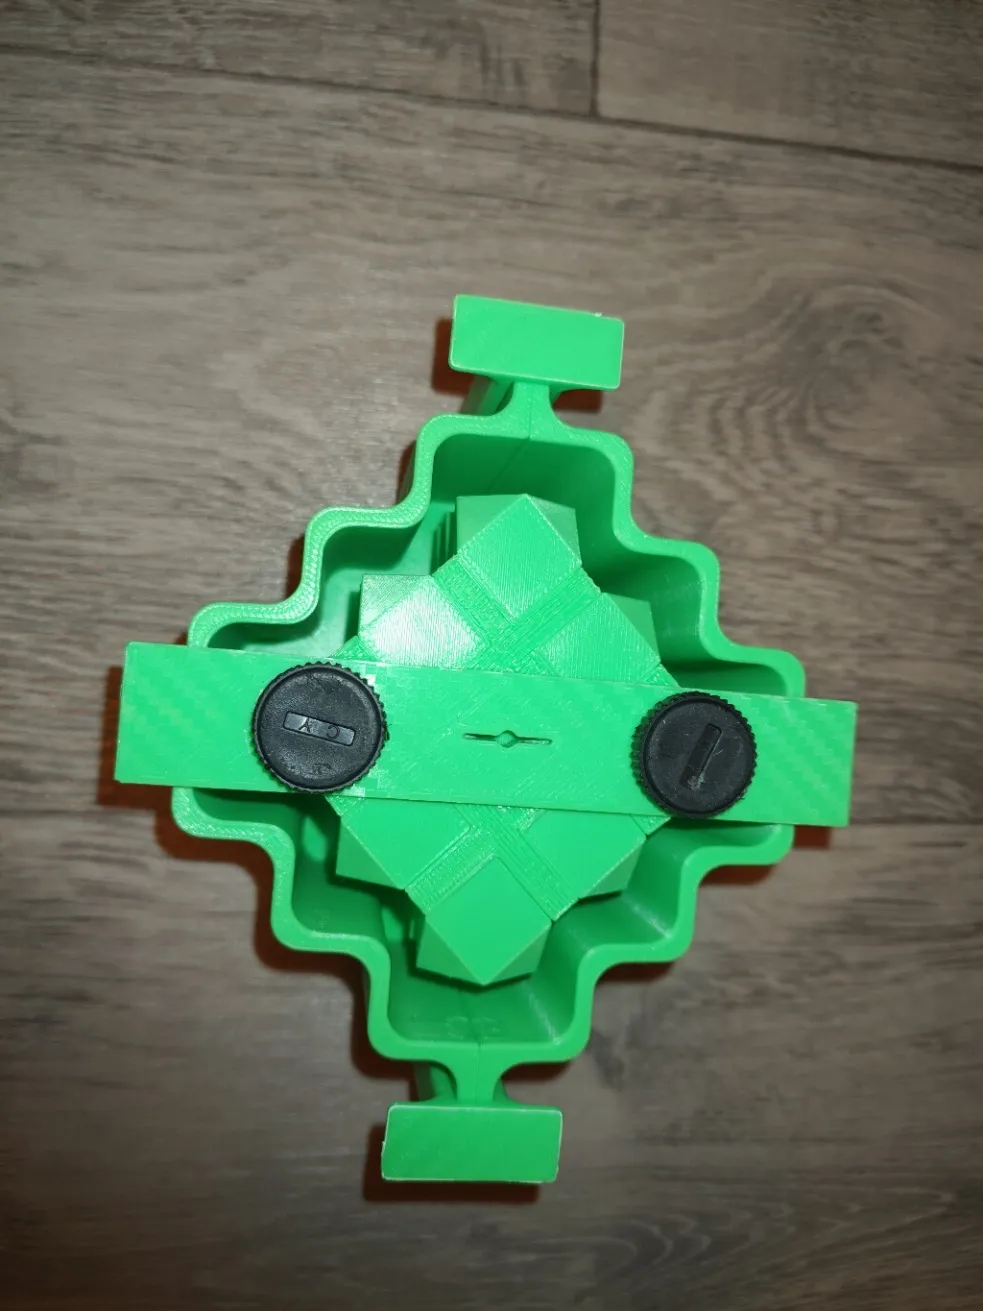
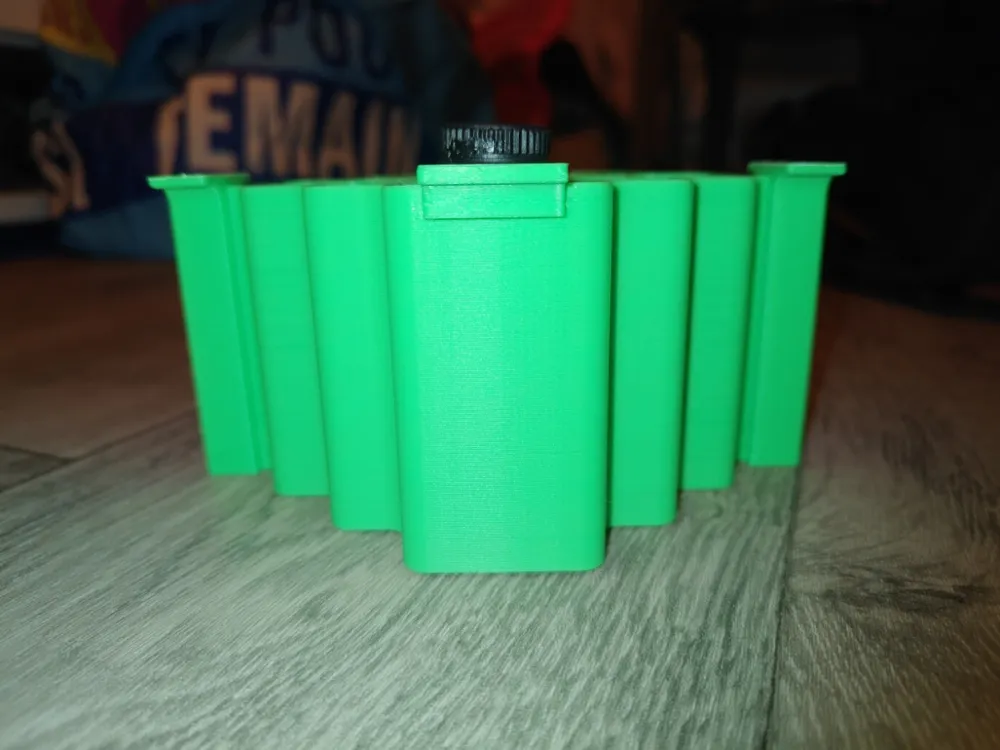
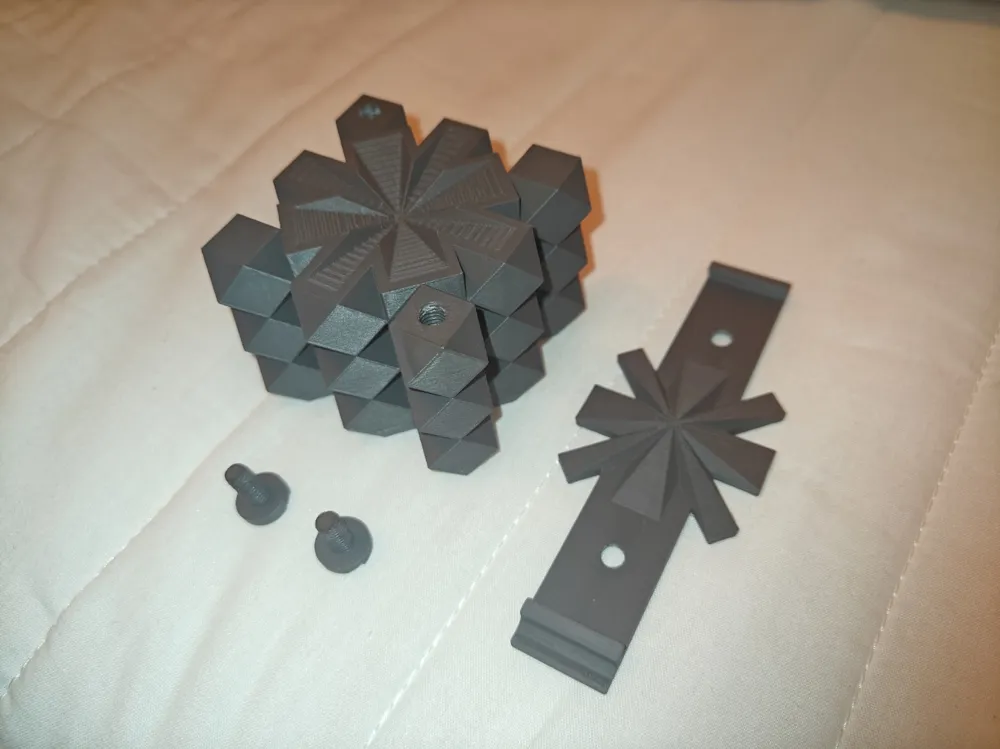
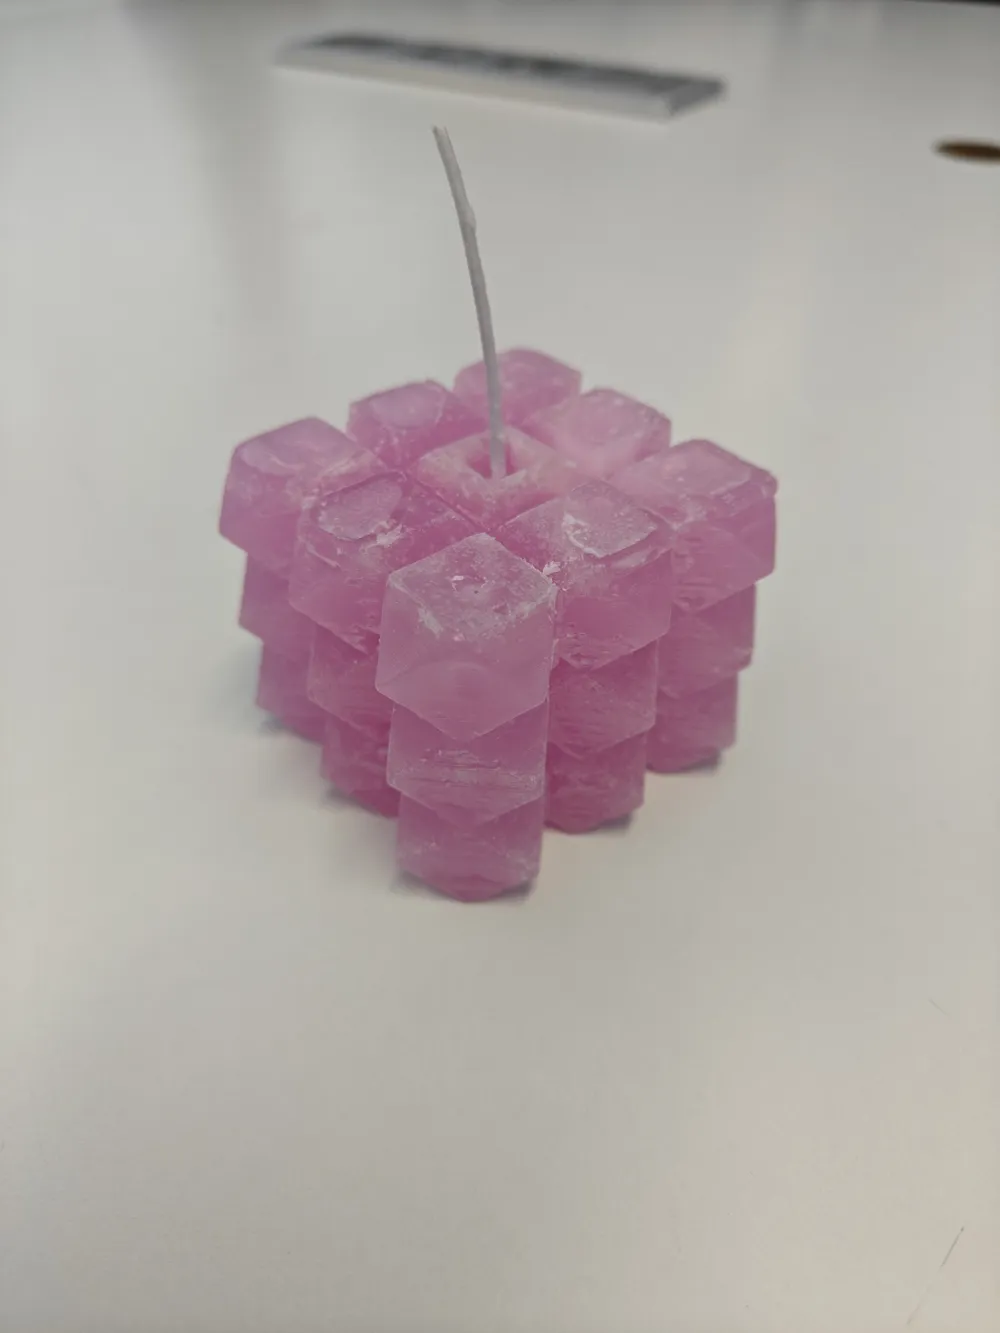
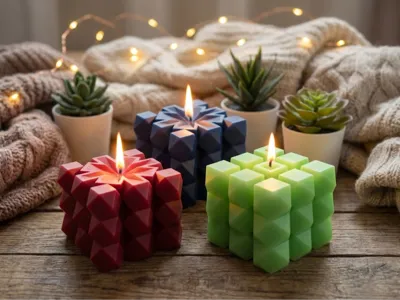
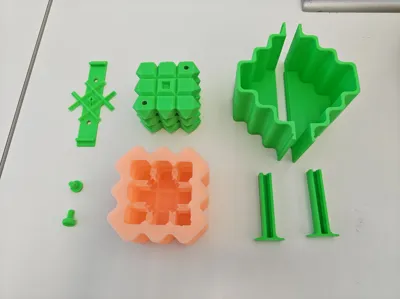
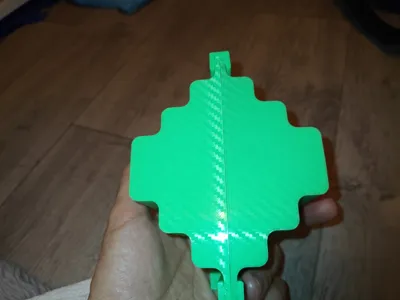
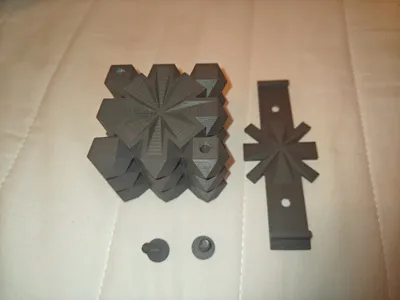
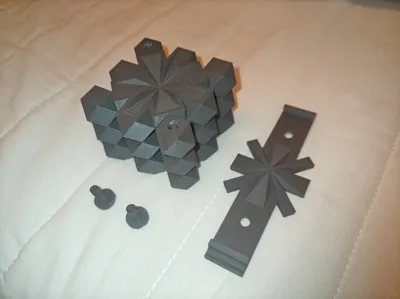
I present my master mold designed for making silicone molds, allowing for the creation of geometric candles with a faceted and decorative finish. The goal was to offer a modern yet warm shape that works both as a decorative object and as an ambiance candle
The design features regular and sharp facets that subtly capture light once the candle is lit. Depending on the wax color and lighting, the effect can be very soft or, conversely, more pronounced, making it an easy piece to integrate into different environments: cozy interior, modern decor, or minimalist ambiance
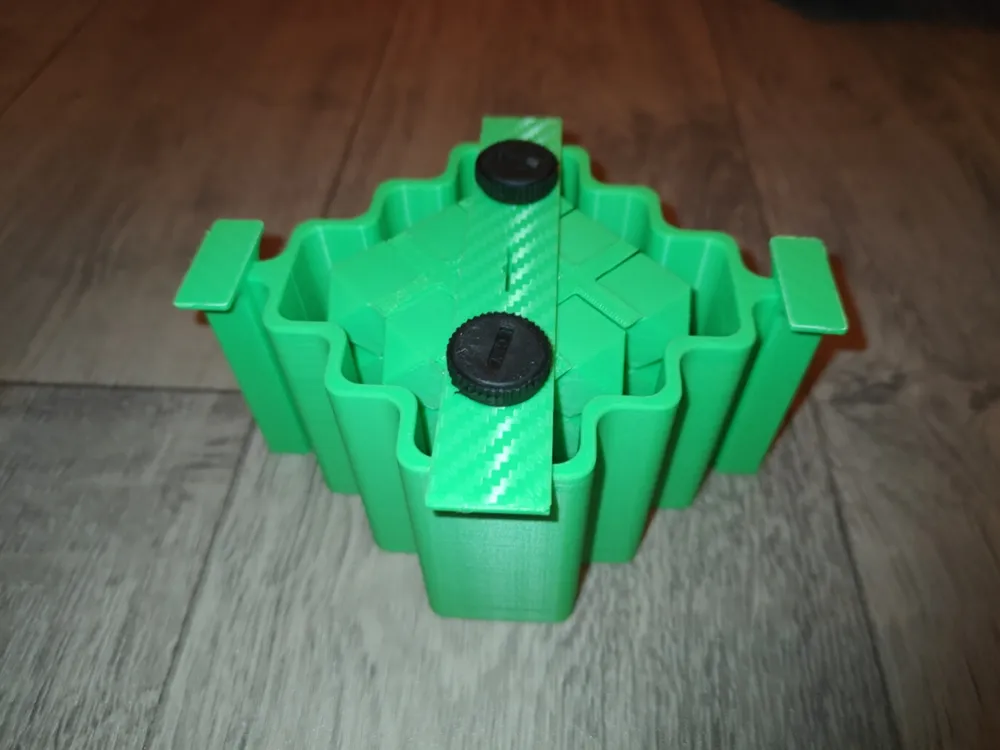
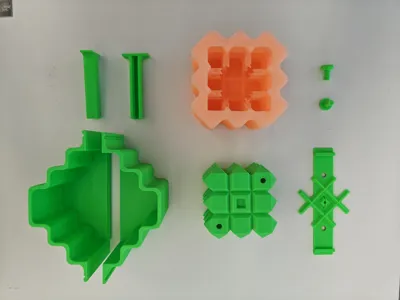
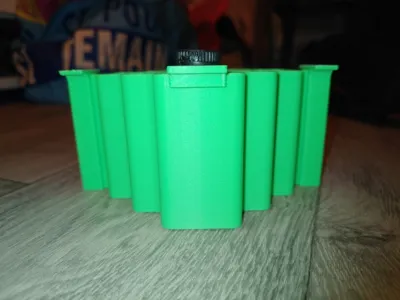
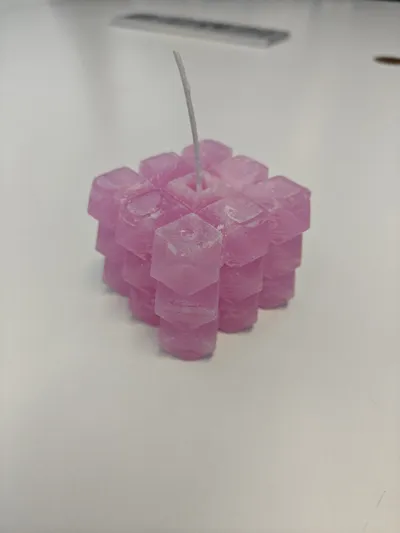
The model includes two variations: a star pattern and a hash pattern. Both versions were designed with the same proportions to ensure visual coherence and nearly identical candle sizes, while offering two slightly different styles based on the same geometric principle and allowing for the insertion of cotton or wooden wicks
The printed mold is used for casting molding silicone, which can then be used to create vegetable, natural, or scented wax candles. The design facilitates demolding and allows for well-defined edges after casting
This model is intended for making silicone molds and is not designed to directly receive hot wax
Assembly:
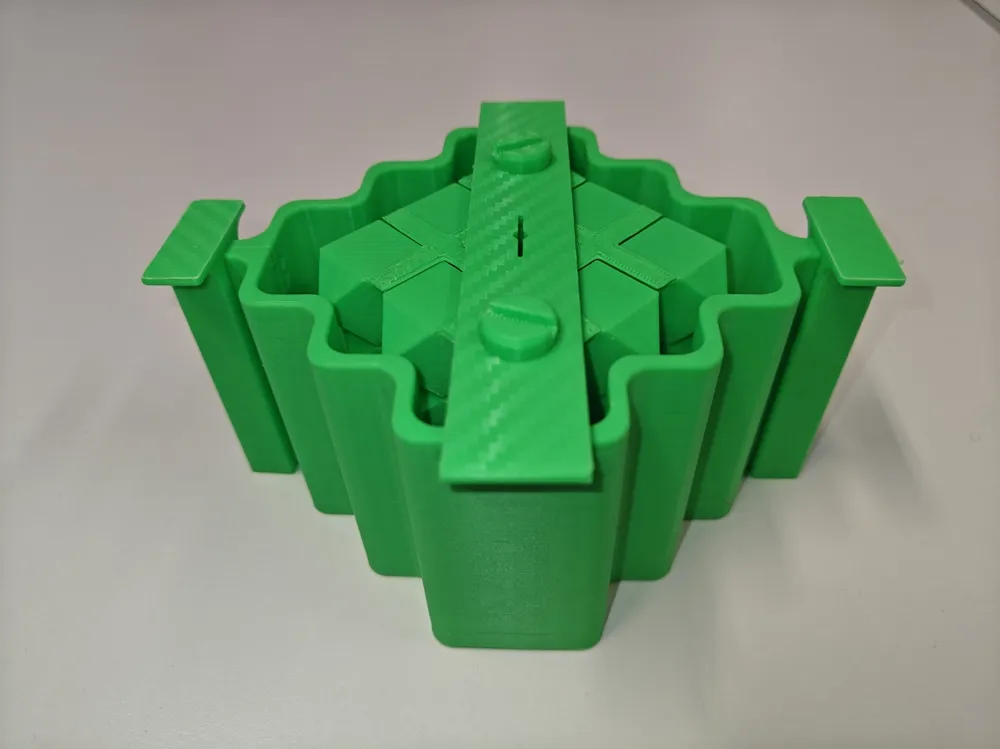
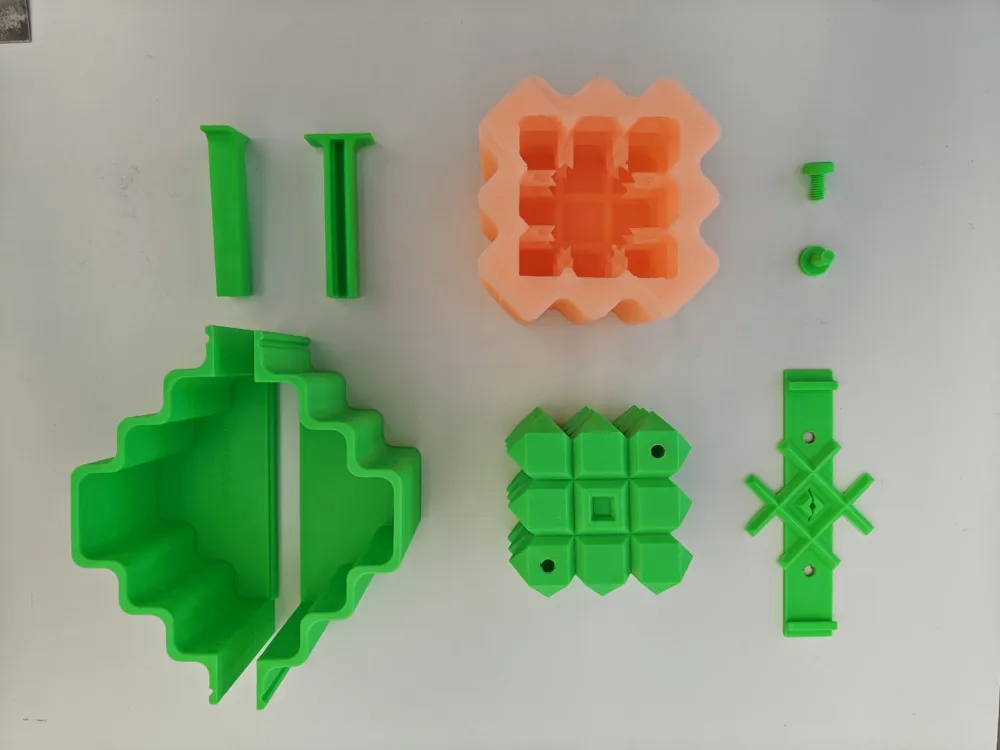
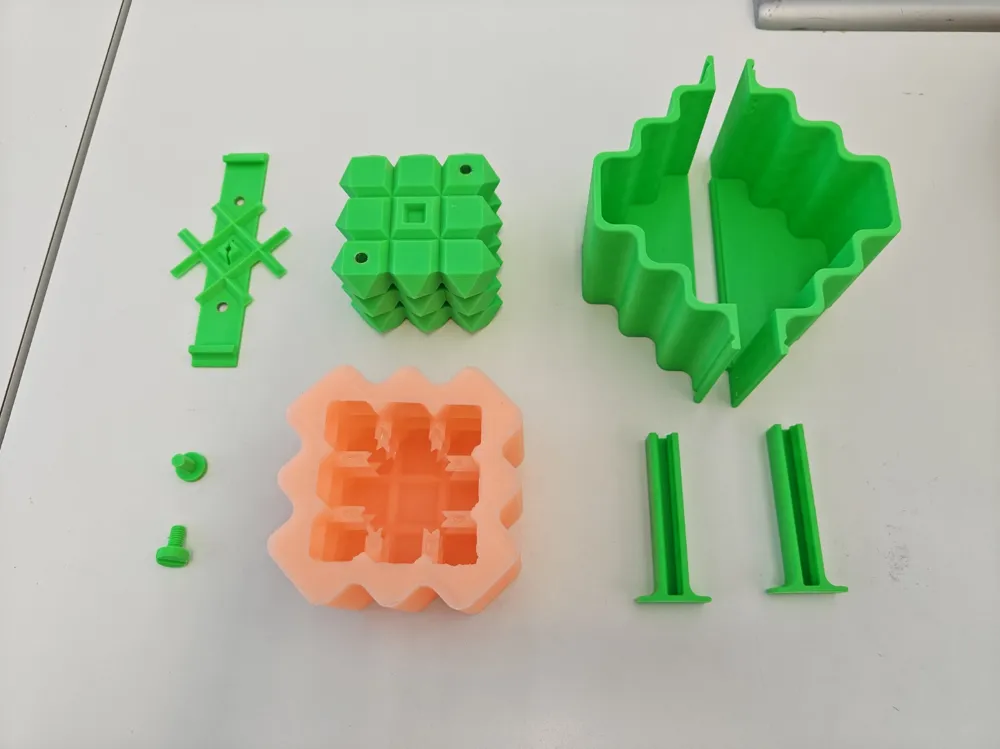
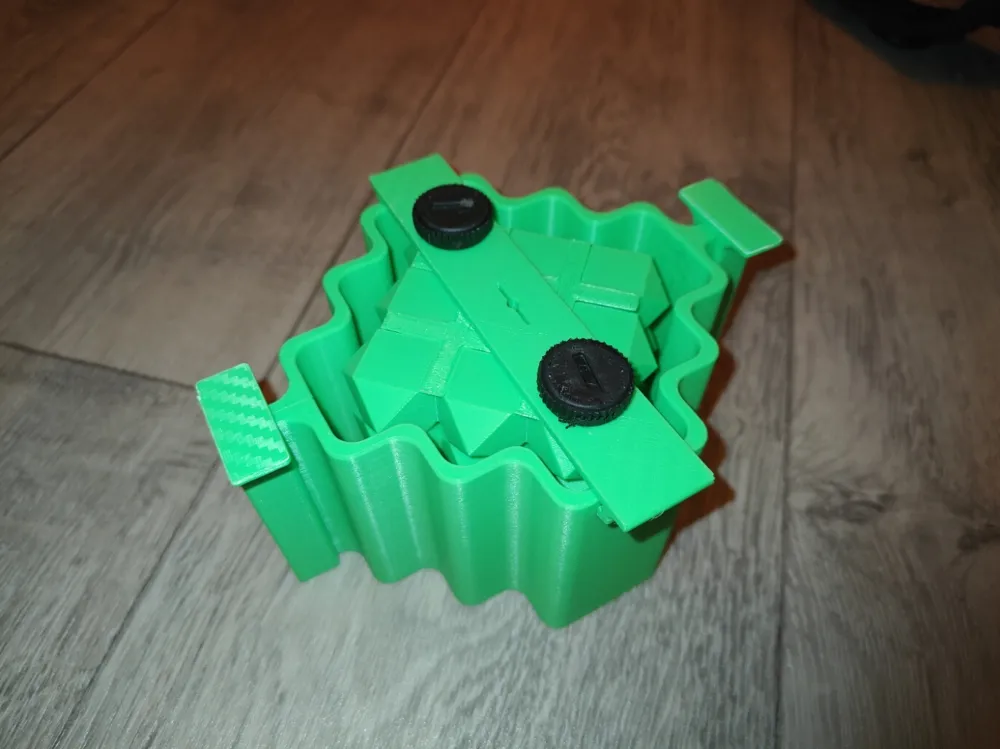
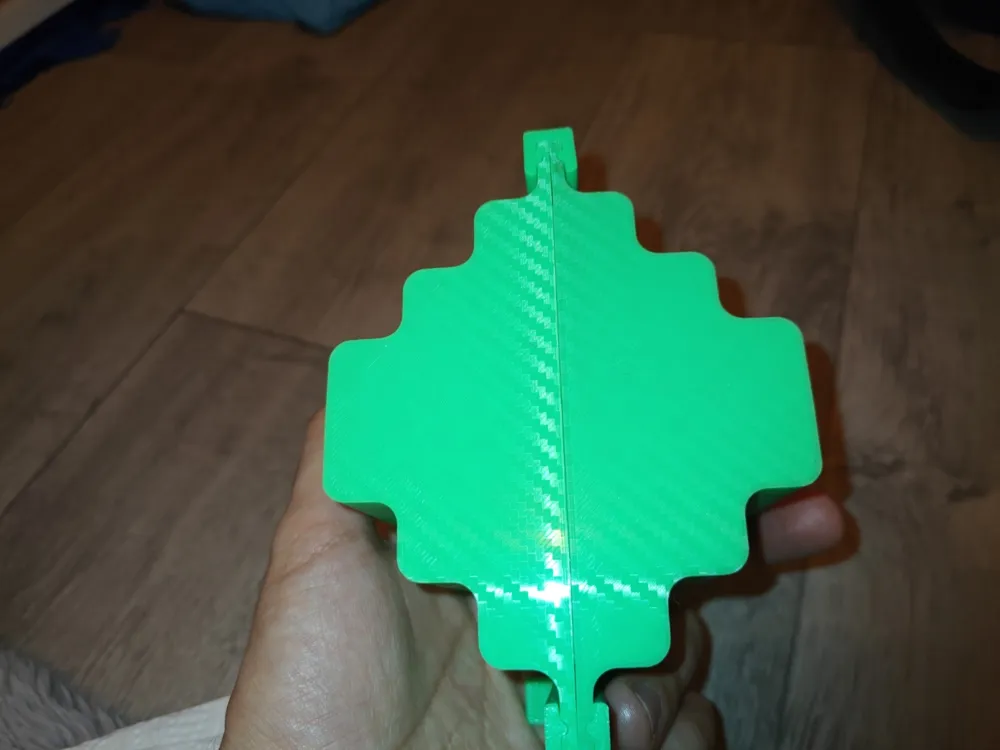
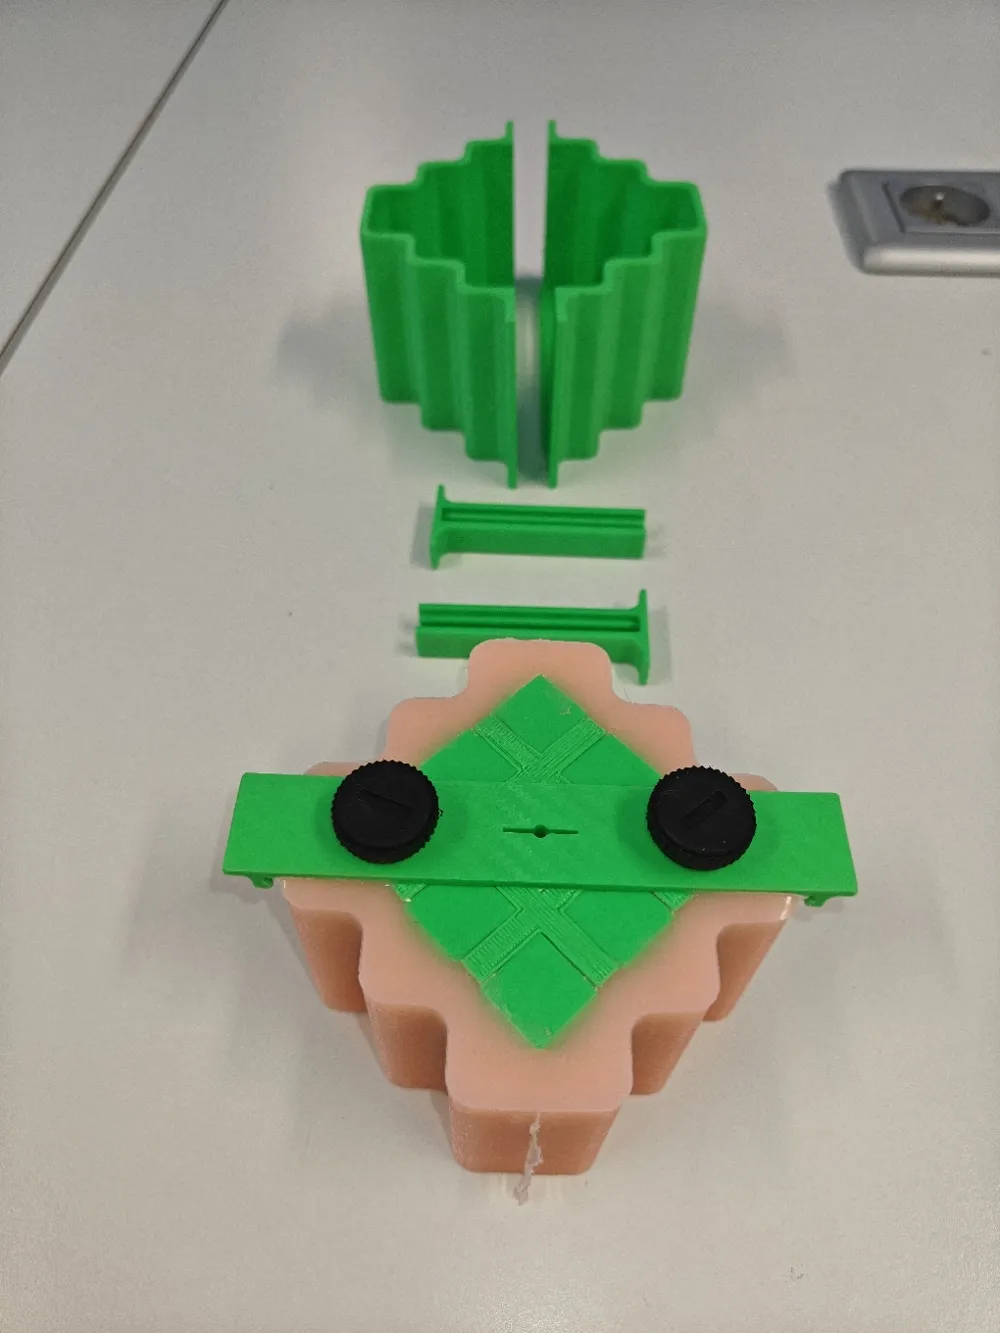
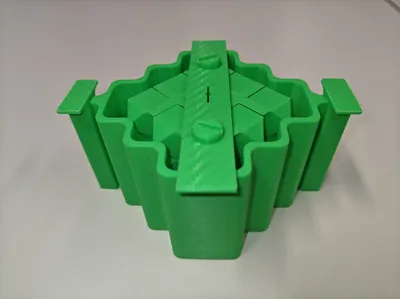
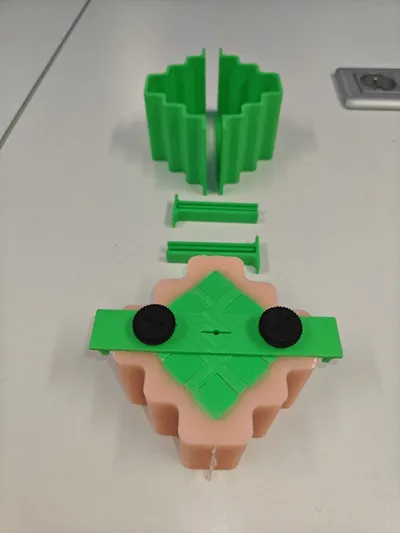

- Assemble the right and left parts of the mold
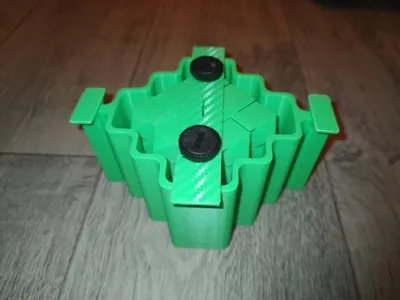
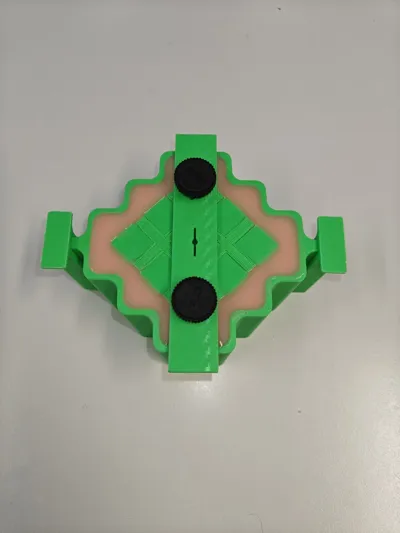
- Insert the side clamping bars to securely lock the mold
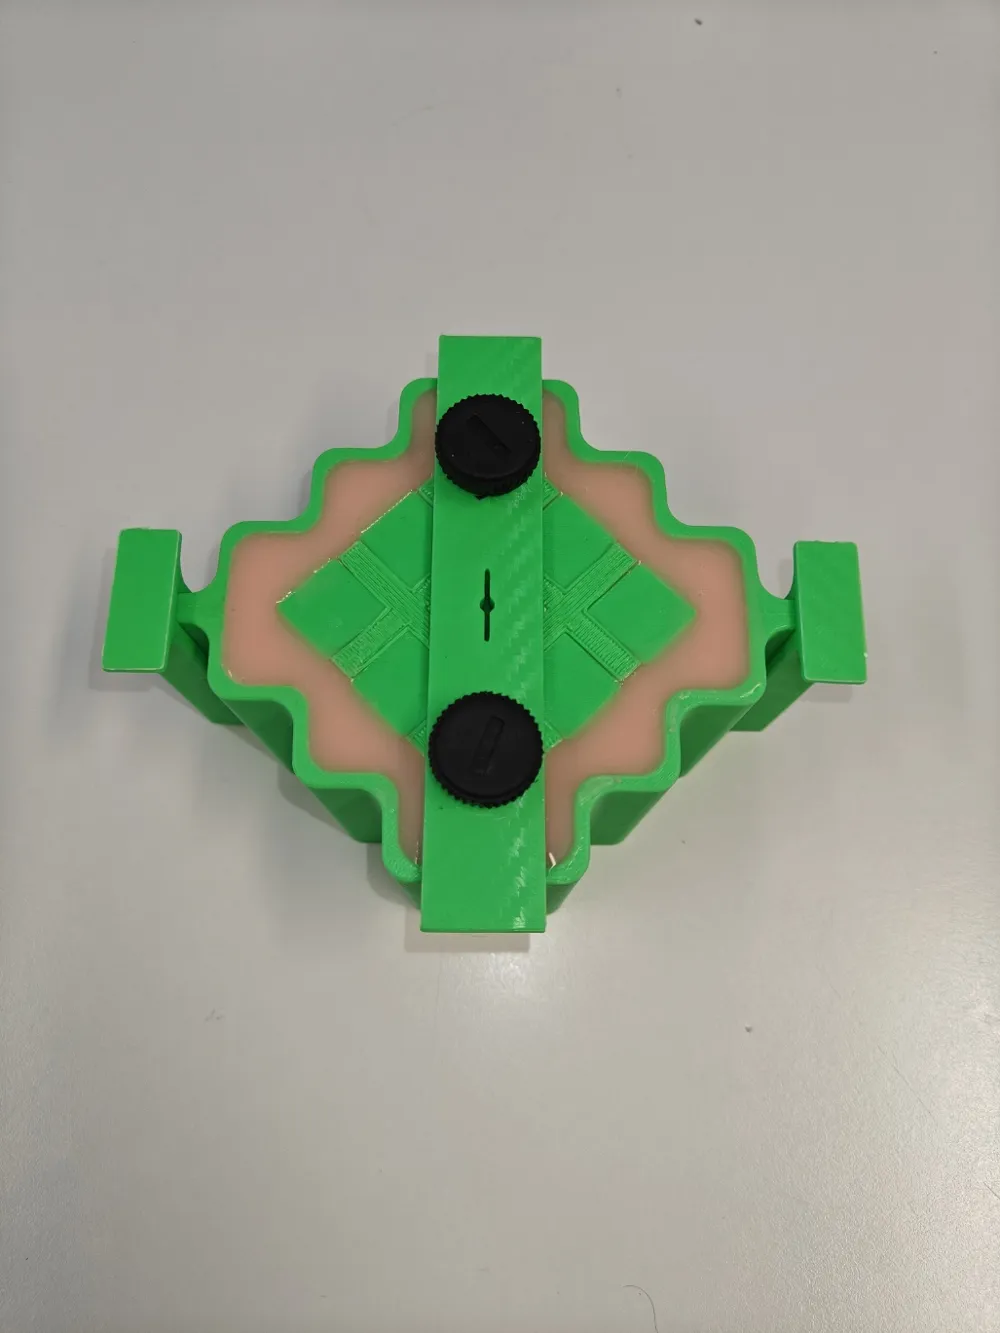
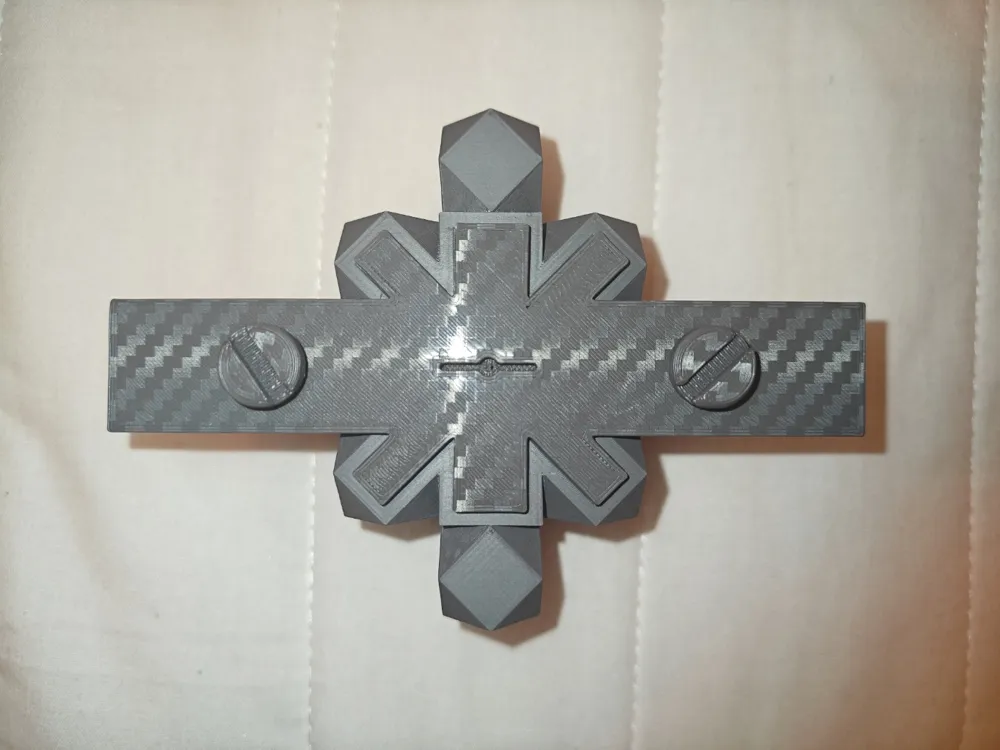
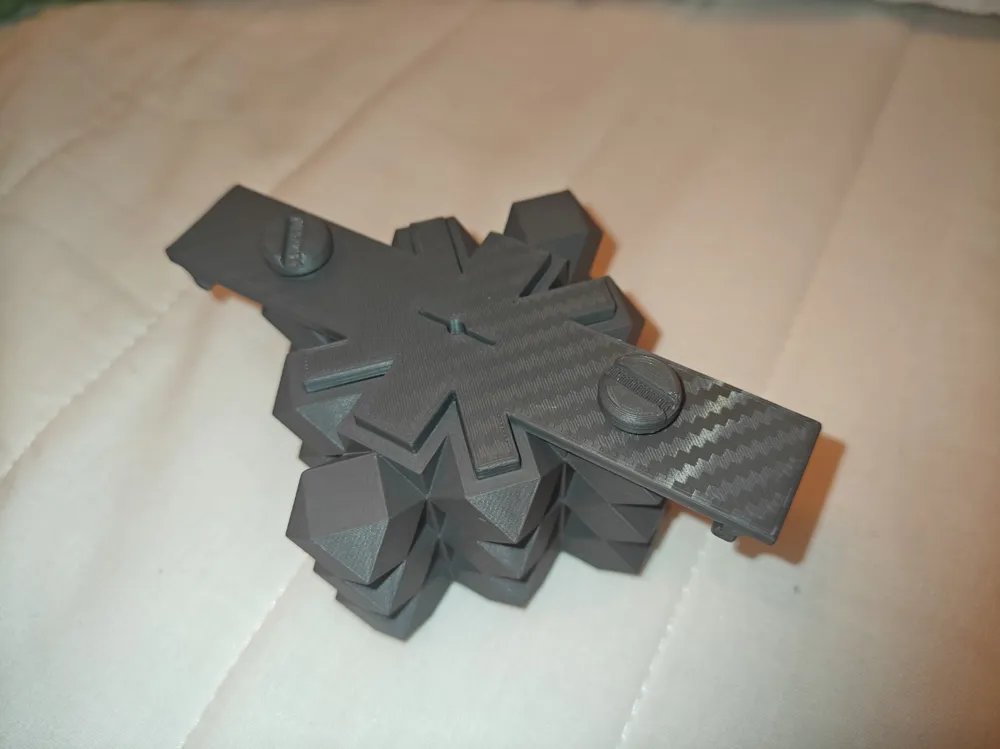
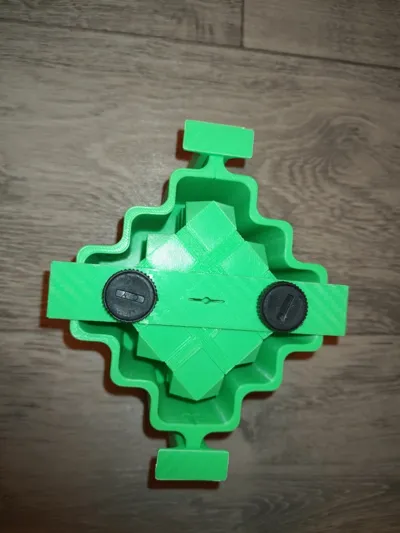
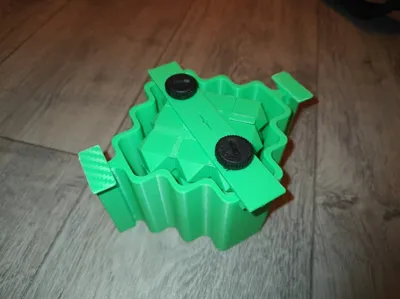
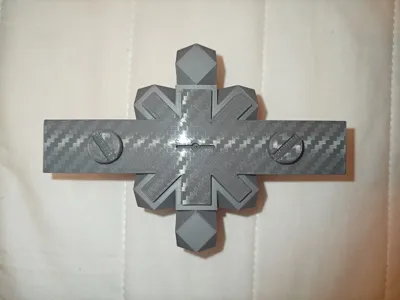
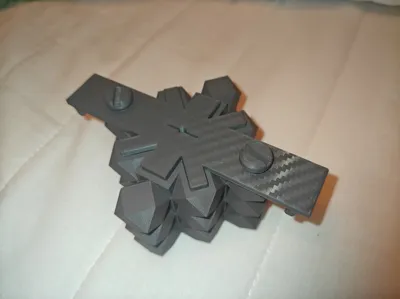
Position the pattern bar on the geometric cube, then screw in the two screws to secure it
If you find the screws difficult to turn, do not hesitate to re-print them at 97%, as tolerances may differ from one filament brand to another
Insert the entire assembly (cube + pattern bar) into the mold, ensuring that all elements are correctly fitted and perfectly locked
Silicone Molding:
0. Place a piece of adhesive tape along the entire bottom of the mold to prevent small leaks
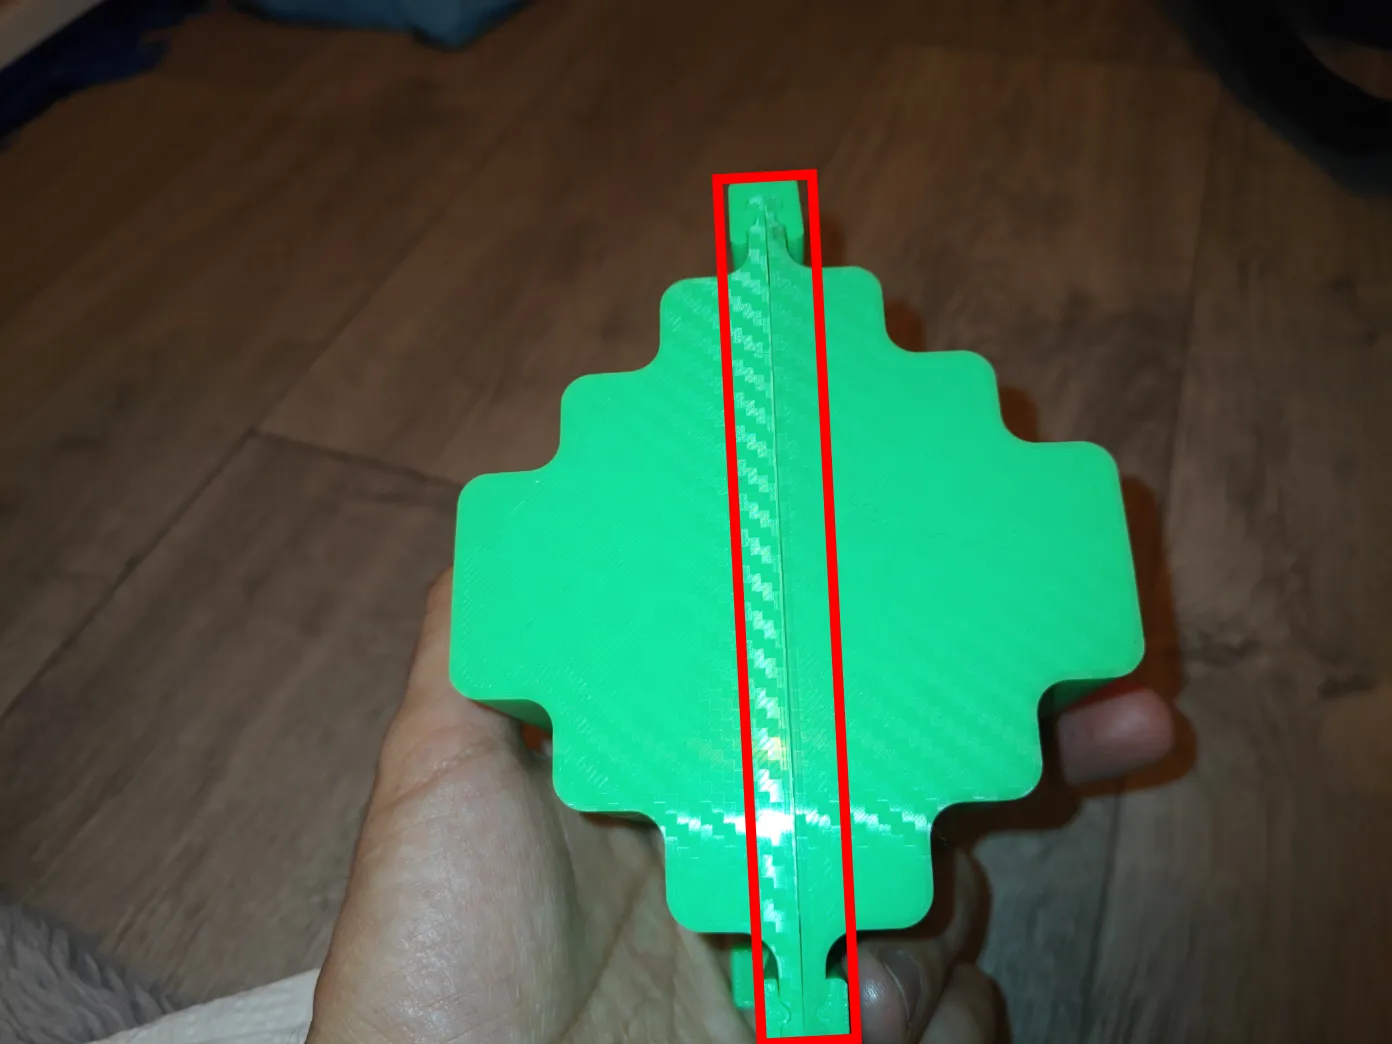
Prepare 240ml / 24cl of liquid silicone (equivalent to a medium cardboard / plastic cup) and pour the content into the mold gradually until it is completely filled (I personally use R PRO 10 (12 shore) liquid silicone from Reschimica; it hardens in 3 hours and does not require a vacuum chamber)
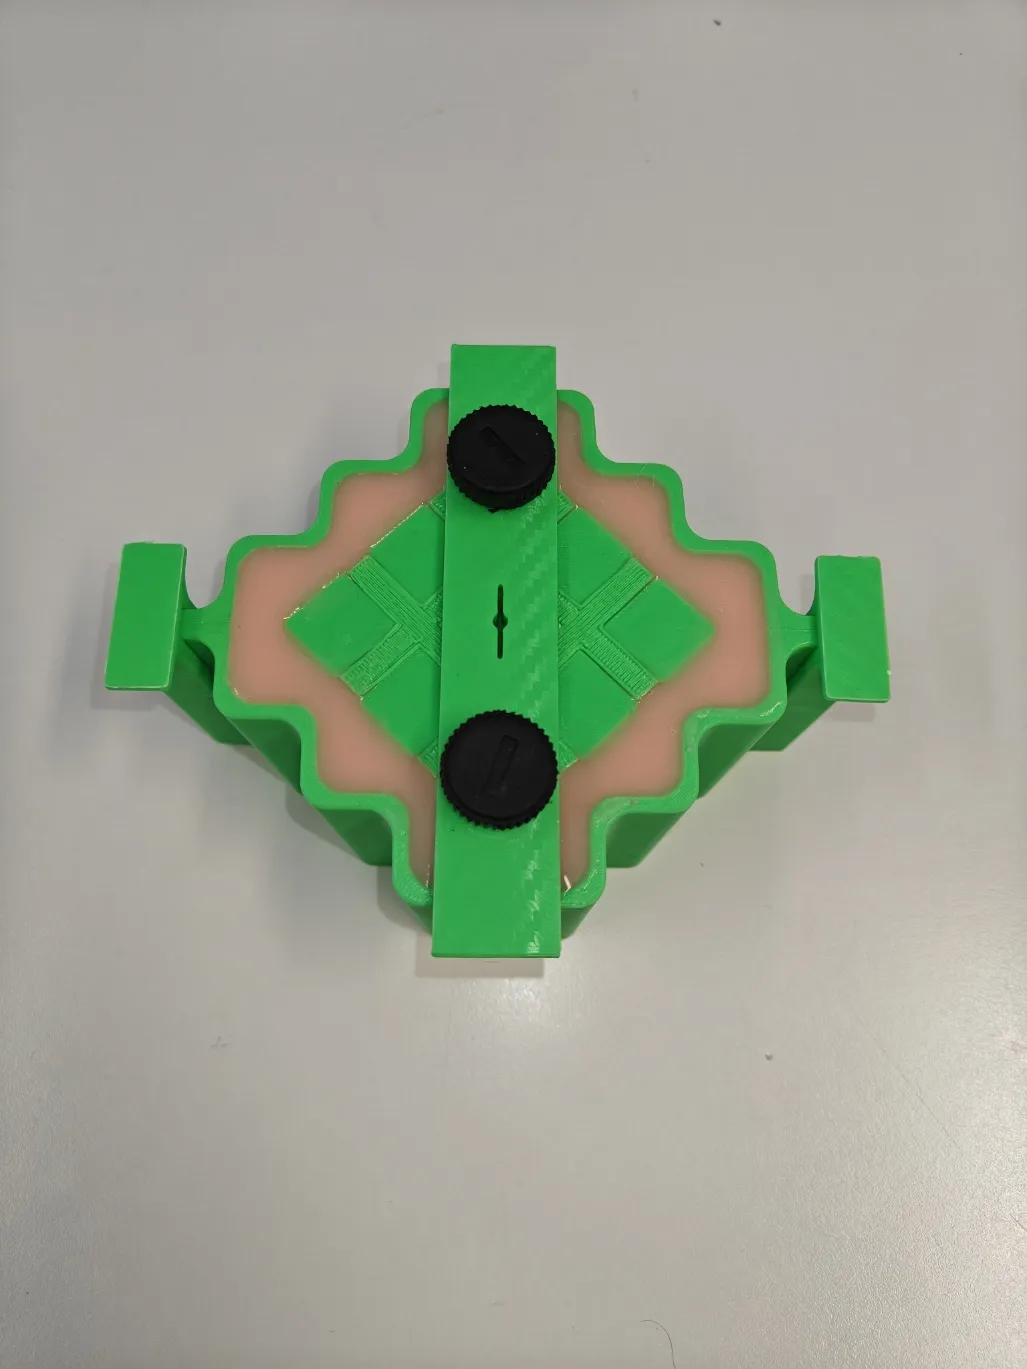
After the silicone has dried, start by unscrewing the 2 top screws and remove the pattern bar
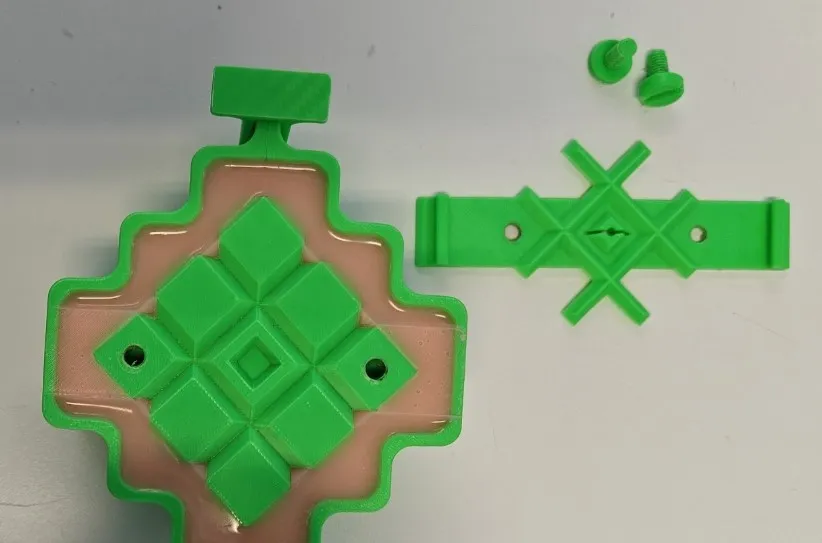
Remove the side bars
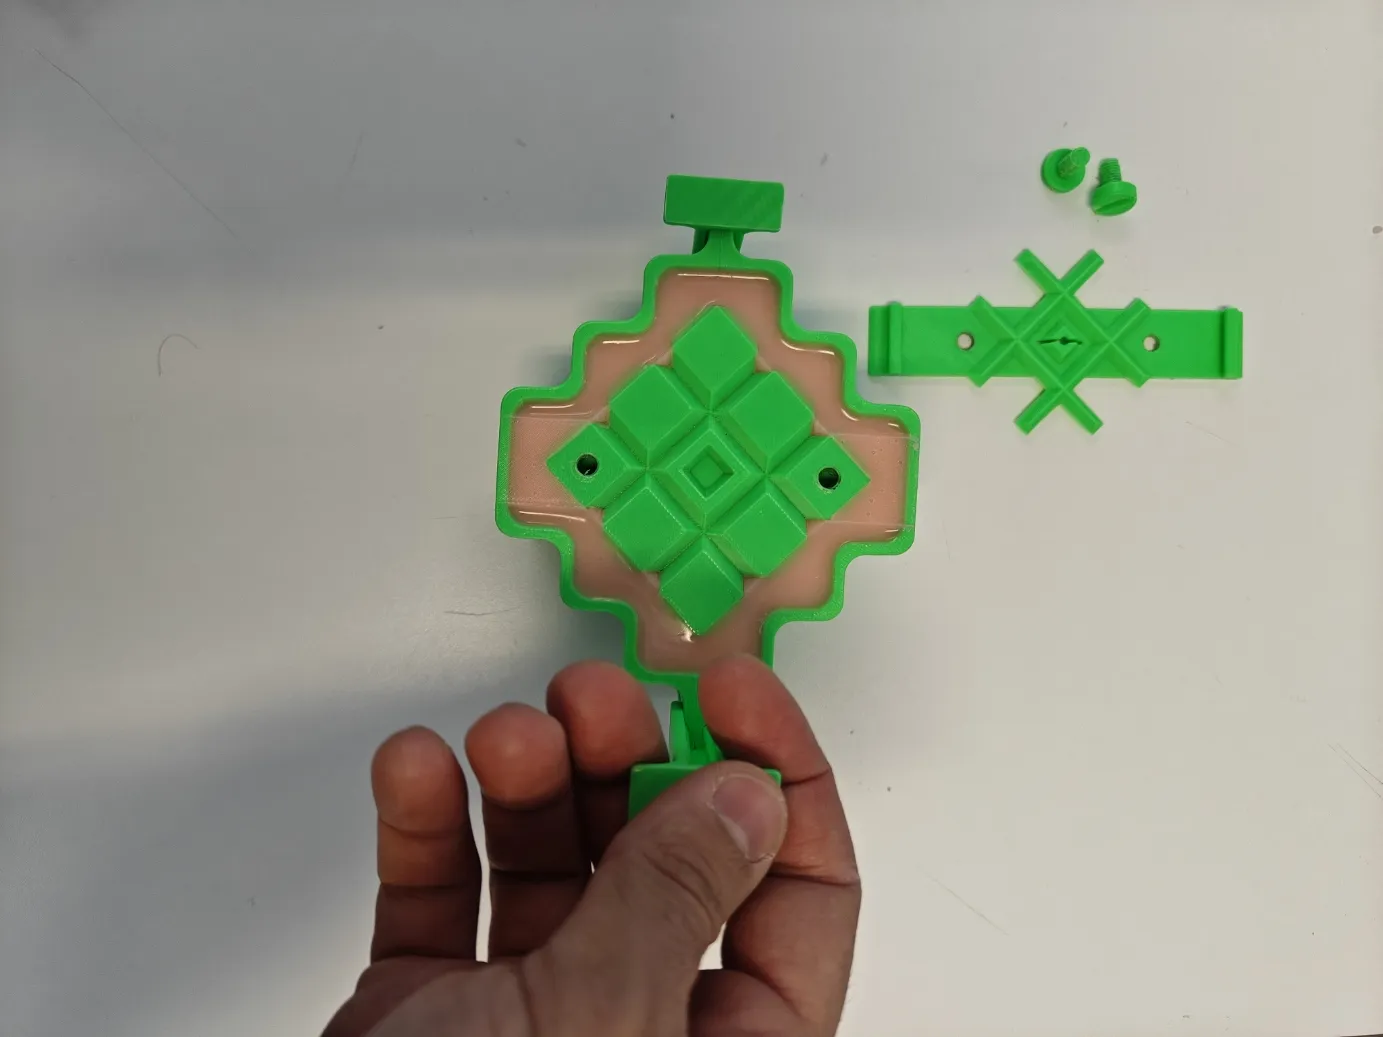
Insert a scraper on the sides and begin to separate the 2 parts of the mold gradually and gently
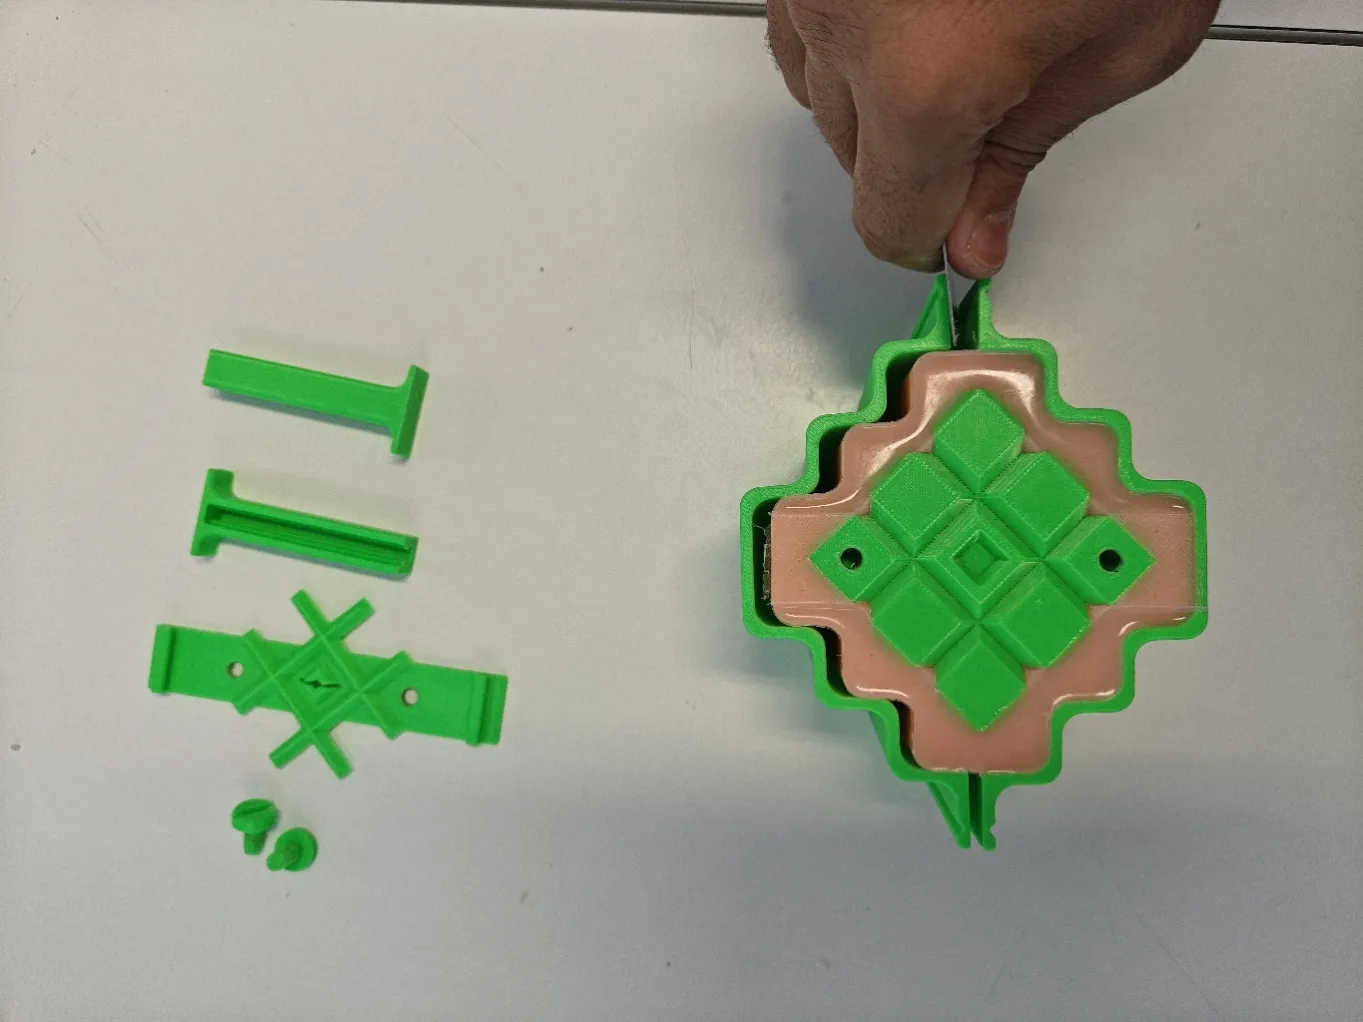
Completely remove the mold
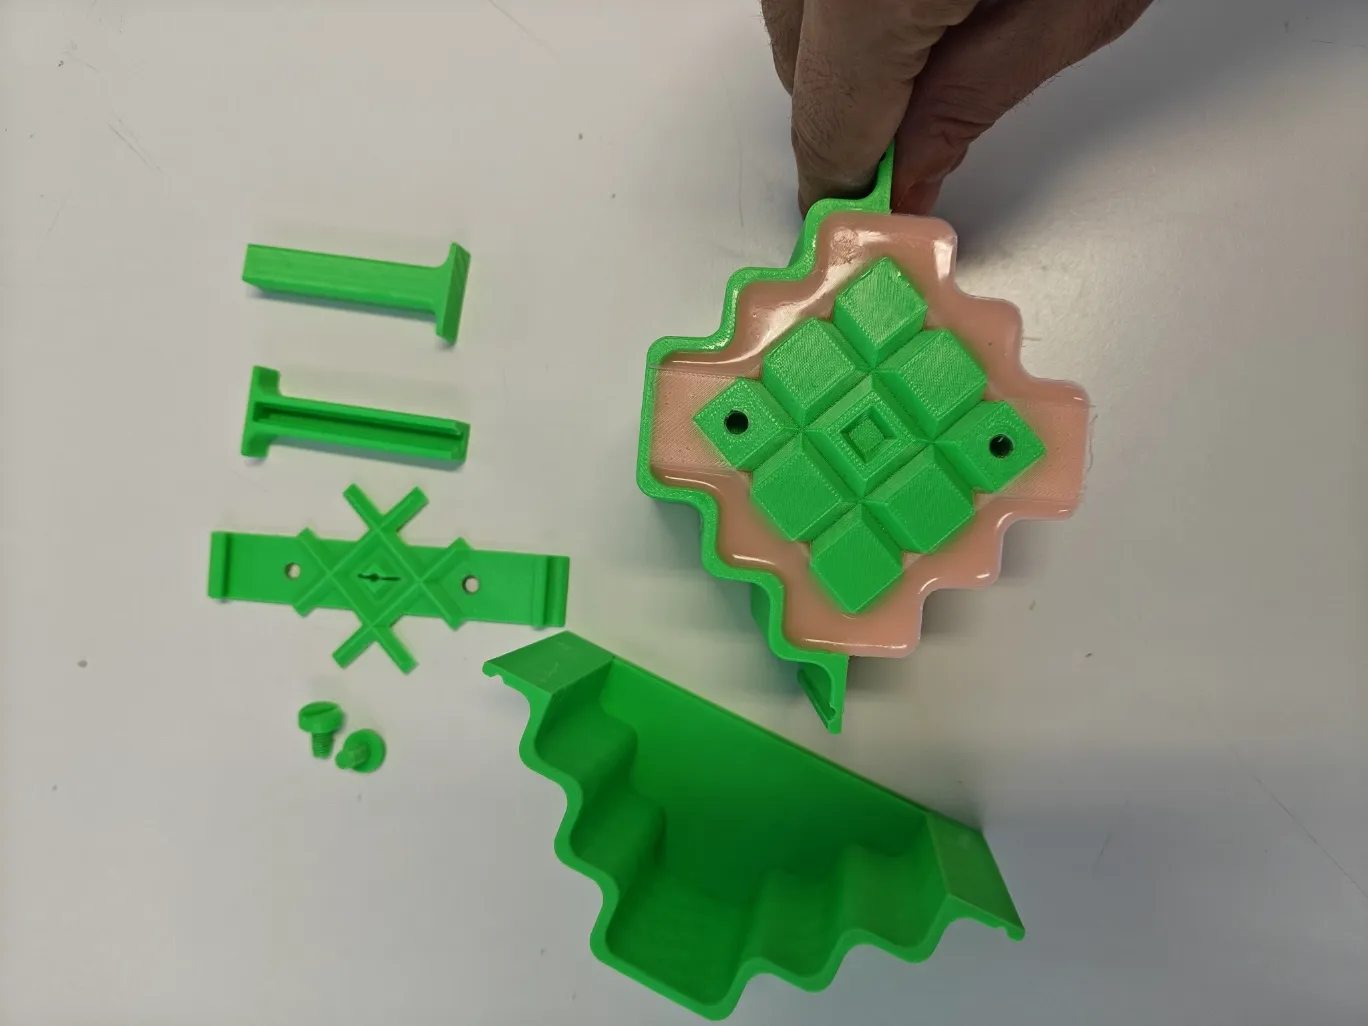
Pull on the sides of the mold gradually and gently, and push from the bottom simultaneously to remove the geometric cube
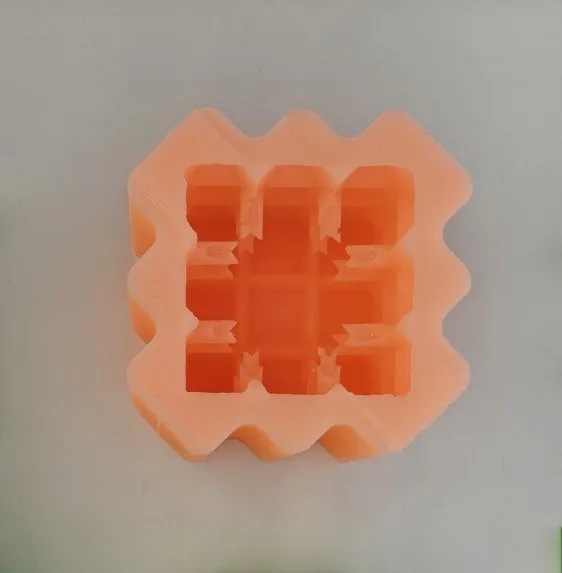
7. Clean the mold of excess silicone
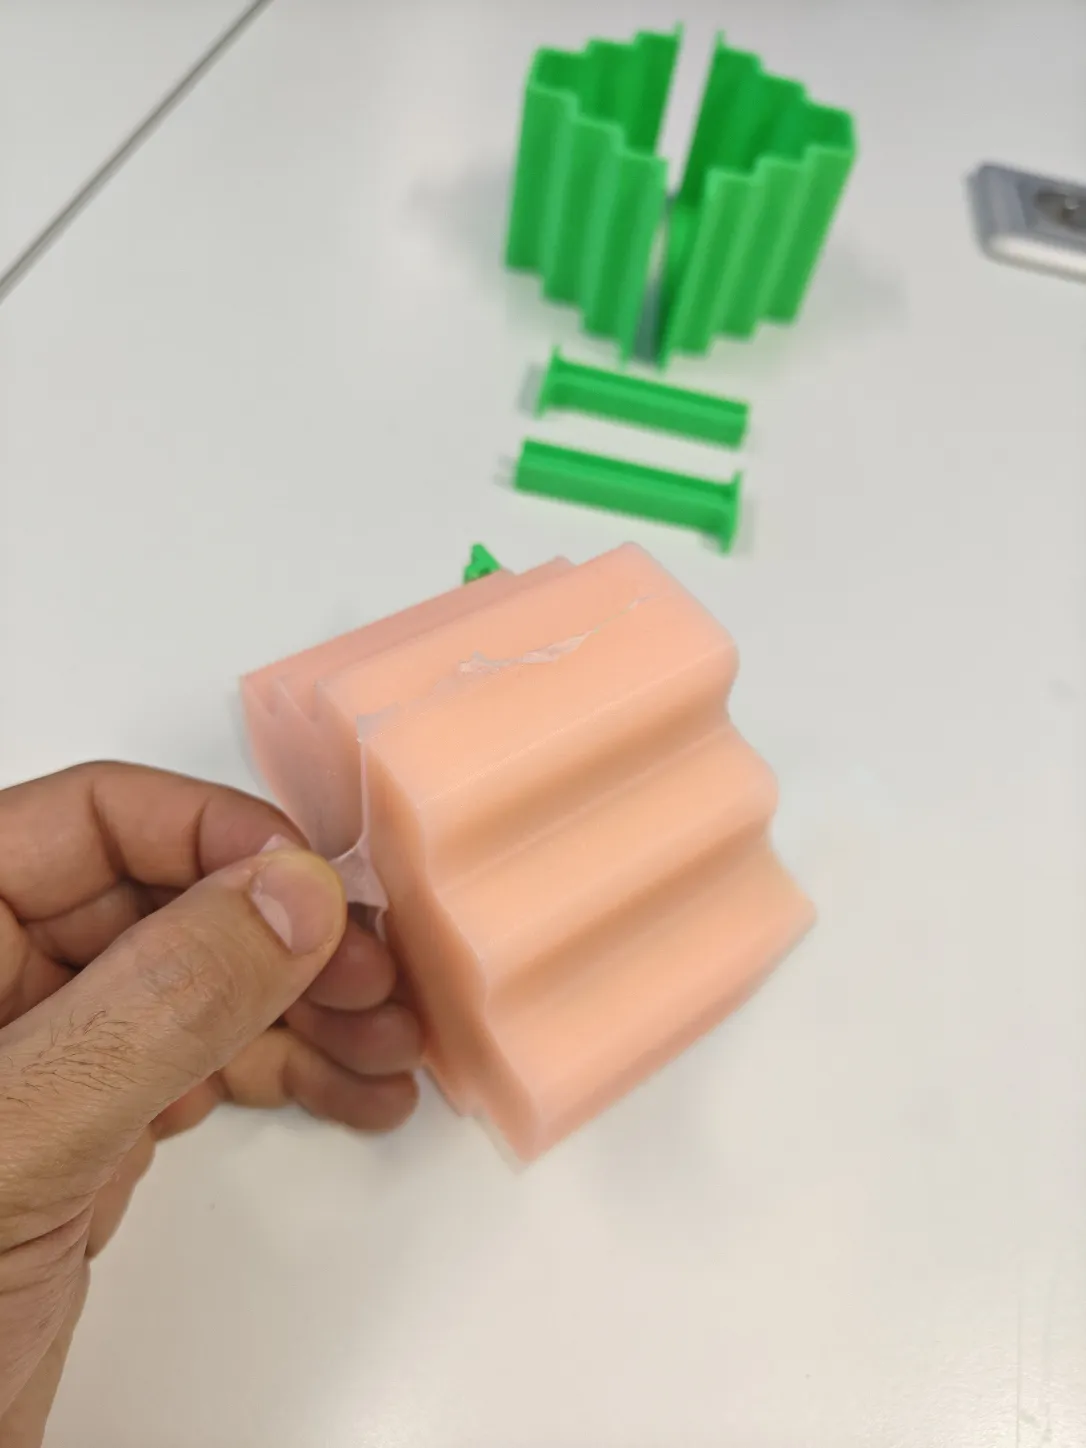
Candle Casting:
- Prepare your wax in a double boiler, then add a dye or fragrance if desired
- It is not mandatory but recommended to place the silicone mold back into the master mold, then lock it with the side bars (To facilitate movement, prevent vibrations, etc.)
- Spray a release agent (oil) on the bottom side of the pattern bar to prevent it from sticking to the wax
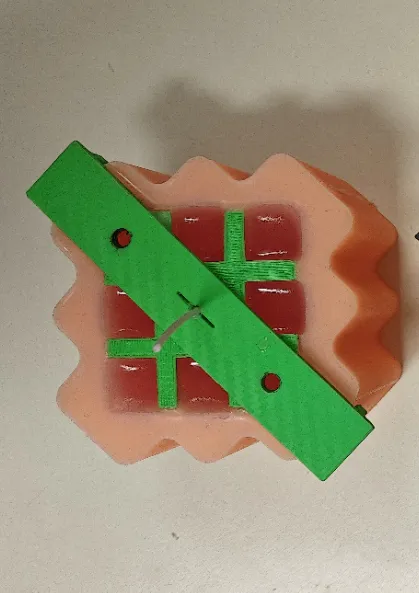
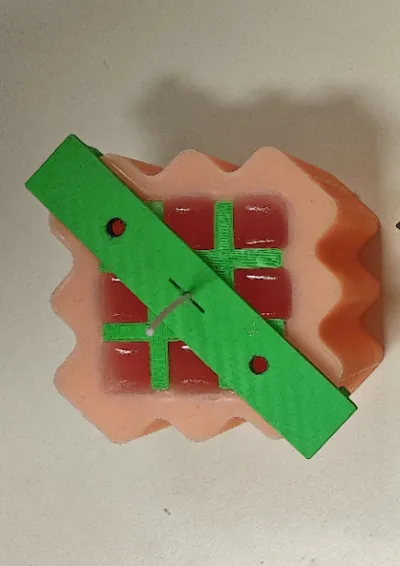
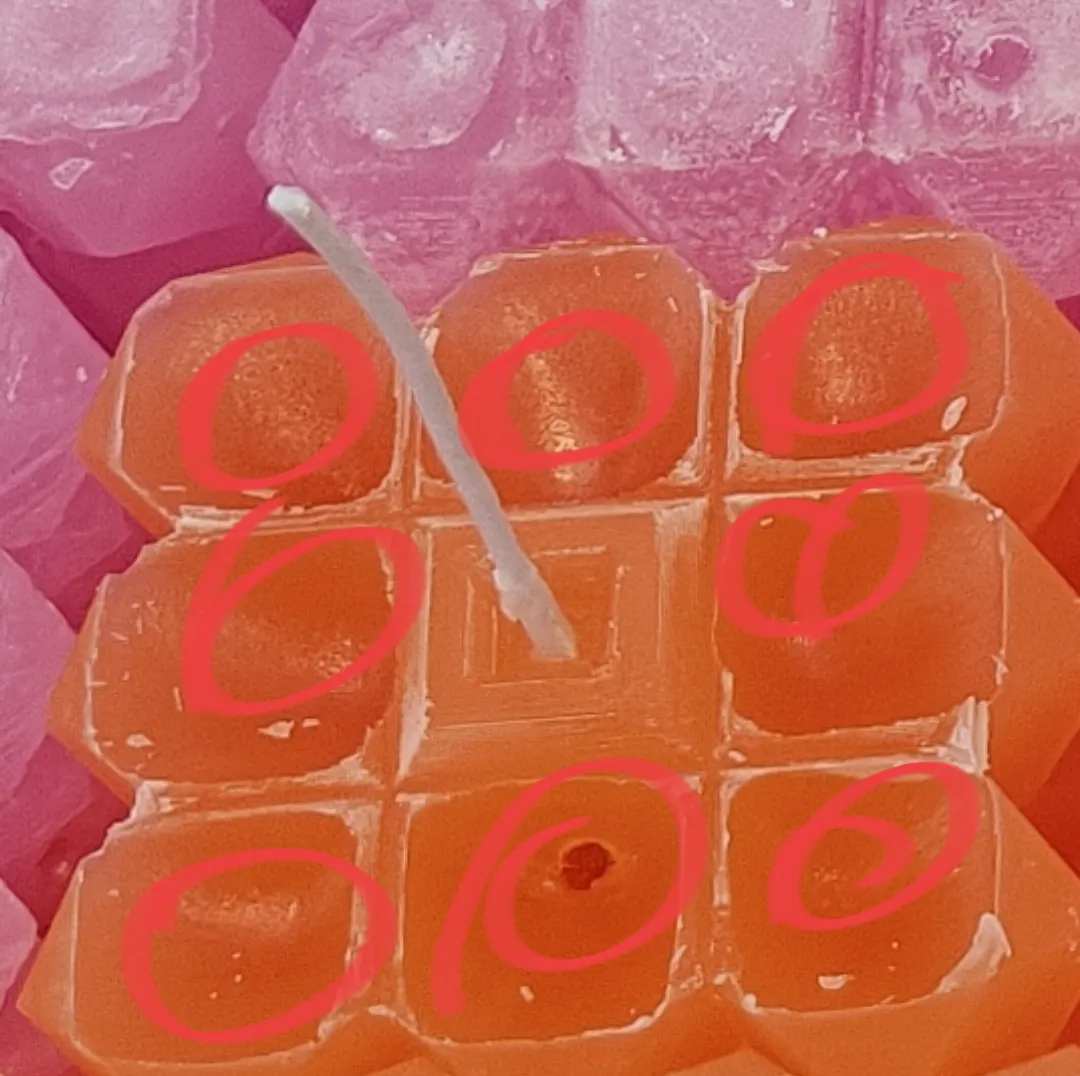
Pour the wax into the mold until it is 100% full; even if it overflows, it's not an issue, as wax tends to contract as it hardens, as shown here :
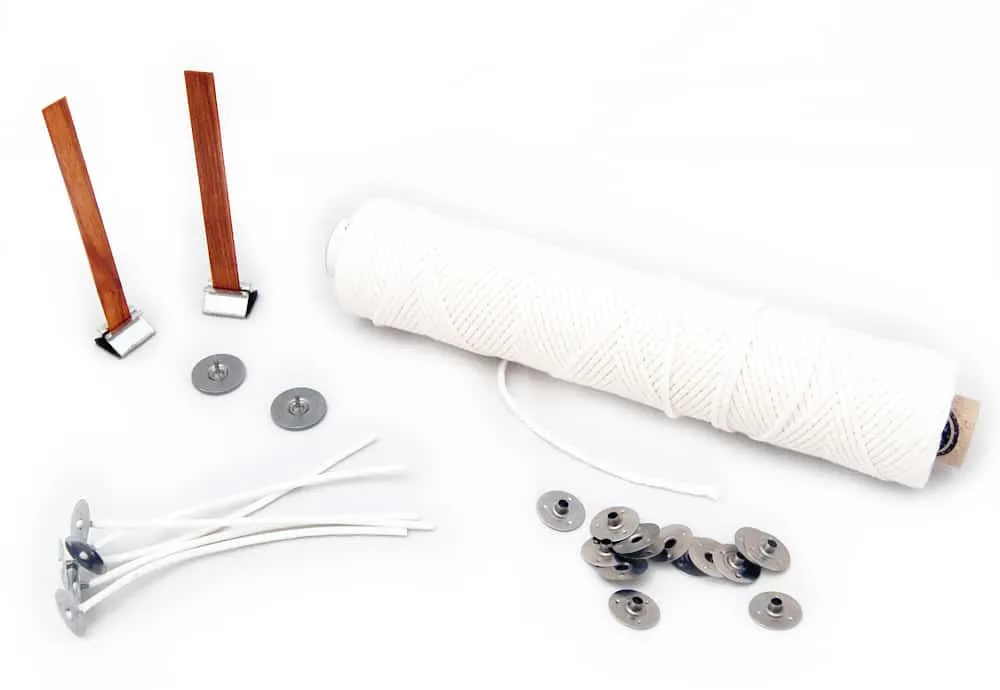
Pass a cotton or wooden wick (<12mm maximum width for the wooden wick) through the opening on the bottom side of the pattern bar
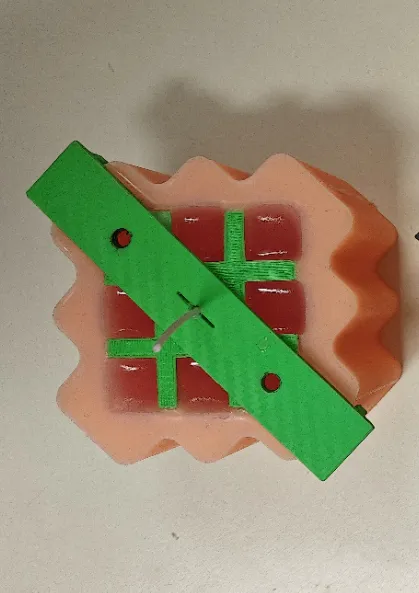
- Fit the pattern bar with the master mold, push the wick down to the bottom of the mold, then pour the remaining 5% of the wax for a complete fill, as shown in the photo
- Wait between 1 to 2 hours until the wax is completely hardened
Remove the pattern bar, then carefully remove the silicone mold by pulling on the sides and simultaneously pushing from the bottom
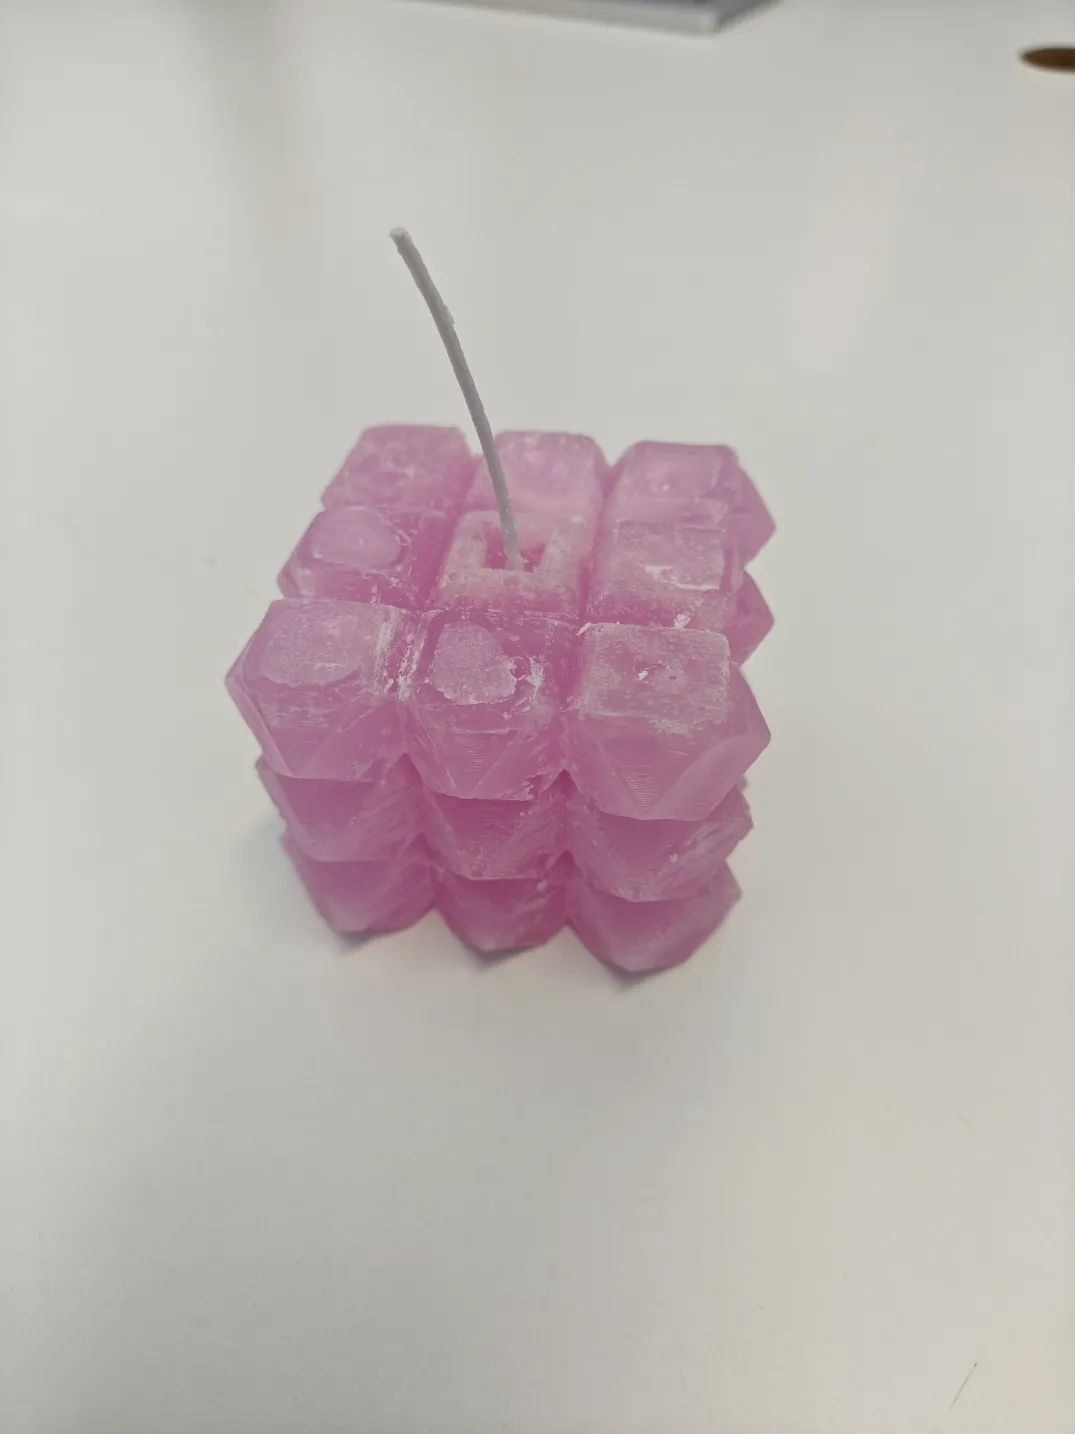
And there you go :D !
Thank you for taking the time to discover this model!
Boost Me (for free)
If you found it useful or inspiring, feel free to leave a small boost ⭐, it helps me immensely to continue sharing my creations with you.
Happy printing!
License

You shall not share, sub-license, sell, rent, host, transfer, or distribute in any way the digital or 3D printed versions of this object, nor any other derivative work of this object in its digital or physical format (including - but not limited to - remixes of this object, and hosting on other digital platforms). The objects may not be used without permission in any way whatsoever in which you charge money, or collect fees.


Comment & Rating (31)