Candle Mold 150x65mm Candle Mold Wax Mold


Print Profile(1)


Description
Candle mold for reusing wax remnants – 3D Printed Project
Hello everyone,
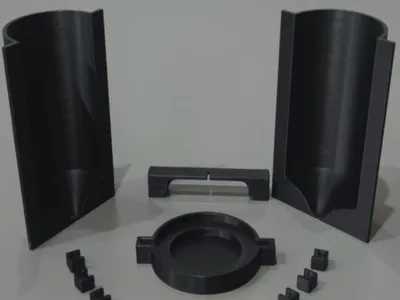
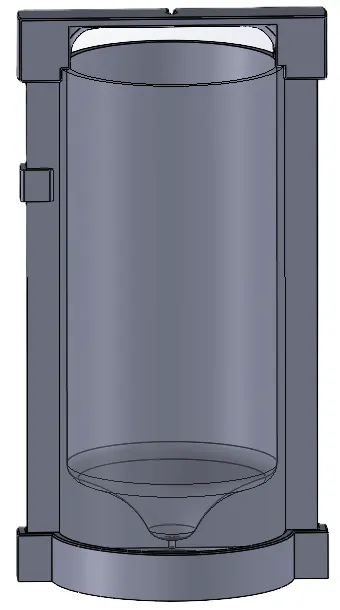
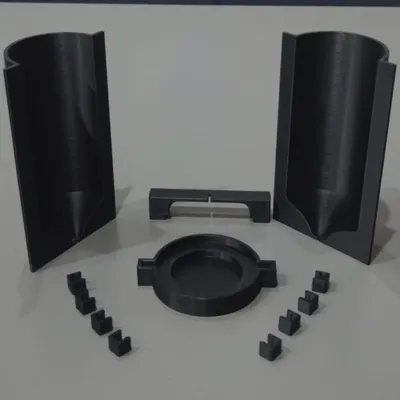
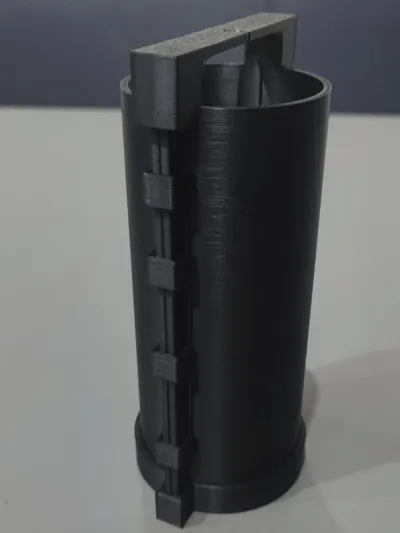
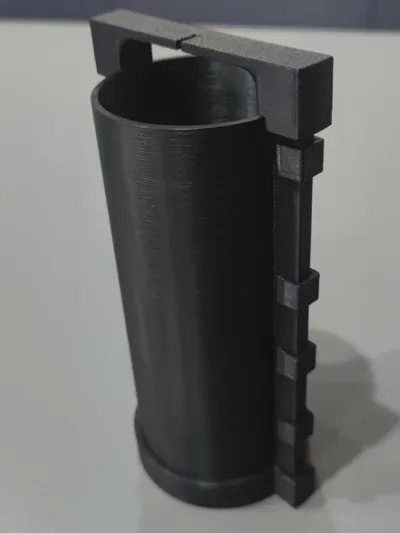
I would like to present my self-designed candle mold here. The idea behind it: To meaningfully reuse wax remnants collected over the winter and create a new, cleanly cast candle from them.
The finished candle, with a rounded wick tip, has a height of 150 mm and a diameter of 65 mm.
I am currently practicing intensively with SolidWorks for my studies and using 3D printing to gain practical experience in design and CNC. The mold is 3D printed from PETG. This works, but it is already operating at its temperature limit.
Important:
- If you want to process beeswax, I strongly recommend ABS, ASA, or another high-temperature-resistant filament to avoid deformation.
- When using other filament manufacturers or different materials, fit deviations may occur.
In such cases, dimensional accuracy can usually be compensated for by a slight scaling in the slicer.
As soon as I use the mold for the first time, I will upload pictures of the wax pouring.
I would also be very happy if you – if you are faster – would post some photos of your results in the review section.
If you like the model, please leave a like or boost. This motivates me to develop more files and share new designs.
Thank you very much and have fun 3D printing and wax pouring!
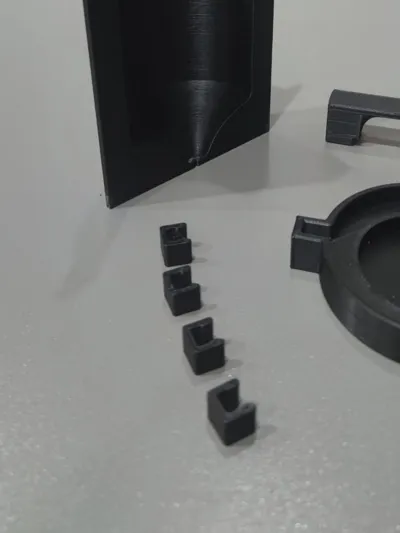
Assembly Instructions
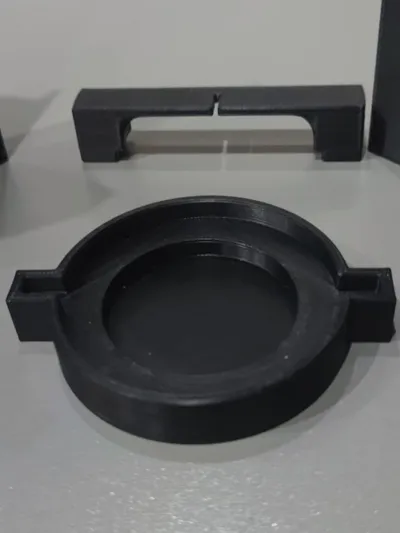
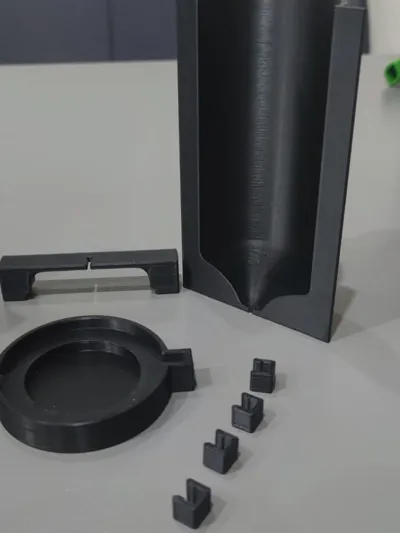
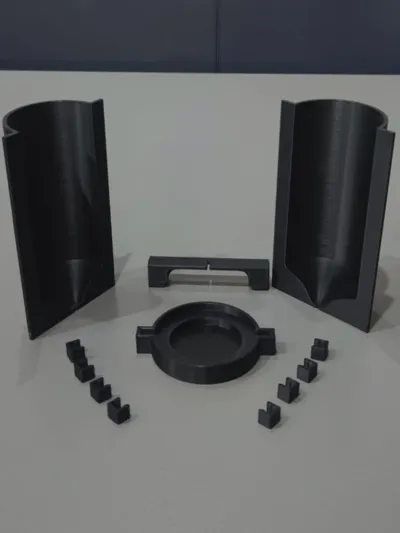
1. Prepare the base plate
Place the base plate of the candle mold on the table with the opening facing upwards.
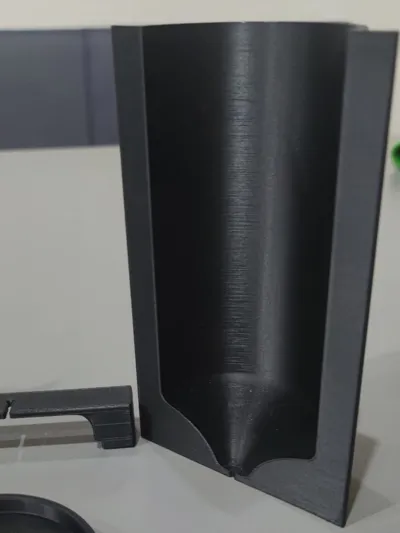
2. Insert mold elements
Insert the two mold halves into the base plate.
3. Secure the mold
Attach the clips to the fold – four per side, so that the mold closes tightly.
4. Assemble the wick holder
Place the wick holder on top of the mold and secure it.
The mold is now ready for wax pouring.
License
You shall not share, sub-license, sell, rent, host, transfer, or distribute in any way the digital or 3D printed versions of this object, nor any other derivative work of this object in its digital or physical format (including - but not limited to - remixes of this object, and hosting on other digital platforms). The objects may not be used without permission in any way whatsoever in which you charge money, or collect fees.
Comment & Rating (5)