
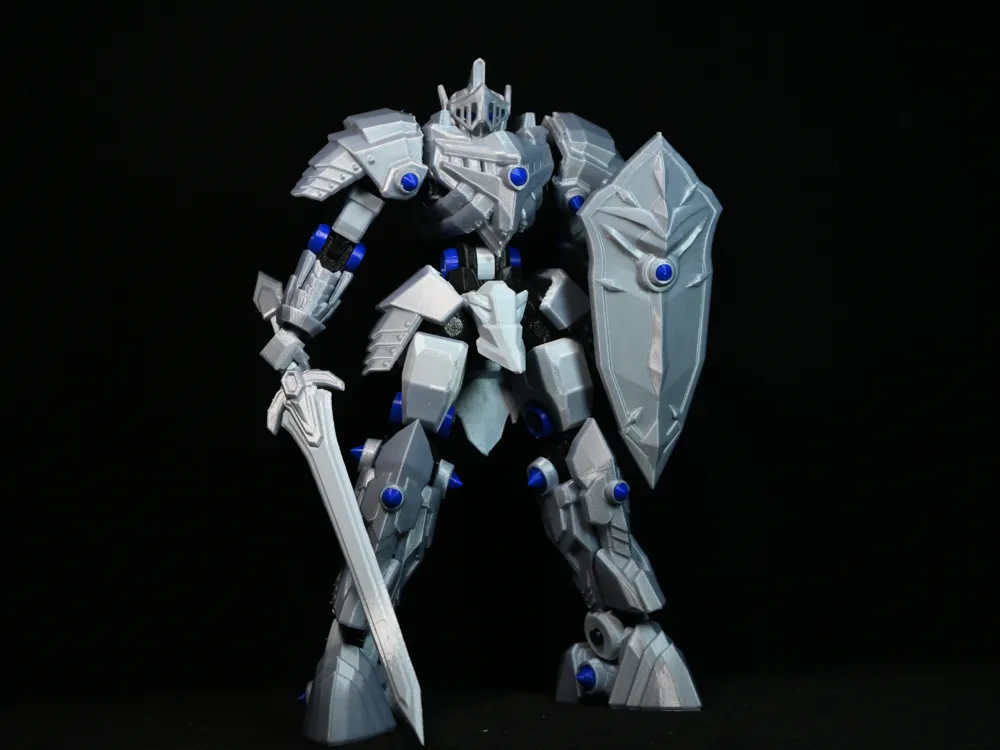
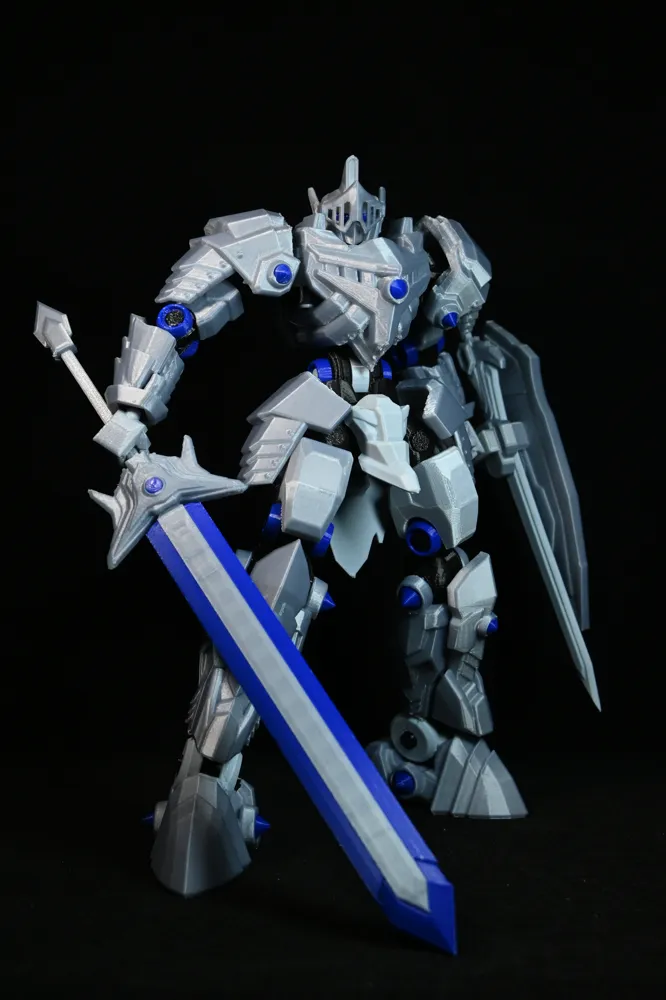
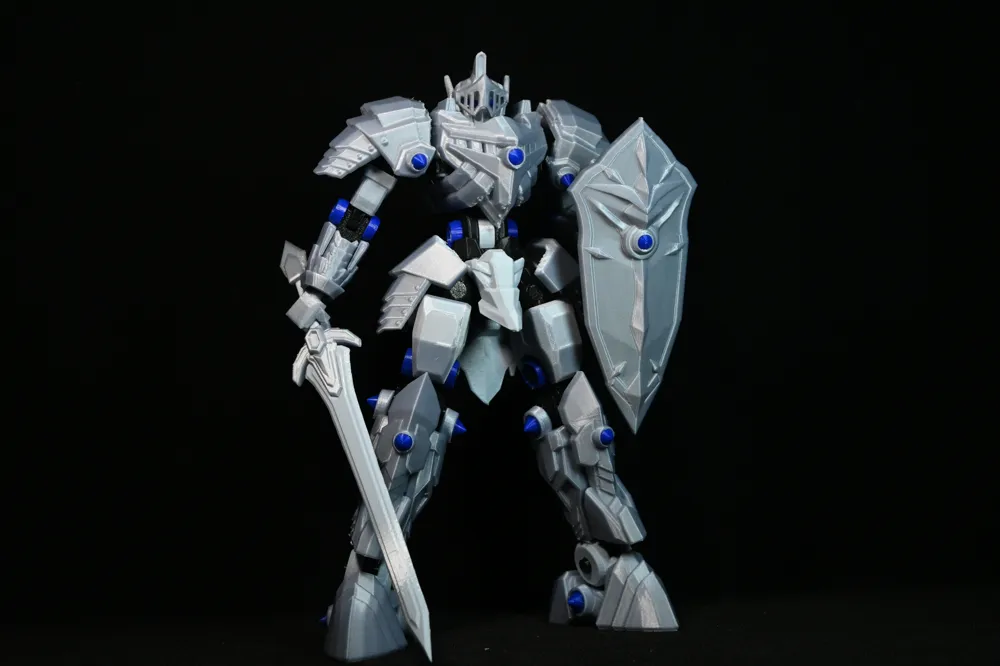
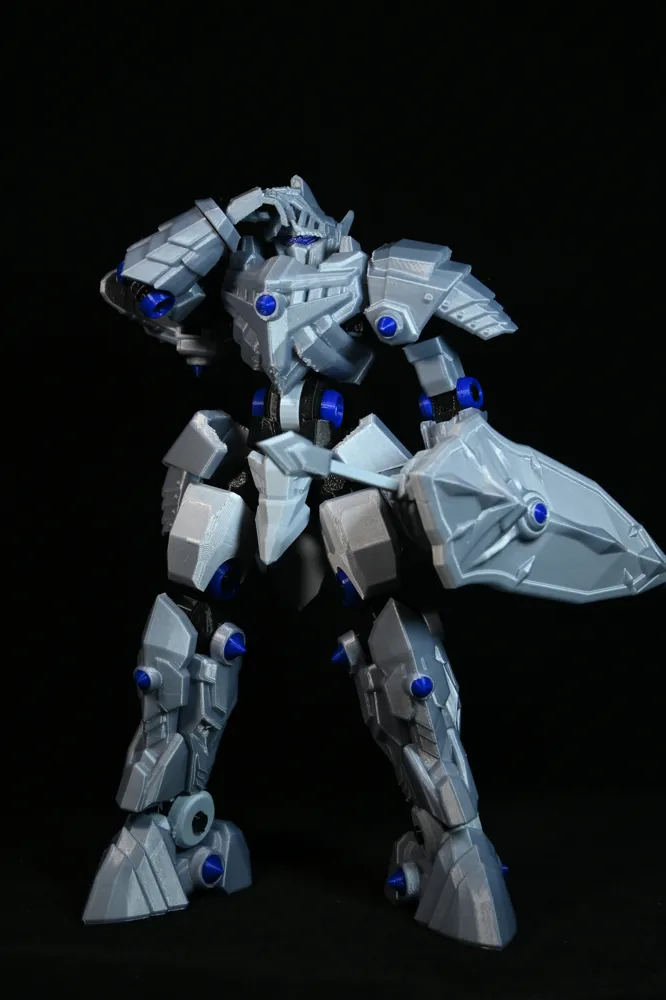
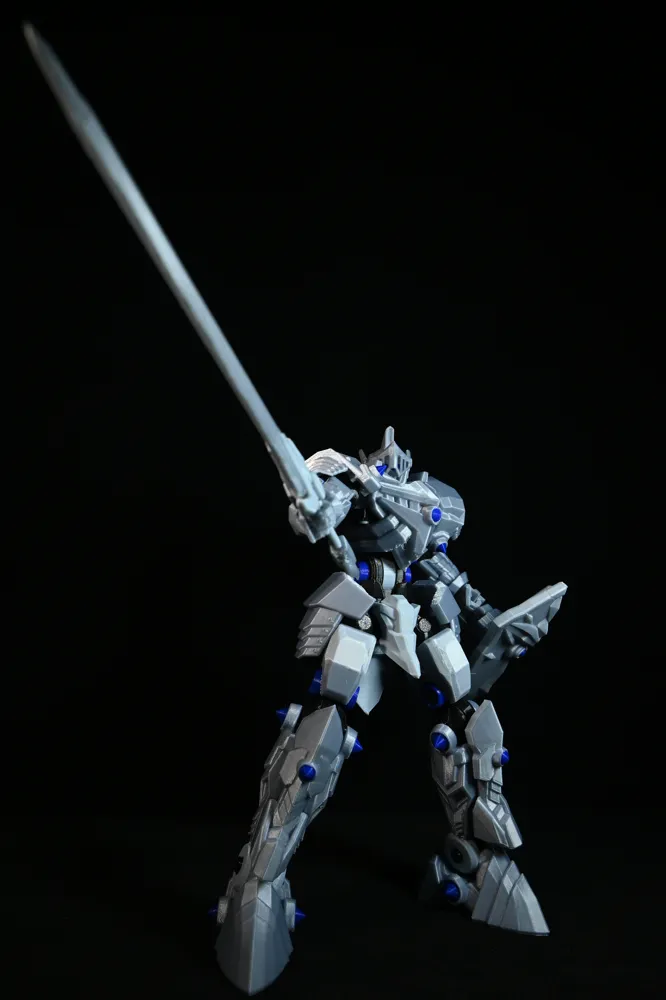
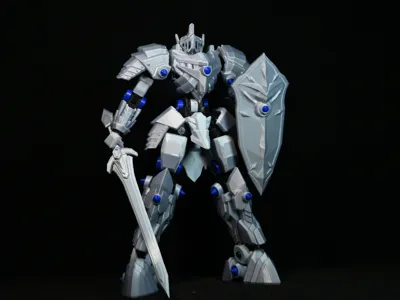
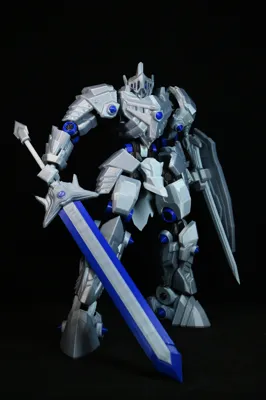
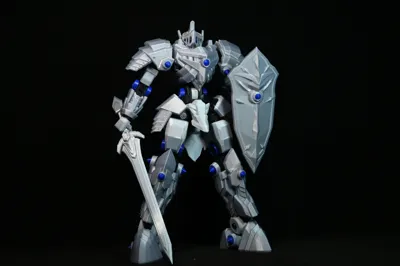
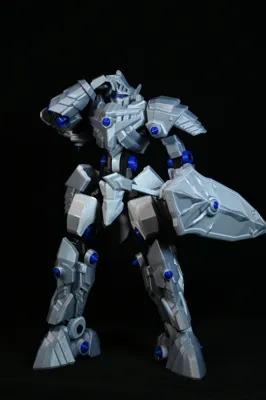
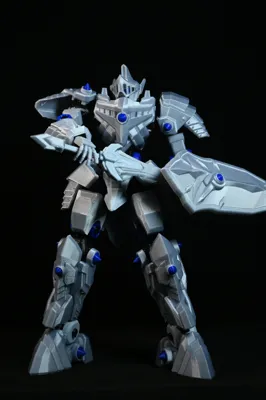
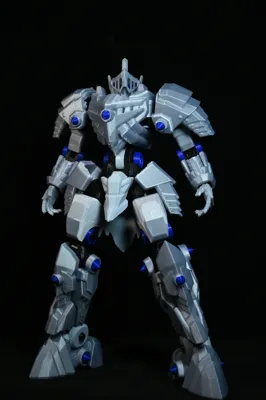
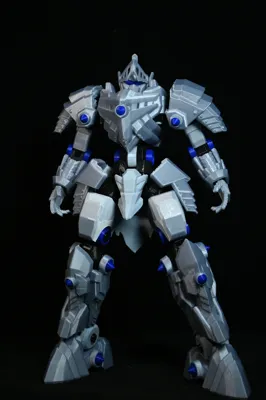
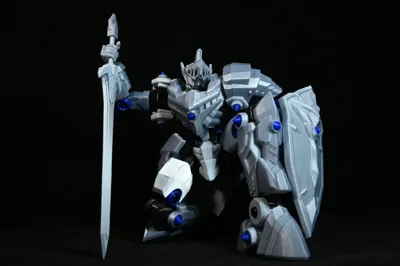
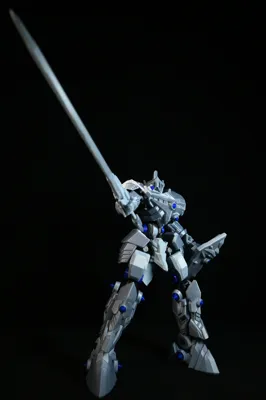
Knight--Fully articulated, no AMS needed, proportionate mech Unit 5
Print Profile(1)

Description
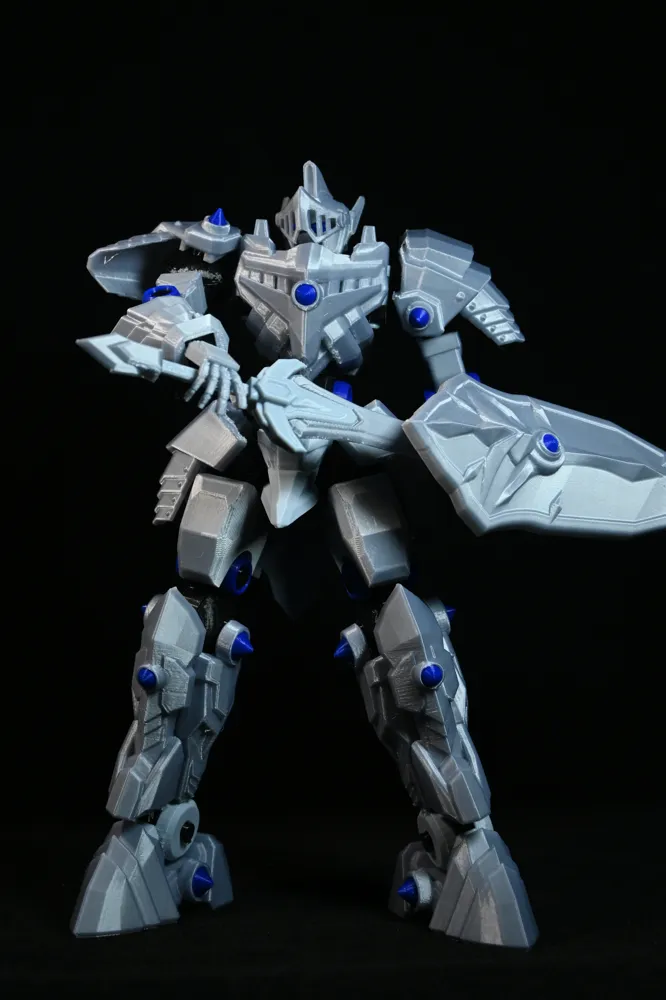
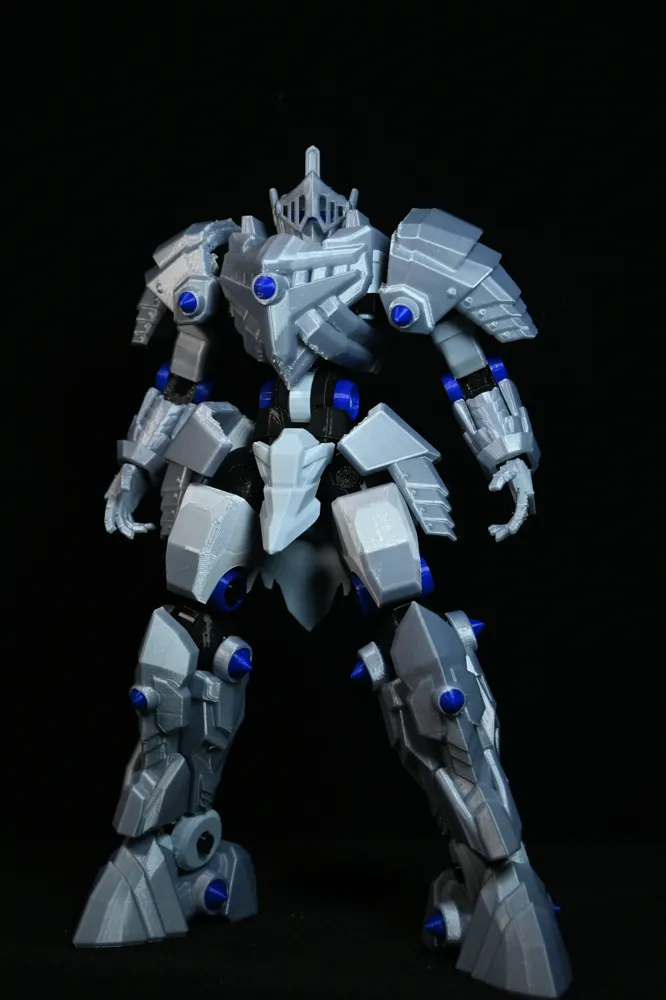
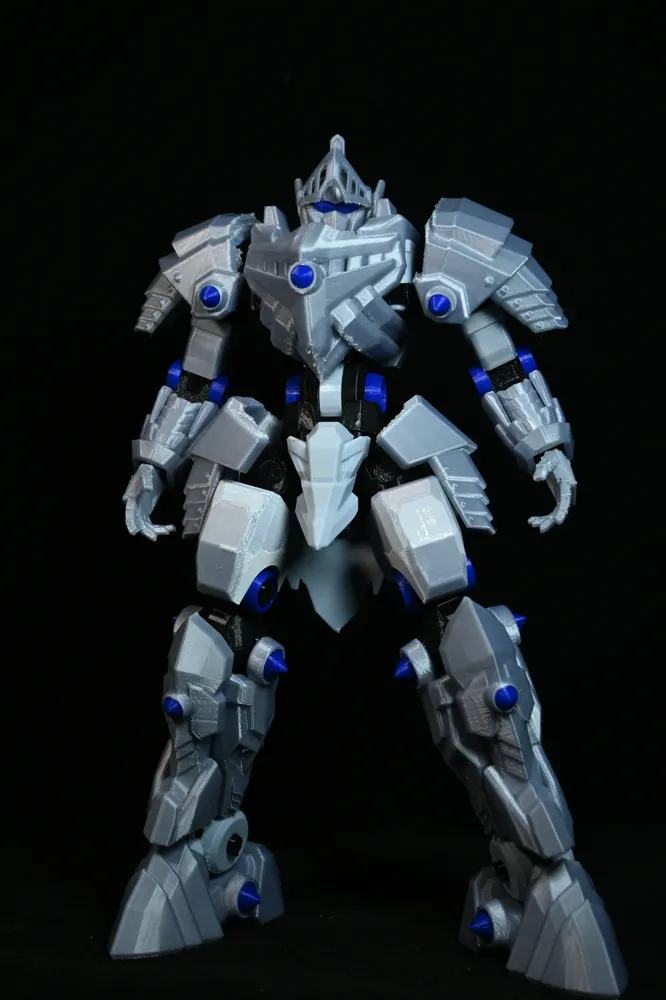
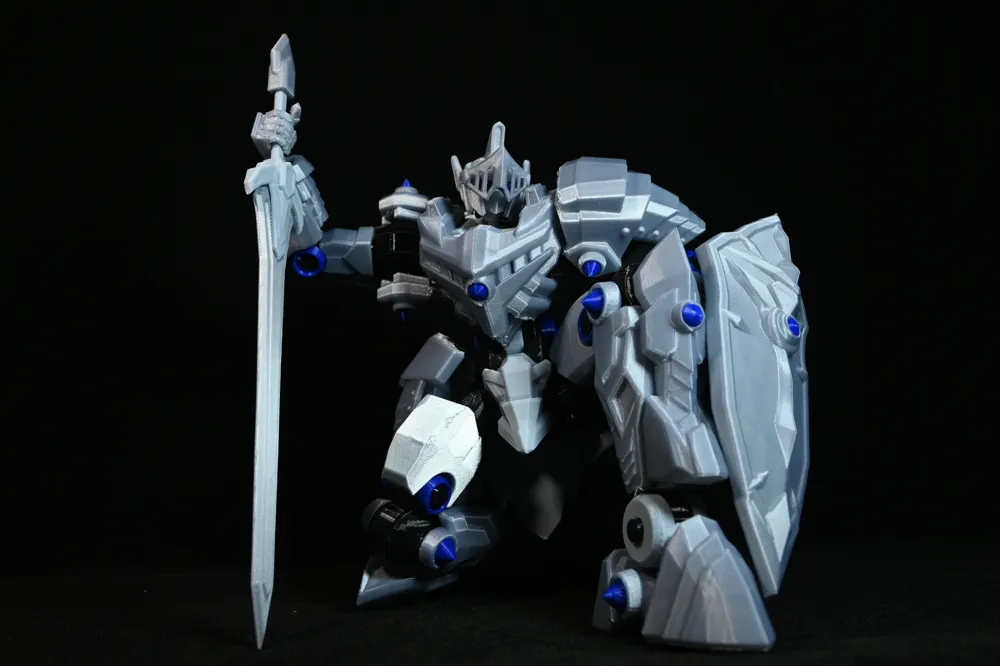
Knight--Fully Articulated No AMS Mecha Unit 05
Boost Me (for free)
Happy New Year, world peace, love and justice, good health, no exploitation, pay taxes according to law, equality for all, raise wages, abide by laws and regulations, be kind to others, find a partner, boost me
1. Read first, then print
2. All printed parts, no hardware, with a complete skeleton, all separate parts no AMS needed, 20 centimeters tall, thirty-four articulated joints.
3.The assembly fit might need to be adjusted by yourself if it's loose or tight, you'll need to trim the parts yourself, or fine-tune the part dimensions by plus or minus 1% 2% 3% if the waist swivel joint is loose, you can use some glue to hold it in place since there's also a swivel joint below the chest which is sufficient because the shoulder armor shins and ankles have spike decorations it's easy to get poked when posing you can use flush cutters to blunt the spikes a bit if it's for children to play with please be sure to trim the spikes.
4. The profile is for A1 mini, just change the machine in the top left corner, the first four plates are skeleton parts, to prevent mixing up the pin positions and also to facilitate future adjustment of the assembly fit, be sure to print one plate and assemble one part, the latter are exterior armor parts, you can decide the color scheme yourself, my exterior armor uses R3D's silver white color.
5. The hand type is compatible with other weapons on the homepage.
6. There are also TPU skeleton replacement parts and more styled hands and other weapons on my homepage, if needed you can print them to play with.
7. In short, I've stated in advance that this is not a very simple model to print and assemble because ball joints tend to wear out and become loose so the joints are mostly pivot joints due to the influence of different machines and filaments you might still need to fine-tune the part dimensions in the slicer software if you don't know how you can learn online you might also need to apply glue to the build plate or trim burrs after all it's 3D printed certainly not comparable to machine injection molded any problems require some investigation as long as it can be assembled and moved that's fine.
Documentation (2)
License

You shall not share, sub-license, sell, rent, host, transfer, or distribute in any way the digital or 3D printed versions of this object, nor any other derivative work of this object in its digital or physical format (including - but not limited to - remixes of this object, and hosting on other digital platforms). The objects may not be used without permission in any way whatsoever in which you charge money, or collect fees.


Comment & Rating (32)